
1. Introduction
This manual provides essential information for the installation, operation, and maintenance of your SPEDWHEL LT01 Standard LCD Display. This display unit is designed to provide critical ride data and control functions for compatible electric scooters. Please read this manual thoroughly before installation and use to ensure proper function and safety.
2. Product Overview
The LT01 LCD Display serves as the central interface for monitoring and controlling your electric scooter. It features a clear display screen, power button, and mode button for easy navigation and setting adjustments.



3. Compatibility
The LT01 Standard LCD Display is compatible with the following electric scooter models:
- Kaabo Mantis8
- Kaabo Mantis10
- Kaabo Wolf Warrior X
- Kaabo Wolf Warrior 11-inch Sine Wave Controller version
Important Note:
This display is NOT compatible with scooters that utilize a Minimotors system (Minimotors controller). If your scooter uses a Minimotors system, you should use a Minimotors EY3 Display instead of the LT01.
4. Setup and Installation
Proper installation is crucial for the functionality and safety of your scooter. If you are unsure about any steps, it is recommended to seek professional assistance.
- Power Off Scooter: Ensure your electric scooter is completely powered off and the battery is disconnected before beginning installation.
- Remove Old Display (if applicable): Carefully disconnect the wiring and unmount your existing display unit from the handlebar. Keep track of all screws and components.
- Mount New Display: Position the LT01 display on your scooter's handlebar in a location that is comfortable for viewing and access to buttons. Secure the mounting clamp firmly using appropriate tools. Do not overtighten.
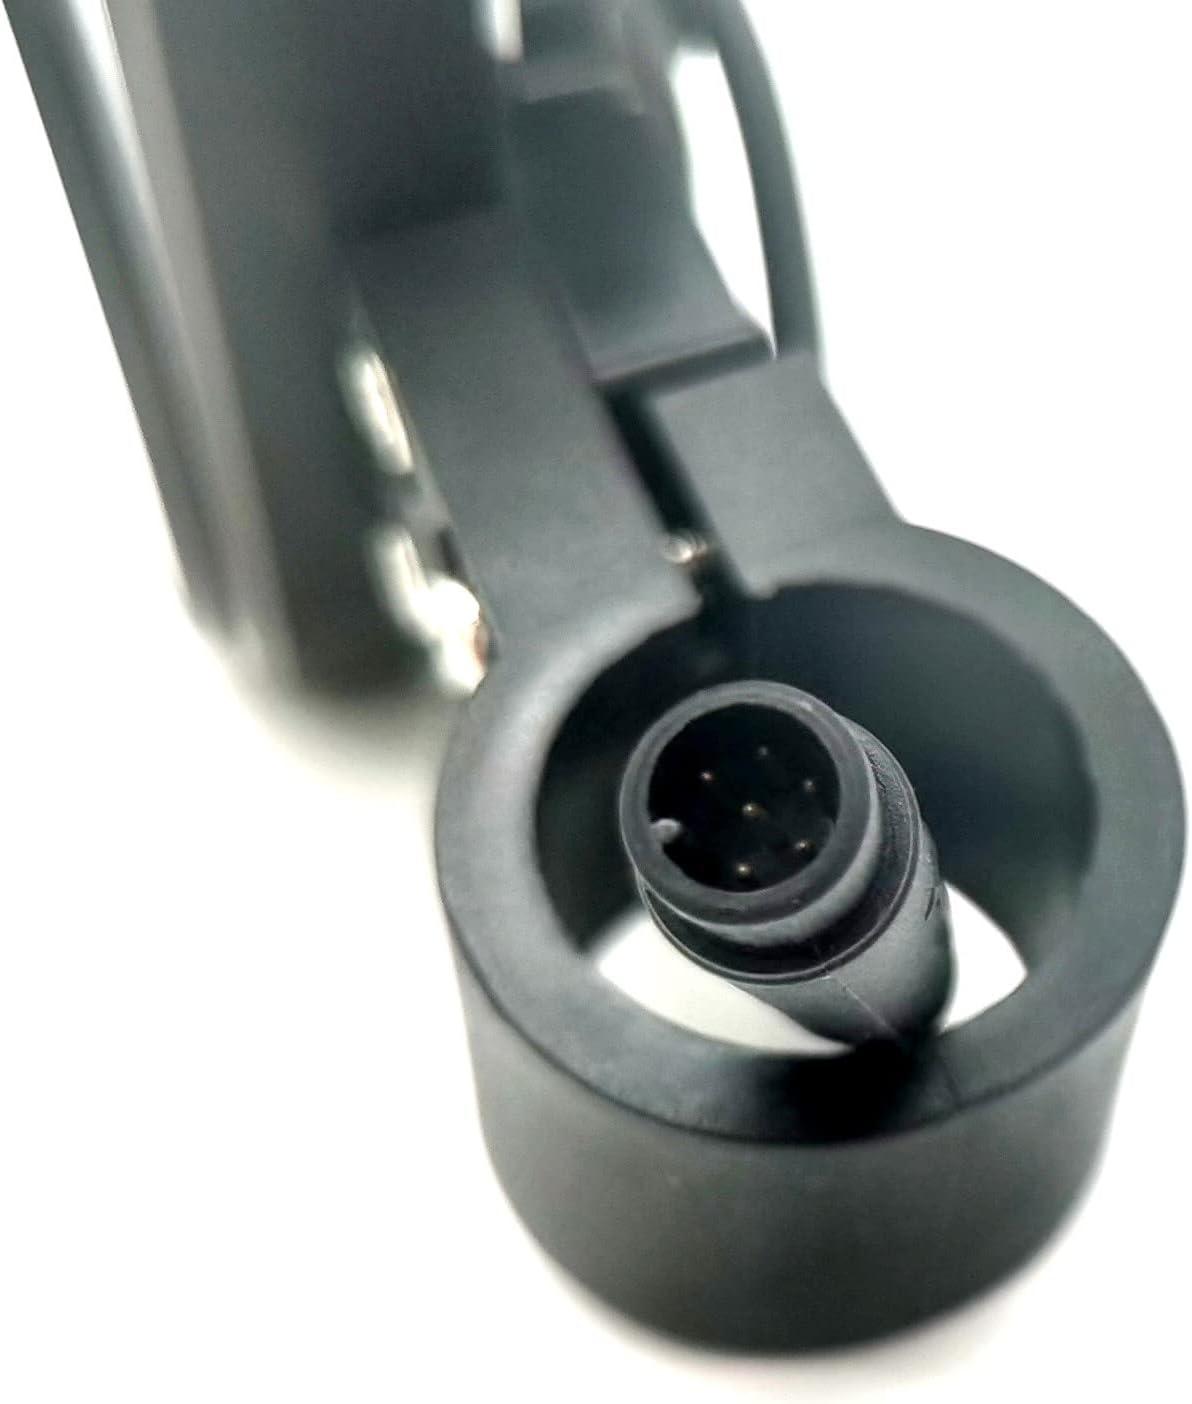
- Connect Wiring: Locate the corresponding connector on your scooter's wiring harness. Carefully align and connect the multi-pin connector from the LT01 display. Ensure the connection is secure and fully seated.
- Route Cables: Neatly route the display cable along the handlebar and frame, securing it with cable ties if necessary, to prevent snagging or interference with steering.
- Reconnect Battery & Test: Reconnect the scooter's battery. Power on the scooter and the LT01 display. Verify that the display powers on, shows information, and that buttons are responsive.
5. Operating Instructions
The LT01 display provides real-time information and allows for basic control of your scooter's functions.
5.1. Power On/Off
- To Power On: Press and hold the Power Button (red button with power symbol) for a few seconds until the display illuminates.
- To Power Off: Press and hold the Power Button again for a few seconds until the display turns off.
5.2. Display Modes and Information
The display typically shows information such as speed, battery level, odometer, trip distance, and possibly current gear/mode. Use the MODE Button to cycle through different display screens or parameters.
- Short Press MODE: Cycles through various data displays (e.g., Odometer, Trip Distance, Voltage).
- Long Press MODE: May enter into a settings menu for advanced adjustments (refer to your scooter's main controller manual for specific parameter settings if available).
5.3. Basic Settings (if applicable)
Some LT01 displays may allow for basic settings adjustments directly from the unit. Common adjustable parameters might include:
- Unit of Speed (km/h or mph)
- Backlight Brightness
- Wheel Diameter (for accurate speed/distance readings)
Accessing and adjusting these settings typically involves a combination of long presses on the MODE button and then using the Power and Mode buttons to navigate and change values. Consult your scooter's specific manual for detailed instructions on accessing and modifying these parameters.
6. Maintenance
To ensure the longevity and optimal performance of your LT01 LCD Display, follow these maintenance guidelines:
- Cleaning: Use a soft, damp cloth to gently wipe the display screen and casing. Avoid abrasive cleaners, solvents, or excessive moisture, which can damage the electronics.
- Protection: Protect the display from direct impact, extreme temperatures, and prolonged exposure to direct sunlight or heavy rain.
- Cable Inspection: Periodically check the display cable for any signs of wear, cuts, or loose connections. Ensure all connections remain secure.
- Storage: If storing the scooter for an extended period, ensure the display is clean and dry. Store in a cool, dry place.
7. Troubleshooting
If you encounter issues with your LT01 LCD Display, refer to the following common problems and solutions:
| Problem | Possible Cause | Solution |
|---|---|---|
| Display does not power on |
|
|
| Incorrect speed/distance readings |
|
|
| Buttons are unresponsive |
|
|
| Display shows error code |
|
|
8. Specifications
| Feature | Detail |
|---|---|
| Model | LT01 |
| Brand | SPEDWHEL |
| Product Dimensions | 20 x 8.7 x 0.1 inches (approximate) |
| Output Voltage | 36 Volts (DC) |
| UPC | 787313724044 |
| Compatibility | Kaabo Mantis8/10, Wolf Warrior X/11inch (Sine Wave Controller) |
9. Warranty and Support
For warranty information and technical support, please contact the seller or manufacturer directly. Keep your proof of purchase for any warranty claims.
Manufacturer: SPEDWHEL