1. Introduction
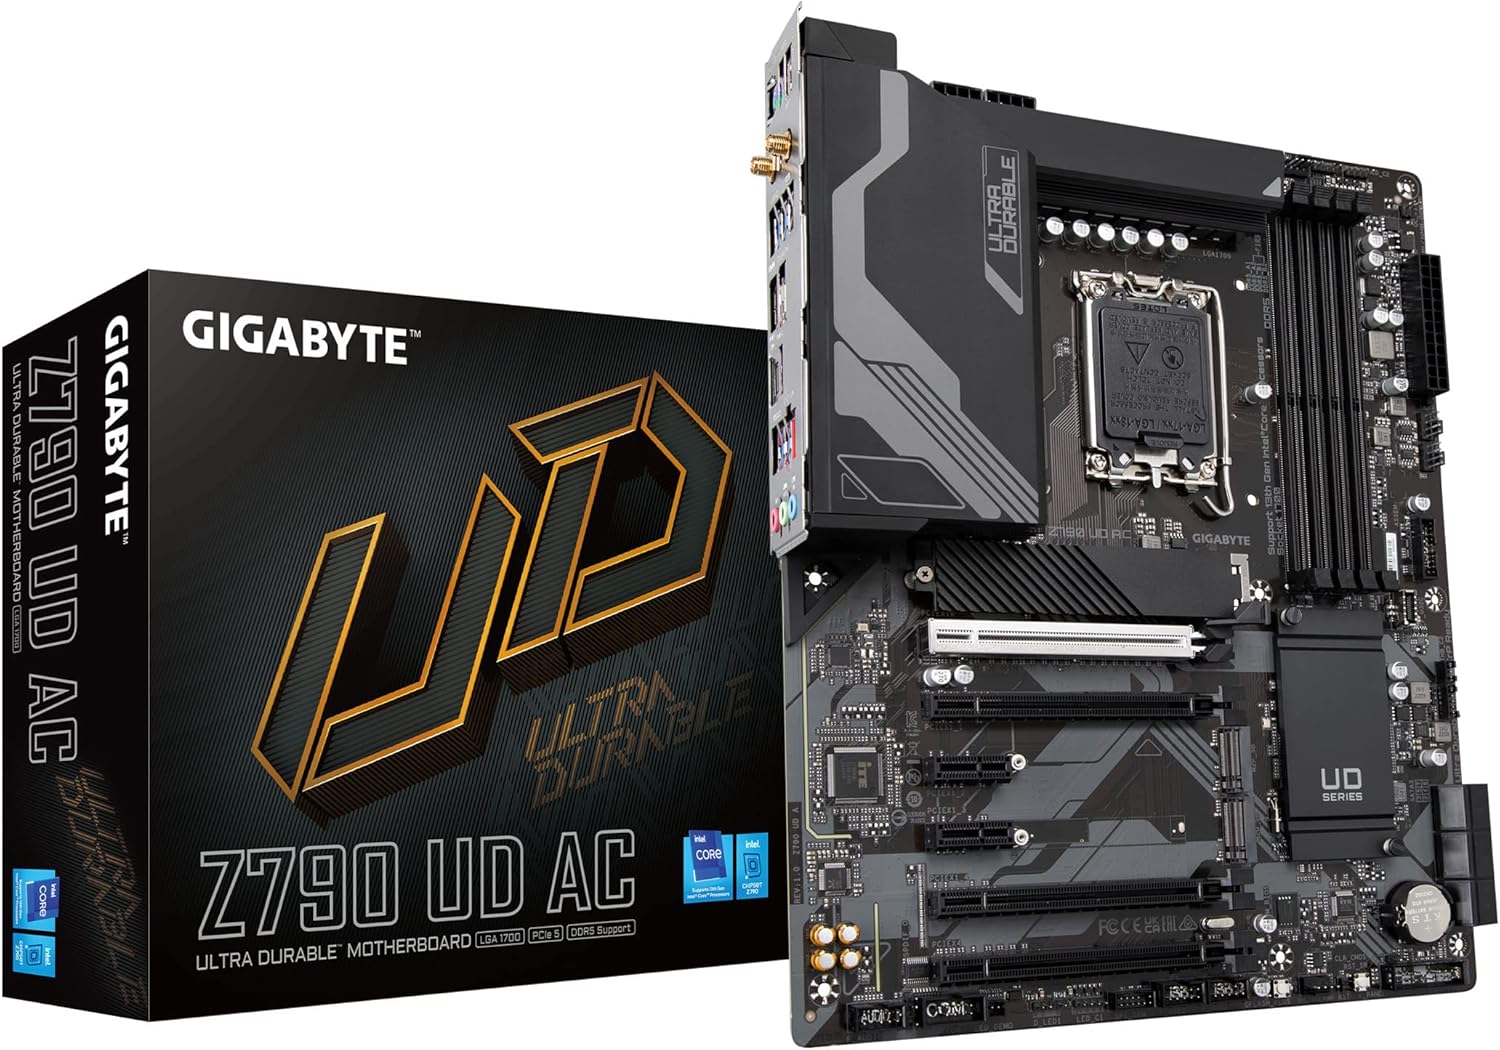
This manual provides detailed instructions for the installation, operation, maintenance, and troubleshooting of the GIGABYTE Z790 UD AC motherboard. This motherboard is designed to support 13th and 12th Generation Intel Core Series Processors, offering a robust platform for various computing needs.
Key features include:
- Intel LGA 1700 Socket for 13th and 12th Gen Intel Core Processors.
- Dual Channel DDR5 memory support with 4 DIMM slots.
- 16+1+1 Twin Hybrid Phases Digital Power Design with 60A DrMOS for stable power delivery.
- Comprehensive thermal design including Fully Covered MOSFET Heatsinks and M.2 Thermal Guard.
- Next-generation connectivity with PCIe 5.0, Triple NVMe PCIe 4.0 x4 M.2 slots, and SuperSpeed USB 3.2 Gen 2x2 Type-C.
- Fast networking capabilities with 2.5GbE LAN and Intel Wi-Fi.
2. Setup and Installation
Follow these steps for proper installation of your GIGABYTE Z790 UD AC motherboard and components.
2.1. Preparing the Motherboard
Before installing any components, ensure the motherboard is placed on a non-conductive surface. Refer to the motherboard layout to identify key connectors and slots.

2.2. CPU Installation
- Locate the LGA 1700 CPU socket.
- Open the CPU socket lever and remove the protective cover.
- Carefully align the CPU with the socket, ensuring the triangular mark on the CPU matches the mark on the socket.
- Gently place the CPU into the socket without forcing it.
- Close the CPU socket lever to secure the CPU.
2.3. RAM (DDR5) Installation
- Identify the DDR5 DIMM slots. For dual-channel operation, consult your motherboard manual for recommended slot pairing (typically slots A2 and B2 first).
- Open the clips at both ends of the DIMM slot.
- Align the RAM module with the slot, ensuring the notch on the module matches the key in the slot.
- Press down firmly on both ends of the RAM module until the clips snap into place.
2.4. M.2 SSD Installation
The motherboard features Triple NVMe PCIe 4.0 x4 M.2 slots. One slot includes an M.2 Thermal Guard for improved performance.
- Locate an available M.2 slot. If present, remove the M.2 Thermal Guard screw and heatsink.
- Insert the M.2 SSD into the slot at a 30-degree angle.
- Gently push the SSD down and secure it with the provided M.2 screw or EZ-Latch mechanism.
- If using a heatsink, reattach it and secure the screw.
2.5. Graphics Card (PCIe 5.0) Installation
- Locate the primary PCIe 5.0 x16 slot.
- Open the retention clip at the end of the slot.
- Align your graphics card with the slot and press down firmly until it is fully seated and the retention clip snaps into place.
- Secure the graphics card to your case with screws.
- Connect appropriate PCIe power cables from your power supply to the graphics card, if required.
2.6. Power Supply and Case Connections
- Connect the 24-pin ATX power connector and the 8-pin (or 4+4-pin) CPU power connectors from your power supply to the motherboard.
- Connect front panel headers (power button, reset button, USB ports, audio jacks) to their respective pins on the motherboard. Refer to the motherboard manual for exact pin layouts.
- Connect SATA data cables to your storage drives and the motherboard, if applicable.
3. Operating Instructions
3.1. Initial Boot and BIOS/UEFI Setup
Upon the first boot, the system will typically enter the BIOS/UEFI setup utility. You can also access it by pressing the DEL key during startup.
- Main Menu: Provides system information.
- Tweaker: Adjust CPU, memory, and voltage settings for performance tuning.
- Settings: Configure integrated peripherals, power management, and boot options.
- Boot: Set boot device priority.
- Save & Exit: Save changes and exit, or load optimized defaults.
It is recommended to update the BIOS to the latest version for optimal compatibility and performance, especially when using newer components like RTX 40 series GPUs, as noted in user experiences.
3.2. Driver and Software Installation
After installing your operating system, install the necessary drivers from the GIGABYTE support website or the included driver disc. This includes chipset drivers, LAN drivers, Wi-Fi/Bluetooth drivers, and audio drivers. GIGABYTE also provides utility software for system monitoring and customization.
4. Maintenance
4.1. Cleaning
Regularly clean your computer to prevent dust buildup, which can lead to overheating and reduced performance. Use compressed air to clear dust from heatsinks, fans, and other components. Ensure the system is powered off and unplugged before cleaning.
4.2. BIOS Updates
Periodically check the GIGABYTE website for BIOS updates. BIOS updates can improve system stability, add support for new hardware, and fix known issues. Use the Q-Flash Plus feature to update the BIOS without installing a CPU, memory, or graphics card.
5. Troubleshooting
This section addresses common issues you might encounter.
5.1. No Display Output
- Ensure the monitor is connected to the graphics card (or motherboard if using integrated graphics) and powered on.
- Verify that the graphics card is properly seated in its PCIe slot and any required power cables are connected.
- Try updating the BIOS to the latest version, especially if using newer graphics cards (e.g., NVIDIA RTX 40 series), as this can resolve compatibility issues.
- Reseat RAM modules. Incorrectly seated RAM is a common cause of no display.
5.2. System Instability or Crashes
- Check CPU and GPU temperatures. Overheating can cause instability. Ensure proper cooling and airflow.
- Verify that all power connections are secure.
- Run memory diagnostic tools to check for faulty RAM.
- Ensure all drivers are up to date.
5.3. Coil Whine
Some users have reported coil whine. This is typically an electrical noise from power delivery components. While often harmless, if persistent and disruptive, consider contacting GIGABYTE support.
5.4. BIOS/UEFI Settings Issues
If BIOS settings are behaving unexpectedly, try loading optimized defaults from the 'Save & Exit' menu. If issues persist, a CMOS clear may be necessary (refer to the full manual for jumper location).
6. Technical Specifications
| Feature | Specification |
|---|---|
| CPU Socket | LGA 1700 |
| Compatible Processors | 13th and 12th Generation Intel Core Series Processors |
| Chipset | Intel Z790 |
| RAM Type | DDR5 |
| RAM Slots | 4 DIMM, Dual Channel |
| Max RAM Capacity | 128 GB |
| Memory Speed (OC) | Up to 7200 MHz (OC) |
| PCIe Slots | 1x PCIe 5.0 x16, 1x PCIe 4.0 x16, 2x PCIe 3.0 x16, 2x PCIe x4 |
| M.2 Slots | 3x NVMe PCIe 4.0 x4 M.2 (one with Thermal Guard) |
| SATA Ports | 6x SATA 6Gb/s |
| USB Ports (Rear) | 1x USB 3.2 Gen 2x2 Type-C, 1x USB 3.2 Gen 2 Type-A, 6x USB 3.2 Gen 1, 2x USB 2.0/1.1 |
| LAN | Intel 2.5GbE LAN |
| Wireless Connectivity | Intel Wi-Fi (802.11ac, Wi-Fi 5), Bluetooth 4.2 |
| Audio | Realtek ALC897 Codec, High Definition Audio |
| Form Factor | ATX |
| Dimensions | 10.62 x 3.14 x 13.18 inches |

7. Warranty and Support
For warranty information, please refer to the warranty card included with your product or visit the official GIGABYTE website. GIGABYTE provides technical support and resources for their products.
7.1. Technical Support
If you encounter issues not covered in this manual, please visit the GIGABYTE support website for FAQs, driver downloads, and contact information for technical assistance.
7.2. Product Registration
Registering your product on the GIGABYTE website may provide additional benefits, such as extended warranty information or access to exclusive support resources.