
1. Introduction
This manual provides detailed instructions for the safe and efficient operation, setup, and maintenance of your ColouredPeas GN1 Overlock Sewing Machine. The GN1 model is designed for stable performance and is suitable for various materials including cotton, woolen, and knitwear, producing up to 3000 stitches per minute.
Please read this manual thoroughly before using the machine to ensure proper function and longevity.
Included Accessories:
- GN * 1 needle
- Oil injector (pre-filled with sewing oil)
- Threading pliers
- Wood screws
- Wrenches
2. Safety Instructions
Always follow basic safety precautions when using electrical appliances to reduce the risk of fire, electric shock, or injury to persons.
- Read all instructions: Familiarize yourself with the machine's functions before operation.
- Power source: Connect the machine only to the specified power supply as indicated on the machine's rating plate.
- Unplug when not in use: Always unplug the machine from the electrical outlet when not in use, when changing needles, threading, or performing any maintenance.
- Keep fingers away: Never place fingers or any other body parts near moving parts such as the needle, looper, or cutting blades during operation.
- Use appropriate lighting: Ensure your work area is well-lit to prevent eye strain and improve visibility.
- Supervision: Close supervision is necessary when the machine is used by or near children.
- Avoid damage: Do not operate the machine with a damaged cord or plug. If the machine is not working properly, has been dropped, or damaged, contact customer support.
- Keep dry: Do not operate the machine in damp or wet conditions.
3. Product Overview
The ColouredPeas GN1 Overlock Sewing Machine features a robust construction using an iron casting process and surface baking technology, ensuring durability, wear resistance, and protection against rust. Its precise engineering contributes to consistent performance.
This machine utilizes a straight needle and two curved needles to form both a three-thread overlock stitch and a three-thread overedge stitch, providing versatile finishing options for your sewing projects.
Machine Components:
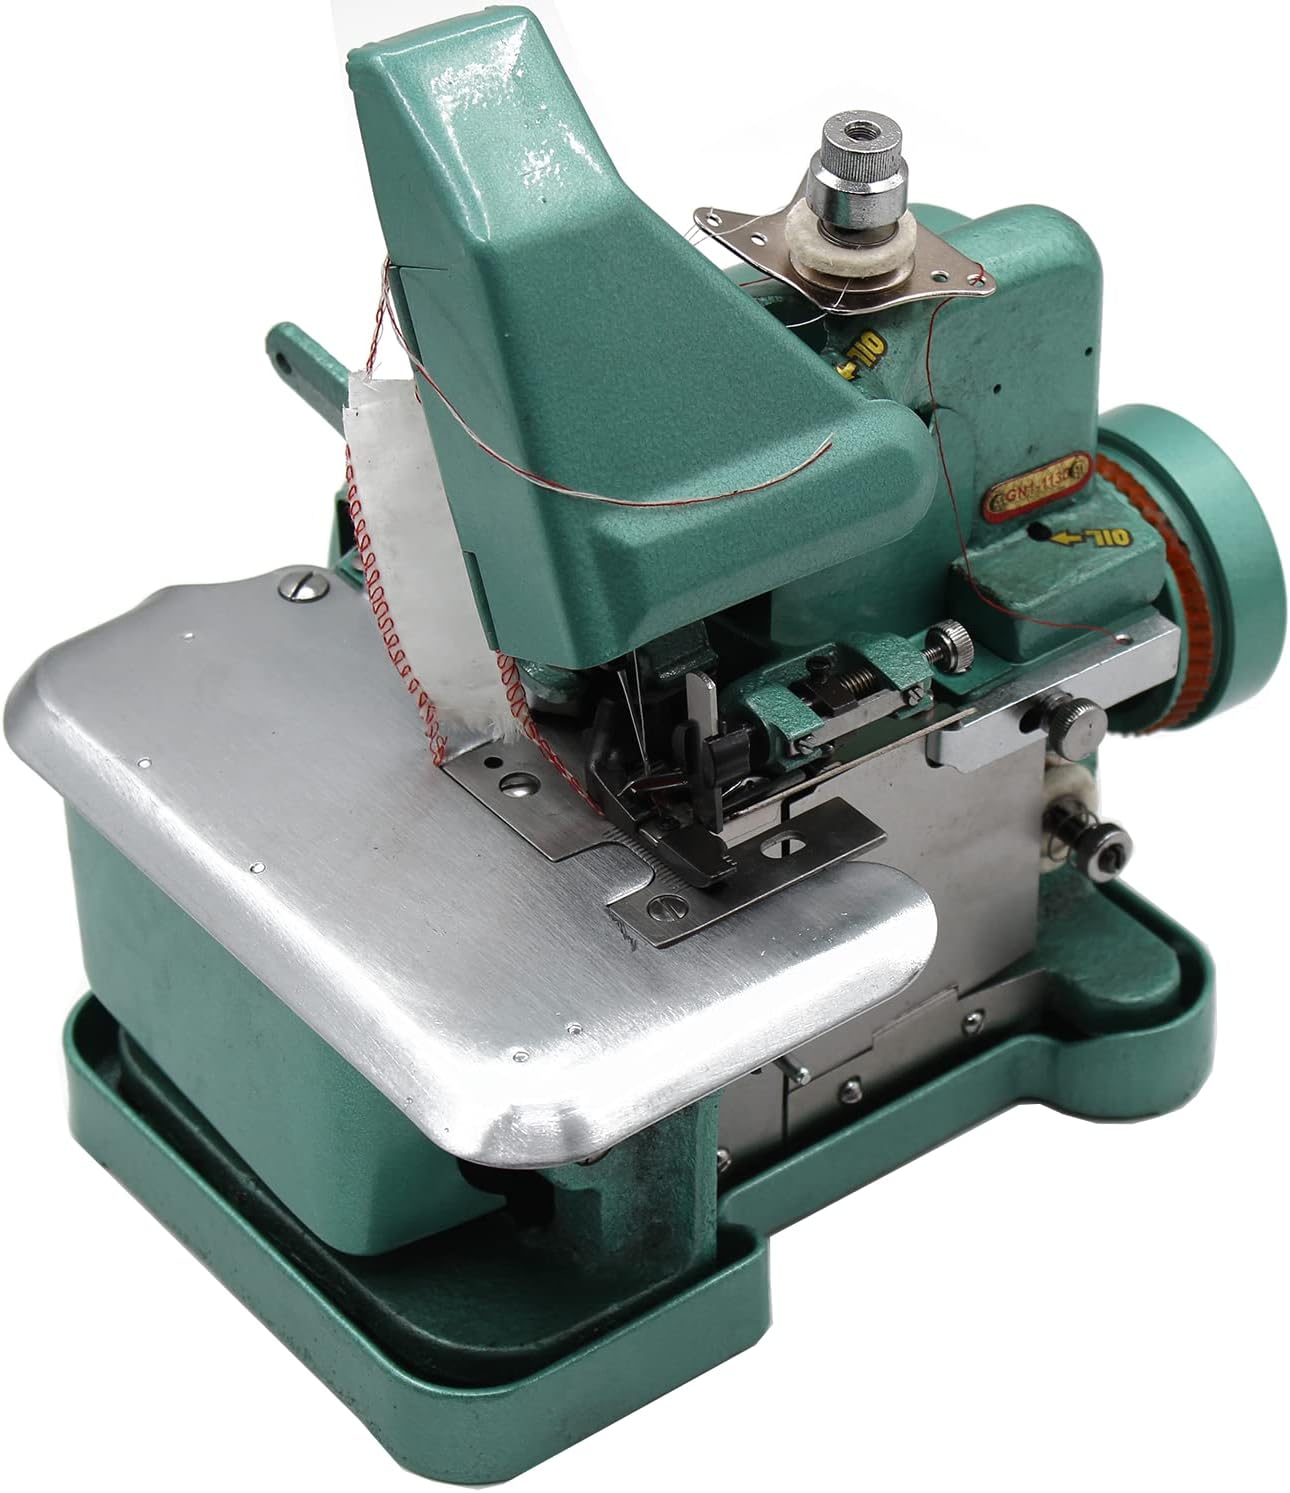
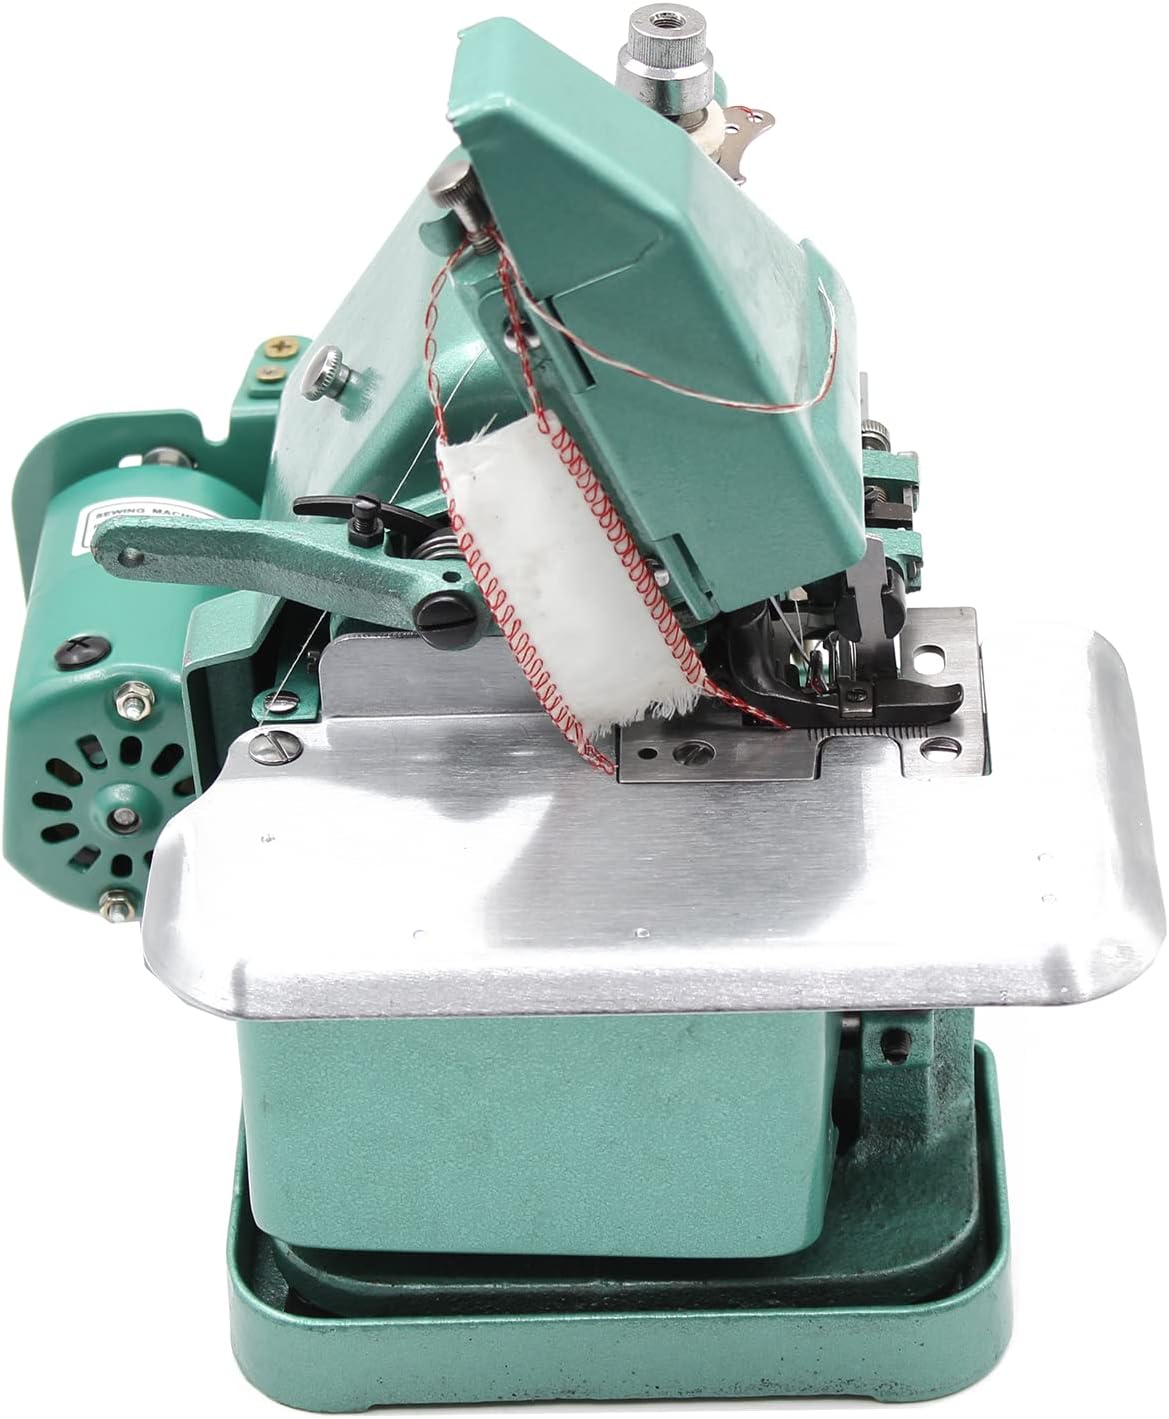


4. Setup
4.1 Unpacking
- Carefully remove the machine from its packaging.
- Remove all packing materials, including any protective films or ties.
- Verify that all accessories listed in the "Introduction" section are present.
4.2 Placement
Place the overlock machine on a stable, flat surface that can support its weight (approximately 25.3 pounds). Ensure there is adequate space around the machine for comfortable operation and material handling.
4.3 Power Connection
- Ensure the machine's power switch is in the "OFF" position.
- Plug the power cord into a suitable electrical outlet. The machine is designed for standard household power.
- Do not force the plug into an outlet.
5. Operating Instructions
5.1 Threading the Machine
Proper threading is crucial for correct stitch formation. Refer to the threading diagram usually located on the machine or in a separate quick-start guide. Use the threading pliers provided for easier access to tight areas.
- Raise the presser foot and needle to their highest positions.
- Follow the numbered or color-coded threading path for each thread (typically two loopers and one needle thread).
- Ensure threads pass through all tension discs and guides correctly.
- Pull threads under the presser foot and to the back of the machine.
5.2 Stitch Types
The GN1 Overlock Machine is capable of producing:
- Three-Thread Overlock Stitch: Ideal for finishing raw edges, preventing fraying, and creating durable seams on woven fabrics.
- Three-Thread Overedge Stitch: Suitable for lighter fabrics and decorative edges.
5.3 Adjustments
- Tension Dials: Adjust the tension for each thread using the corresponding dials. Incorrect tension can lead to loose or puckered stitches. Test on scrap fabric.
- Stitch Length: Refer to the machine's controls for adjusting stitch length to suit your fabric and desired finish.
- Differential Feed: If available, adjust the differential feed to prevent stretching or gathering of fabric, especially useful for knits.
5.4 Sewing Different Materials
The GN1 is suitable for multiple materials including cotton, woolen, and knitwear. Always test stitch settings on a scrap piece of your actual fabric before sewing your project. Adjust needle type, thread type, and tension as needed for optimal results.
6. Maintenance
Regular maintenance ensures the smooth operation and extends the lifespan of your overlock machine.
6.1 Cleaning
- Unplug the machine: Always disconnect power before cleaning.
- Remove lint and dust: Use a small brush or vacuum cleaner to remove lint and dust from the feed dogs, looper area, and under the needle plate.
- Wipe exterior: Use a soft, dry cloth to wipe the exterior surfaces of the machine. Do not use harsh chemicals.
6.2 Lubrication (Oiling)
The machine requires regular oiling to keep moving parts running smoothly. Use the provided oil injector with sewing machine oil.
- Unplug the machine: Ensure the machine is unplugged.
- Identify oiling points: Refer to your machine's specific oiling points, usually marked with a red dot or indicated in a diagram. Common areas include the needle bar, looper shafts, and other moving metal-on-metal parts.
- Apply oil: Apply one or two drops of sewing machine oil to each designated oiling point.
- Run machine: After oiling, run the machine for a few minutes on scrap fabric to distribute the oil and absorb any excess.
6.3 Needle Replacement
Replace needles regularly (every 8-10 hours of sewing or when they become dull/bent) to prevent skipped stitches and fabric damage.
- Unplug the machine: Always disconnect power.
- Loosen needle clamp screw: Use the provided wrench to loosen the needle clamp screw.
- Remove old needle: Carefully pull out the old needle.
- Insert new needle: Insert a new needle with the flat side facing the back of the machine, pushing it up as far as it will go.
- Tighten screw: Securely tighten the needle clamp screw.
7. Troubleshooting
This section addresses common issues you might encounter. For problems not listed here, please contact customer support.
| Problem | Possible Cause | Solution |
|---|---|---|
| Skipped Stitches | Incorrect needle insertion, dull/bent needle, improper threading, incorrect tension. | Re-insert needle correctly, replace needle, re-thread machine, adjust tension. |
| Thread Breakage | Incorrect threading, high tension, poor quality thread, burrs on thread path, dull needle. | Re-thread, reduce tension, use quality thread, check for burrs, replace needle. |
| Fabric Puckering | Too much tension, incorrect differential feed setting, inappropriate stitch length. | Reduce tension, adjust differential feed, increase stitch length. |
| Machine Not Starting | Power cord not plugged in, power switch off, foot pedal issue. | Check power connection, ensure switch is ON, inspect foot pedal connection. |
8. Specifications
Technical specifications for the ColouredPeas GN1 Overlock Sewing Machine:
| Feature | Detail |
|---|---|
| Model Number | GN1 |
| Product Dimensions | 25 x 21 x 27 inches (Depth x Width x Height) |
| Item Weight | 25.3 pounds |
| Material | Iron |
| Power Source | Corded Electric |
| Stitch Speed | Up to 3000 stitches per minute |
| Stitch Types | 3-thread overlock, 3-thread overedge |
| UPC | 767791211274 |

9. Warranty Information
For specific warranty terms and conditions, please refer to the documentation included with your purchase or contact the retailer. Keep your proof of purchase for any warranty claims.
10. Customer Support
If you have any questions, require assistance with setup, operation, or troubleshooting beyond what is covered in this manual, please contact ColouredPeas customer support or your point of purchase. Your satisfaction is important to us.
For the latest support information, you may visit the ColouredPeas store on Amazon: ColouredPeas Amazon Store.