1. Introduction
Thank you for choosing the Elna eXperience 530 Computerized Sewing Machine. This machine is designed to offer a wide range of features for various sewing projects, from basic repairs to intricate designs. Its durable construction and user-friendly interface make it suitable for both beginners and experienced sewers. This manual provides detailed instructions for the proper setup, operation, maintenance, and troubleshooting of your machine to ensure optimal performance and longevity.
2. Important Safety Instructions
When using an electrical appliance, basic safety precautions should always be followed, including the following:
- Read all instructions before using this sewing machine.
- Keep these instructions in a convenient place near the machine.
- Always unplug the sewing machine from the electrical outlet immediately after using and before cleaning, removing covers, lubricating, or making any other user servicing adjustments mentioned in the instruction manual.
- Never operate this sewing machine if it has a damaged cord or plug, if it is not working properly, if it has been dropped or damaged, or dropped into water.
- Keep fingers away from all moving parts. Special care is required around the sewing machine needle.
- Always use the proper needle plate. The wrong plate can cause the needle to break.
- Do not pull or push fabric while stitching. This may deflect the needle causing it to break.
- Turn the sewing machine off when making any adjustments in the needle area, such as threading the needle, changing the needle, threading the bobbin, or changing the presser foot.
3. Parts Identification
Familiarize yourself with the various components of your Elna eXperience 530 sewing machine.

Figure 3.1: Front view of the Elna eXperience 530 sewing machine, showcasing its compact design and control panel.

Figure 3.2: Angled view of the Elna eXperience 530, highlighting the LCD screen and stitch selection buttons.
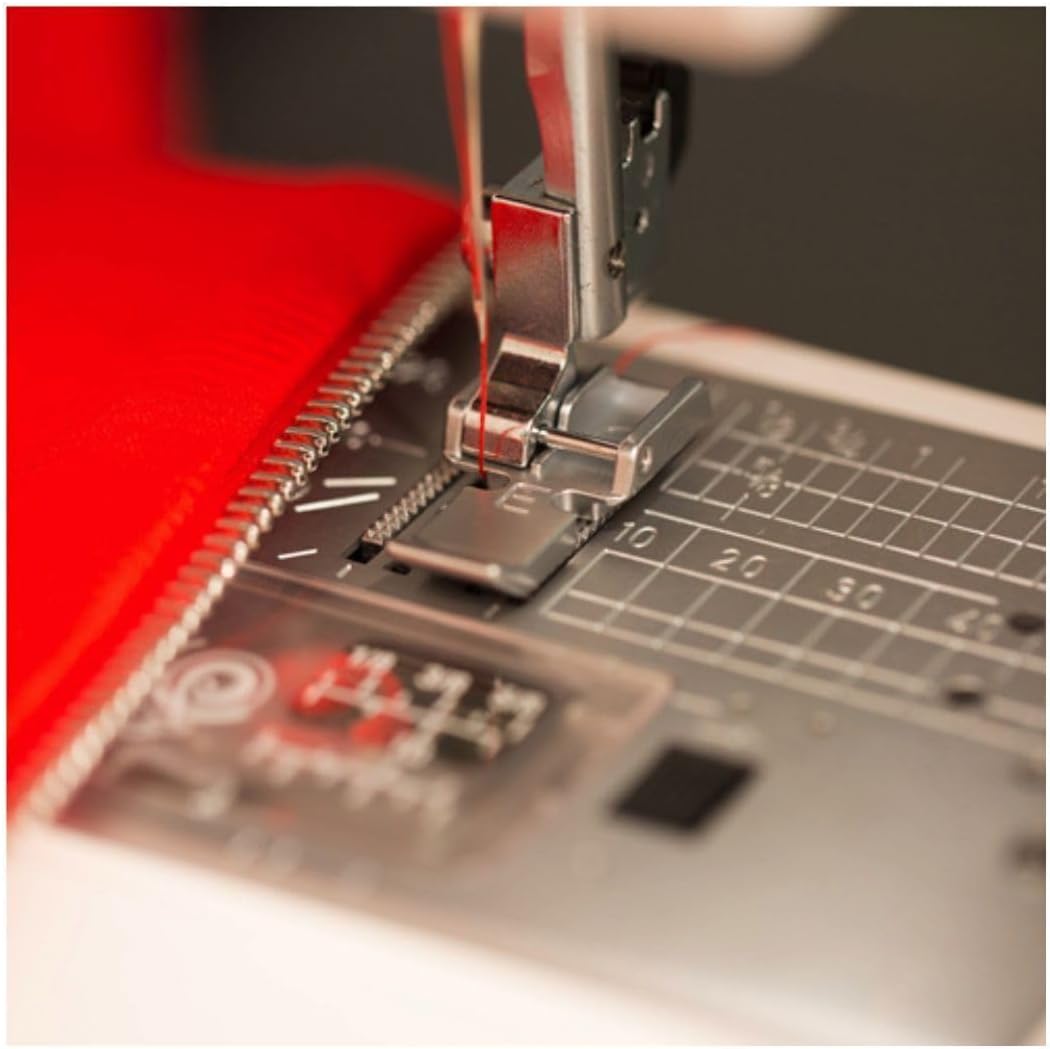
Figure 3.3: Detailed view of the needle, presser foot, and feed dogs, essential for precise stitching.

Figure 3.4: The Elna eXperience 530 positioned for use, demonstrating its practical size and setup.

Figure 3.5: Examples of diverse stitch patterns achievable with the Elna eXperience 530, including decorative and utility stitches.
4. Setup
4.1 Power Connection
- Place the machine on a stable, flat surface.
- Ensure the power switch is in the OFF position.
- Insert the power cord into the machine's power socket and then into a suitable electrical outlet.
- Connect the foot controller plug to the machine's foot controller socket.
4.2 Bobbin Winding
- Place a spool of thread on the spool pin.
- Guide the thread through the thread guide and around the bobbin winding tension disc.
- Place an empty bobbin onto the bobbin winder spindle.
- Wrap the thread around the bobbin a few times, then push the bobbin winder spindle to the right.
- Press the foot controller or the Start/Stop button to begin winding. Stop when the bobbin is full.
- Cut the thread and return the bobbin winder spindle to the left.
4.3 Threading the Machine
- Raise the presser foot lever.
- Place the thread spool on the spool pin.
- Follow the numbered threading path indicated on the machine, ensuring the thread is securely seated in all guides.
- Lower the presser foot.
- Use the built-in needle threader to easily thread the needle. If threading manually, pass the thread through the eye of the needle from front to back.
- Pull about 6 inches of thread through the needle eye.
5. Operating Instructions
5.1 Basic Operation
- Power On/Off: Use the main power switch located on the side of the machine.
- LCD Screen: The LCD screen displays the selected stitch number, recommended presser foot, and adjustable stitch length/width settings.
- Stitch Selection: Use the stitch selection buttons to cycle through the 30 available stitches. The selected stitch will be shown on the LCD screen.
- Stitch Length and Width: Adjust these settings using the dedicated +/- buttons next to the LCD screen.
- Start/Stop Button: Press to start or stop sewing without the foot controller.
- Reverse Button: Press to sew in reverse, typically used for securing stitches at the beginning and end of a seam.
- Needle Up/Down Button: Press to move the needle to its highest or lowest position.
- Automatic Lock Stitch: This feature automatically ties off the end of a seam for added security. Activate it using the designated button.
5.2 Sewing a Seam
- Select your desired stitch using the stitch selection buttons.
- Place the fabric under the presser foot, aligning the edge with the desired seam allowance guide on the needle plate.
- Lower the presser foot.
- Begin sewing by gently pressing the foot controller or the Start/Stop button.
- Guide the fabric gently, ensuring it feeds smoothly under the presser foot. Do not pull or push the fabric.
- At the end of the seam, press the reverse button to secure the stitches, then press the Automatic Lock Stitch button if desired.
- Raise the presser foot and remove the fabric. Cut the threads using the thread cutter.
6. Maintenance
Regular maintenance ensures the longevity and optimal performance of your sewing machine.
- Cleaning: Regularly clean lint and dust from the bobbin case area and feed dogs using the brush provided or a small, soft brush.
- Needle Replacement: Replace the needle frequently, especially after every 8-10 hours of sewing or if it becomes bent or dull. Use only appropriate needles for your machine and fabric type.
- Lubrication: Refer to your machine's specific lubrication points in the full manual. Generally, computerized machines require less frequent oiling than mechanical ones.
- Storage: When not in use, cover the machine with its dust cover or place it in its carrying case to protect it from dust and damage.
7. Troubleshooting
This section addresses common issues you might encounter. For more complex problems, consult a qualified service technician.
| Problem | Possible Cause | Solution |
|---|---|---|
| Skipped Stitches | Incorrect needle, bent needle, improper threading, wrong needle size for fabric. | Replace needle, re-thread machine, ensure correct needle type/size. |
| Thread Breaking | Improper threading, tension too tight, poor quality thread, burr on needle plate. | Re-thread machine, adjust tension, use good quality thread, check for burrs. |
| Bobbin Thread Jamming | Incorrect bobbin winding, lint in bobbin case, improper bobbin insertion. | Re-wind bobbin, clean bobbin case, re-insert bobbin correctly. |
| Machine Not Starting | Power cord not connected, foot controller not connected, power switch off. | Check all connections, ensure power switch is on. |
8. Specifications
- Model: Elna eXperience 530
- Type: Computerized Sewing Machine
- Stitches: 30 built-in stitches
- Display: LCD screen
- Features: Built-in needle threader, Automatic lock stitch
- Dimensions: 19 x 14 x 16 inches (Product Dimensions)
- Weight: 16.61 pounds
- Manufacturer: Elna
- UPC: 732212411946
9. Warranty and Support
For warranty information and customer support, please refer to the documentation included with your purchase or visit the official Elna website. If you purchased from a third-party seller like Sewable, you may also contact them directly for assistance regarding your purchase.
Keep your proof of purchase for any warranty claims.


