1. Introduction
Thank you for choosing the EVERSECU 4K Car Backup Cameras System. This comprehensive system is designed to enhance vehicle safety and surveillance for a wide range of vehicles, including RVs, trucks, buses, trailers, campers, and vans. Featuring a 10.1-inch IPS touch screen monitor and four 1080P AHD cameras, it provides clear, real-time video monitoring, DVR recording capabilities, and multimedia functions.
Please read this manual thoroughly before installation and operation to ensure proper use and to maximize the system's benefits.
2. Package Contents
Verify that all items listed below are included in your package:
- 1 x 10.1-inch Touch Screen Monitor
- 4 x 1080P AHD Cameras
- 4 x 4-pin Camera Cables (49.2ft each)
- 1 x Power Cable
- 1 x Remote Control
- Mounting Hardware
- User Manual

Image: Main components of the EVERSECU 4K Car Backup Cameras System, including the monitor and four cameras.
3. Key Features
- 10.1-inch IPS Touch Screen Monitor: High-definition 500CD/M2 display with AHD 1920x1080P video inputs. Supports multiple split display modes, Bluetooth, FM Transmission, Mirrorlink, and MP5 Playback. Allows setting license plates and adjusting brightness/volume.
- Wide Voltage Compatibility (9-36V): Ideal for various vehicle types including small trucks, buses, pickup trucks, work cars, and large trucks.
- Four 1080P AHD Cameras: Equipped with advanced bright color separation, signal filtering, and 3D noise reduction technology for superior image clarity and reproduction. Cameras can be installed at the front, left, right, and rear of the vehicle for comprehensive real-time monitoring and driving assistance.
- Car DVR Recorder: Supports a maximum 258GB TF card for continuous loop recording.
- Multimedia Functions: Supports FM Stereo Radio (connectable to original car audio), MP4, and MP5 playback for video and music.
- Image Mirroring: Supports camera image screen mirroring function.
- Wired Connection for Stability: Cameras come with 4-pin 49.2ft cables, ensuring stable and reliable transmission without signal loss, suitable for most vehicles.
- IP67 Waterproof Reversing Camera: Features infrared (IR) LED for clear night vision and a CMOS Sensor for superior images in various weather conditions.

Image: The 10.1-inch IPS touch screen monitor displaying its key functionalities.

Image: Illustration of 4-channel camera placement for 360-degree coverage and display options.
4. Setup and Installation
Proper installation is crucial for optimal performance. It is recommended to have the system installed by a qualified professional if you are unfamiliar with vehicle electrical systems.
4.1. Mounting the Monitor
Choose a location on your dashboard that provides a clear view without obstructing your driving sight. Secure the monitor using the provided mounting bracket.

Image: Physical dimensions of the monitor and cameras for installation planning.
4.2. Camera Placement
Install the four AHD cameras in desired locations (front, rear, left side, right side) to cover blind spots and provide comprehensive views. Ensure cameras are securely mounted and have a clear line of sight.
4.3. Wiring Diagram
Connect the cameras to the monitor using the provided 4-pin cables. Ensure all connections are secure. Connect the monitor's power cable to your vehicle's power supply (9-36V). The wiring typically involves connecting to ACC (Accessory Power) and BAT (Battery Power) for constant power, along with trigger wires for specific camera views (e.g., reverse gear for rear camera).

Image: Detailed wiring connections for the EVERSECU camera system.
5. Operating Instructions
5.1. Basic Operation
- Power On/Off: The system will typically power on with the vehicle's ignition. Use the power button on the monitor or remote control to manually turn it on or off.
- Touch Screen Navigation: Navigate through menus and settings by touching the icons on the screen.
- Brightness and Volume: Adjust screen brightness and audio volume via the monitor's settings menu.
5.2. Display Modes
The monitor supports various display modes, including single-channel view and multiple split-screen configurations. Access these options through the display settings on the touch screen.

Image: Examples of various split-screen display configurations available on the monitor.
5.3. Bluetooth Connectivity
Pair your mobile device with the monitor via Bluetooth for wireless music streaming and hands-free calling using the built-in microphone.
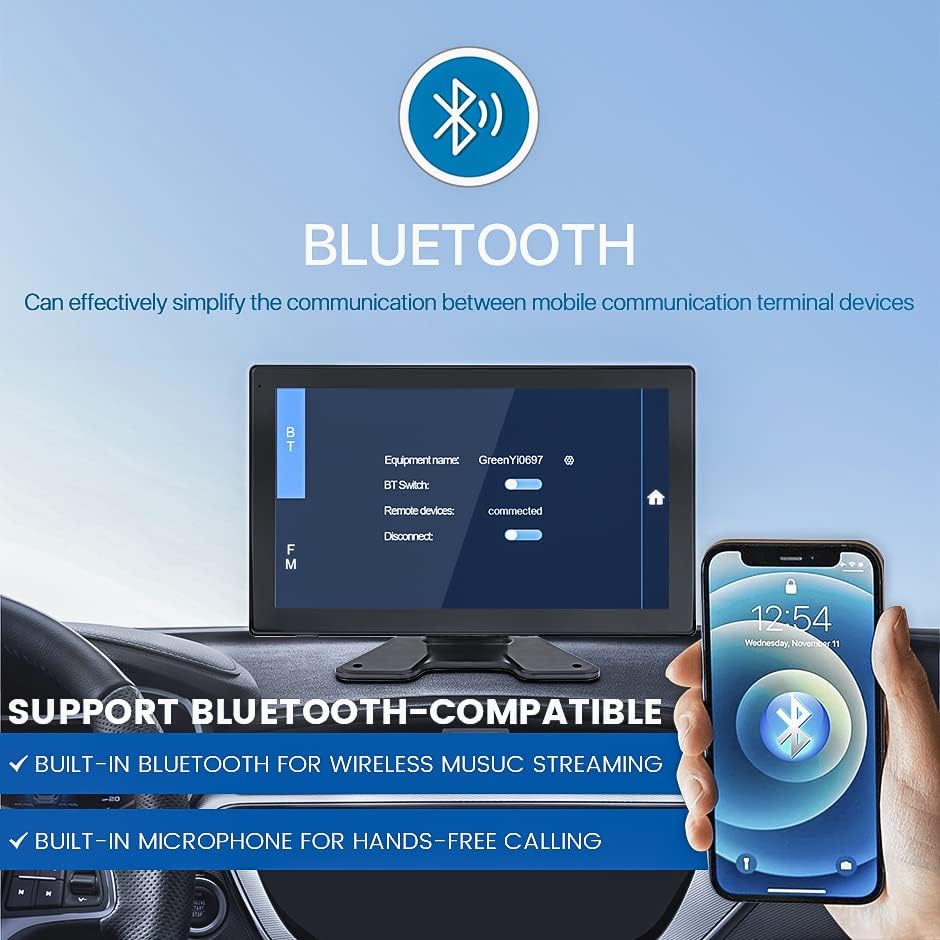
Image: Bluetooth pairing interface on the monitor.
5.4. MirrorLink Functionality
Use MirrorLink to display applications from your smartphone directly on the monitor screen. This allows for navigation, music, and other compatible apps to be viewed on the larger display.

Image: MirrorLink feature showing smartphone content on the monitor.
5.5. DVR Recording
Insert a TF card (up to 258GB, not included) into the monitor to enable DVR recording. The system supports loop recording, automatically overwriting older files when the card is full, except for locked files (e.g., from sudden impacts).

Image: Explanation of the loop recording feature.
6. Maintenance
- Cleaning: Use a soft, dry cloth to clean the monitor screen and camera lenses. For stubborn smudges, slightly dampen the cloth with water or a screen-safe cleaner. Avoid abrasive materials or harsh chemicals.
- Cable Inspection: Periodically check all cables and connections for wear, damage, or loose fittings. Ensure they are securely fastened to prevent signal loss or power issues.
- Firmware Updates: Check the EVERSECU official website periodically for any available firmware updates to ensure optimal performance and access to new features.
7. Troubleshooting
| Problem | Possible Cause | Solution |
|---|---|---|
| Monitor does not power on. | No power supply; Loose power connection; Blown fuse. | Check power cable connection; Verify vehicle's power source; Check and replace fuse if necessary. |
| "No Signal" displayed on screen. | Loose camera cable connection; Damaged cable; Camera malfunction. | Ensure camera cables are securely connected to the monitor; Inspect cables for damage; Test individual cameras if possible. |
| Image is blurry or unclear. | Dirty camera lens; Incorrect camera focus (if adjustable); Low light conditions (for non-IR cameras). | Clean camera lenses; Adjust camera angle; Ensure sufficient lighting for optimal image quality. |
| Bluetooth connection issues. | Device not in pairing mode; Interference; Out of range. | Ensure Bluetooth is enabled on both devices and in pairing mode; Reduce distance between devices; Restart monitor and mobile device. |
| DVR not recording or TF card error. | TF card full; Incompatible TF card; TF card corrupted. | Format the TF card (backup important data first); Use a high-speed TF card (Class 10 or higher); Replace TF card if corrupted. |
8. Specifications
| Feature | Detail |
|---|---|
| Model Number | vrck01 |
| Screen Size | 10.1 Inches |
| Display Technology | IPS LED Touch Screen |
| Video Capture Resolution | 1080p (AHD) |
| Voltage Compatibility | 9-36 Volts |
| Optical Sensor Technology | CMOS |
| Lux Rating | 0.1 Lux |
| Max External Memory (TF Card) | 258GB |
| Installation Type | Dashboard Mount, License Plate Mount |
| Product Dimensions | 11"L x 4.3"W x 17"H (Monitor) |
| Item Weight | 6.71 pounds |
| Color | Charcoal |
9. Warranty and Support
EVERSECU products are manufactured to the highest quality standards. This product is covered by a limited warranty against defects in materials and workmanship. For detailed warranty information, please refer to the warranty card included with your product or visit the official EVERSECU website.
For technical support, troubleshooting assistance, or any inquiries regarding your EVERSECU 4K Car Backup Cameras System, please contact our customer support team:
- Website: EVERSECU Official Store
- Email: Refer to product packaging or official website for contact email.
- Phone: Refer to product packaging or official website for contact number.
Please have your model number (vrck01) and purchase date ready when contacting support.
