1. Introduction
Thank you for purchasing the Godox SK300IIV Monolight Flash. This professional studio flash is designed for high-quality photography, offering stable output, a wide range of power adjustments, and convenient operation. Please read this manual carefully before use to ensure proper operation and optimal performance.
2. Safety Instructions
- Do not disassemble or modify the unit. If the product breaks down, send it to an authorized maintenance center.
- Keep this product dry. Do not handle with wet hands or immerse in water.
- Keep out of reach of children.
- Do not use in the presence of flammable gases, chemicals, or other similar materials.
- Do not touch the flash tube or modeling lamp after use, as they may be hot.
- Always disconnect the power cord before cleaning or performing maintenance.
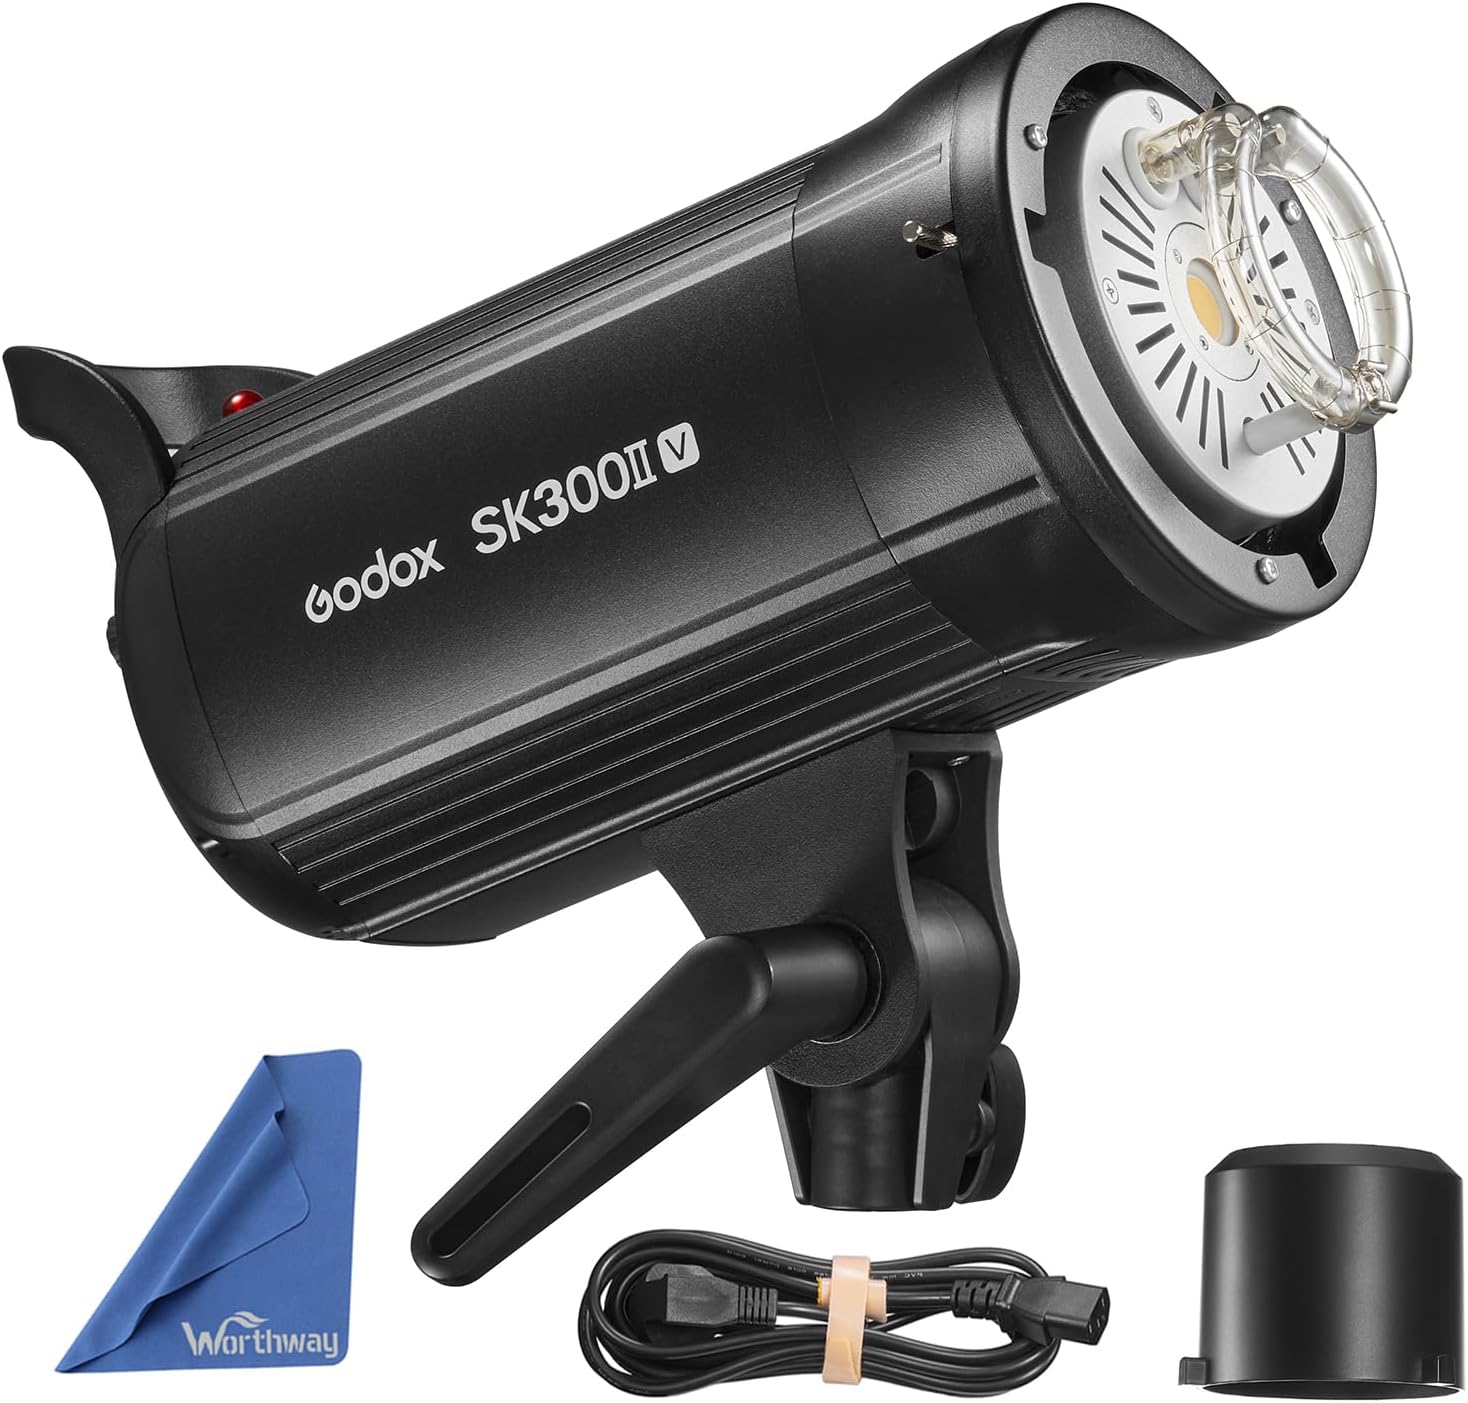
3. Package Contents
- Studio Strobe Flash (SK300IIV)
- Standard Reflector
- Power Cable
- Lamp Cover
- Instruction Manual

4. Product Features
- Power output of 300W for professional studio lighting.
- Compatible with a range of accessories via Bowens Mount.
- Comes with a standard reflector for even light distribution.
- Easy-to-use interface with digital display and remote control options.
- Lightweight and compact design for easy portability and setup.
- Upgraded 10W LED modeling light with 5%-100% manual dimming.
- Built-in Godox 2.4G Wireless X System for remote triggering and control.
5. Product Overview
5.1. Front View
5.2. Rear Panel and Controls

5.3. Bowens Mount

6. Setup
6.1. Attaching the Standard Reflector
- Align the three mounting points on the standard reflector with the corresponding slots on the flash unit's Bowens mount.
- Insert the reflector into the mount and rotate it clockwise until it locks securely into place.
6.2. Power Connection
- Ensure the flash unit is turned OFF.
- Connect the power cable to the power input on the rear panel of the flash unit.
- Plug the other end of the power cable into a suitable AC power outlet.
6.3. Mounting on a Light Stand
- Loosen the locking knob on the flash unit's mounting bracket.
- Slide the flash unit onto the top stud of a sturdy light stand.
- Tighten the locking knob to secure the flash unit in position.
- Adjust the tilt angle of the flash unit using the tilt adjustment handle.

7. Operating Instructions
7.1. Power On/Off
Flip the ON/OFF switch on the rear panel to turn the flash unit on or off.
7.2. Adjusting Flash Power
- Rotate the SET dial to adjust the flash power output. The power can be adjusted from 1/16 to 1/1.
- The LCD screen will display the current power setting.
7.3. Modeling Lamp Control
Short press the MOD/OFF button to cycle through the modeling lamp modes: OFF, PROP (proportional to flash power), and Percentage (5%-100% manual dimming). Rotate the SET knob to adjust brightness in Percentage mode.
7.4. Wireless Control (2.4G X System)
The SK300IIV features a built-in Godox 2.4G Wireless X System for remote control. To use this function:
- Simultaneously press the GR/CH knob and the S1/S2 knob to turn on the built-in 2.4G wireless transmission system mode.
- Short press the GR/CH knob to set the group (A-F) for the flash.
- Rotate the SET knob to select the desired group and press SET to confirm.
- Short press the GR/CH knob again to set the channel (1-32).
- Rotate the SET knob to select the desired channel and press SET to confirm.
- Ensure your Godox X1, X2, XPro, or XT16 flash trigger is set to the same group and channel, and that the ID option is off.

7.5. Sync Modes (S1/S2)
Press the S1/S2 button to toggle between S1 and S2 optical slave modes. These modes allow the flash to be triggered by another flash unit.
7.6. Test Flash
Press the TEST button to manually fire a test flash.
8. Maintenance
- Clean the device regularly with a soft, dry cloth.
- Avoid using solvents or harsh chemicals.
- Store the unit in a dry, well-ventilated area when not in use.
- Protect the flash tube and modeling lamp from impact.
9. Troubleshooting
- Flash not firing: Check power connection, ensure the unit is ON, verify trigger settings (channel/group), and test the flash manually.
- Inconsistent flash output: Ensure stable power supply, check for overheating (allow cooling time), and verify power settings.
- Modeling lamp not working: Check if the modeling lamp mode is set to OFF. If the lamp is burnt out, it may need replacement by a qualified technician.
- Wireless trigger issues: Confirm the trigger and flash unit are on the same channel and group. Check battery levels of the trigger.
10. Specifications
| Feature | Value |
|---|---|
| Model | SK300IIV |
| Power Output | 300Ws |
| Guide Number (m ISO 100) | 58 |
| Color Temperature | 5600K ± 200K |
| Operating Voltage | AC100-120V~50/60Hz or AC220-240V~50/60Hz |
| Power Adjustment | 1/16-1/1 (40 steps) |
| Recycle Time | 0.1-1.5s |
| Flash Duration | 1/2000s - 1/800s |
| Modeling Lamp | 10W LED (5%-100% adjustable) |
| Triggering Method | Sync cord, Test button, Slave triggering, Wireless control port |
| Wireless Control | Godox 2.4G Wireless X System |
| Dimensions | 16.5 x 10.8 x 7.3 inches (Package) |
| Weight | 6.8 pounds (Item) |
11. Warranty and Support
This product is covered by a manufacturer's warranty against defects in materials and workmanship. For detailed warranty information, please refer to the warranty card included in your package or contact Godox customer support. Technical support and service are available through authorized dealers and the official Godox website.


