1. Introduction
Welcome to the user manual for the Vividia DA-6010 Articulating Borescope. This device is designed for detailed visual inspection in hard-to-reach areas, featuring a flexible probe with joystick-controlled articulation, an integrated LCD monitor, and WiFi connectivity. Please read this manual thoroughly before operating the device to ensure proper use and maintenance.
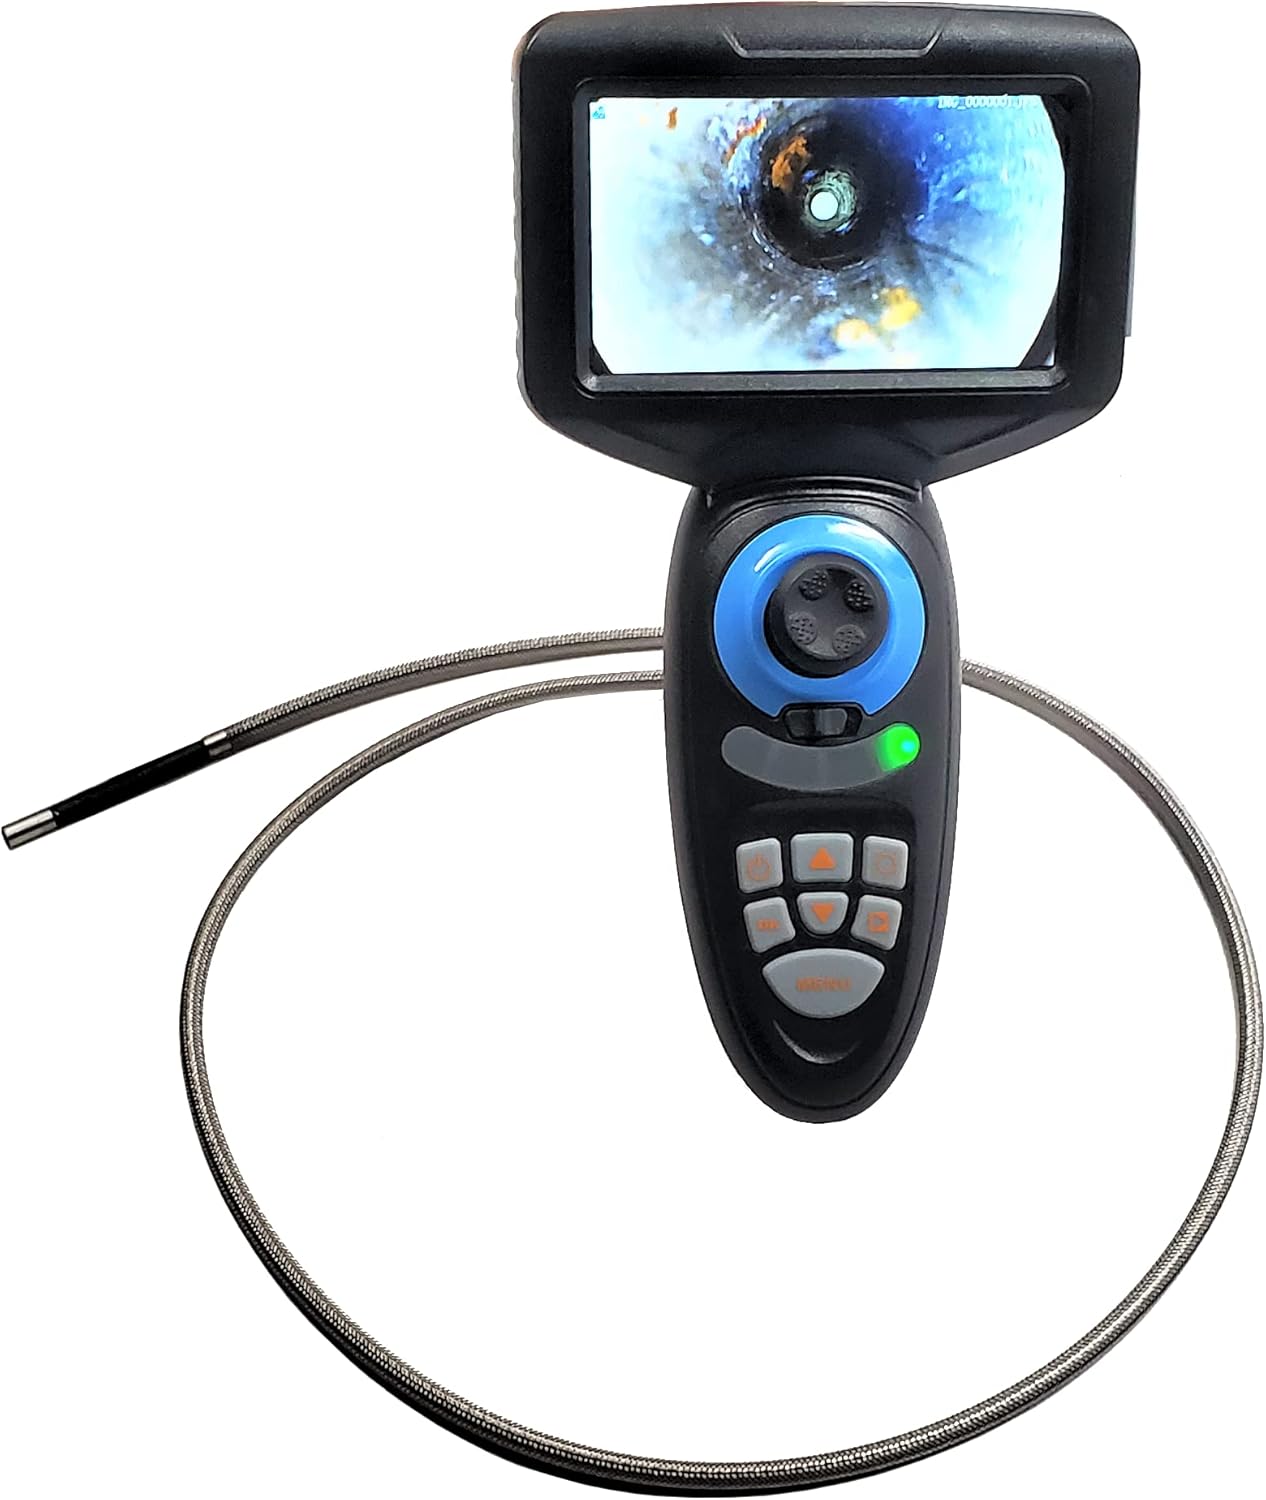
Figure 1: The Vividia DA-6010 Articulating Borescope. This image shows the main unit with its integrated LCD screen, control buttons, and the flexible probe coiled around it.
2. Product Overview
2.1 Key Features
- Probe diameter: 6mm (0.236"), length: 1.0 meter (3.3 ft).
- Camera HD resolution: 1280x720 with 6 adjustable LED lights.
- Joystick-controlled all-direction articulation with a maximum bending angle exceeding 180 degrees.
- 4.5" LCD monitor with a rechargeable battery providing approximately 4 hours of operation.
- Ability to capture pictures and videos, saved to an SD card.
- Built-in WiFi function for connection to iPhone, iPad, and Android devices.
2.2 Components and Controls
Familiarize yourself with the main components and controls of the DA-6010 borescope:

Figure 2: Detailed diagram illustrating the various controls and ports on the Vividia DA-6010 borescope unit.
- Joystick: Controls the articulation of the probe tip.
- Snap Button: Captures still images.
- Locker: Secures the probe articulation.
- Up/Down Navigation: Used for menu navigation and adjusting settings.
- Power On/Off Button: Turns the device on or off.
- OK Button: Confirms selections in the menu.
- MENU Button: Accesses the device's settings menu.
- Status Indicator: Displays device status (e.g., power, charging, WiFi).
- Dimmer: Adjusts the brightness of the LED lights on the probe tip.
- Left/Right Navigation: Used for menu navigation and adjusting settings.
- 5V DC Jack: Power input for charging the device.
- Micro SD Slot: Insert a Micro SD card for storing images and videos.
- Reset Button: Resets the device (typically a small pinhole button).
3. Setup
3.1 Charging the Device
Before first use, fully charge the internal lithium-ion battery. Connect the provided power adapter to the 5V DC Jack (11) on the device and plug it into a power outlet. The status indicator (08) will show charging status. A full charge typically takes several hours.
3.2 Inserting the Micro SD Card
Locate the Micro SD Slot (12). Gently insert a Micro SD card (up to 32GB, not included) with the contacts facing down until it clicks into place. This card is necessary for saving captured images and videos.
3.3 Attaching the Probe
The flexible probe is permanently attached to the main unit. Ensure the probe is not kinked or damaged before use.
4. Operating Instructions
4.1 Power On/Off
Press and hold the Power On/Off Button (05) for a few seconds to turn the device on. The LCD screen will illuminate. To turn off, press and hold the same button until the screen shuts down.
4.2 Adjusting Probe Articulation
Use the Joystick (01) to control the bending direction of the probe tip. Move the joystick in the desired direction to articulate the tip. The Locker (03) can be used to fix the probe tip at a specific angle for stable viewing.

Figure 3: Illustration of the borescope probe tip articulating, controlled by the joystick.
4.3 Capturing Images and Videos
- To take a picture: Briefly press the Snap Button (02). The image will be saved to the Micro SD card.
- To record a video: Press and hold the Snap Button (02) for a few seconds to start recording. Press and hold again to stop recording. Videos are saved to the Micro SD card.
4.4 Adjusting LED Illumination
The probe tip features 6 LED lights. Use the Dimmer (09) button to cycle through different brightness levels or turn the lights off. Adjust the illumination to achieve optimal visibility in various inspection environments.
4.5 WiFi Connectivity
The DA-6010 includes a built-in WiFi function for connecting to compatible iOS and Android devices. Refer to the device's on-screen menu (accessed via MENU button 07) for WiFi activation and network details. Once connected, you can view the live feed and control some functions from your smart device using the dedicated application (download separately).
5. Maintenance
5.1 Cleaning
- Probe: The probe is waterproof (IP67). After use in wet or dirty environments, gently wipe the probe with a damp cloth. For stubborn dirt, use a mild detergent solution and rinse thoroughly with clean water. Ensure the probe tip is dry before storage.
- Main Unit: Wipe the main unit and LCD screen with a soft, dry cloth. Do not use abrasive cleaners or immerse the main unit in water.
5.2 Storage
Store the borescope in a clean, dry place at room temperature. Avoid extreme temperatures and direct sunlight. Ensure the probe is coiled loosely and not sharply bent to prevent damage.
6. Troubleshooting
- Device does not power on: Ensure the battery is charged. Connect the charger and try again.
- No image on screen: Check if the device is powered on. Ensure the probe connection is secure (if detachable, though this model has a fixed probe).
- Cannot save images/videos: Verify that a Micro SD card is inserted correctly and has sufficient free space. The card may need to be formatted (via the device's menu).
- Poor image quality: Adjust the LED brightness using the Dimmer (09). Clean the camera lens on the probe tip.
- WiFi connection issues: Ensure WiFi is enabled on the borescope and your smart device. Check network settings and password.
- Probe articulation not working: Check if the Locker (03) is engaged. Ensure no physical obstruction is preventing articulation.
7. Specifications
| Item Model Number | DA-6010 |
| Probe Diameter | 6mm (0.236") |
| Probe Length | 1.0 meter (3.3 ft) |
| Camera Resolution | HD 1280x720 |
| LED Lights | 6, adjustable brightness |
| Articulation | Joystick-controlled, >180 degree bending angle |
| Monitor Size | 4.5" LCD |
| Battery | 1 Lithium Ion battery (included), rechargeable, approx. 4h runtime |
| Storage Media | Micro SD Card (up to 32GB, not included) |
| Connectivity | Wi-Fi |
| Water Resistance Level | Probe: IP67 Waterproof |
| Manufacturer | Vividia Technologies |
8. Warranty and Support
For warranty information and technical support, please contact Vividia Technologies directly. Refer to the product packaging or the manufacturer's official website for the most current contact details and warranty terms.


