Introduction
This manual provides detailed instructions for the safe and effective use of your Andoer 4K Digital Camera. Please read this manual thoroughly before operating the device and keep it for future reference. This camera is designed to capture high-quality photos and videos, featuring a 48MP image sensor, 4K video recording, 16X digital zoom, and a 2.4-inch IPS screen.
Safety Information
To ensure safe operation and prevent damage to the device, please observe the following precautions:
- Do not expose the camera to water or moisture. This product is not water resistant.
- Avoid dropping the camera or subjecting it to strong impacts.
- Keep the camera away from extreme temperatures, direct sunlight, and dusty environments.
- Do not attempt to disassemble or modify the camera. Repairs should only be performed by qualified personnel.
- Use only the specified charging cable and accessories.
- Dispose of packaging materials properly to avoid choking hazards, especially for children.

Image: A warning graphic indicating the importance of proper disposal of packaging materials to prevent choking hazards. Text is provided in multiple languages.
Package Contents
Please check the package contents upon opening to ensure all items are present:
- 1 x Andoer 4K Digital Camera (Pink)
- 1 x USB Charging Cable
- 1 x Wrist Strap
- 1 x Carry Bag
- 1 x 32GB Memory Card
- 1 x User's Manual (English)
Product Overview
Familiarize yourself with the main components and controls of your digital camera.

Image: Front and back view of the pink Andoer 4K Digital Camera, highlighting the lens, flash, screen, and control buttons. A 32GB memory card is also shown.

Image: An overview of the digital camera's key features, including its professional sensor, 2.4-inch large screen, 48-megapixel resolution, and 4K HD video capability.

Image: Technical diagram illustrating the dimensions of the camera: 95mm length, 58mm height, and 25mm thickness.
Key Components:
- Lens: Main optical component for capturing images.
- Flash: Provides illumination in low-light conditions.
- 2.4-inch IPS Screen: For viewing live feed, playback, and menu navigation.
- Control Buttons: Including Power, Shutter, Zoom (W/T), OK, Menu, Mode, and Playback.
- Memory Card Slot: For inserting the TF memory card.
- USB Port: For charging and data transfer.
Setup
1. Charging the Battery
The camera has a built-in lithium battery. Before first use, ensure the battery is fully charged.
- Connect the camera to a USB power adapter (not included) or a computer's USB port using the provided USB charging cable.
- The charging indicator light will illuminate. It will turn off or change color once charging is complete.
2. Inserting the Memory Card
A 32GB memory card is included. The camera supports Class-10 external TF memory cards up to 128GB.
- Locate the memory card slot on the side of the camera.
- Insert the TF memory card into the slot with the metal contacts facing the correct direction (refer to the diagram near the slot if available) until it clicks into place.
- To remove, gently push the card in until it springs out.
3. Initial Power On
Press and hold the Power button to turn the camera on. The IPS screen will light up.
Operating Instructions
1. Taking Photos and Recording Videos

Image: A user holding the camera, demonstrating its use for capturing memories. The screen displays a family on a beach.
- To take a photo: In photo mode, press the Shutter button halfway to focus, then press fully to capture the image.
- To record a video: Switch to video mode (if applicable, via Mode button), then press the Shutter button to start recording. Press again to stop.
2. Zoom Function

Image: A visual comparison demonstrating the effect of 16X digital zoom. The top image shows a wide view (1x), and the bottom image shows a magnified view (16x) of the same scene.
Use the W (Wide) and T (Telephoto) buttons to adjust the 16X digital zoom. Press W to zoom out and T to zoom in.
3. Mode Selection
The camera offers various shooting modes to optimize your photos and videos for different scenarios:
- Auto: General purpose shooting.
- Sport: For capturing fast-moving subjects.
- Night: Optimized for low-light conditions.
- Portrait: Ideal for capturing people.
- Landscape: Best for wide scenic shots.
- Backlight: For subjects with strong light behind them.
- Party: For indoor events with mixed lighting.
- Beach: For bright, outdoor scenes.
- High Sensitivity: For very low light, increasing ISO.
Navigate through modes using the Mode button and select with the OK button.
4. Other Functions
- Anti-shake: Helps reduce blur from camera movement.
- Face Detect & Smile Capture: Automatically detects faces and can trigger a shot when a smile is detected.
- Continuous Photography: Takes multiple shots in quick succession.
- Self-Timer: Set a delay (2s, 5s, 10s) before the photo is taken.
- White Balance: Adjusts color temperature (Auto, Daylight, Cloudy, Fluorescent, Tungsten).
- Exposure: Adjust brightness (EV-3 to EV+3).
- Auto Power Off: Configurable idle time before camera powers off (1, 3, 5, 10 minutes).
5. Playback
Press the Playback button to review your captured photos and videos on the 2.4-inch IPS screen.
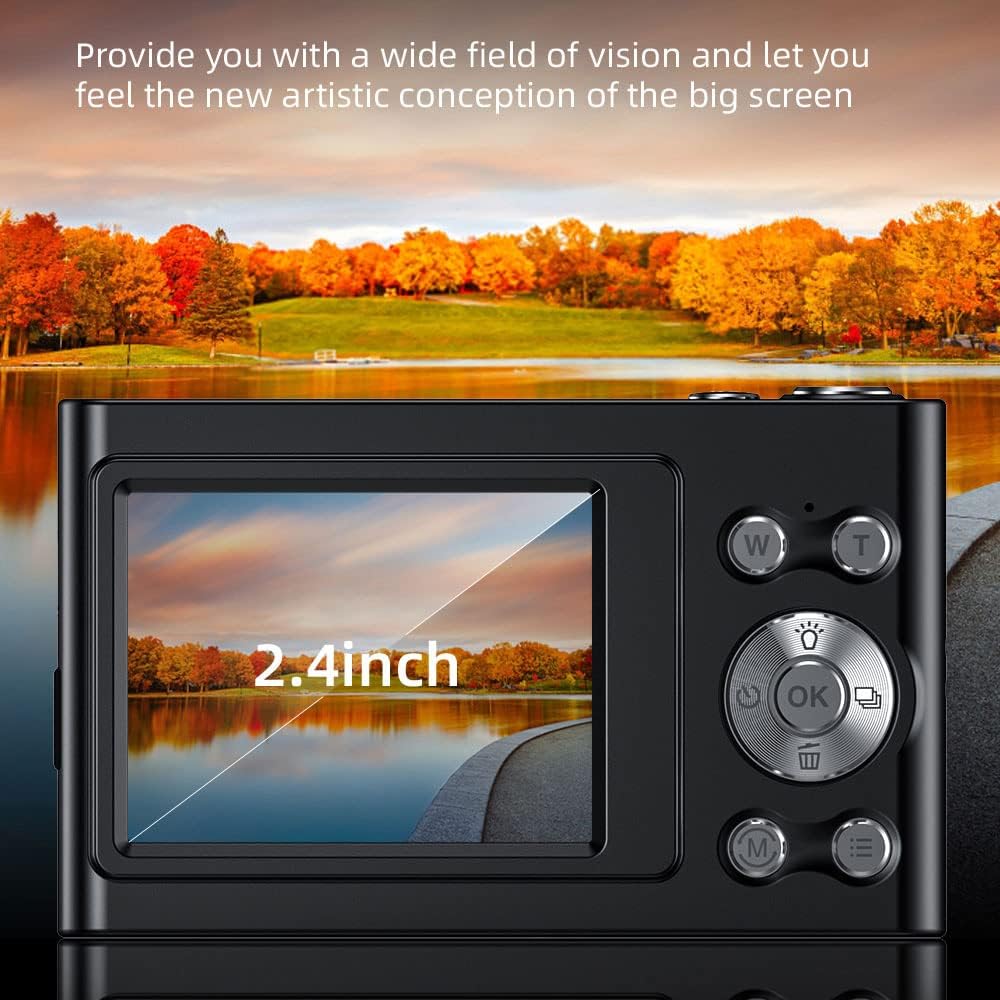
Image: A close-up view of the camera's 2.4-inch IPS screen, showcasing its display quality with a vibrant landscape image.
6. Connecting to a Computer
You can transfer photos and videos to your computer using the provided USB cable.
- Connect the camera to your computer using the USB cable.
- The camera will appear as a removable disk drive.
- Open the drive to access your files and copy them to your computer.
Maintenance
- Cleaning: Use a soft, dry cloth to clean the camera body. For the lens and screen, use a specialized lens cleaning cloth and solution. Do not use abrasive cleaners.
- Storage: When not in use for extended periods, store the camera in a cool, dry place, away from direct sunlight and moisture. Remove the memory card if storing for very long durations.
- Battery Care: Recharge the battery regularly, even if not using the camera, to maintain its lifespan. Avoid fully discharging the battery frequently.
Troubleshooting
| Problem | Possible Cause / Solution |
|---|---|
| Camera does not turn on. | Battery is depleted. Charge the battery fully. |
| Cannot take photos/videos. | Memory card is full or not inserted correctly. Check card, delete files, or replace. |
| Images are blurry. | Lens is dirty. Clean the lens. Anti-shake function might be off or insufficient for conditions. Ensure good lighting. |
| Camera freezes. | Remove and reinsert the battery to reset the camera. |
| Cannot connect to computer. | Ensure USB cable is properly connected. Try a different USB port or cable. |
Specifications
Detailed technical specifications for the Andoer 4K Digital Camera:
- Image Sensor: CMOS Sensor
- Display: 2.4 Inch IPS Screen
- Picture Resolution: 48M, 36M, 30M, 24M, 20M, 18M, 16M, etc. (Max 48MP)
- Video Resolution: 4K (3840x2160), 2.7K (2688x1520), 1080P (1920x1080), 720P (1280x720)
- Zoom: 16X Digital Zoom
- Storage: Supports Class-10 external TF memory card up to 128GB (32GB included)
- Power Supply: Built-in Lithium battery
- Item Size: 9.5 * 5.8 * 2.5cm (3.7 * 2.3 * 1 inch)
- Item Weight: 115g (4.1oz)
- Connectivity: USB
- Special Features: Anti-shake, Face Detect, Smile Capture, Continuous Photography, Self-timer, Built-in Flash

Image: A detailed view of the camera's lens and sensor area, emphasizing its 48-megapixel capability for high-resolution imaging.

Image: An illustration highlighting the professional CMOS photosensitive chip, explaining its role in analyzing and enhancing picture quality, color restoration, and creating clear, three-dimensional images.

Image: A graphic illustrating the camera's intelligent image processing capabilities, including intelligent analysis, enhanced clarity, color restoration, and fine picture quality.
Warranty and Support
For warranty information and technical support, please refer to the official Andoer website or contact their customer service. Keep your purchase receipt as proof of purchase.
Andoer Store Link: Visit the Andoer Store on Amazon


