1. Introduction
This manual provides essential instructions for the proper setup, operation, and maintenance of your ISLANDSAFE 1.7 Cubic Feet Digital Keypad Security Safe Cabinet. Please read this manual thoroughly before using the safe to ensure correct functionality and security.
2. Safety Information
- Do not store emergency keys inside the safe. Keep them in a secure, separate location.
- Ensure the safe is placed on a stable, level surface or securely mounted.
- Keep the digital keypad dry and clean.
- Replace batteries promptly when the low battery indicator appears to avoid being locked out.
3. Package Contents
Verify that all items are present in your package:
- ISLANDSAFE 1.7 Cuft Digital Keypad Security Safe Cabinet
- Emergency Keys (2)
- Expansion Screws for mounting
- User Manual
4. Product Overview
The ISLANDSAFE ETIS series safe is constructed from reinforced solid alloy steel, featuring dual cylinder latches for enhanced security. It includes a digital keypad lock and emergency keys for access.

Image: Exterior and interior dimensions of the ISLANDSAFE 1.7 Cuft safe. Exterior: 17.7" H x 13.8" W x 11.8" D. Interior: 17.2" H x 13.5" W x 11.5" D. Features 3 locking bolts and 2 removable shelves.

Image: Detail of the safe's heavy-duty construction, highlighting the 5mm thick pry-resistant steel door and three solid steel living bolts for enhanced security.
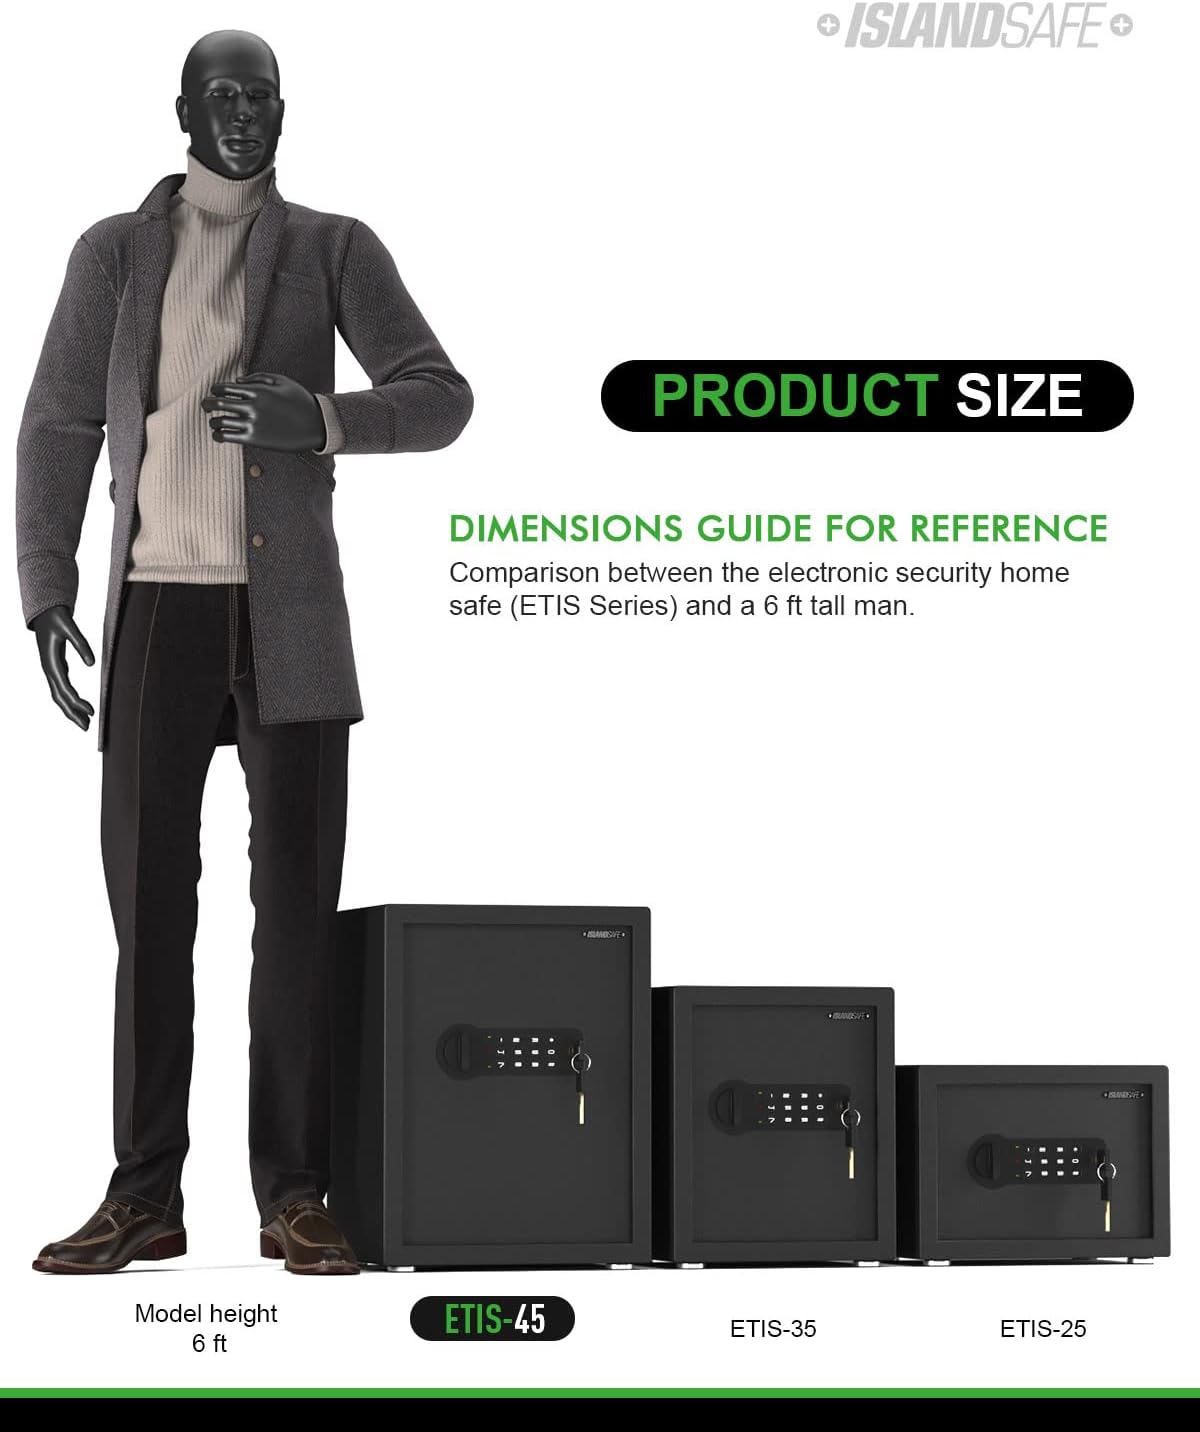
Image: The safe's interior with two removable shelves, demonstrating how they can be used for organization or removed to accommodate larger items.
Specifications:
| Brand | ISLANDSAFE |
| Product Dimensions | 18"D x 12.03"W x 13.99"H |
| Lock Type | Combination |
| Color | Black |
| Capacity | 1.7 Cubic Feet (Product exterior size-17.7" x 13.8" x 11.8"(H*W*D), interior size-17.2" x 13.5" x 11.5"(H*W*D)) |
| Material | Carbon Steel |
| Special Feature | Portable, Audible Alarm, Removable Shelf |
| Mounting Type | Wall Mount |
| Item Weight | 27.5 pounds (12.5 Kilograms) |
5. Setup
5.1 Battery Installation
The safe requires four AA batteries for the digital keypad to function. Ensure batteries are inserted with correct polarity.
- Locate the battery compartment on the back of the safe door.
- Open the battery compartment cover.
- Install four AA batteries, ensuring correct polarity.
- Close the battery compartment cover.
Video: This video demonstrates the process of inserting batteries into the safe's battery compartment, located on the inside of the door. It shows opening the cover, placing the batteries, and closing the cover.
5.2 Mounting the Safe
For added security, the safe can be mounted to a wall. It features pre-drilled mounting holes and includes expansion screws.
- Choose a secure location for your safe.
- Mark the positions for drilling using the pre-drilled holes on the back of the safe as a template.
- Drill holes in the wall at the marked positions.
- Insert the expansion screws into the drilled holes.
- Align the safe with the screws and secure it tightly.

Image: The rear view of the safe, illustrating the pre-drilled holes designed for wall mounting to enhance security.
6. Operation
6.1 Opening with Emergency Keys (First Time Operation)
The emergency keys are provided for initial access, in case you forget your passcode, or if the batteries are depleted.
- Insert an emergency key into the keyhole located to the right of the digital keypad.
- Turn the key counter-clockwise. Do not release the key; otherwise, it will return to its original position.
- While holding the key, turn the knob clockwise to open the safe door.
Video: A short demonstration on how to use the emergency key to open the safe. This is useful for initial setup or in case of forgotten passcodes or dead batteries.
6.2 Setting a New Passcode
You can set a user code and an administrator code for enhanced security. The passcode should be 3-8 digits long.
- With the safe door open, press the 'SET' button located on the inside of the door (behind the battery compartment cover). You will hear two short beeps, and the yellow light on the keypad will turn on.
- Input your new passcode (3-8 digits) on the keypad.
- Press the '*' or '#' button to confirm. Two beeps will sound, indicating that your new passcode has been accepted.
- Close the safe door and turn the knob counter-clockwise to lock it.
Video: This video provides a step-by-step guide on how to set up a new digital passcode for your safe. It also demonstrates the basic opening and closing procedure using the set passcode.
6.3 Opening and Closing with Passcode
Once your passcode is set, you can easily open and close the safe using the digital keypad.
- Input your passcode (3-8 digits) followed by the '*' or '#' button. You will hear one beep and the yellow light will flash upon each entry.
- Within 5 seconds, rotate the knob clockwise to open the safe.
- To close the safe, simply shut the door and turn the knob counter-clockwise. The light will turn off, indicating it is locked.
Video: This video demonstrates the standard procedure for opening and closing the safe using the digital keypad and knob.
7. Alarm Function
The safe is equipped with an audible alarm system to deter unauthorized access.
- 3 Continuously False Entries: Entering an incorrect passcode three consecutive times will activate a 20-second alarm.
- 6 Continuously False Entries: Entering an incorrect passcode six consecutive times will activate a 5-minute alarm.
- Violent Shock or Attack: The alarm will also be triggered if the safe experiences violent shaking or an attack.
Video: This video illustrates the alarm function of the safe, demonstrating how it activates after multiple incorrect passcode entries or physical disturbance.

Image: The safe's digital keypad with indicators for the dual alarm system, showing triggers for 3 false entries, violent shock/attack, and a 60-second beep alarm.
8. Maintenance
- Regularly check battery levels and replace them as needed to ensure continuous operation of the digital lock.
- Keep the safe's exterior clean with a soft, dry cloth. Avoid abrasive cleaners.
- Ensure the door mechanism and locking bolts are free from obstructions.
9. Troubleshooting
- Safe does not open with passcode: Ensure batteries are fresh and correctly installed. Re-enter the passcode carefully. If still unsuccessful, use the emergency key.
- Keypad is unresponsive: Check battery power. Replace batteries if necessary.
- Alarm sounds unexpectedly: Review the alarm function section. Ensure no false entries have occurred and the safe has not been disturbed.
- Forgotten Passcode: Use the emergency keys to open the safe, then follow the instructions in section 6.2 to set a new passcode.
10. Warranty and Support
ISLANDSAFE offers a 90-day unconditional return and exchange policy. For any questions or assistance, our customer service team is available 24 hours online.
Contact us via the seller contact options on the product page.


