
Introduction
This manual provides essential information for the installation, operation, maintenance, and troubleshooting of your GIGABYTE GeForce RTX 4090 Gaming OC 24G Graphics Card. Please read this manual thoroughly before installation to ensure proper functionality and to prevent damage to the product or other components.
Setup and Installation
Proper installation is crucial for the performance and longevity of your graphics card. Ensure your system's power supply unit (PSU) meets the recommended wattage and has the necessary connectors.
1. Physical Installation
- Power Off System: Before beginning, ensure your computer is completely powered off and unplugged from the wall outlet.
- Open PC Case: Remove the side panel of your computer case to access the motherboard and PCIe slots.
- Locate PCIe Slot: Identify an available PCIe x16 slot on your motherboard. This is typically the topmost and longest PCIe slot.
- Remove Slot Covers: Remove the necessary expansion slot covers from the back of your PC case that align with the graphics card's bracket.
- Insert Graphics Card: Carefully align the graphics card with the PCIe slot and press down firmly until it is securely seated. You should hear a click from the slot's retention clip.
- Secure Card: Fasten the graphics card to the PC case using the screws from the expansion slot covers.
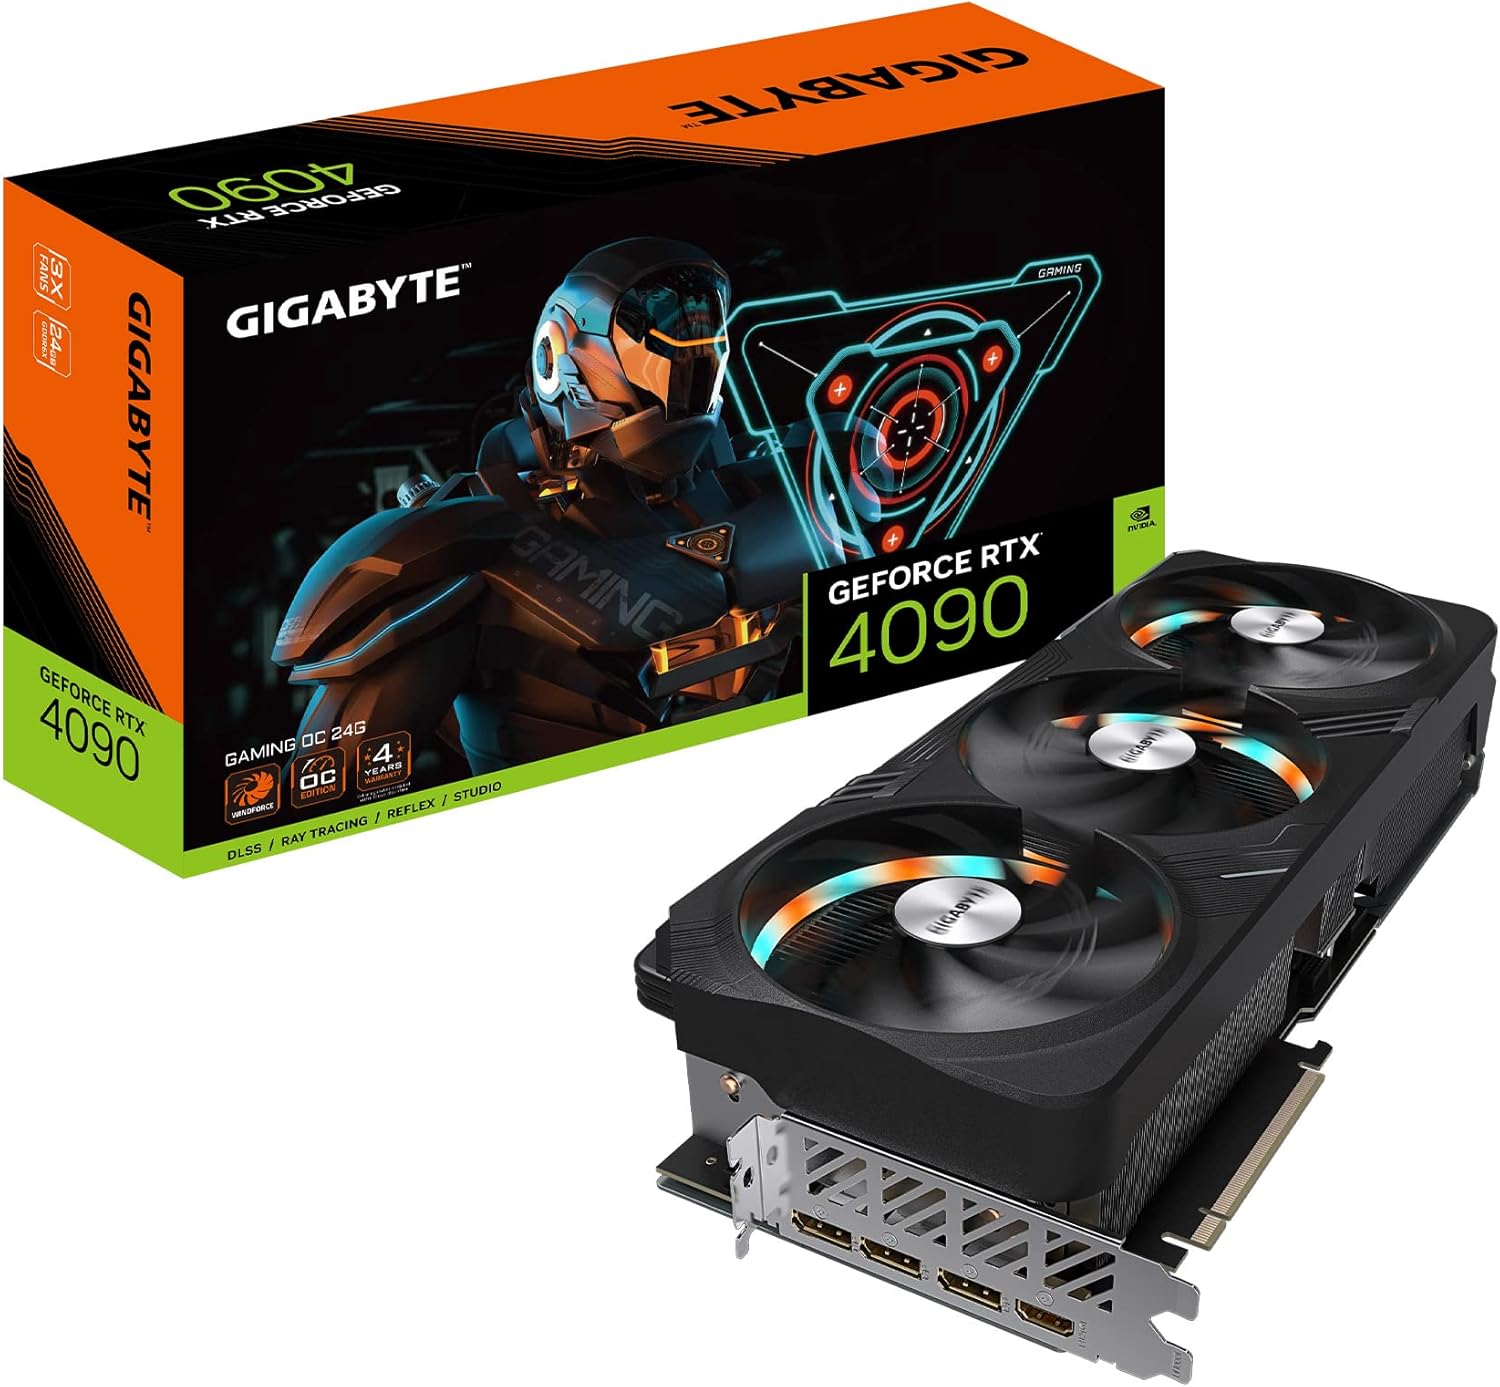
Image: The GIGABYTE GeForce RTX 4090 Gaming OC 24G Graphics Card alongside its retail packaging.
2. Power Connection
The GIGABYTE GeForce RTX 4090 Gaming OC 24G requires a 12VHPWR power connector. Ensure your PSU has this connector or use the supplied adapter cable. Connect the power cable(s) firmly to the graphics card. Improper connection can lead to instability or damage.

Image: Side view of the graphics card, highlighting the power input area and cooling fins.
3. Display Connection
Connect your monitor(s) to the graphics card using DisplayPort or HDMI cables. The card supports multiple displays.

Image: Rear panel of the graphics card, indicating the DisplayPort and HDMI output ports.
4. Driver Installation
- Boot System: Close your PC case and reconnect the power cable. Turn on your computer.
- Download Drivers: Visit the official GIGABYTE website or NVIDIA's website to download the latest drivers for the GeForce RTX 4090.
- Install Drivers: Follow the on-screen instructions to install the graphics drivers. A restart may be required.
Operating Your Graphics Card
The GIGABYTE GeForce RTX 4090 Gaming OC 24G is designed for high-performance computing, including gaming and creative applications. It features the WINDFORCE cooling system, RGB Fusion lighting, and Dual BIOS functionality.
WINDFORCE Cooling System
The WINDFORCE cooling system utilizes three fans with unique blade designs to maximize airflow and heat dissipation. The fans incorporate alternate spinning technology to reduce turbulence and improve cooling efficiency.

Image: Top view of the graphics card, showcasing the three large cooling fans.
RGB Fusion
Customize the lighting effects of your graphics card using the GIGABYTE Control Center software. RGB Fusion allows synchronization with other compatible GIGABYTE devices for a unified aesthetic.
Dual BIOS
The card features a Dual BIOS switch, allowing users to select between a performance mode and a silent mode. The silent mode prioritizes quieter operation, while the performance mode offers maximum clock speeds. Refer to the physical switch on the card for its location and operation.
Maintenance
Regular maintenance helps ensure optimal performance and extends the lifespan of your graphics card.
Cleaning
- Dust Removal: Periodically clean dust from the fans and heatsink using compressed air. Ensure the system is powered off and unplugged before cleaning.
- Avoid Liquids: Do not use liquid cleaners directly on the graphics card.
Driver Updates
Regularly check the GIGABYTE or NVIDIA website for the latest graphics drivers. Updating drivers can improve performance, add new features, and resolve compatibility issues.
Troubleshooting
If you encounter issues with your graphics card, consider the following common solutions:
- No Display Output:
- Ensure the graphics card is fully seated in the PCIe slot.
- Verify all power cables are securely connected to the card and PSU.
- Check that the display cable is firmly connected to both the graphics card and the monitor.
- Test with a different display cable or monitor if possible.
- Performance Issues (Low FPS, Stuttering):
- Ensure you have the latest graphics drivers installed.
- Check system temperatures to ensure the card is not overheating.
- Verify that your system's CPU and RAM are not bottlenecking the GPU.
- Adjust in-game graphics settings to optimize performance.
- Overheating:
- Ensure adequate airflow within your PC case.
- Clean dust from the graphics card fans and heatsink.
- Verify that the fans on the graphics card are spinning correctly.
- Coil Whine:
Coil whine is an audible electronic noise that can occur under certain loads. While generally harmless and not indicative of a defect, it can be reduced by:
- Enabling V-Sync or setting a frame rate limit in games.
- Ensuring your PSU provides stable power.
Specifications
| Feature | Detail |
|---|---|
| Graphics Coprocessor | NVIDIA GeForce RTX 4090 |
| Graphics Card Ram Size | 24 GB GDDR6X |
| Memory Speed | 21000 MHz |
| Max Screen Resolution | 7680x4320 |
| Video Output Interface | DisplayPort, HDMI |
| Item Model Number | GV-N4090GAMING OC-24GD |
| Product Dimensions (LxWxH) | 13.39 x 5.91 x 2.95 inches |
| Item Weight | 4.5 pounds |

Image: Dimensional diagram of the graphics card, indicating its length and width.
Warranty and Support
GIGABYTE offers a 4-year warranty for this product. For detailed warranty terms and conditions, please refer to the official GIGABYTE website or the warranty information included with your product packaging.
For technical support, driver downloads, and further assistance, please visit the official GIGABYTE support website or contact their customer service. Keep your purchase receipt as proof of purchase for warranty claims.
For more information, visit the GIGABYTE Store on Amazon.