1. Introduction
The Virone DM-2 is a versatile 3-in-1 detector designed to accurately locate wood studs, metal objects (such as rebar, pipes, and conduit), and live AC electrical wires hidden behind walls, floors, and ceilings. This device is an essential tool for DIY enthusiasts and professionals, ensuring safety and precision during drilling, cutting, or mounting tasks. Please read this manual thoroughly before using the device to ensure safe and effective operation.
2. Safety Information
- Always exercise caution when working near electrical wires. Turn off power to the area if possible before drilling or cutting.
- Do not rely solely on the detector to determine the presence of live AC wires. Always use additional safety measures and verify findings.
- Keep the device dry and clean. Do not expose it to extreme temperatures or moisture.
- This device is intended for indoor use.
- Do not attempt to open or modify the device. This will void the warranty and may cause damage or injury.
- Dispose of batteries responsibly according to local regulations.
3. Product Overview
Familiarize yourself with the components of your Virone DM-2 detector.
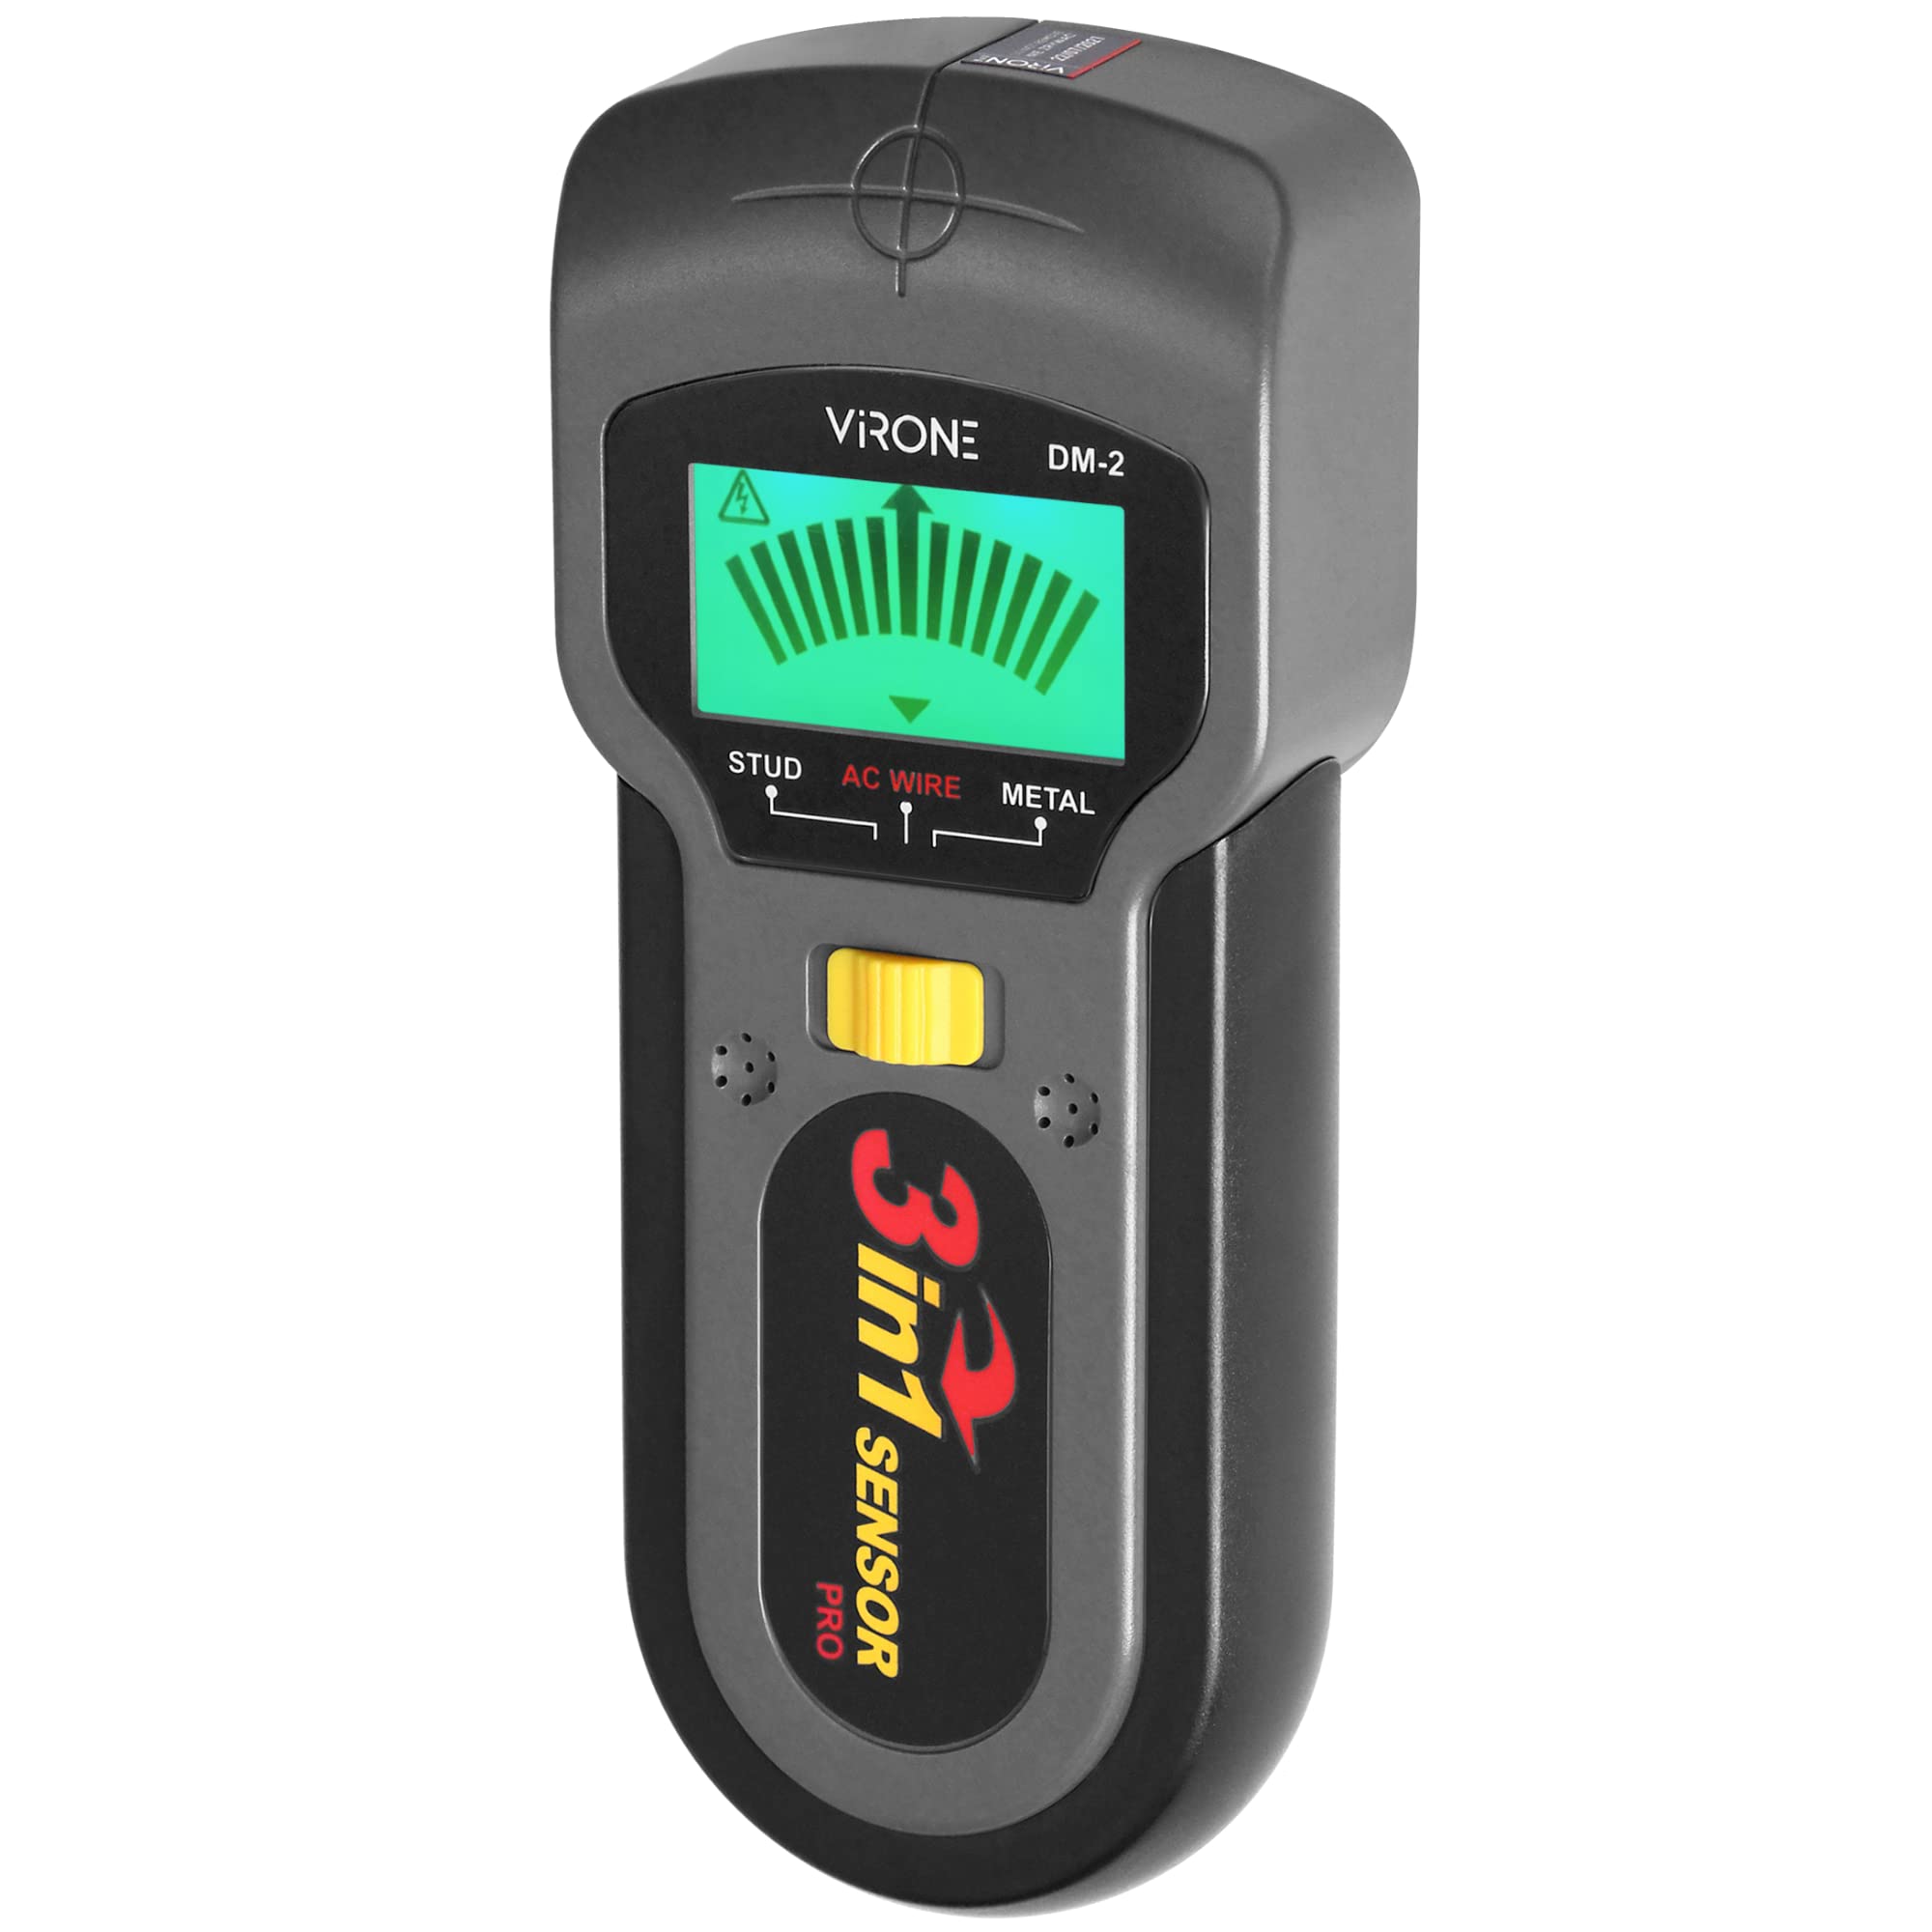
Figure 1: Front view of the Virone DM-2 detector, showing the display screen, mode indicators (STUD, AC WIRE, METAL), and the yellow scan button.

Figure 2: Back view of the Virone DM-2 detector, illustrating the battery compartment cover and sensor pads.

Figure 3: Side view of the Virone DM-2 detector, highlighting the yellow power/mode selection button.
Key Components:
- LCD Display: Shows detection mode, signal strength, and battery status.
- Scan Button (Yellow): Press and hold to activate scanning.
- Mode Selection Button (Side Yellow): Used to cycle through Stud, AC Wire, and Metal detection modes.
- Sensor Pads: Located on the back of the device, these must be in full contact with the surface for accurate readings.
- Battery Compartment: Located on the back for 9V battery installation.
4. Setup
4.1 Battery Installation
- Locate the battery compartment cover on the back of the device (refer to Figure 2).
- Slide the cover open.
- Insert one 9V battery, ensuring the polarity (+/-) matches the diagram inside the compartment.
- Close the battery compartment cover securely.
The device requires one 9V battery, which is included with the product.
5. Operating Instructions
5.1 Powering On/Off
Press and hold the yellow mode selection button on the side of the device for approximately 2 seconds to turn it on. The device will emit a short beep and the LCD display will light up. To turn off, press and hold the same button again for 2 seconds, or the device will automatically shut off after a period of inactivity.
5.2 Mode Selection
After powering on, briefly press the yellow mode selection button on the side to cycle through the detection modes: STUD, AC WIRE, and METAL. The selected mode will be indicated on the LCD display.
5.3 Calibration
For accurate readings, it is crucial to calibrate the device before each use and when moving to a new scanning area. To calibrate:
- Place the detector flat against the wall or surface where you intend to scan. Ensure there are no known studs, metal, or live wires directly beneath the device.
- Press and hold the yellow scan button on the front of the device.
- Keep the device still until the calibration process is complete (usually indicated by a beep and a stable display).
- Once calibrated, continue holding the scan button and slowly move the device across the surface.
5.4 Scanning Procedure
After selecting the desired mode and calibrating:
- Hold the device flat against the surface, ensuring your hand does not cover the sensor pads on the back.
- Press and hold the yellow scan button.
- Slowly slide the detector horizontally across the surface. Avoid lifting or tilting the device.
- The LCD display will show signal strength indicators as you approach a target. A full signal and a distinct beep indicate the center of the object.
- Mark the location of the detected object. For best results, scan the area from both directions to confirm the edges and center.
5.5 Specific Mode Usage
- Stud Detection: Designed to locate wood studs behind drywall. Scan slowly and mark the edges to find the center.
- Metal Detection: Detects ferrous and non-ferrous metals. Useful for finding pipes, rebar, or metal conduit.
- AC Wire Detection: Identifies live, unshielded AC electrical wires. The detection depth can vary based on wire type, insulation, and wall material. Always proceed with extreme caution.
6. Maintenance
- Cleaning: Wipe the device with a soft, dry cloth. Do not use abrasive cleaners or solvents.
- Storage: Store the detector in a cool, dry place, away from direct sunlight and extreme temperatures. If storing for extended periods, remove the battery to prevent leakage.
- Battery Replacement: Replace the 9V battery when the low battery indicator appears on the display to ensure optimal performance.
7. Troubleshooting
- Inaccurate Readings: Ensure proper calibration on a clear section of the wall. Scan slowly and keep the device flat against the surface. Wall materials and moisture content can affect accuracy.
- Device Not Turning On: Check if the 9V battery is correctly installed and has sufficient charge. Replace the battery if necessary.
- No Detection: Verify that the correct mode is selected for the target you are searching for. Ensure the sensor pads are in full contact with the surface.
- False Positives/Negatives: Environmental factors such as high humidity, metallic wallpaper, or certain types of insulation can interfere with detection. Try scanning in different areas or using alternative methods to confirm findings.
8. Specifications
- Model: DM-2
- Dimensions: 17.5 x 7.7 x 17.5 cm
- Weight: 270 grams
- Material: Plastic
- Power Source: Battery Powered
- Battery Type: 1 x 9V battery (included)
- International Protection Rating: IP65
9. Warranty and Support
The Virone DM-2 detector is covered by a manufacturer's warranty against defects in materials and workmanship. For specific warranty terms, duration, and to obtain support, please refer to the warranty card included with your product or contact Virone customer service directly. Keep your proof of purchase for warranty claims.
For technical assistance or inquiries, please visit the official Virone website or contact their customer support channels.