
VANBAR D400
VANBAR D400 Trail Camera User Manual
Model: D400
Introduction
This manual provides detailed instructions for the setup, operation, and maintenance of your VANBAR D400 Trail Camera. Designed for wildlife monitoring, home security, and outdoor surveillance, this camera captures high-resolution images and videos with advanced features like rapid trigger speed and no-glow night vision. Please read this manual thoroughly before using the camera to ensure optimal performance and longevity.
Product Overview
The VANBAR D400 Trail Camera is a robust and versatile device. Familiarize yourself with its components:

Figure 1: Front view of the VANBAR D400 Trail Camera, showcasing its camouflage design and main lens.
Key Features:
- 32MP Image & 1080P Video: Captures clear, vibrant images and audible videos.
- 0.2s Trigger Speed: Ensures quick capture of detected movements up to 20m (65 feet).
- 40pcs 940nm No-Glow Infrared LEDs: Provides excellent night vision without disturbing wildlife.
- IP66 Waterproof & Durable: Designed to withstand harsh outdoor environments.
- 2.0'' LCD Color Screen: For easy viewing and menu navigation.

Figure 2: Illustration of the camera's 32MP ultra-clear image and 1080P video capabilities.

Figure 3: Demonstrating the rapid 0.2-second trigger speed for capturing fast-moving subjects.

Figure 4: Example of the camera's super night vision, enabled by 40pcs 940nm no-glow infrared LEDs.
Setup
Follow these steps to prepare your VANBAR D400 Trail Camera for use:
1. Battery Installation
- Open the camera's housing by unlatching the side clips.
- Locate the battery compartment.
- Insert 4 or 8 new alkaline AA batteries (not included) into the designated slots, ensuring correct polarity.
2. Micro SD Card Installation
- Locate the Micro SD card slot on the side of the camera's internal panel.
- Insert a Micro SD card (up to 32GB, included in some packages) into the slot until it clicks into place.
- Note: It is recommended to format the Micro SD card before first use.

Figure 5: The camera with a Micro SD card, illustrating its inclusion in some packages.
3. Initial Power On and Formatting
- Slide the power switch from OFF to SET position. The LCD screen will turn on.
- Press the MENU button to access settings. Navigate to "Format Memory Card" and select "Yes" to format the SD card. This prepares the card for recording and helps prevent data corruption.
- Set the current Date/Time and other basic settings as needed.
Setup Guide Video:
Video 1: A quick guide demonstrating the setup process for the VANBAR 32MP 1080P Trail Camera, including battery and SD card installation, and initial settings configuration.
Operating the Camera
Once set up, the camera is ready for operation. Here's how to configure and use it:
1. Setting Recording Modes and Resolution
- In SET mode, press MENU to access settings.
- Navigate to "Mode" to select between Photo, Video, or Photo+Video.
- Adjust "Photo Resolution" (e.g., 32MP) and "Video Resolution" (e.g., 1080P) to your preference.
- Configure "Picture Series" (1-5 photos per trigger) and "Video Length" (up to 10 minutes).
2. PIR Sensitivity and Interval
- Adjust "PIR Sensitivity" (Low, Normal, High) based on the environment to optimize motion detection. High sensitivity is suitable for open areas, while Low is better for busy areas to avoid false triggers.
- Set "PIR Interval" to determine the delay between consecutive triggers.
3. Activating Recording
- After configuring all settings, slide the power switch from SET to ON.
- The camera will flash a red light for approximately 5 seconds, then enter monitoring mode.
- The camera is now ready to detect motion and record.
4. Mounting the Camera
The camera can be mounted using the included strap or wall mount hardware.
- Strap Mounting: Thread the provided strap through the camera's back brackets and secure it around a tree or pole.
- Wall Mounting: Use the included wall mount and screws to attach the camera to a flat surface. Adjust the angle for optimal coverage.
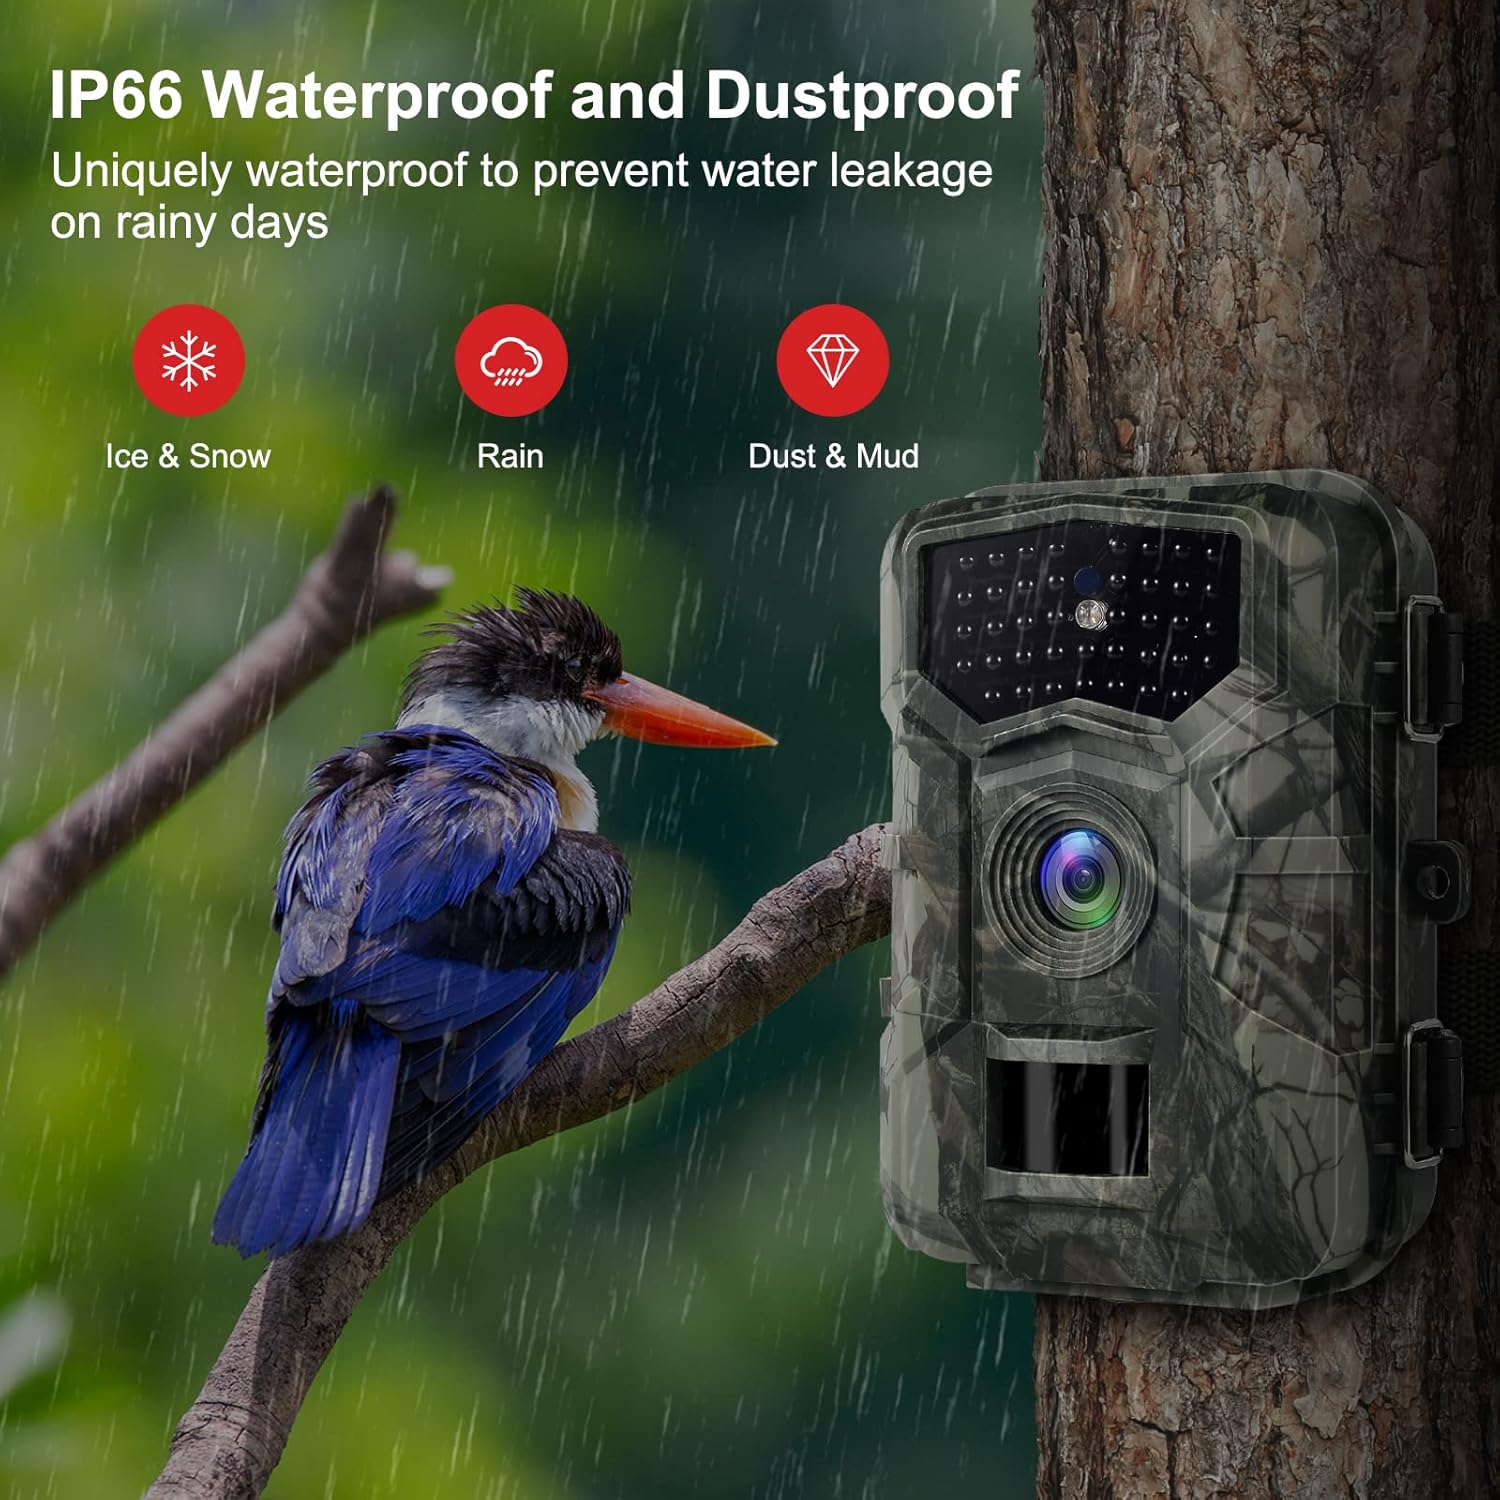
Figure 6: The camera securely mounted on a tree, highlighting its weather-resistant design.

Figure 7: Various application scenarios for the trail camera, from wildlife observation to property security.
Maintenance
Proper maintenance ensures the longevity and optimal performance of your trail camera:
- Battery Replacement: Replace all 4 or 8 AA batteries when the battery indicator shows low power. Using high-quality alkaline batteries is recommended for up to 6 months of standby time.
- SD Card Management: Regularly check the Micro SD card for storage space. Transfer important files to a computer and format the card periodically to maintain performance.
- Cleaning: Gently wipe the camera lens and PIR sensors with a soft, dry cloth to remove dust, dirt, or moisture. Do not use abrasive cleaners.
- Weather Protection: While the camera is IP66 waterproof, ensure the housing is securely latched to prevent water ingress, especially during heavy rain or snow.
Troubleshooting
If you encounter issues with your VANBAR D400 Trail Camera, refer to the following common problems and solutions:
| Problem | Possible Cause & Solution |
|---|---|
| Camera not powering on |
|
| Poor image/video quality |
|
| No motion detection or false triggers |
|
| SD card error |
|
For more detailed troubleshooting or persistent issues, please contact customer support.
Specifications
| Feature | Detail |
|---|---|
| Model Number | D400 |
| Image Resolution | 32MP |
| Video Resolution | 1080P |
| Trigger Speed | 0.2 seconds |
| Night Vision LEDs | 40pcs 940nm No-Glow Infrared LEDs |
| Night Vision Distance | Up to 20 meters (65 feet) |
| Water Resistance | IP66 Waterproof |
| Display Screen | 2.0'' LCD Color Screen |
| Power Source | 8 x AA Alkaline Batteries (or 4 x AA) |
| Standby Time | Up to 6 months |
| Storage | Micro SD Card (up to 32GB) |
| Dimensions | 5.5 x 5 x 3.5 inches |
| Weight | 1.28 pounds |
Warranty & Support
Your VANBAR D400 Trail Camera comes with a 3-year free warranty. To activate your warranty and for any product-related inquiries, please contact our customer service team.
Customer Service Email: Camera-afterservice@outlook.com
Please provide your purchase details when contacting support to ensure prompt assistance.
Related documentsD400

Ask a question about this manual
Ask about setup, troubleshooting, compatibility, parts, safety, or missing instructions. Manuals+ will review the question and use this page’s manual context to help answer it.