
TOMZON A23
TOMZON A23 Mini Drone Instruction Manual
Model: A23
1. Introduction
The TOMZON A23 Mini Drone is designed for ease of use and enjoyment, featuring dazzling LED lights, multiple speed modes, and various flight functions. This manual provides essential information for safe operation, setup, and maintenance of your drone.
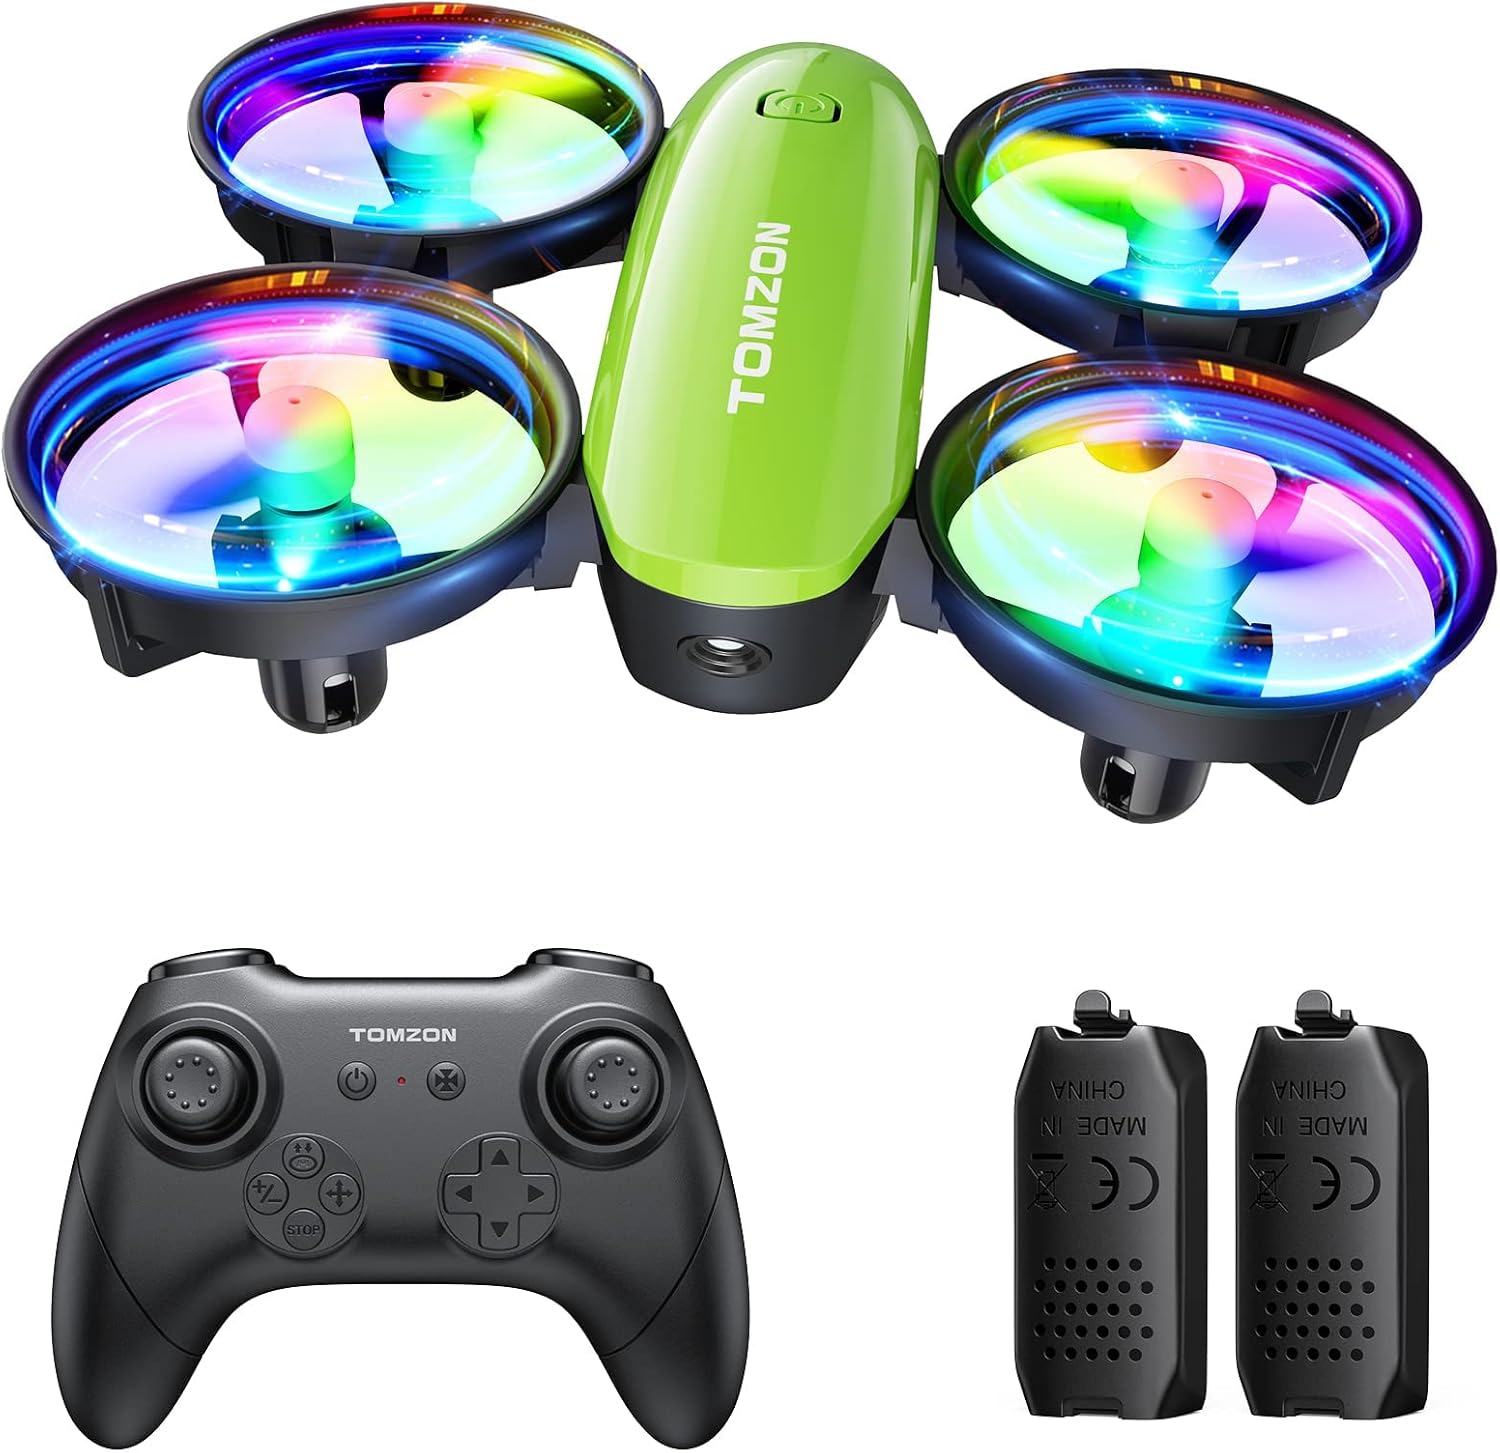
2. What's in the Box
Please verify that all components are present upon unboxing:
- TOMZON A23 Mini Drone x 1
- Remote Control x 1
- Modular Battery x 2
- Charging Cable x 1
- Spare Propellers x 4
- User Manual x 1
3. Setup
3.1 Battery Installation
To install the modular battery into the drone:
- Ensure the drone is powered off.
- Align the battery with the battery compartment on the underside of the drone.
- Gently push the battery into the compartment until it clicks securely into place.
To remove the battery, press the buckle on the back of the drone body and pull out the battery. Refer to the tutorial video in Section 2 for a visual guide.
3.2 Connecting Drone to Remote Control
To connect the drone and remote control:
- Insert batteries into the remote control (not included, typically AAA).
- Place the drone on a flat, level surface.
- Press and hold the power button on the drone until its LED lights begin to flash.
- Turn on the remote control. The drone and remote will automatically connect. The drone's lights will flash rapidly during connection and then become solid once connected.
Refer to the tutorial video in Section 2 for a visual guide.
3.3 Horizontal Calibration
For stable flight, calibrate the drone after connecting or if it drifts during flight:
- Place the drone on a flat, level surface.
- Short press the calibration button on the remote control.
- The drone's lights will flash rapidly and then become solid, indicating successful calibration.
Refer to the tutorial video in Section 2 for a visual guide.
4. Operating Instructions
4.1 Take-off Methods
The TOMZON A23 offers multiple ways to initiate flight:
- Manual Take-off: Push both joysticks inward 45 degrees simultaneously to start the motors. Then, push up the left throttle joystick to take off.
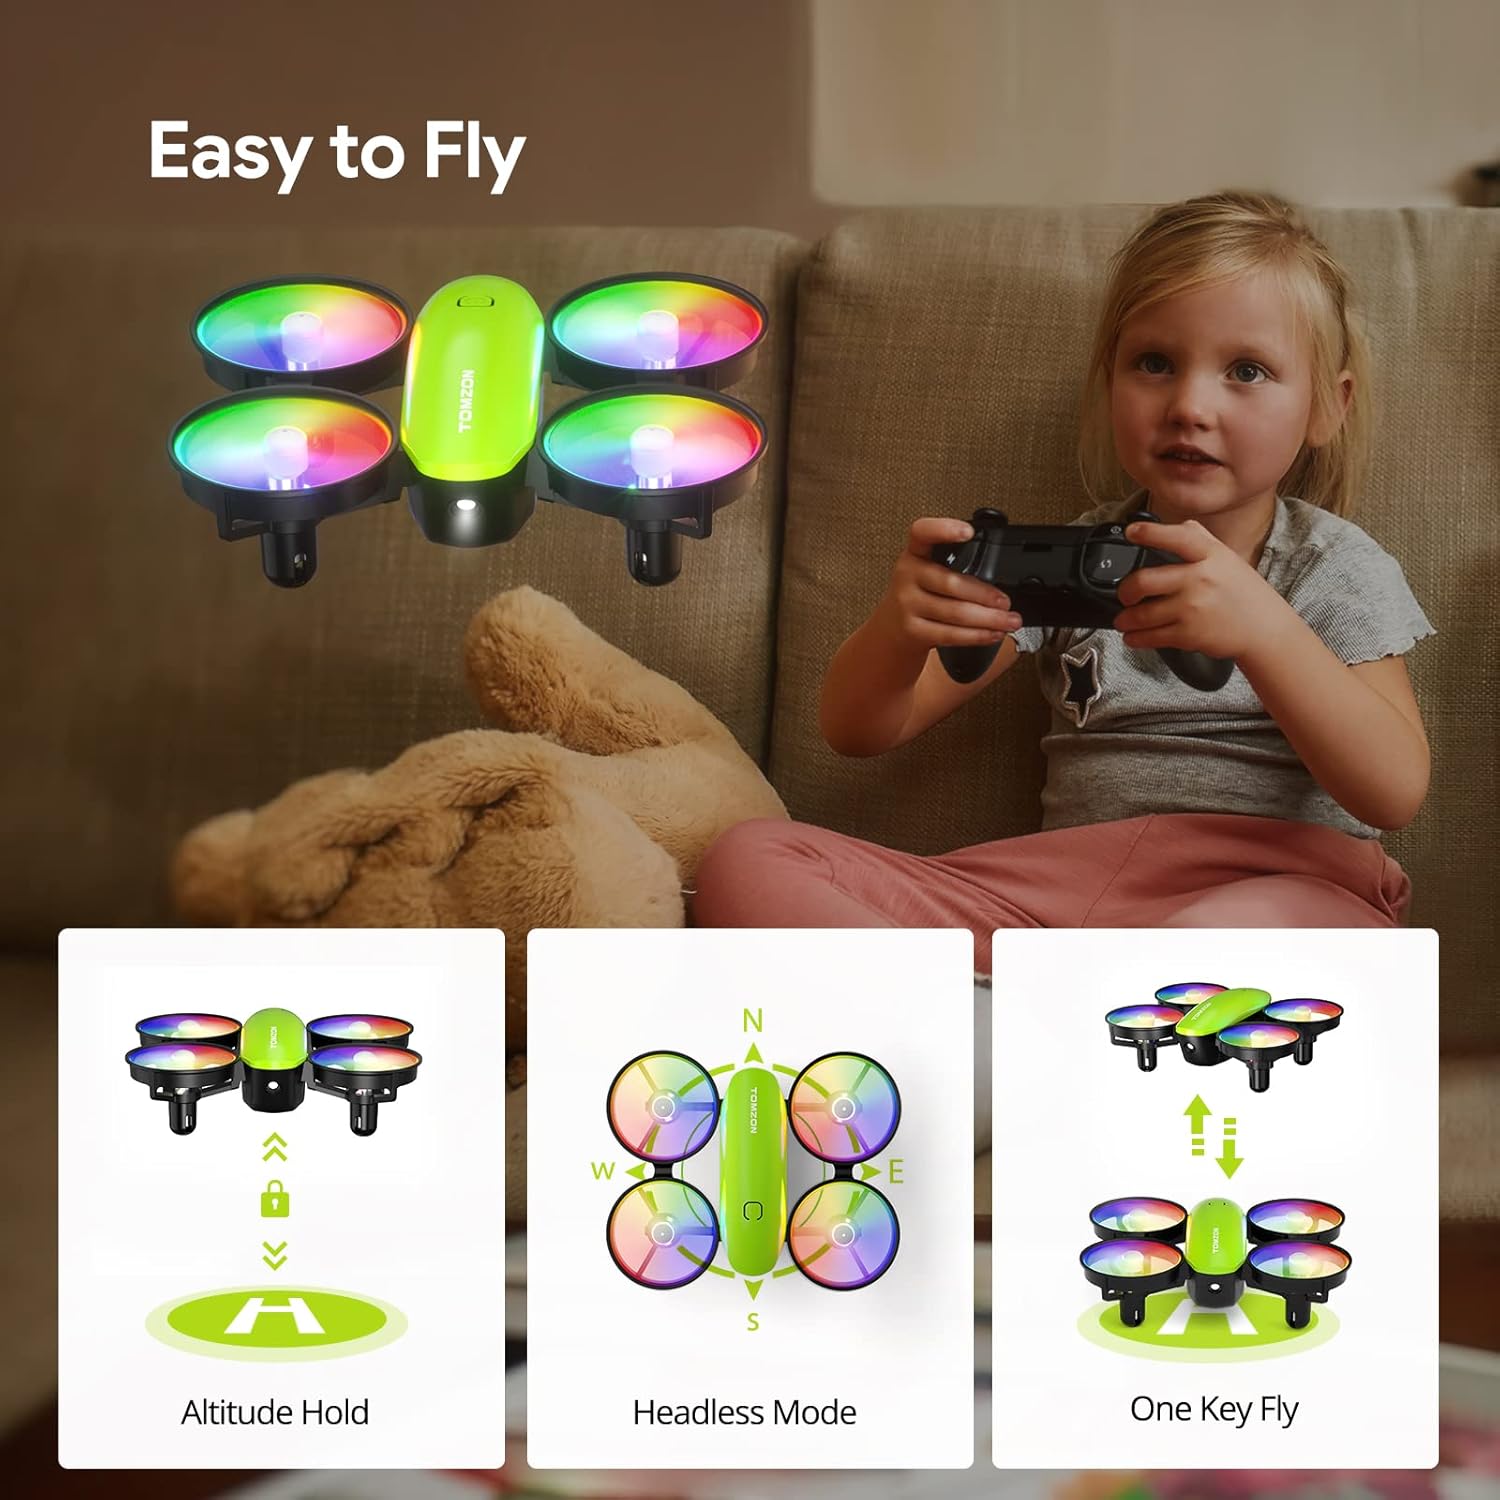
- One-Button Take-off: Short press the "takeoff" button on the remote control. The drone will automatically ascend and hover.
- Throw to Go: With the drone and remote connected, simply toss the drone gently into the air. It will automatically stabilize and begin hovering.
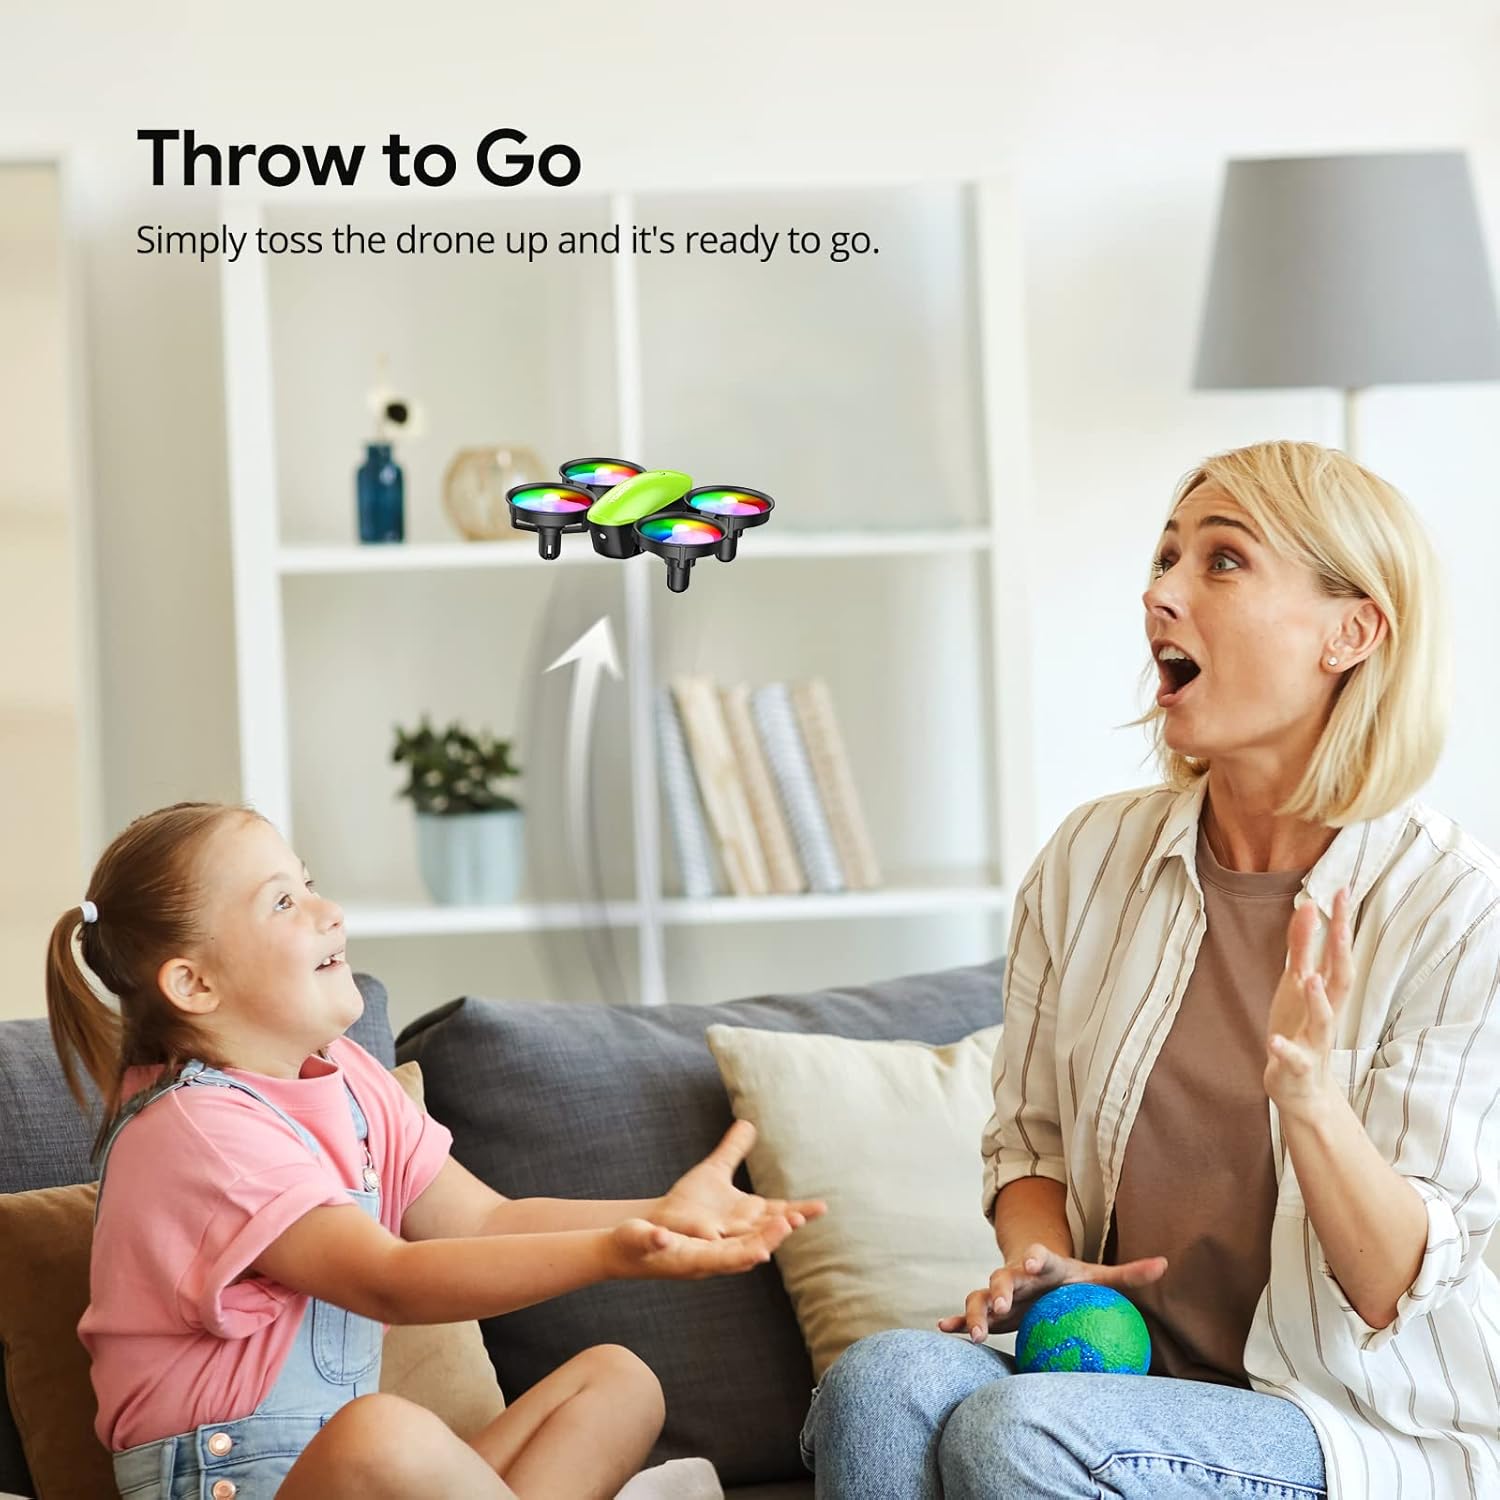
Refer to the tutorial video in Section 2 for visual demonstrations of these take-off methods.
4.2 Basic Flight Controls
- Left Joystick (Throttle/Yaw):
- Push up/down: Increase/decrease altitude.
- Push left/right: Yaw (rotate) the drone left/right.
- Right Joystick (Direction):
- Push up/down: Fly forward/backward.
- Push left/right: Fly left/right.
4.3 Special Flight Functions
- 3D Flip: Press the "3D Flip" button on the remote, then push the direction joystick in the desired flip direction. The drone will perform a 360-degree flip. Refer to the tutorial video in Section 2 for a visual guide.
- Circle Fly: Short press the "circle flight" button on the remote control. The drone will automatically fly in a circular path. Refer to the tutorial video in Section 2 for a visual guide.
- High-Speed Rotation: Short press the "rotation" button on the remote control. The drone will rotate rapidly in place. Refer to the tutorial video in Section 2 for a visual guide.
- Headless Mode: Activate Headless Mode via the remote control. In this mode, the drone's orientation is relative to the pilot, making it easier to control without worrying about the drone's front/back.
- Altitude Hold: The drone maintains its current altitude automatically, allowing for stable hovering.
- Speed Modes: The drone features 3 adjustable speed modes (Low, Mid, High) to suit different skill levels and environments. Adjust via the speed button on the remote.
- LED Lights: The drone has dazzling 7-color LED lights with 2 light modes. Short press the light button on the remote to turn them on/off or switch modes. Refer to the tutorial video in Section 2 for a visual guide.



5. Maintenance
5.1 Battery Charging & Care
The drone comes with 2 modular rechargeable batteries, providing a total of 18 minutes of flight time. Modular batteries ensure safer charging and easier installation.
- Use the provided dual-port charging cable to charge both batteries simultaneously, saving time.
- A red light on the charging cable indicates charging; the light turns off when fully charged.
- Always use the original charging cable.
- Do not overcharge batteries.
- Store batteries in a cool, dry place away from direct sunlight and heat.

5.2 Propeller Replacement
If a propeller is damaged, replace it with a spare from the package:
- Gently pull off the damaged propeller.
- Ensure the new propeller is correctly oriented (A or B, usually marked on the propeller and drone arm).
- Press the new propeller firmly onto the motor shaft.
5.3 General Cleaning
Wipe the drone with a clean, dry cloth to remove dust or debris. Avoid using liquids or harsh chemicals.
6. Troubleshooting
| Problem | Solution |
|---|---|
| Drone does not respond to remote. | Ensure both drone and remote are powered on and successfully paired (solid lights). Re-pair if necessary. Check remote control batteries. |
| Drone drifts during flight. | Perform Horizontal Calibration on a flat surface. Adjust trim settings on the remote control. |
| Drone has insufficient power/short flight time. | Fully charge the drone batteries. Ensure propellers are not obstructed or damaged. |
| Propellers do not spin. | Check for obstructions around propellers. Ensure batteries are charged and correctly installed. If a propeller is damaged, replace it. |
| Emergency Stop function. | In case of emergency, press the "STOP" button on the remote control to immediately halt the drone's motors. |
7. Specifications
- Brand: TOMZON
- Model Name: A23
- Product Dimensions: 3.54"L x 3"W x 1.25"H
- Item Weight: 10.6 ounces
- Material: Plastic
- Battery Capacity: 380 Milliamp Hours (LiPo)
- Flight Time: Up to 18 minutes (with 2 batteries)
- Control Type: Remote Control (Radio Frequency)
- Skill Level: Beginner
- Special Features: 360 Degree Flip, Throw to Go, Headless Mode, Altitude Hold, 3 Speed Modes, Dazzling LED Lights
8. Safety Guidelines
- Always operate the drone in open, clear areas, free from obstacles, people, and animals.
- Do not fly near water, power lines, or busy roads.
- Supervise children during drone operation.
- Avoid flying in strong winds.
- Regularly inspect the drone for any damage before and after each flight.
- Do not modify the drone or its components.
- In case of a crash or malfunction, use the one-button emergency stop function.
9. Warranty and Support
For warranty information, technical support, or replacement parts, please refer to the contact details provided on the product packaging or visit the official TOMZON website. Keep your purchase receipt as proof of purchase.
You can also visit the TOMZON Store on Amazon for more information.
Related documentsA23


Ask a question about this manual
Ask about setup, troubleshooting, compatibility, parts, safety, or missing instructions. Manuals+ will review the question and use this page’s manual context to help answer it.