1. Introduction
This manual provides comprehensive instructions for the installation, operation, and maintenance of your Weiser SmartCode Keypad Door Lock and Handle Set. This electronic deadbolt and handleset combination offers enhanced security and convenience for your home's entry door.
2. Safety Information
Please read all instructions carefully before installation and use. Keep this manual for future reference. Do not attempt to disassemble or modify the lock beyond the instructions provided. Use only the specified battery type (4 AA batteries). Avoid exposing the lock to extreme temperatures or moisture.
3. Package Contents
Verify that all components are present before beginning installation:
- Exterior Handle (Handleset)
- Interior Lever
- SmartCode Electronic Deadbolt (Keypad and Interior Unit)
- Latches
- Strikes
- Screws and Bolts
- 2 Keys
- SmartKey Tool
- Installation Manual (this document)

Figure 1: All components included in the Weiser SmartCode Keypad Door Lock and Handle Set, showing the exterior keypad, interior deadbolt unit, exterior handleset, and interior lever.
4. Setup and Installation
The Weiser SmartCode Keypad Door Lock and Handle Set is designed for straightforward installation. For detailed, interactive 3D instructions with voice and video guidance, it is highly recommended to use the free BILT app.
4.1 Door Compatibility
This lock set fits standard doors 1-3/8" to 1-3/4" (35mm to 44mm) thick with an adjustable backset (2-3/8" or 2-3/4"). It is suitable for most exterior residential doors.
4.2 Installation Steps (Overview)
- Prepare the door and frame, ensuring proper drilling and alignment.
- Install the latch and strike plate.
- Install the exterior handleset and interior lever.
- Install the exterior keypad and interior deadbolt unit.
- Connect the cable between the exterior keypad and interior unit.
- Secure all components with the provided screws.
- Install 4 AA batteries into the interior unit.
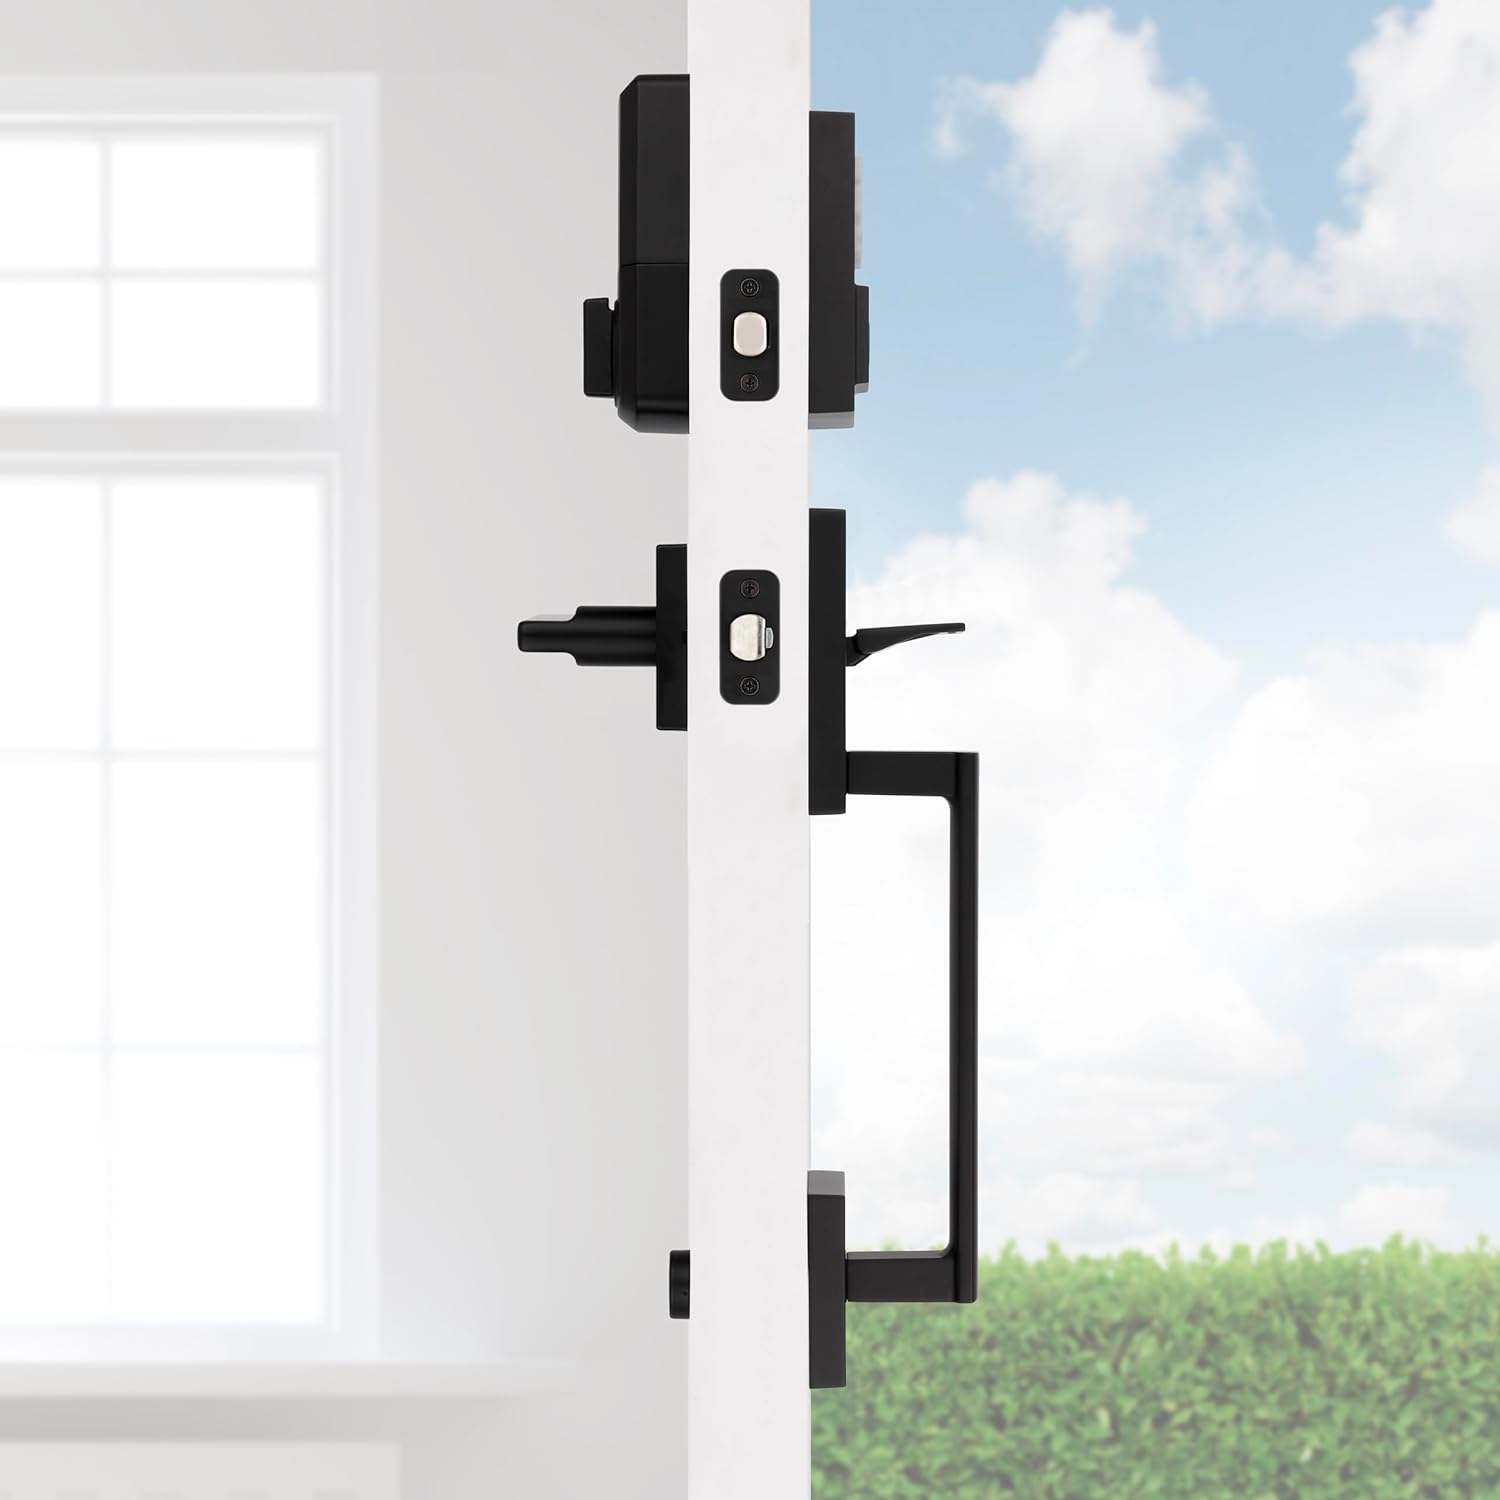
Figure 2: Side view of the handleset and interior lever installed on a door, demonstrating how the components fit together.

Figure 3: The exterior handleset and keypad assembly, designed for use on entry doors.
5. Operating Instructions
5.1 Keyless Entry
To unlock the door using the keypad, simply enter your personalized 4-8 digit user code. The deadbolt will retract, allowing you to open the door. To lock the door, press the 'Lock' button on the keypad.

Figure 4: A hand interacting with the keypad for keyless entry, highlighting the convenience and security.
5.2 Multiple User Access Codes
The SmartCode lock supports up to 50 unique user access codes, allowing you to provide personalized access to family members, friends, or service providers. It also features a master code option for enhanced security and programming control.
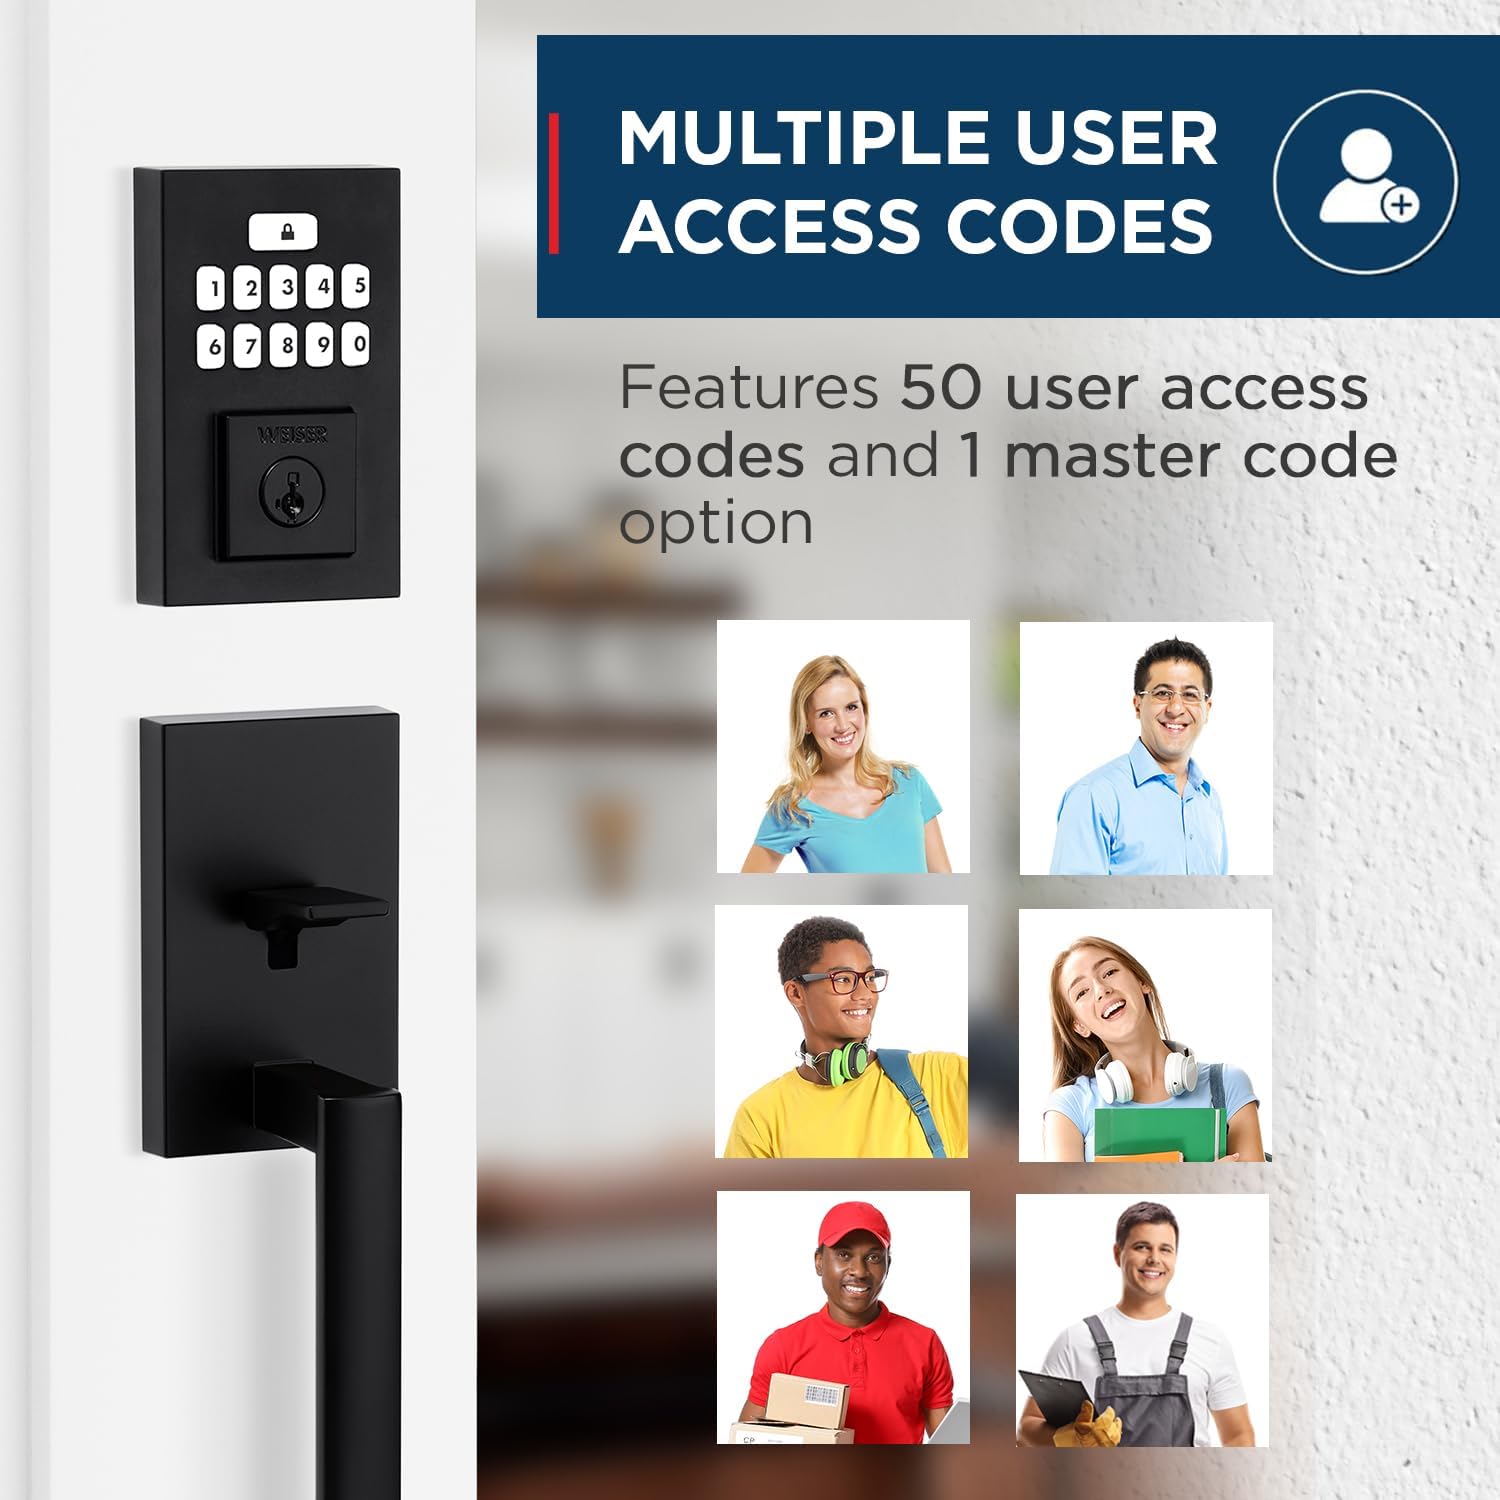
Figure 5: Visual representation of the multiple user access code feature, illustrating the ability to assign unique codes to various individuals.
5.3 Auto-Lock Feature
For added peace of mind, the auto-lock feature can be enabled. When activated, the deadbolt will automatically re-lock itself after a set period (typically 30 seconds) once it has been unlocked. This ensures your door is always secured, even if you forget to lock it manually.
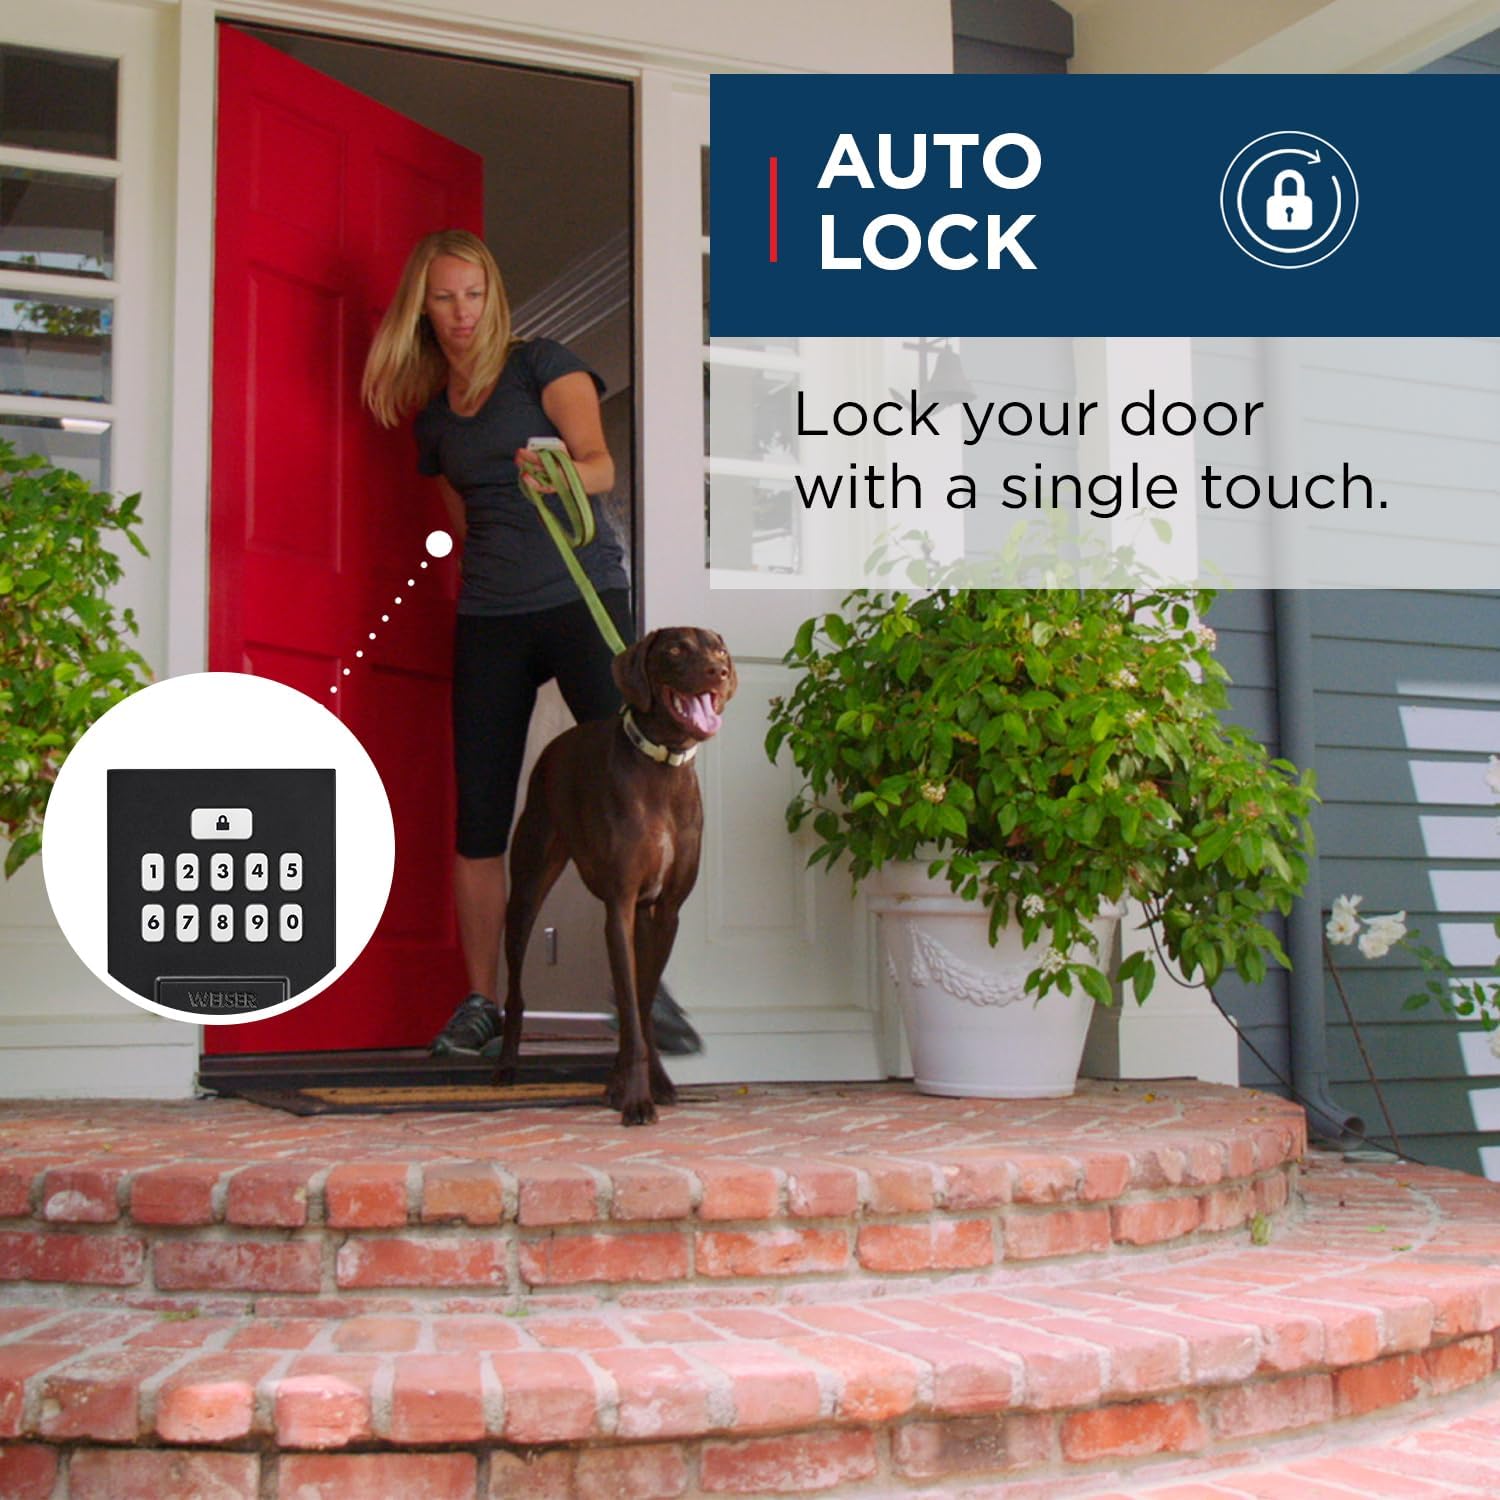
Figure 6: An illustration of the auto-lock feature, showing the convenience of the lock automatically securing the door after entry.
5.4 SmartKey Technology
The SmartCode lock incorporates Weiser's SmartKey re-key technology. This feature allows you to re-key your lock in seconds, providing control over who has access and protecting against lost, stolen, or unauthorized keys. This is particularly useful if you move, lose a key, or wish to have all your Weiser locks operate with a single key.
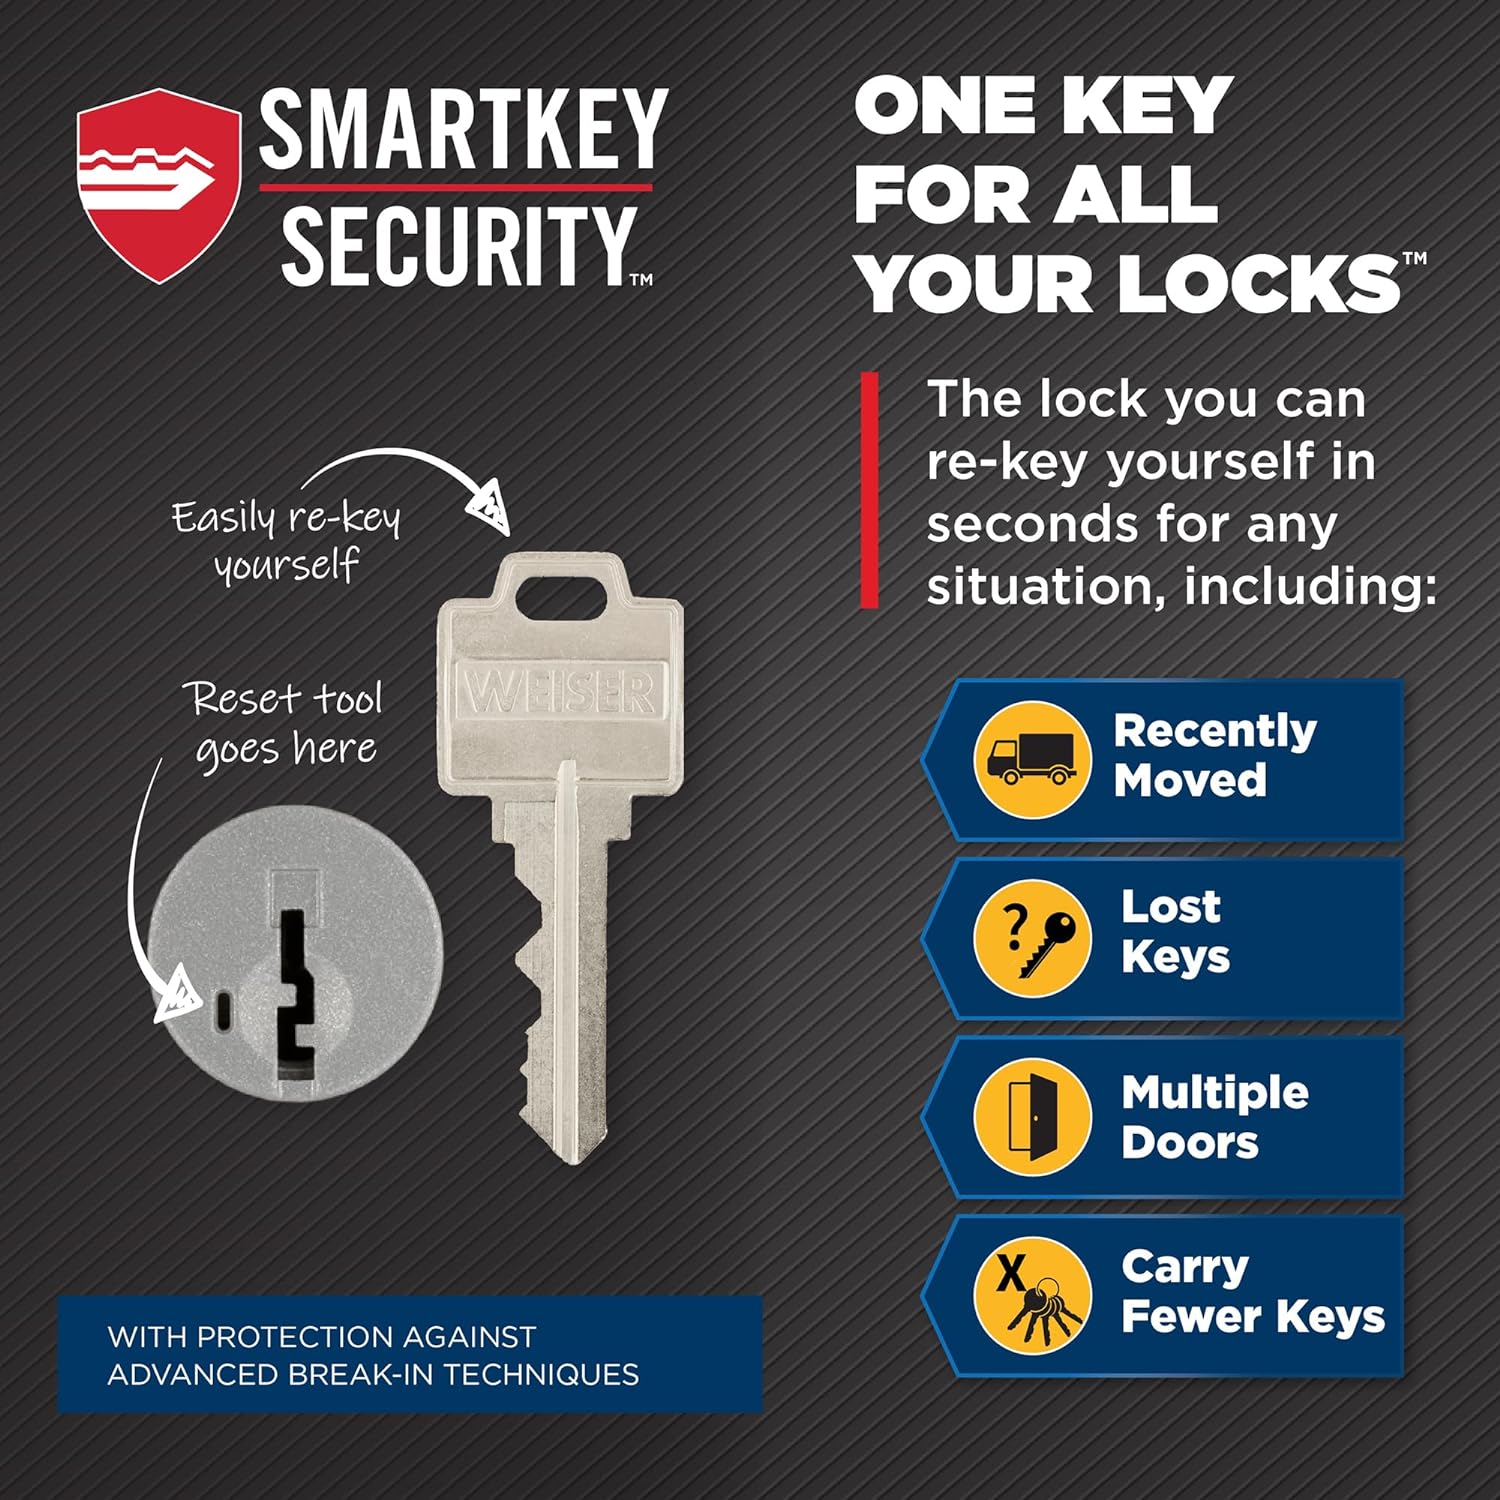
Figure 7: A diagram explaining the SmartKey Security feature, demonstrating how to easily re-key the lock using the provided tool.
6. Maintenance
6.1 Cleaning
To clean the lock's exterior, use a soft, damp cloth. Avoid abrasive cleaners, solvents, or harsh chemicals, as these can damage the finish and electronic components.
6.2 Battery Replacement
The lock operates on 4 AA batteries. When the batteries are low, the lock will provide an audible and/or visual low battery warning. Replace all four batteries simultaneously with new, high-quality alkaline AA batteries. Ensure correct polarity during installation.
7. Troubleshooting
If you encounter issues with your Weiser SmartCode lock, refer to the following common problems and solutions:
| Problem | Possible Cause | Solution |
|---|---|---|
| Lock does not respond to keypad entry. | Low or dead batteries. Incorrect code entered. | Replace batteries. Verify the user code. |
| Lock makes a sound but does not lock/unlock. | Deadbolt is jammed or misaligned. | Check for obstructions in the door frame or strike plate. Ensure the deadbolt extends and retracts smoothly. |
| Cannot program new user codes. | Incorrect programming sequence. Master code not used. | Refer to the programming section of the full manual (or BILT app) for correct steps. Ensure you are using the master code if required. A factory reset may be necessary if programming issues persist. |
| Auto-lock feature not working. | Feature is disabled. | Enable the auto-lock feature through the programming steps outlined in the full manual. |
For more complex issues or if troubleshooting steps do not resolve the problem, please contact Weiser customer support.
8. Specifications
| Feature | Detail |
|---|---|
| Model Number | 9GLA92600-004 |
| Product Dimensions | 11.5 x 7 x 7 cm; 454 g |
| Colour | Matte Black |
| Style | San Clemente x Smartcode |
| Material | Metal |
| Power Source | 4 AA Batteries (not included) |
| Keypad Design | 10-button |
| User Access Codes | Up to 50 |
| Special Features | SmartKey Security, Mastercode feature, Motorized Lock/Unlock |
| Door Thickness Compatibility | 1-3/8" to 1-3/4" |
| Backset | Adjustable (2-3/8" or 2-3/4") |
| Country of Origin | China |
9. Warranty and Support
9.1 Warranty Information
This Weiser SmartCode Keypad Door Lock and Handle Set comes with a 1-year warranty. Please retain your proof of purchase for warranty claims. The warranty covers defects in material and workmanship under normal use.
9.2 Customer Support
For technical assistance, warranty claims, or additional information, please visit the official Weiser website or contact their customer service department. Contact details can typically be found on the Weiser brand store page or included documentation.


