
1. Product Overview
The Weiser SmartCode Touchpad Electronic Deadbolt provides keyless entry convenience and enhanced security for your home. This electronic lock allows access using a personalized code or a traditional key, featuring a 10-button backlit keypad and SmartKey re-key technology.
Key Features:
- Fast and quiet motorized deadbolt with one-touch locking.
- Supports up to 50 user codes and 1 master code.
- Touchpad with bright LED illumination, tactile feedback, and fingerprint resistance.
- SmartKey Security for re-keying the lock in seconds.
- Designed for standard doors 1-3/8" to 1-3/4" thick with adjustable backset (2-3/8" or 2-3/4").
- Weather resistant design.
2. Important Safety Information
- Read all instructions completely before installation and operation.
- Protect your user codes and master code. Restrict access to your lock's interior components and regularly check your user codes.
- Do not use excessive force when operating the lock.
- Ensure the door frame is secure and the strike plate is properly installed for optimal security.
- Use only AA alkaline batteries. Do not mix old and new batteries or different types of batteries.
3. Package Contents
Verify that all components are present before beginning installation.

Figure 3.1: Package Contents. This image displays the exterior deadbolt, interior deadbolt, adjustable latch, strike plate, collar, mounting plate, installation hardware (screws), 2 Weiser keys, a SmartKey tool, and the installation guide.
Included Components:
- Exterior Deadbolt Assembly
- Interior Deadbolt Assembly
- Adjustable Latch
- Strike Plate
- Collar
- Mounting Plate
- Installation Hardware (screws)
- 2 Weiser Keys
- SmartKey Tool
- Installation Manual (this document)
4. Setup and Installation
For detailed, interactive 3D instructions, consider using the free BILT app. This section provides a general overview of the installation process.
4.1 Door Preparation and Compatibility
Ensure your door meets the following specifications:
- Door thickness: 1-3/8" to 1-3/4" (35 mm - 44 mm).
- Backset: Adjustable for 2-3/8" (60 mm) or 2-3/4" (70 mm).
- Cross bore hole: 2-1/8" (54 mm).
- Edge bore hole: 1" (25 mm).

Figure 4.1: Easy Installation. The image depicts the installation process of the deadbolt, emphasizing its user-friendly design.
4.2 Mechanical Installation
- Install the latch into the door edge, ensuring the correct backset is selected.
- Install the strike plate on the door frame.
- Install the exterior keypad assembly, feeding the cable through the cross bore hole.
- Install the interior mounting plate.
- Connect the cable from the exterior assembly to the interior assembly.
- Secure the interior assembly to the mounting plate.
4.3 Battery Installation
The lock requires four (4) AA alkaline batteries (not included). Ensure the batteries are inserted with the correct polarity.

Figure 4.2: Battery Installation. This image illustrates the location of the battery compartment and the four AA batteries required for operation.
4.4 Door Handing Process
After battery installation, the lock will automatically perform a door handing process to learn the orientation of your door. This is crucial for proper operation. If the lock does not perform this automatically, refer to the troubleshooting section or the full installation manual for manual initiation.
5. Operating Instructions
5.1 Locking the Door
From the exterior, press the Lock button once. The deadbolt will extend to lock the door.
From the interior, turn the thumb-turn to the vertical position to lock the door.
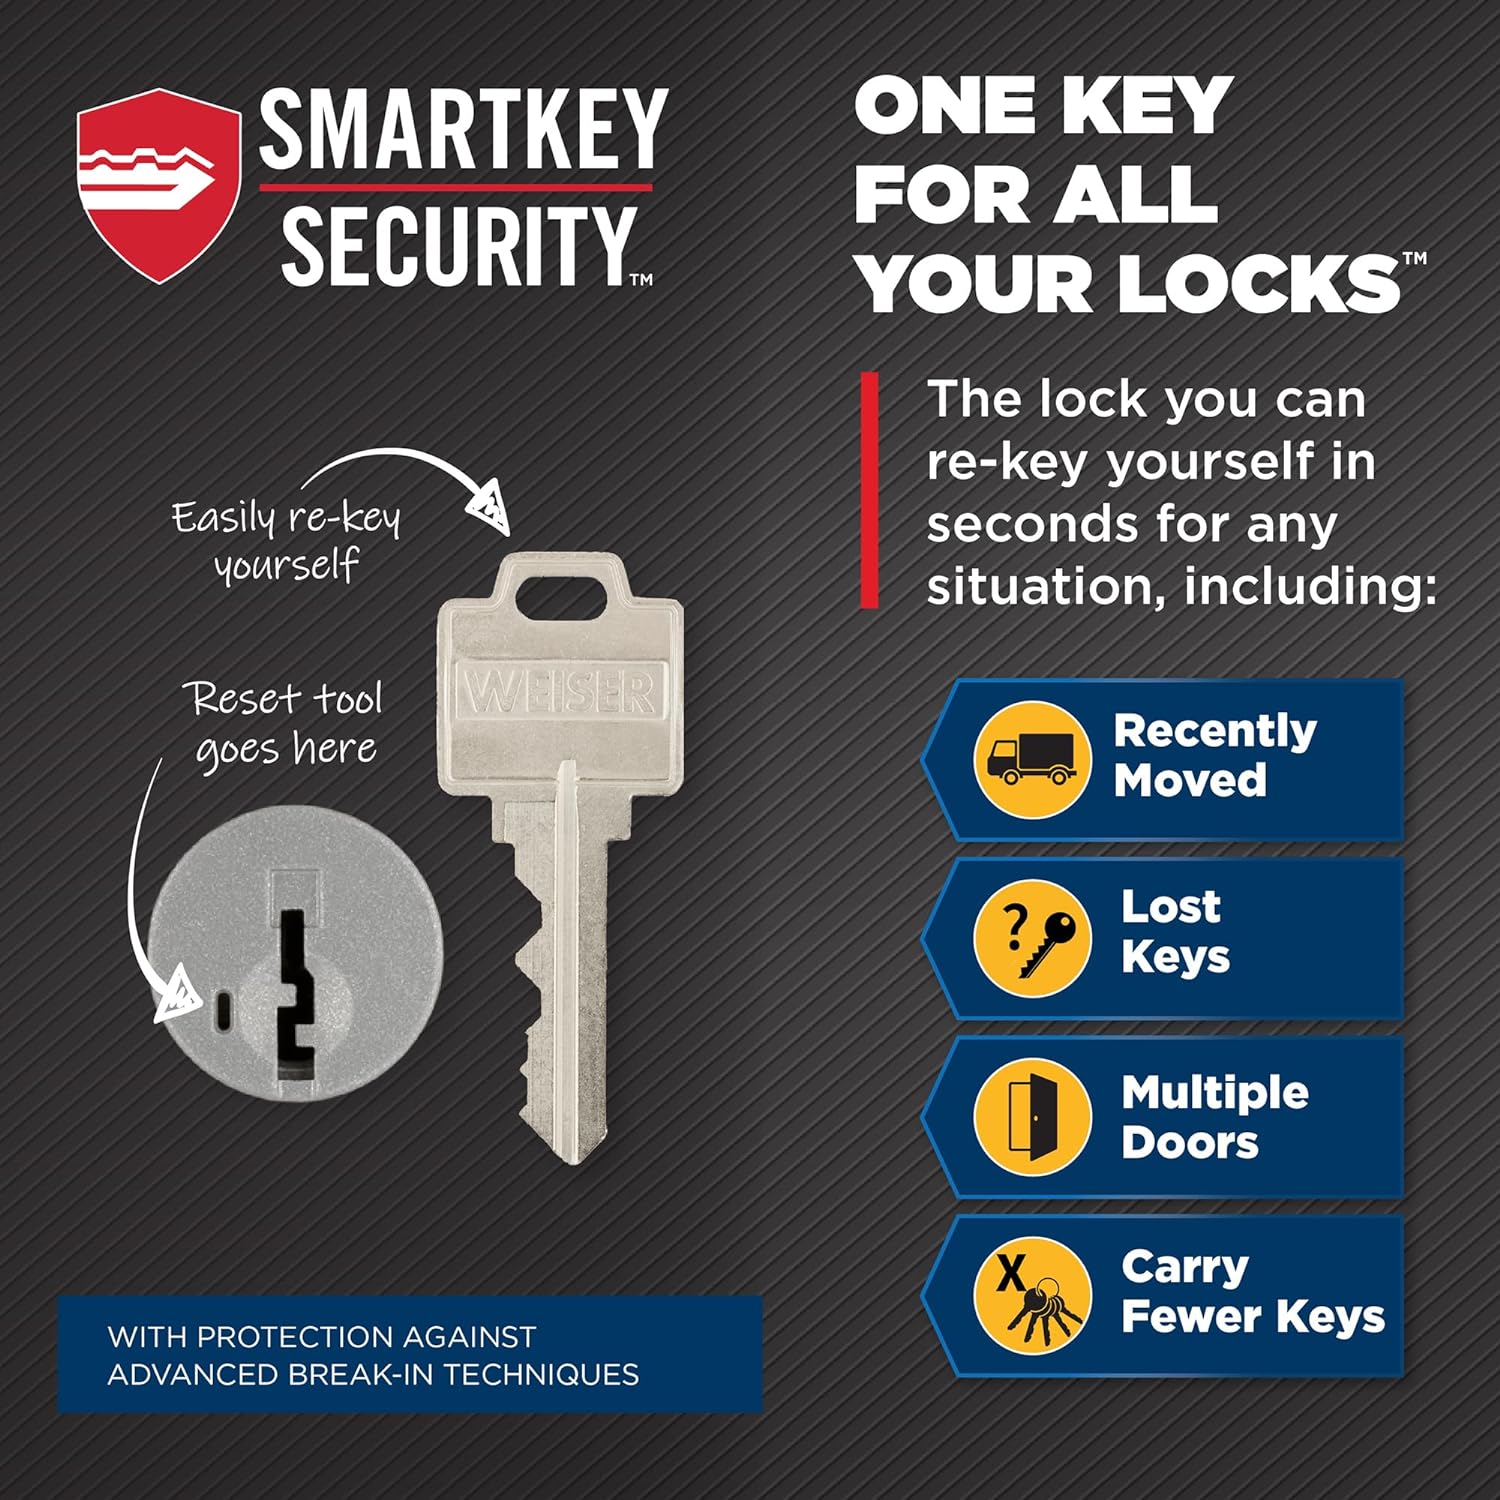
Figure 5.1: Keyless Entry. A hand is shown interacting with the keypad to lock or unlock the door using a code.
5.2 Unlocking the Door
From the exterior, enter your 4-8 digit user code on the keypad. The deadbolt will retract to unlock the door.
From the interior, turn the thumb-turn to the horizontal position to unlock the door.
5.3 Auto-Lock Feature
The lock features an auto-lock function that automatically re-locks the door after a set period (typically 30 seconds) once it has been unlocked. This feature can be enabled or disabled and its delay time adjusted through programming.

Figure 5.2: Auto-Lock in Action. This image demonstrates the convenience of the auto-lock feature, securing the door automatically after entry.
5.4 Programming User Codes
The lock supports up to 50 unique user codes. A master code is required to add or delete user codes.

Figure 5.3: Multiple User Access Codes. This image highlights the feature allowing up to 50 user codes and one master code for flexible access management.
To Add a User Code:
- Enter your Master Code.
- Press the Program button (usually located on the interior assembly).
- Enter a new 4-8 digit User Code.
- Press the Lock button.
To Delete a User Code:
- Enter your Master Code.
- Press the Program button.
- Enter the User Code you wish to delete.
- Press the Lock button.
Refer to the full installation manual for advanced programming options, including temporary codes and vacation mode.
6. Maintenance
6.1 Battery Replacement
When the batteries are low, the lock will provide an audible and/or visual indicator. Replace all four AA alkaline batteries promptly to ensure continuous operation. Refer to Section 4.3 for battery installation instructions.
6.2 Cleaning
Clean the lock with a soft, damp cloth. Avoid abrasive cleaners or solvents, as these can damage the finish and electronic components.
7. SmartKey Re-keying
The SmartKey Security feature allows you to re-key your lock to a new key in seconds, without removing the lock from the door. This is useful if you move, lose keys, or want to use a single key for multiple Weiser SmartKey locks.

Figure 7.1: SmartKey Re-keying. This image shows the SmartKey cylinder, a Weiser key, and the SmartKey tool, illustrating how to re-key the lock.
To Re-key Your Lock:
- Insert your functioning key fully into the cylinder.
- Rotate the key 90 degrees clockwise.
- Insert the SmartKey tool firmly into the small hole on the cylinder.
- Remove the SmartKey tool.
- Remove your functioning key.
- Insert your new key fully into the cylinder.
- Rotate the new key 90 degrees counter-clockwise.
- Remove the new key. The lock is now re-keyed.
8. Troubleshooting
If you encounter issues with your SmartCode deadbolt, refer to the following common solutions:
| Problem | Possible Cause | Solution |
|---|---|---|
| Lock does not respond or keypad is dark. | Dead batteries. | Replace all four AA alkaline batteries. |
| Lock beeps 5 times and does not lock/unlock. | Door handing process not completed or mechanical binding. | Ensure the door handing process was successful. Check for any obstructions or misalignment that prevent the deadbolt from extending/retracting smoothly. Re-run the door handing process if necessary. |
| User codes do not work. | Incorrect code entered, master code not set, or user code deleted. | Verify the user code. Ensure a master code has been programmed. Re-program user codes if needed. |
| Auto-lock not functioning. | Auto-lock feature is disabled or incorrect delay setting. | Enable the auto-lock feature and adjust the delay time through programming. |
| Keypad is difficult to see in low light. | Backlight setting may be off or batteries are low. | The keypad has a backlight that activates upon touch. Ensure batteries are not low. |
9. Specifications
| Feature | Detail |
|---|---|
| Model Number | 9GED92700-002 |
| Brand | Weiser |
| Lock Type | Electronic Deadbolt |
| Material | Metal |
| Color | Matte Black |
| Finish Type | Powder Coated |
| Item Dimensions (L x W x H) | 7.1 x 2.5 x 13.7 cm |
| Item Weight | 454 g |
| Power Source | 4 AA Batteries (Alkaline recommended) |
| User Codes | Up to 50 |
| Master Code | 1 |
| Special Features | Anti-Bump, Auto-Lock, Back-Lit Keypad, One-Touch Lock, Weather Resistant |
| ANSI Grade | Grade 2 Certified |

Figure 9.1: Product Dimensions. This diagram provides the measurements for the exterior and interior components of the deadbolt, including the adjustable latch backset.
10. Warranty Information
The Weiser SmartCode Touchpad Electronic Deadbolt is backed by a limited lifetime mechanical and finish warranty, and a 1-year warranty on electronic components. This warranty covers defects in material and workmanship under normal use. For full warranty details and claims, please refer to the official Weiser website or contact customer support.
11. Customer Support
For further assistance, technical support, or to inquire about warranty claims, please contact Weiser customer service. You can find contact information on the official Weiser website or within the packaging materials.
Online Resources:
- Official Weiser Website: www.weiserlock.com
- BILT App: Available on app stores for interactive installation guides.


