
MUBVIEW ZY-C8-5MP
MUBVIEW 5MP Outdoor Security Camera User Manual
Model: ZY-C8-5MP
1. Introduction
This manual provides detailed instructions for the installation, operation, and maintenance of your MUBVIEW 5MP Outdoor Security Camera (Model ZY-C8-5MP). Please read this manual thoroughly before using the product to ensure proper functionality and safety. Keep this manual for future reference.
2. Product Overview
2.1 Package Contents
- MUBVIEW 5MP Outdoor Security Camera
- Power Adapter
- Mounting Screws and Wall Plugs
- Waterproof Kit for Network Cable (if applicable)
- Quick Start Guide
2.2 Camera Components
Familiarize yourself with the main components of your security camera:

Figure 2.2.1: MUBVIEW 5MP Outdoor Security Camera. The image displays the camera unit with its dual antennas, lens, and LED lights, alongside a smartphone screen showing a live feed from the camera of a house.
- Camera Lens: Captures video footage.
- Infrared LEDs: Provide night vision capabilities.
- White Light LEDs: Enable full-color night vision and can act as a deterrent.
- Microphone: For audio input (two-way audio).
- Speaker: For audio output (two-way audio).
- Dual Antennas: For stable 2.4G WiFi connection.
- Power Port: Connects to the power adapter.
- Reset Button: Used to reset the camera to factory settings.
- SD Card Slot: For local storage (supports up to 128GB, SD card not included).

Figure 2.2.2: Connectivity and Durability. This image highlights the camera's support for 2.4GHz WiFi (not 5GHz) and its weatherproof design, indicating operation between -10°C/14°F and 60°C/140°F, suitable for outdoor use.
3. Setup
3.1 Installation
- Choose a Location: Select an outdoor location with a clear view of the area you wish to monitor and within range of your 2.4GHz Wi-Fi network. Ensure there is access to a power outlet.
- Mount the Camera:
- Use the provided mounting template (if included) to mark drill holes.
- Drill holes and insert wall plugs.
- Secure the camera base to the wall using the provided screws.
- Power Connection: Connect the power adapter to the camera and plug it into a power outlet.
- Waterproof Protection: For outdoor installations, use the waterproof kit to protect the network cable connection (if applicable) from moisture.
3.2 App Connection (2.4G WiFi)
The camera connects via 2.4GHz WiFi for a stable connection.

Figure 3.2.1: Stable WiFi Connection. This image illustrates the camera's 5dBi dual antennas designed for a more stable 2.4G WiFi connection, alongside a smartphone screen displaying device information including signal strength.
- Download the App: Search for the "MUBVIEW" app (or specified app in the Quick Start Guide) on your smartphone's app store (iOS or Android).
- Register/Login: Open the app and create an account or log in if you already have one.
- Add Device: Follow the in-app instructions to add your new camera. This typically involves:
- Powering on the camera and waiting for its indicator light to flash (indicating pairing mode).
- Scanning a QR code on the camera or manually selecting the device type.
- Connecting your phone to your 2.4GHz Wi-Fi network and entering the Wi-Fi password into the app.
- The app will then guide you through connecting the camera to your Wi-Fi.
- Name Your Camera: Assign a name to your camera for easy identification.
4. Operating Instructions
4.1 Live View and Pan/Tilt Control
Access the live feed from your camera through the MUBVIEW app. The camera offers 360° coverage with Pan (355° horizontal) and Tilt (90° vertical) functionality.
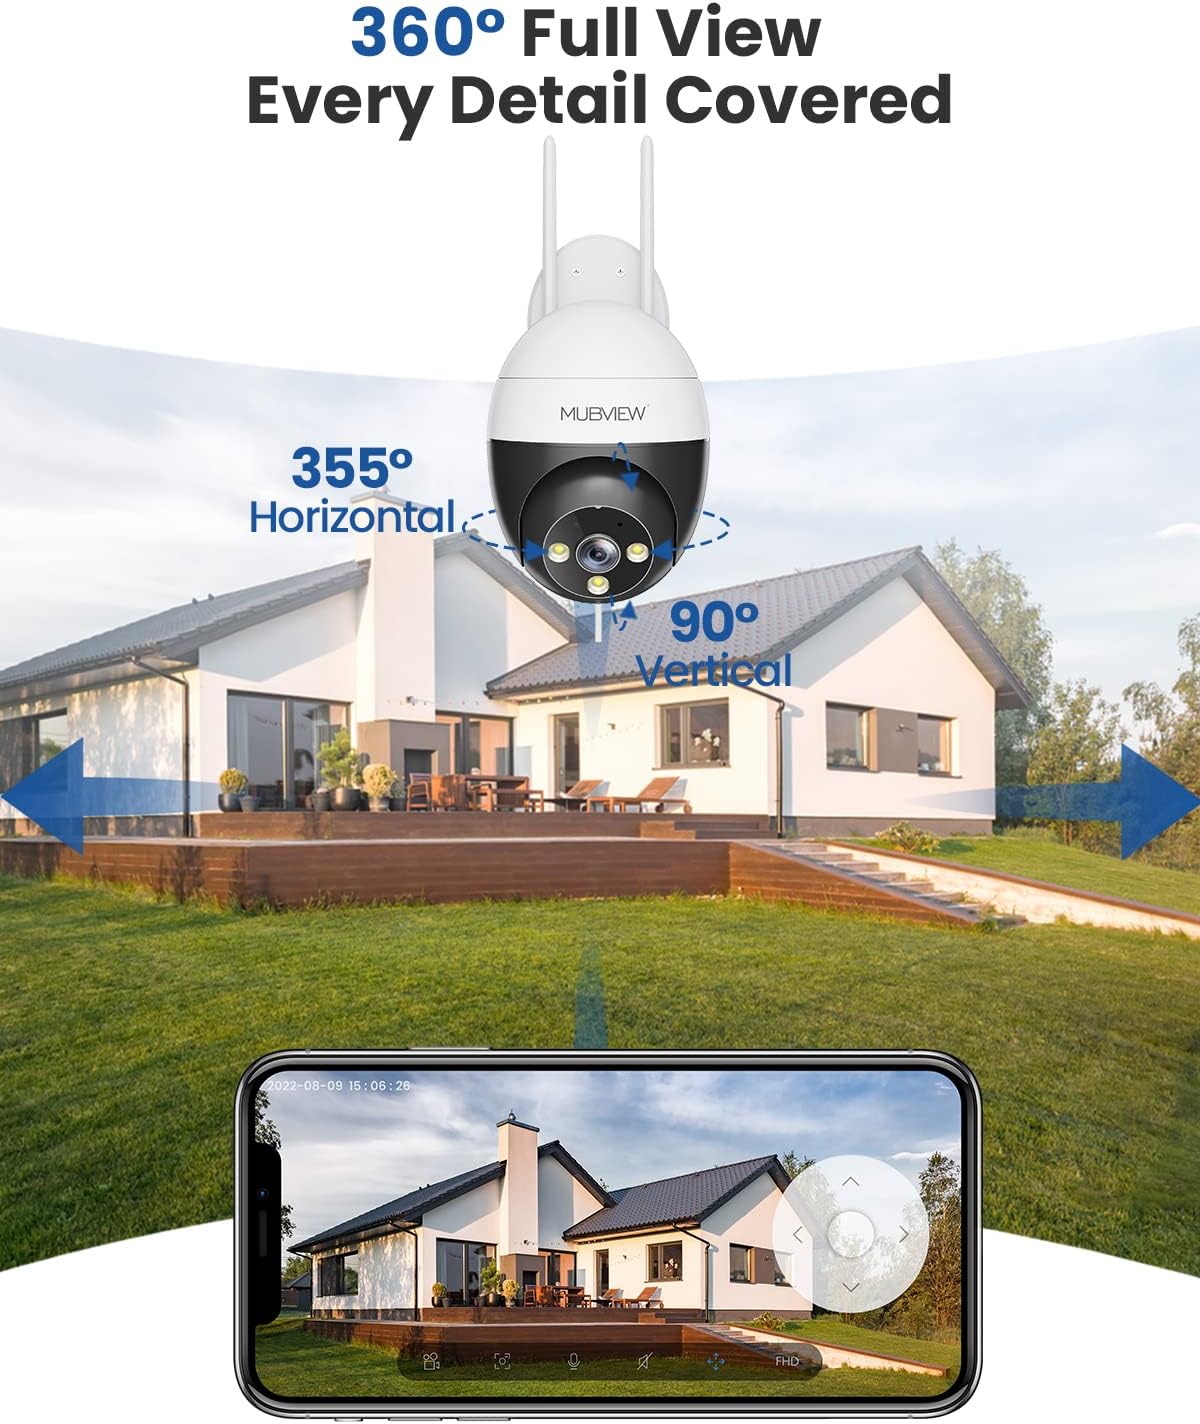
Figure 4.1.1: 360° Full View. This image demonstrates the camera's pan and tilt capabilities, offering 355° horizontal rotation and 90° vertical rotation for comprehensive area coverage.
- In the app's live view, use the directional controls to pan the camera horizontally and tilt it vertically to adjust the viewing angle.
- You can save preset positions for quick access to specific areas.
4.2 Human Detection and Auto Tracking
The camera is equipped with advanced human detection and auto-tracking features to enhance security.

Figure 4.2.1: Auto Tracking in Action. This image shows the camera's auto-tracking feature, capturing the movement of a child playing soccer and generating an alert message for motion detection.
- Human Detection: The camera can differentiate between human shapes and other moving objects, reducing false alarms. Enable this feature in the app settings.
- Auto Tracking: When a human is detected, the camera can automatically pan and tilt to follow their movement within its field of view.
- Alerts: Configure push notifications in the app to receive alerts when motion or human detection is triggered.
4.3 Night Vision and Full Color Night Vision
The camera provides clear surveillance even in low-light conditions.
- Infrared Night Vision: Automatically switches to black and white infrared mode in darkness for clear visibility.
- Full Color Night Vision: Utilizes built-in white light LEDs to provide color images at night when sufficient light is detected or can be manually activated.
- Adjust night vision settings (e.g., auto, infrared, full color) within the app.
4.4 Two-Way Audio
Communicate with visitors or deter intruders using the camera's built-in microphone and speaker.
- In the live view, tap the microphone icon to speak through the camera's speaker.
- Tap the speaker icon to listen to audio from the camera's surroundings.
4.5 24/7 Recording and Storage
The camera supports continuous recording and various storage options.

Figure 4.5.1: Recording Options. This image highlights the camera's 24/7 recording capability, offering a free 7-day cloud service and support for local storage via an SD card up to 128GB (not included).
- Local Storage: Insert a microSD card (up to 128GB, not included) into the camera's SD card slot for continuous or event-based recording.
- Cloud Storage: The camera offers a free 7-day cloud service for event recording. Additional cloud storage plans may be available through the app.
- Playback: Access recorded footage via the app's "History" or "Cloud" sections.
5. Maintenance
- Cleaning: Regularly wipe the camera lens with a soft, dry cloth to ensure clear image quality. Do not use harsh chemicals.
- Firmware Updates: Check the app periodically for firmware updates. Keeping your camera's firmware up-to-date ensures optimal performance and security.
- Power Supply: Ensure the power adapter and cable are free from damage.
- Network Connection: Verify your Wi-Fi signal strength periodically to ensure a stable connection.
6. Troubleshooting
| Problem | Possible Solution |
|---|---|
| Camera offline/Cannot connect to Wi-Fi |
|
| Poor image quality |
|
| Motion detection alerts are too frequent/infrequent |
|
| Two-way audio not working |
|
7. Specifications
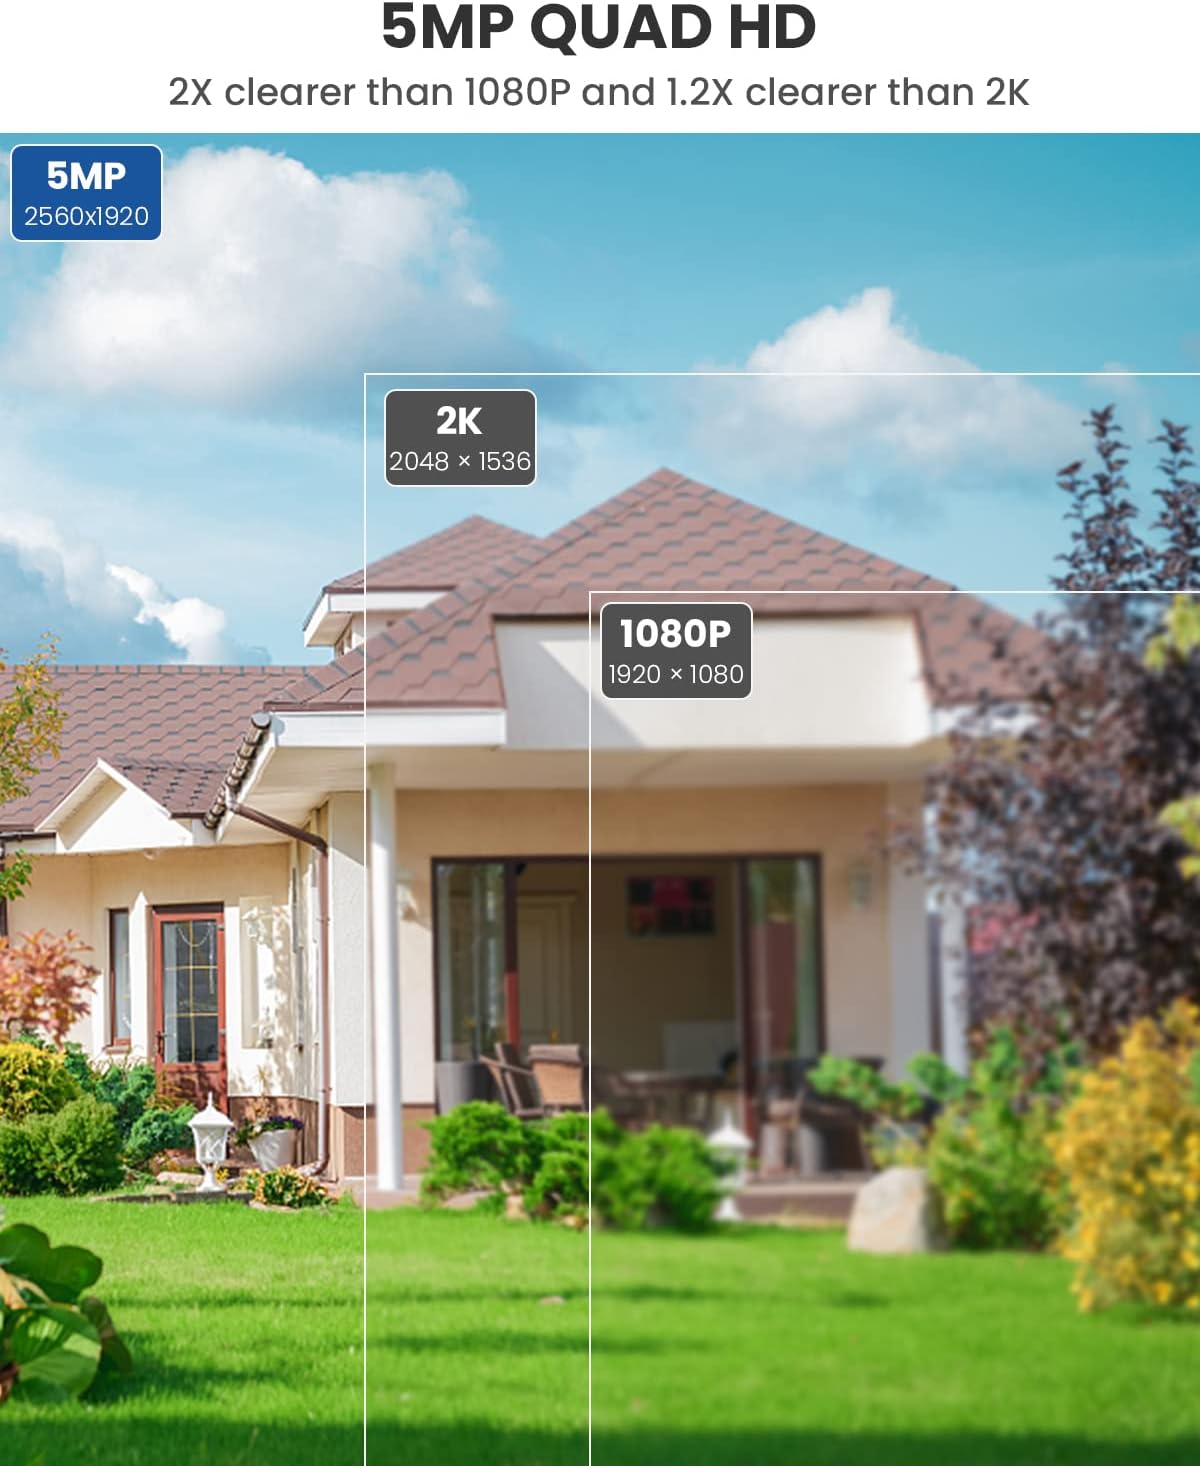
Figure 7.1.1: 5MP Quad HD Resolution. This image visually compares the clarity of 5MP (2560x1920) resolution, stating it is 2X clearer than 1080P and 1.2X clearer than 2K (2048x1536).
| Feature | Detail |
|---|---|
| Model Number | ZY-C8-5MP |
| Resolution | 5MP (2560x1920) |
| Pan/Tilt Range | 355° Horizontal, 90° Vertical |
| Connectivity | 2.4GHz Wi-Fi (IEEE 802.11b/g/n) |
| Night Vision | Infrared Night Vision, Full Color Night Vision |
| Audio | Two-Way Audio (Built-in Microphone & Speaker) |
| Storage Options | MicroSD Card (up to 128GB, not included), Cloud Storage |
| Special Features | Human Detection, Auto Tracking |
| Power Source | Corded Electric (10 watts) |
| Operating Temperature | -10°C to 60°C (14°F to 140°F) |
| Material | Metal |
| Dimensions (L x W x H) | 8 x 6 x 10 cm |
| Weight | 599 g |
8. Warranty and Support
For warranty information and technical support, please refer to the warranty card included in your product packaging or visit the official MUBVIEW website. You may also contact MUBVIEW customer service through the contact information provided in the app or on their website.
Related documentsZY-C8-5MP


Ask a question about this manual
Ask about setup, troubleshooting, compatibility, parts, safety, or missing instructions. Manuals+ will review the question and use this page’s manual context to help answer it.