1. Introduction
This manual provides essential information for the safe and efficient installation, operation, and maintenance of your Ideal Standard Wall-Mounted Toilet Bowl, Model T459201. Please read these instructions carefully before installation and retain them for future reference.
The Ideal Standard T459201 is a compact, wall-mounted toilet bowl designed to optimize space in modern bathrooms. It features RimLS+ technology for enhanced hygiene and ease of cleaning. This product is manufactured from high-quality ceramic, ensuring durability and compliance with British and European standards.

Figure 1: Front view of the Ideal Standard T459201 wall-mounted toilet bowl, showcasing its compact and modern design.
2. Safety Information
WARNING: Installation should only be performed by a qualified professional plumber or installer. Improper installation can lead to water damage, product failure, or injury.
- Always turn off the main water supply before beginning any installation or maintenance work.
- Wear appropriate personal protective equipment (PPE), such as gloves and eye protection, during installation.
- Handle ceramic components with care to prevent chipping or breakage.
- Ensure all connections are watertight to prevent leaks.
- Do not use abrasive cleaners or tools that could damage the ceramic surface.
3. Package Contents
Verify that all components are present and undamaged before beginning installation.
- Ideal Standard Wall-Mounted Toilet Bowl (Model T459201)
- Hidden Fixing Kit for wall mounting
Note: Toilet seat, cistern, and flush plate are sold separately and are not included with this toilet bowl.
4. Specifications
| Feature | Specification |
|---|---|
| Brand | Ideal Standard |
| Model Number | T459201 |
| Material | Ceramic |
| Color | White |
| Mounting Type | Wall-mounted |
| Shape | D-shape |
| Product Dimensions (L x W x H) | 48 cm x 35.5 cm x 33.5 cm |
| Item Weight | 21.1 Kilograms |
| Flush Technology | RimLS+ |

Figure 2: Technical drawing showing detailed dimensions and mounting points for the T459201 toilet bowl.
5. Setup and Installation
This wall-mounted toilet bowl requires a compatible concealed cistern and a robust wall-mounting frame (not included). Refer to the installation instructions provided with your chosen cistern and frame for specific details.
5.1 Pre-Installation Checks
- Ensure the wall-mounting frame is securely installed and level according to the manufacturer's instructions.
- Verify that the water supply and waste connections are correctly positioned and accessible.
- Check that the included hidden fixing kit components are all present.
5.2 Installation Steps (General Guide)
- Prepare Connections: Attach the waste pipe and water inlet pipe to the corresponding outlets on the concealed cistern/frame, ensuring a secure and watertight seal.
- Mount the Bowl: Carefully lift the toilet bowl and align it with the threaded rods protruding from the wall-mounting frame. Slide the bowl onto the rods.
- Secure the Bowl: Use the hidden fixing kit to secure the toilet bowl to the threaded rods. Tighten the nuts evenly until the bowl is firmly in place, but do not overtighten to avoid cracking the ceramic.
- Connect Water Supply: Connect the flexible water supply hose from the cistern to the toilet bowl's inlet, ensuring a watertight connection.
- Install Toilet Seat: Follow the manufacturer's instructions for installing your chosen toilet seat (sold separately).
- Test for Leaks: Turn on the main water supply and flush the toilet several times. Inspect all connections for any signs of leaks.
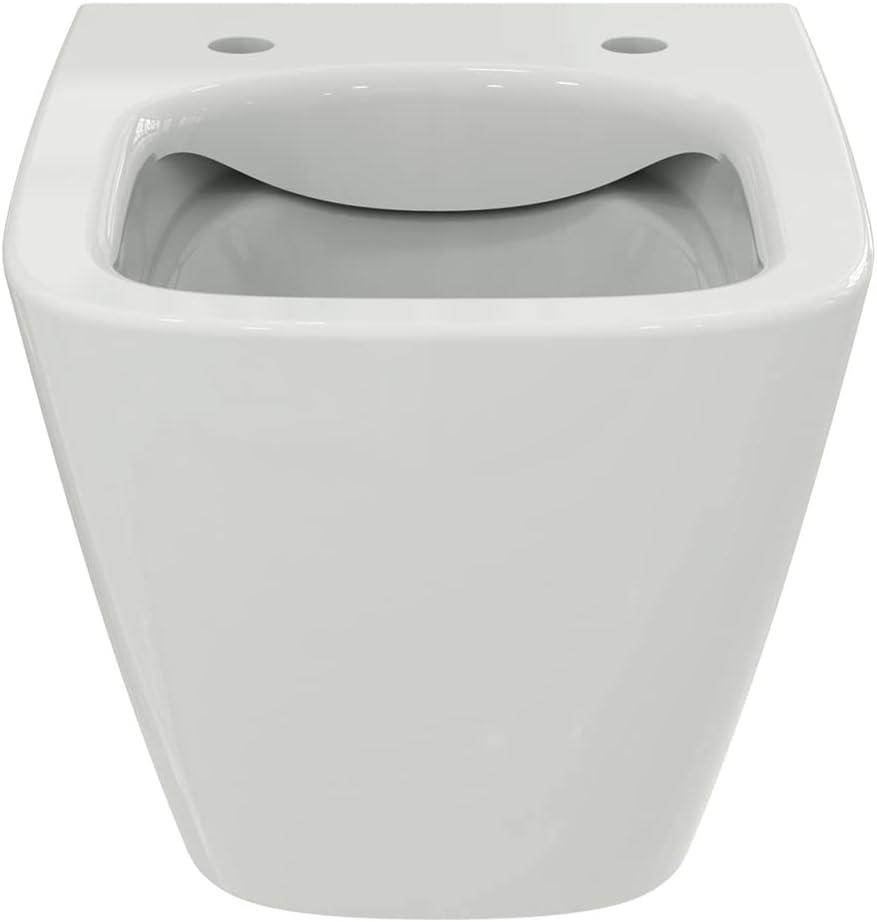
Figure 3: Side view of the T459201 toilet bowl, illustrating its wall-mounted profile.
6. Operating Instructions
The Ideal Standard T459201 toilet bowl operates in conjunction with a dual-flush concealed cistern (not included). The flush mechanism is activated via a flush plate (not included) mounted on the wall.
- Full Flush: Press the larger button on your flush plate for a full flush (typically 6 liters) for solid waste.
- Half Flush: Press the smaller button on your flush plate for a reduced flush (typically 3 liters) for liquid waste, conserving water.
The RimLS+ technology ensures a powerful and thorough cleaning of the entire bowl with each flush, preventing bacteria buildup and maintaining hygiene.

Figure 4: Diagram explaining the RimLS+ technology, showing how water is directed for a comprehensive bowl clean.
7. Maintenance and Cleaning
Regular cleaning will help maintain the appearance and hygiene of your toilet bowl.
7.1 Daily Cleaning
- Wipe the exterior and interior surfaces of the bowl with a soft cloth and a mild, non-abrasive bathroom cleaner.
- Rinse thoroughly with clean water and dry with a soft cloth to prevent water spots.
7.2 Deep Cleaning (as needed)
- For stubborn stains, use a ceramic-safe toilet bowl cleaner. Apply the cleaner, allow it to sit for the recommended time, then scrub with a toilet brush.
- Flush thoroughly to rinse the bowl.
7.3 Important Cleaning Notes
- DO NOT use abrasive powders, scouring pads, or harsh chemical cleaners (e.g., bleach, acid-based cleaners) as these can damage the ceramic glaze.
- The RimLS+ design makes the bowl easier to clean as there is no traditional rim for dirt and bacteria to hide.
8. Troubleshooting
If you encounter issues, refer to the following common problems and solutions. For complex issues, contact a qualified plumber.
| Problem | Possible Cause | Solution |
|---|---|---|
| Weak flush | Low water pressure, partial blockage in waste pipe, cistern issue. | Check water supply valve. Inspect waste pipe for obstructions. Consult cistern manual for troubleshooting. |
| Water leaking from connections | Loose connections, damaged seals. | Turn off water supply. Tighten connections. Replace worn or damaged seals. |
| Stains in bowl | Hard water deposits, insufficient cleaning. | Use a ceramic-safe toilet bowl cleaner and brush. Regular cleaning helps prevent buildup. |
9. Warranty and Support
Ideal Standard offers a lifetime warranty on all ceramic products, including this toilet bowl, against manufacturing defects. This product has been extensively tested and complies with BS EN 997 and BS EN 33 standards.
For warranty claims or technical support, please contact Ideal Standard customer service through their official website or your local distributor. Keep your proof of purchase for warranty validation.
Contact Information:
- Website: www.idealstandard.com (Please check for your regional website)
- Customer Service: Refer to the contact section on the Ideal Standard website for phone numbers and email addresses specific to your region.


