Setup and Assembly
1. Attaching the Safety Shield
- Align the safety shield with the mounting points on the trimmer head.
- Secure the shield using the provided screws and a screwdriver. Ensure it is firmly attached to prevent detachment during operation.
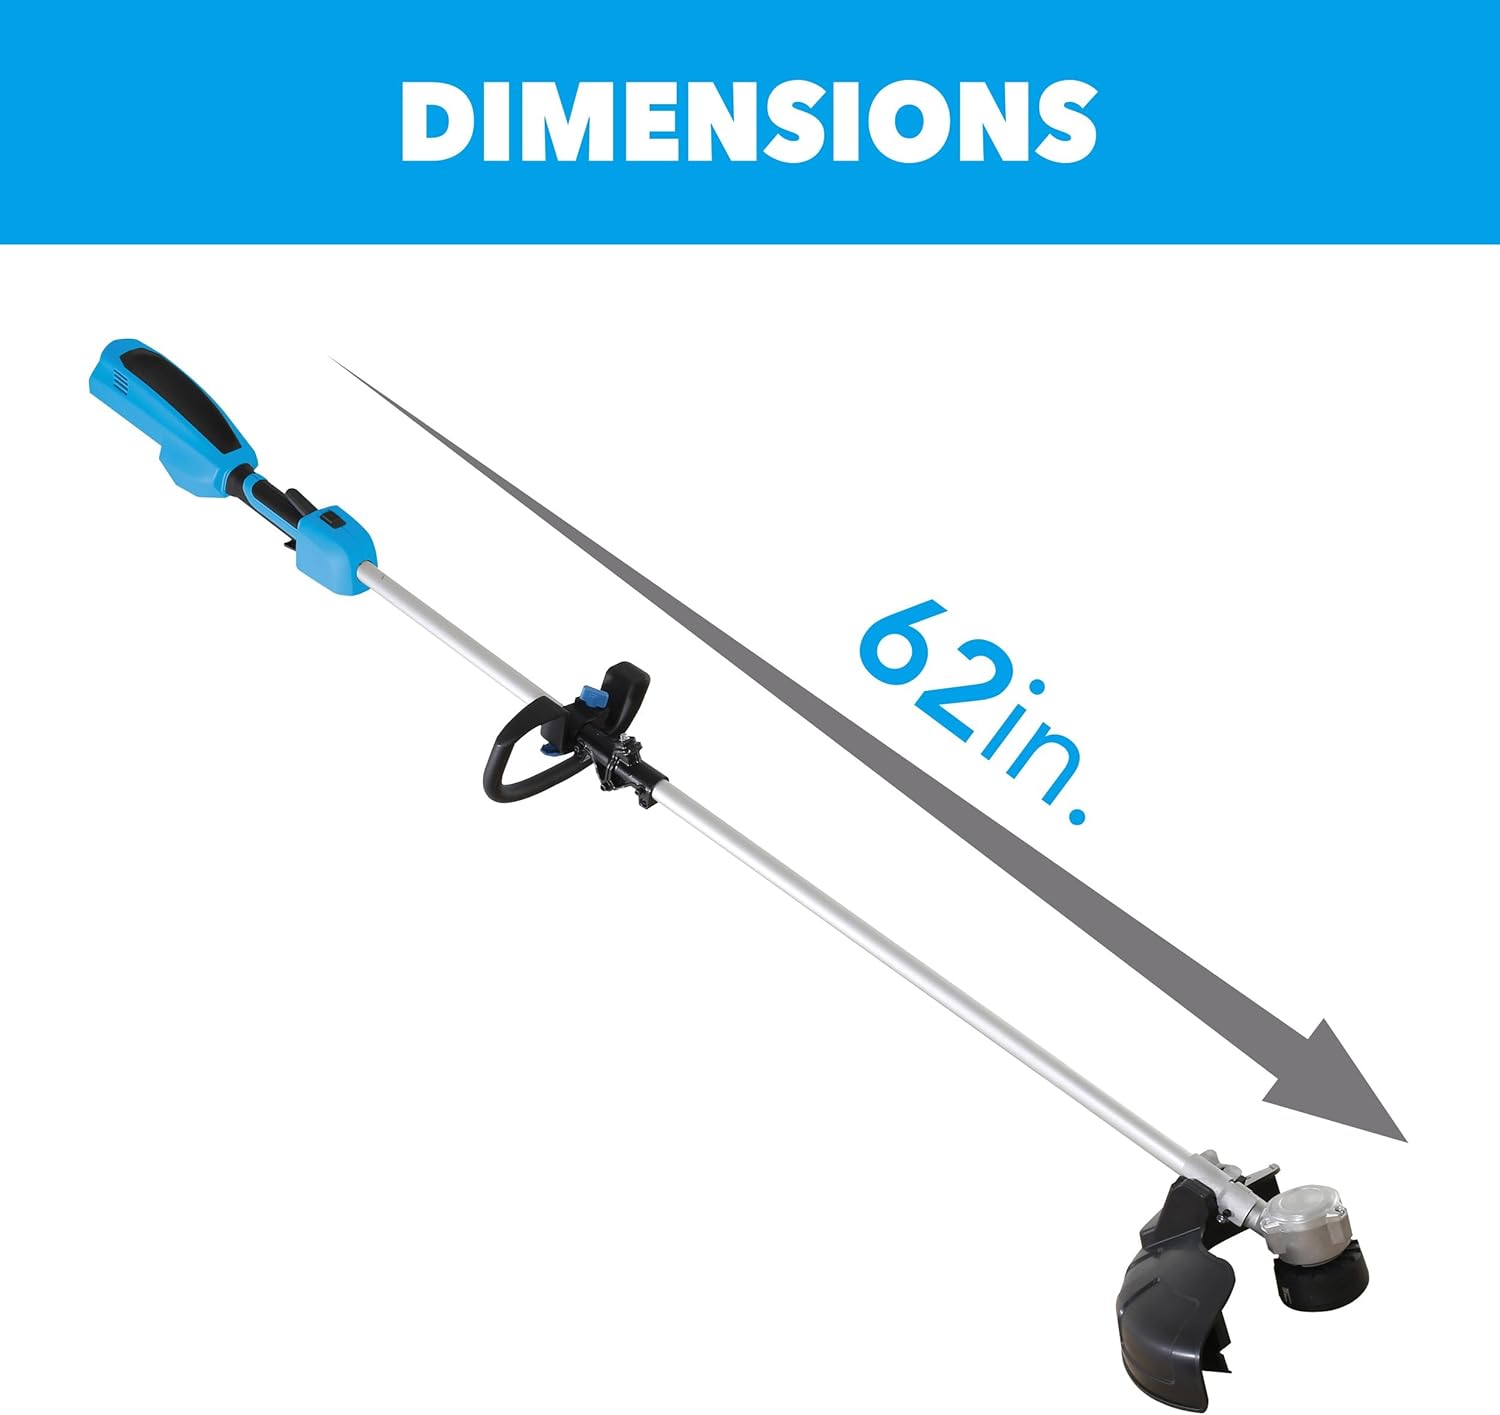
2. Assembling the Shaft
The trimmer features a collapsible shaft for easy storage. To assemble for use:
- Extend the shaft until it clicks into place, ensuring the locking mechanism is fully engaged.
- Verify that the shaft is securely locked and does not wobble.

Figure 3: Back view of the trimmer, showing the shaft connection point.
3. Charging and Installing the Battery
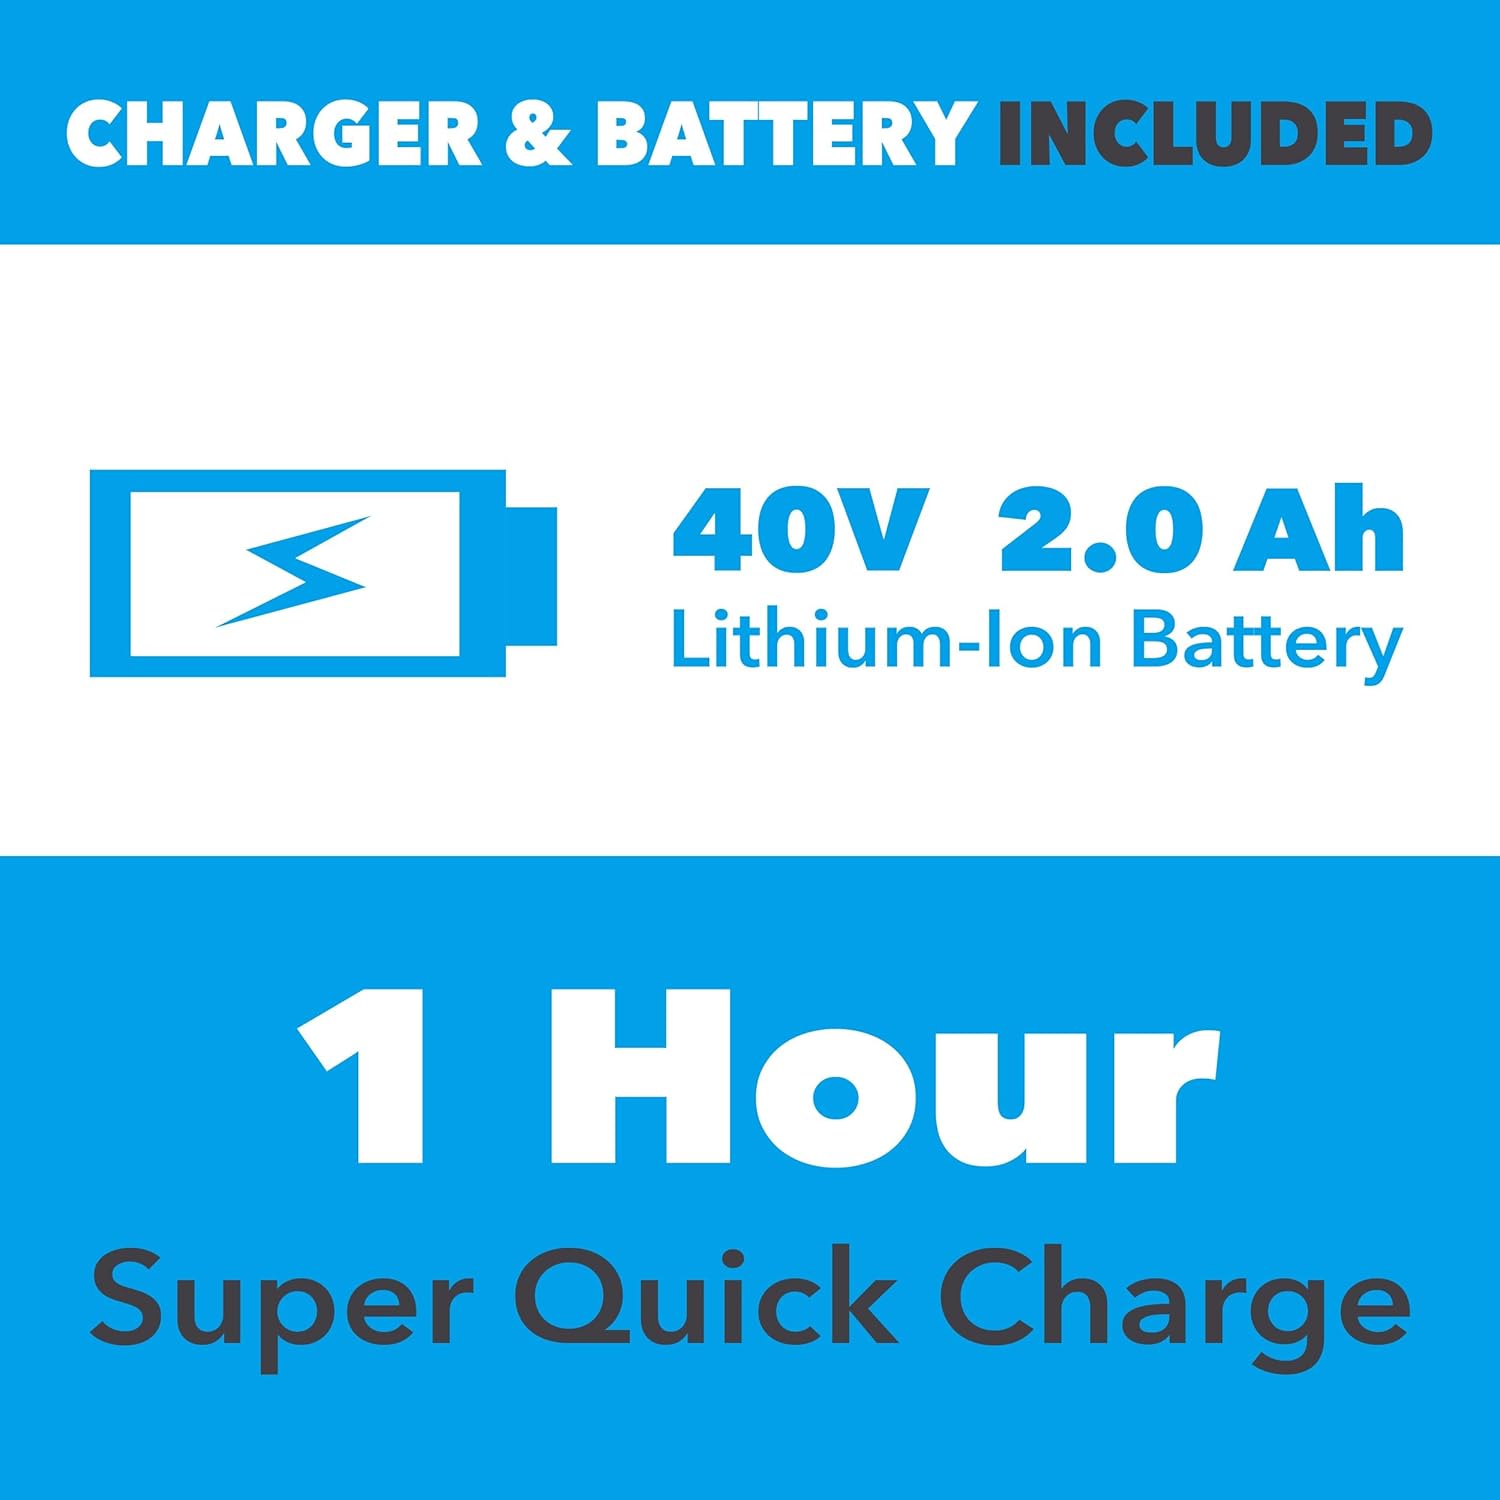
Your trimmer comes with a 40V 2.0 Ah Lithium-Ion Battery and charger.
- Before first use, fully charge the battery. Connect the charger to a power outlet and insert the battery. The indicator light will show charging status.
- Once fully charged, remove the battery from the charger.
- Insert the charged battery into the battery compartment on the trimmer handle until it clicks securely into place.

Figure 4: Proper insertion of the 40V Lithium-Ion battery into the trimmer.
The 40V 2.0 Ah Lithium-Ion Battery provides approximately 22 minutes of run time and features a super quick charge of 1 hour.
Maintenance
Regular maintenance ensures optimal performance and extends the life of your trimmer.
Cleaning
- After each use, remove the battery and clean the trimmer head and safety shield of any grass clippings or debris.
- Use a damp cloth to wipe down the exterior of the tool. Do not use harsh chemicals or abrasive cleaners.
- Ensure all air vents are clear of obstructions to prevent overheating.
Trimmer Line Replacement
When the trimmer line wears down, it needs to be replaced. Refer to your specific model's instructions for detailed steps on how to reload the line. Always use the recommended line diameter for your trimmer.
Battery Care
- Store the battery in a cool, dry place away from direct sunlight and extreme temperatures.
- Do not store the battery fully discharged for extended periods. Charge it periodically if not in use.
Warranty and Support
For warranty information and customer support, please refer to the official Pulsar website or contact their customer service directly. Keep your purchase receipt for warranty claims.
Optional protection plans are available for purchase:
- 2-Year Protection Plan: $16.99
- 3-Year Protection Plan: $23.99
For further assistance, visit the Pulsar Store on Amazon.