Introduction
Thank you for choosing the Phomemo P12 PRO Wireless Bluetooth Label Maker. This portable mini label printer is designed for ease of use with your smartphone, offering multiple templates for home and office organizing. This manual provides detailed instructions for setting up, operating, maintaining, and troubleshooting your device to ensure optimal performance.
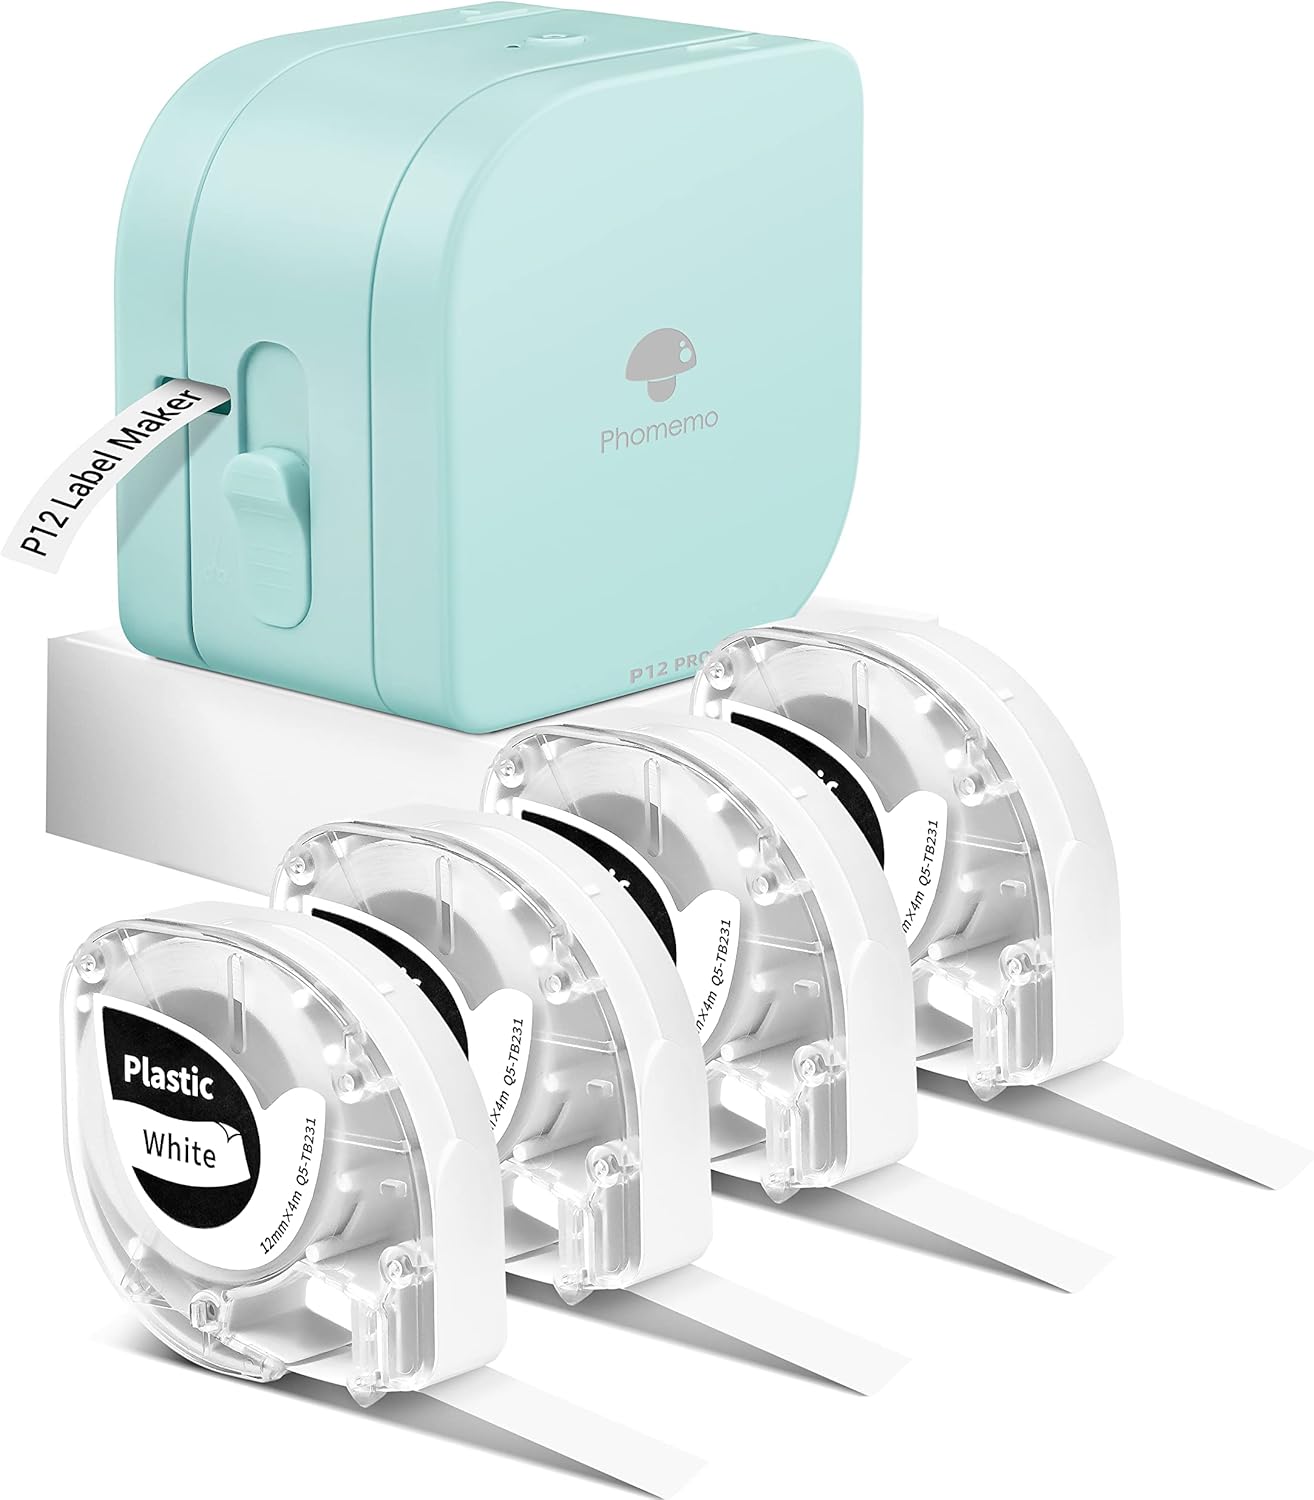
Image: The Phomemo P12 PRO label maker in a light teal color, accompanied by four rolls of white label tape. The label maker is compact and designed for portability.
Setup
1. Unboxing and Initial Charge
Upon unboxing, ensure all components are present: the Phomemo P12 PRO label maker and the included label tapes. Before first use, fully charge the device. The Phomemo P12 PRO features a 1000mAH lithium battery, providing up to 2.5 hours of continuous use or 30 days of standby time on a single charge.
2. Installing Label Tape
- Open the label maker's tape compartment.
- Insert a label tape roll, ensuring the tape feeds correctly through the output slot.
- Close the compartment securely.
3. App Download and Bluetooth Connection
The Phomemo P12 PRO operates via the "Print Master" application on your smartphone.
- Download the "Print Master" app from your device's app store (iOS or Android).
- Enable Bluetooth on your smartphone.
- Open the "Print Master" app and follow the on-screen instructions to connect to your P12 PRO label maker via Bluetooth. The app will guide you through the pairing process.

Image: A visual comparison showing the Phomemo P12 PRO label maker connected wirelessly to a smartphone displaying the "Print Master" app interface, highlighting its modern features compared to a traditional keyboard-based label maker.
Operating Instructions
1. Creating Labels
Utilize the "Print Master" app to design your labels. The app offers extensive customization options:
- Text Input: Type your desired text. The app supports 12 languages and 8 fonts.
- Symbols and Frames: Access a library of 62 frames and 1048 symbols to enhance your labels.
- Multi-line Printing: The label maker supports printing 1-3 lines of text.
- Template Saving: Create and save custom templates for future use.
2. Printing Labels
Once your label design is complete in the app, select the print option. Ensure the label maker is powered on and connected via Bluetooth. The P12 PRO is a thermal transfer label maker, capable of printing in black or color text depending on the tape used.
3. Using the Built-in Cutter
The P12 PRO features a built-in cutter, allowing you to cut labels to any desired length after printing. Locate the cutter lever on the side of the device and press it down firmly to cut the label.
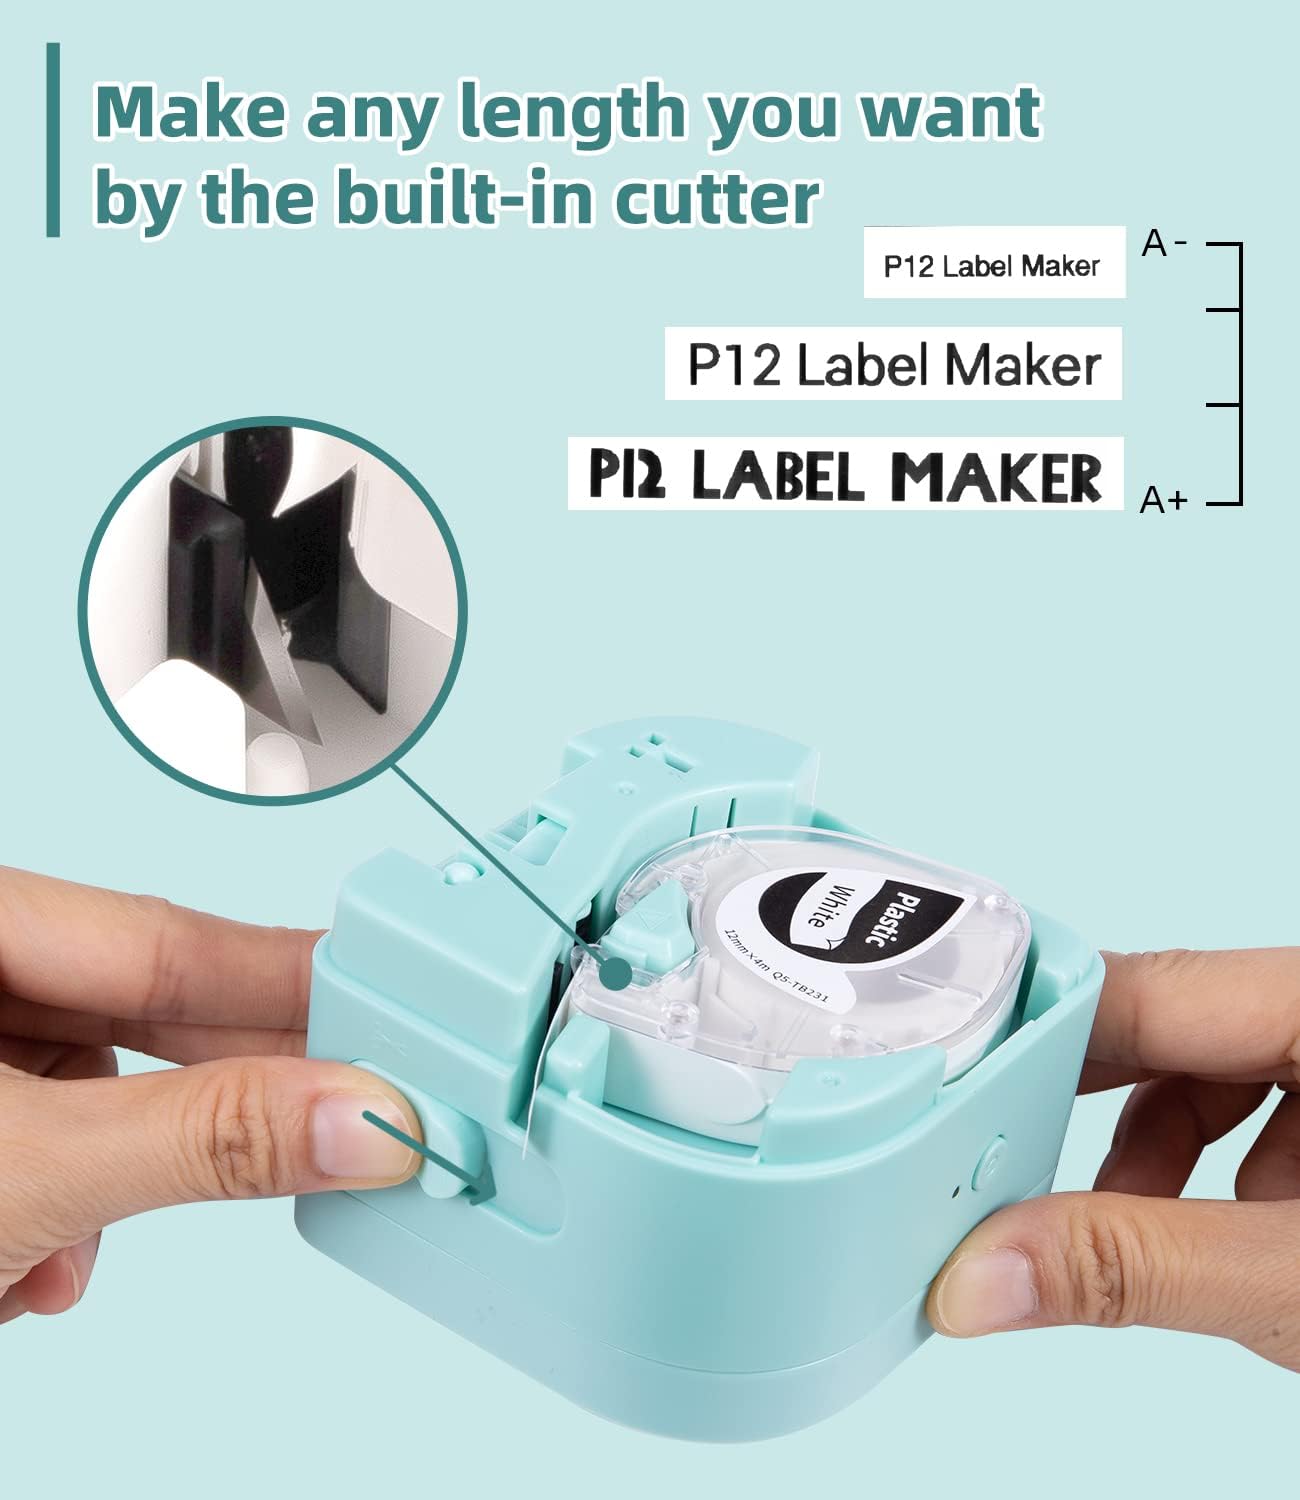
Image: A detailed view of the Phomemo P12 PRO label maker, illustrating the internal mechanism of the built-in cutter and how it precisely cuts the label tape to the desired length.
4. Dual-Mode Printing and Label Types
The P12 PRO supports both thermal labels and thermal transfer labels. Thermal transfer labels are known for their durability and resistance to temperature fluctuations. Phomemo offers over 50 types of color label tape and 4 different material labels, including:
- Plastic Labels: Durable, waterproof, oil-proof, high-temperature resistant, and cold-resistant.
- Iron-on Labels: Washable and suitable for fabric.
- Satin-ribbon Labels: Printable for decorative purposes.

Image: Four examples showcasing the durability of labels printed with the Phomemo P12 PRO: a label on a hot kettle (high temperature resistant), on milk bottles in a refrigerator (cold resistant), on a wet surface (waterproof), and near olive oil (oil-proof).
Maintenance
1. Cleaning the Print Head
To maintain print quality, periodically clean the print head. Use a soft, lint-free cloth lightly dampened with isopropyl alcohol. Gently wipe the print head surface. Ensure the device is powered off before cleaning.
2. Battery Care
To prolong battery life, avoid fully discharging the battery frequently. Charge the device regularly, especially if it will be stored for an extended period.
3. Storage
Store the label maker in a cool, dry place away from direct sunlight and extreme temperatures. Remove any label tape from the device if storing for a long duration.
Troubleshooting
| Problem | Possible Cause | Solution |
|---|---|---|
| Device not powering on | Low battery; Power button not pressed correctly. | Charge the device fully. Press and hold the power button for a few seconds. |
| Cannot connect via Bluetooth | Bluetooth off; Device out of range; App not recognizing device. | Ensure Bluetooth is enabled on your phone. Move device closer. Restart the app and label maker. Forget and re-pair the device in Bluetooth settings. |
| Poor print quality / Faded print | Print head dirty; Incorrect tape installation; Low battery. | Clean the print head. Reinstall the label tape correctly. Charge the device. |
| Tape not feeding or jamming | Tape installed incorrectly; Obstruction in tape path. | Open compartment and re-insert tape, ensuring it's not twisted. Check for any debris. |
Specifications
- Model Name: P12 PRO
- Connectivity Technology: Bluetooth
- Printing Technology: Thermal Transfer
- Printer Output: Monochrome (supports color text with specific tapes)
- Control Method: App (Print Master)
- Compatible Devices: Smartphones (iOS, Android)
- Battery: 1000mAH Lithium Battery
- Special Features: Portable, Wireless, Built-in Cutter
- Label Tape Compatibility: Phomemo P12 series tapes (12mm x 4m, various materials)
Warranty and Support
The Phomemo P12 PRO Label Maker is covered by a standard manufacturer's warranty. For specific warranty terms and conditions, please refer to the warranty card included with your product or visit the official Phomemo website.
For technical support, troubleshooting assistance beyond this manual, or warranty claims, please contact Phomemo customer service through their official website or the contact information provided in your product packaging.
Note: Keep your purchase receipt as proof of purchase for warranty purposes.


