1. Product Overview
The ShockFlo G Mini Level 1-2 EV Charger is a portable electric vehicle charging solution designed for convenience and reliability. It supports both Level 1 (110-120V) and Level 2 (220-240V) charging, making it versatile for various power outlets. Equipped with a J1772 connector, it is compatible with most electric vehicles and plug-in hybrids.
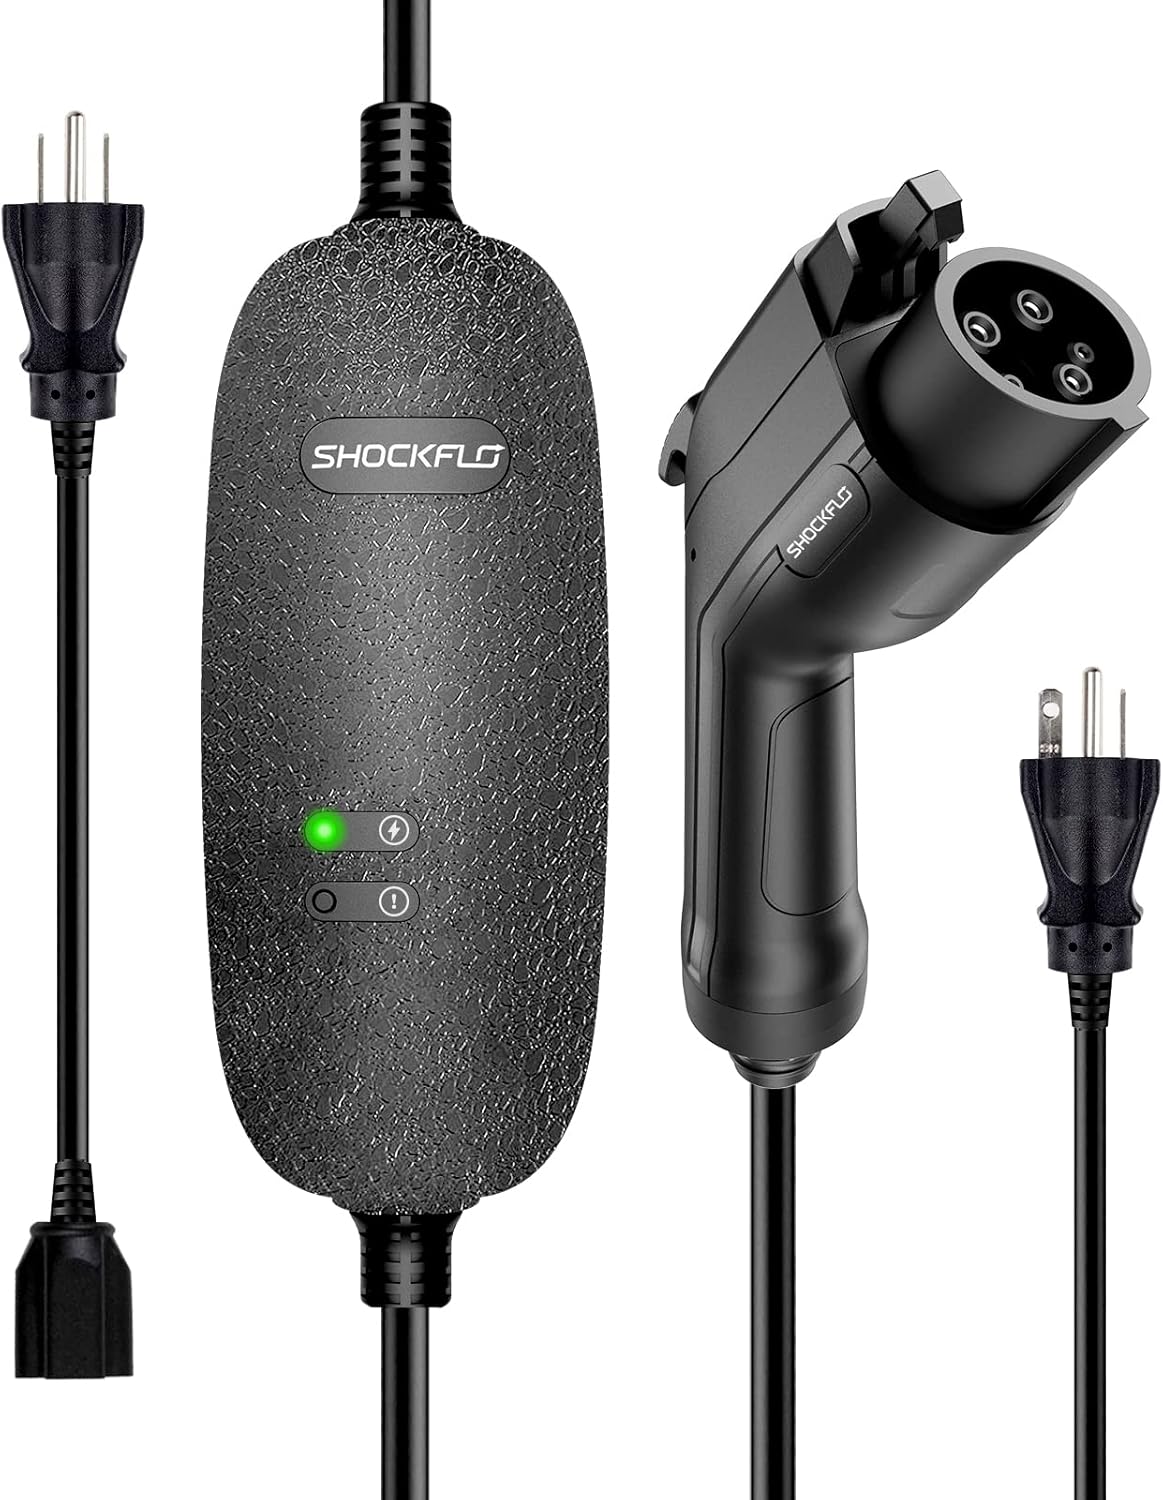
Figure 1: ShockFlo G Mini Level 1-2 EV Charger with included NEMA 6-20 plug and NEMA 5-15 adapter.
2. Key Features
- Dual-Level Charging: Supports 110-240V AC input for both Level 1 and Level 2 charging.
- Universal Compatibility: Features a Type1 (SAE J1772) connector, compatible with most electric vehicles. (Note: Tesla vehicles require a separate J1772 to Tesla adapter, not included).
- High Amperage: Delivers up to 16A nominal current for efficient charging.
- Robust Safety Protections: Incorporates 10 intelligent safety protections including overvoltage, low-voltage, overcurrent, overcharge, overheat, leakage, ground, and lightning protection.
- Durable Design: IP65 rated for water and dust resistance, suitable for outdoor use.
- Extended Reach: Equipped with a 21-foot long cable for convenient charging access.
- Portable: Comes with a sturdy carrying case for easy transport and storage.

Figure 2: Overview of the 10 intelligent safety protections integrated into the charger.
3. Setup and Connection
3.1 Power Outlet Connection
The charger comes with a NEMA 6-20P plug and a NEMA 5-15P adapter for flexible power source options.
- For Level 1 Charging (110-120V): Use the provided NEMA 5-15P adapter. Plug the adapter into a standard household 3-prong outlet.
- For Level 2 Charging (220-240V): Use the NEMA 6-20P plug directly. Plug it into a compatible 240V NEMA 6-20R outlet.

Figure 3: Connecting the charger to NEMA 5-15 (Level 1) or NEMA 6-20 (Level 2) outlets.
3.2 Vehicle Connection
Once the charger is connected to a power source, connect it to your electric vehicle's charging port.
- Open your vehicle's charging port cover.
- Insert the J1772 connector firmly into the vehicle's inlet until it clicks into place.
- The charger will automatically detect the connection and begin charging.

Figure 4: J1772 connector inserted into an EV charging port.
Video 1: Official demonstration of connecting the ShockFlo Level 1-2 EV Charger to a vehicle and observing charging status indicators.
4. Operating the Charger
4.1 Indicator Lights
The charger features LED indicator lights on its control box to display the charging status:
- LED Light 1 (Green): Indicates power status. A solid green light means the charger is powered on.
- LED Light 2 (Blue): Indicates charging status. A breathing blue light signifies active charging.
- Error Detection: If an error is detected (e.g., ground fault, overcurrent), the indicator lights may change color or pattern. Refer to the troubleshooting section for details.
4.2 Stopping Charging
To safely stop the charging process:
- Press the release button on the J1772 connector handle to unlock it from the vehicle.
- Carefully pull the J1772 connector out of the vehicle's inlet.
- Disconnect the power plug from the wall outlet.
- Store the charger in its carrying case.
Important Note: Do not disconnect the plugs while the EV charger is actively charging the vehicle without first pressing the release button on the J1772 connector.
5. Maintenance
- Cleaning: Use a soft, dry cloth to clean the charger. Do not use abrasive cleaners or solvents.
- Storage: Store the charger in a cool, dry place away from direct sunlight and extreme temperatures. Utilize the provided carrying case for protection.
- Cable Care: Avoid kinking, bending, or driving over the cable. Ensure the cable is not tangled during storage.
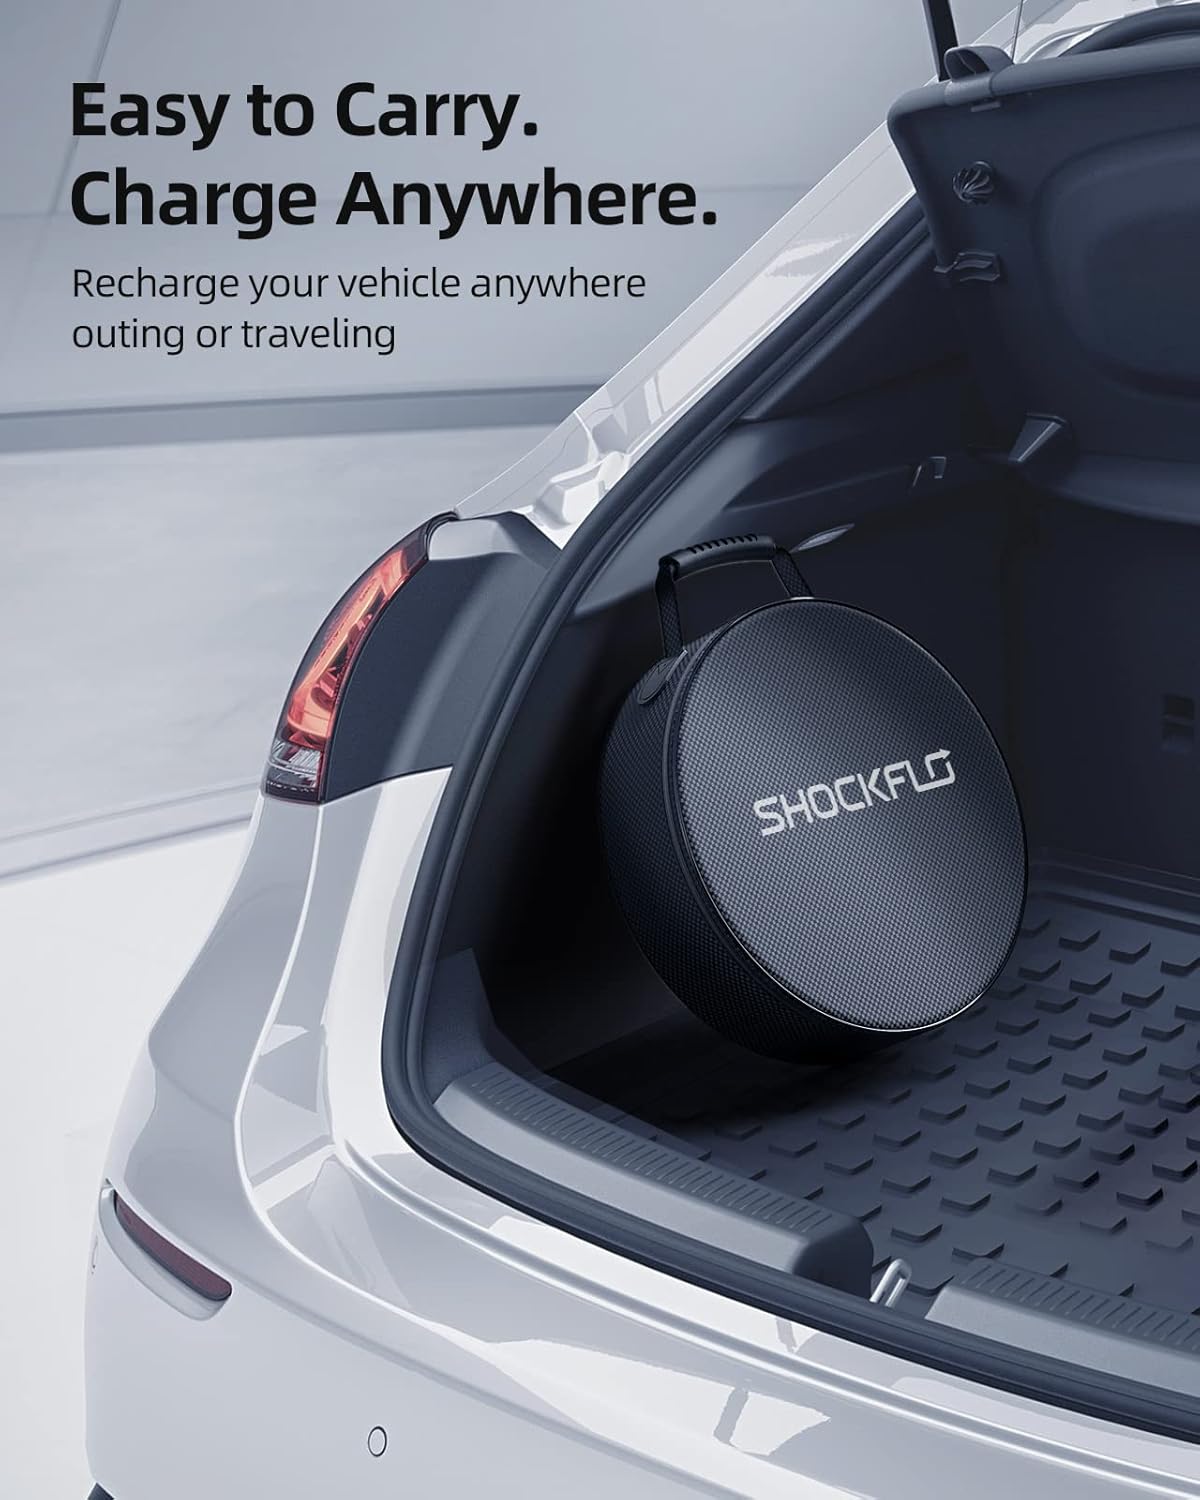
Figure 5: The portable carrying case allows for easy storage and transport.
6. Troubleshooting
If you encounter issues with your charger, refer to the following common problems and solutions:
| Problem | Indicator Light Status | Possible Cause / Solution |
|---|---|---|
| Charger not powering on | No lights | Check power outlet. Ensure plug is fully inserted. Check circuit breaker. |
| Not charging | LED Light 1 (Green) solid, LED Light 2 (Blue) off | Ensure J1772 connector is fully inserted into vehicle. Check vehicle's charging settings. |
| Error detected | LED Light 1 (Green) blinking rapidly or Red light on | Disconnect from power and vehicle. Wait 5 minutes, then reconnect. If error persists, contact customer support. This may indicate overcurrent, ground fault, or other safety issues. |
For any persistent issues or complex problems, please contact ShockFlo customer support.
7. Specifications
| Specification | Value |
|---|---|
| Model | CG01-16A |
| Charging Standard | Type1 (SAE J1772) |
| Nominal Voltage | 110-240V AC |
| Nominal Current | 16A |
| Applicable Plug | NEMA 6-20P & NEMA 5-15P |
| Certification | FCC |
| Protection Grade | IP65 |
| Cable Length | 21 feet |
| Item Weight | 5.2 pounds |
| Product Dimensions | 3.94 x 3.94 x 3.94 inches (Control Box) |
8. Safety Information
Please read and understand all safety warnings before using this product:
- This is an EV charger for EVs with Type 1 inlets (SAE J1772). Do not use it for EVs with different inlet types.
- This cable has a precise internal structure. Any questions, please contact our Customer Service at the first time. Please don't take it apart without any professional technical support.
- Do not use it in water.
- The product is only for EV charging. Please don't use it in any other occasions, including hauling, binding and so on.
- Do not use the charger if the controller box is damaged.
- The device must be grounded.
- Do not use this device with an extension cord or an adapter unless specifically rated for the current draw.
- Mind the risk of electrical shock or burn.
- The device does not contain any user-serviceable parts.
- Please do not disconnect the plugs while the EV charger is charging the vehicle.
9. Warranty and Support
For warranty information, technical support, or any inquiries regarding your ShockFlo G Mini Level 1-2 EV Charger, please visit the official ShockFlo website or contact their customer service directly. Refer to the product packaging for specific contact details.


