1. Introduction
The Magic Bullet Mini Juicer is designed for efficient juice extraction from various fruits and vegetables. This compact appliance offers user-friendly operation, simplified cleaning, and a space-saving design for convenient storage. It includes a 16-oz tumbler, allowing for direct juicing into the cup and easy portability.
2. Important Safety Information
Please read all instructions thoroughly before operating the Magic Bullet Mini Juicer. Failure to follow these safety guidelines may result in injury or damage to the appliance.
- Always keep the appliance out of reach of children.
- Do not immerse the motor base, cord, or plug in water or any other liquid.
- Ensure all parts are correctly and securely assembled before plugging in or operating the juicer.
- Do not operate the juicer if the power cord or plug is damaged, or if the appliance malfunctions or has been dropped or damaged in any manner.
- Avoid contact with moving parts during operation. Always use the food pusher to guide ingredients into the feed chute. Never use fingers or other utensils.
- Do not use the appliance for purposes other than juicing.
- Unplug the juicer from the outlet when not in use, before assembling or disassembling parts, and before cleaning.
- Place the juicer on a stable, flat, and dry surface during operation.
3. Product Components
Familiarize yourself with the parts of your Magic Bullet Mini Juicer:
- Motor Base with ON/OFF Switch
- Juice Bowl (includes integrated pulp container)
- Stainless Steel Sieve (Filter/Blade Assembly)
- Lid with Feed Chute
- Food Pusher
- Juice Spout with Silicone Cap
- 16-oz Tumbler with To-Go Lid
- Cleaning Brush

Image: Magic Bullet Mini Juicer with all components: motor base, juice bowl, sieve, food pusher, 16-oz tumbler, and cleaning brush.
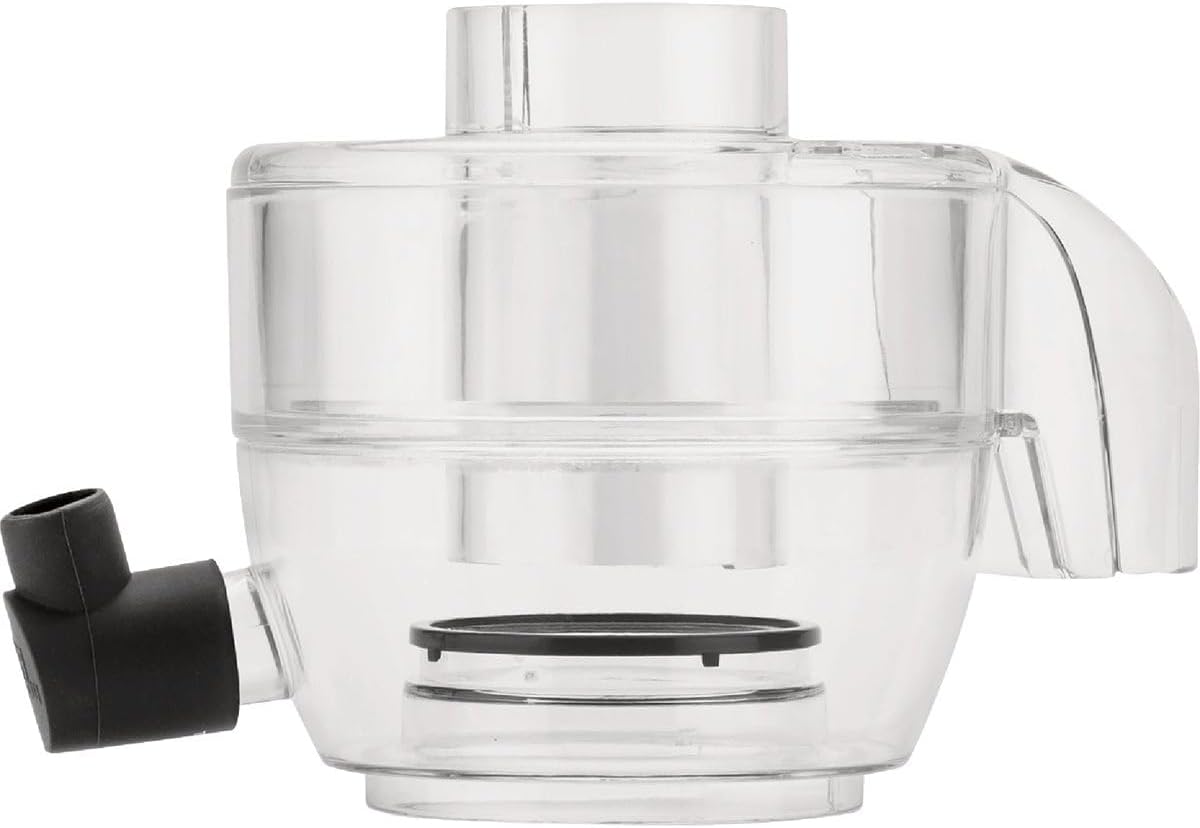
Image: Disassembled top components of the Magic Bullet Mini Juicer, showing the food pusher, lid, and juice bowl.

Image: Stainless steel sieve and blade assembly for the Magic Bullet Mini Juicer.
4. Setup and Assembly
Follow these steps to assemble your juicer before first use:
- Place the motor base on a clean, stable, and flat surface.
- Position the juice bowl onto the motor base, ensuring it is seated correctly.
- Insert the stainless steel sieve into the juice bowl. Press down firmly until it clicks into place.
- Place the lid onto the juice bowl, aligning the locking arms with the slots on the motor base.
- Push the locking arms upwards until they securely lock the lid in place. The juicer will not operate unless the lid is properly locked.
- Place the 16-oz tumbler directly under the juice spout.
5. Operating Instructions
Prepare your ingredients and follow these steps to begin juicing:
- Wash all fruits and vegetables thoroughly. Cut larger items into pieces that easily fit the 2-inch feed chute. Remove any hard pits or large seeds.
- Ensure the juicer is fully assembled and the 16-oz tumbler is positioned under the juice spout.
- Plug the appliance into a standard electrical outlet.
- Turn the juicer ON using the switch located on the motor base.
- Gradually feed ingredients into the feed chute using the food pusher. Apply gentle, even pressure. Do not force ingredients, as this can strain the motor.
- Once all ingredients have been processed and juice extraction is complete, turn the juicer OFF and unplug it from the outlet.
- Remove the tumbler and enjoy your fresh juice.

Image: A woman operating the Magic Bullet Mini Juicer, feeding oranges into the chute.
6. Maintenance and Cleaning
Regular cleaning ensures optimal performance and longevity of your juicer.
- Always unplug the juicer from the power outlet before cleaning.
- Disassemble all removable parts: the food pusher, lid, stainless steel sieve, juice bowl, and tumbler.
- Rinse all removable parts under running water immediately after each use to prevent pulp from drying and sticking.
- Use the provided cleaning brush to thoroughly clean the stainless steel sieve, paying close attention to the mesh to remove all pulp residue.
- All removable parts are top-rack dishwasher safe for convenient cleaning.
- Wipe the motor base with a damp cloth. Never immerse the motor base in water or any other liquid.
- Ensure all parts are completely dry before reassembling or storing the juicer.

Image: Hands cleaning the stainless steel sieve of the Magic Bullet Mini Juicer under running water.
7. Troubleshooting
Refer to this section for common issues and their solutions:
- Juicer does not turn on:
Check that the power cord is securely plugged into a working outlet. Ensure all parts are correctly assembled and the lid's locking arms are fully secured. The juicer has a safety interlock system that prevents operation if not properly assembled. - Low juice yield or wet pulp:
Ensure ingredients are fresh. Feed ingredients slowly and apply gentle, consistent pressure with the food pusher. A clogged stainless steel sieve can reduce efficiency; clean it thoroughly after each use. - Unit vibrates excessively:
Verify that the juicer is placed on a flat, stable, and level surface. Check that the stainless steel sieve is correctly seated and not damaged. - Motor stops during operation:
This may indicate overloading or overheating. Turn the juicer OFF and unplug it. Allow the unit to cool down for approximately 15-20 minutes before attempting to restart. Reduce the amount of ingredients processed at one time.
8. Specifications
| Brand | Magic Bullet |
| Model Number | MBJ50100 |
| Power | 400 Watts |
| Voltage | 100 Volts |
| Capacity (Tumbler) | 16 ounces |
| Product Dimensions | 7"D x 6"W x 11.5"H |
| Blade Material | Stainless Steel |
| Special Feature | Dishwasher Safe (removable parts) |
| Item Weight | 6.71 pounds |
9. Warranty and Support
Your Magic Bullet Mini Juicer includes a 1-year limited warranty from the date of purchase. This warranty covers defects in materials and workmanship under normal household use.
For warranty claims, technical assistance, or product support, please refer to the contact information provided in your product packaging or visit the official Magic Bullet website. Please have your model number (MBJ50100) and proof of purchase available when contacting support.


