
1. Introduction to Your AIRDOCTOR AD2000 Air Purifier
The AIRDOCTOR AD2000 is a high-performance air purifier designed to provide cleaner, healthier air in small to medium rooms, bedrooms, nurseries, and home offices. It features a sophisticated 3-stage filtration system to capture a wide range of airborne contaminants.
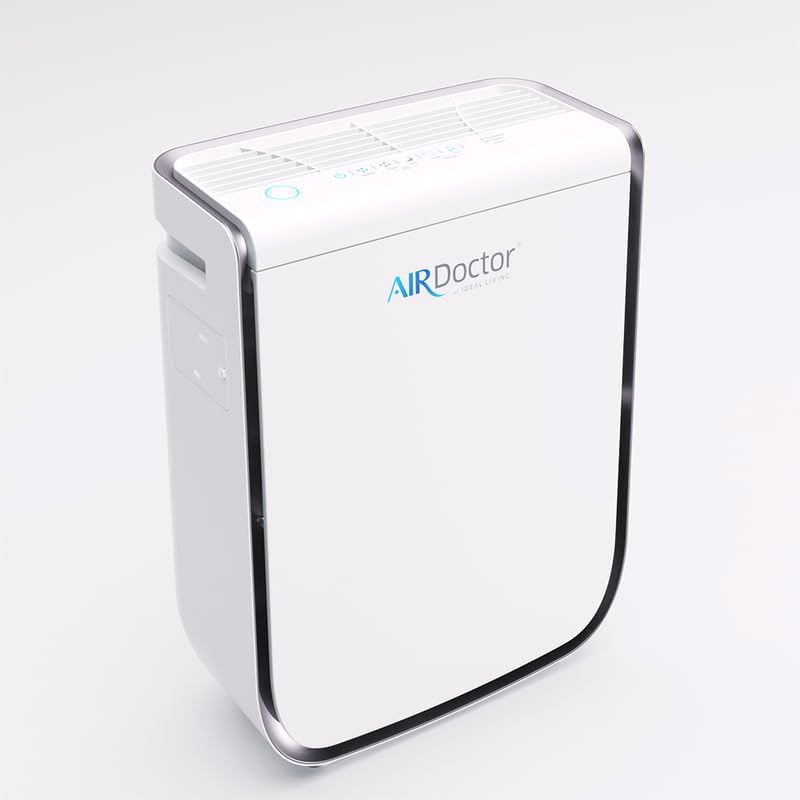
Figure 1: Front view of the AIRDOCTOR AD2000 Air Purifier.
Key features include:
- Maximum Coverage: Circulates air in 305 sq. ft. 4x/hour or in 610 sq. ft. 2x/hour, ideal for small to medium spaces.
- Superior Air Filtration: UltraHEPA filters capture 99.99% of airborne particles down to 0.003 microns, including dust, pollen, mold spores, pet dander, bacteria, and viruses.
- Advanced 3-Stage Filtration: Includes a Pre-Filter for larger contaminants, a Carbon/VOC filter for gases and odors, and an UltraHEPA filter for microscopic particles.
- Adjustable Jet Fans: Offers 6 fan speeds, operating 30% quieter than traditional air purifiers.
- Real-Time Air Quality Monitor: Color-coded rings indicate indoor air quality, with an Auto-mode to adjust purification automatically.

Figure 2: AirDoctor UltraHEPA filter effectively captures particles 100 times smaller than standard HEPA filters.
2. Setup Instructions
Follow these steps for the initial setup of your AIRDOCTOR AD2000 Air Purifier:
- Unpack the Unit: Carefully remove the air purifier from its packaging. Retain packaging materials for future storage or transport.
- Position the Unit: Place the air purifier on a flat, stable surface in the desired room. Ensure there is adequate space around the unit for optimal airflow.
- Install Filters: The filters may come pre-installed but wrapped in protective plastic. Open the front cover of the unit to access the filter compartments. Remove all plastic packaging from the Pre-Filter, Carbon/VOC Filter, and UltraHEPA Filter. Insert the filters back into their designated slots, ensuring they are correctly oriented.
- Close the Cover: Securely close the front cover of the air purifier.
- Connect Power: Plug the power cord into a standard electrical outlet.

Figure 3: Exploded view of the 3-stage filtration system, showing the order of filters.
For a visual guide on filter installation, refer to the filter replacement section or the official product video below:
Video 1: Introduction to the AirDoctor, demonstrating the filtration process and filter types.
3. Operating Instructions
The AIRDOCTOR AD2000 features an intuitive control panel for easy operation.
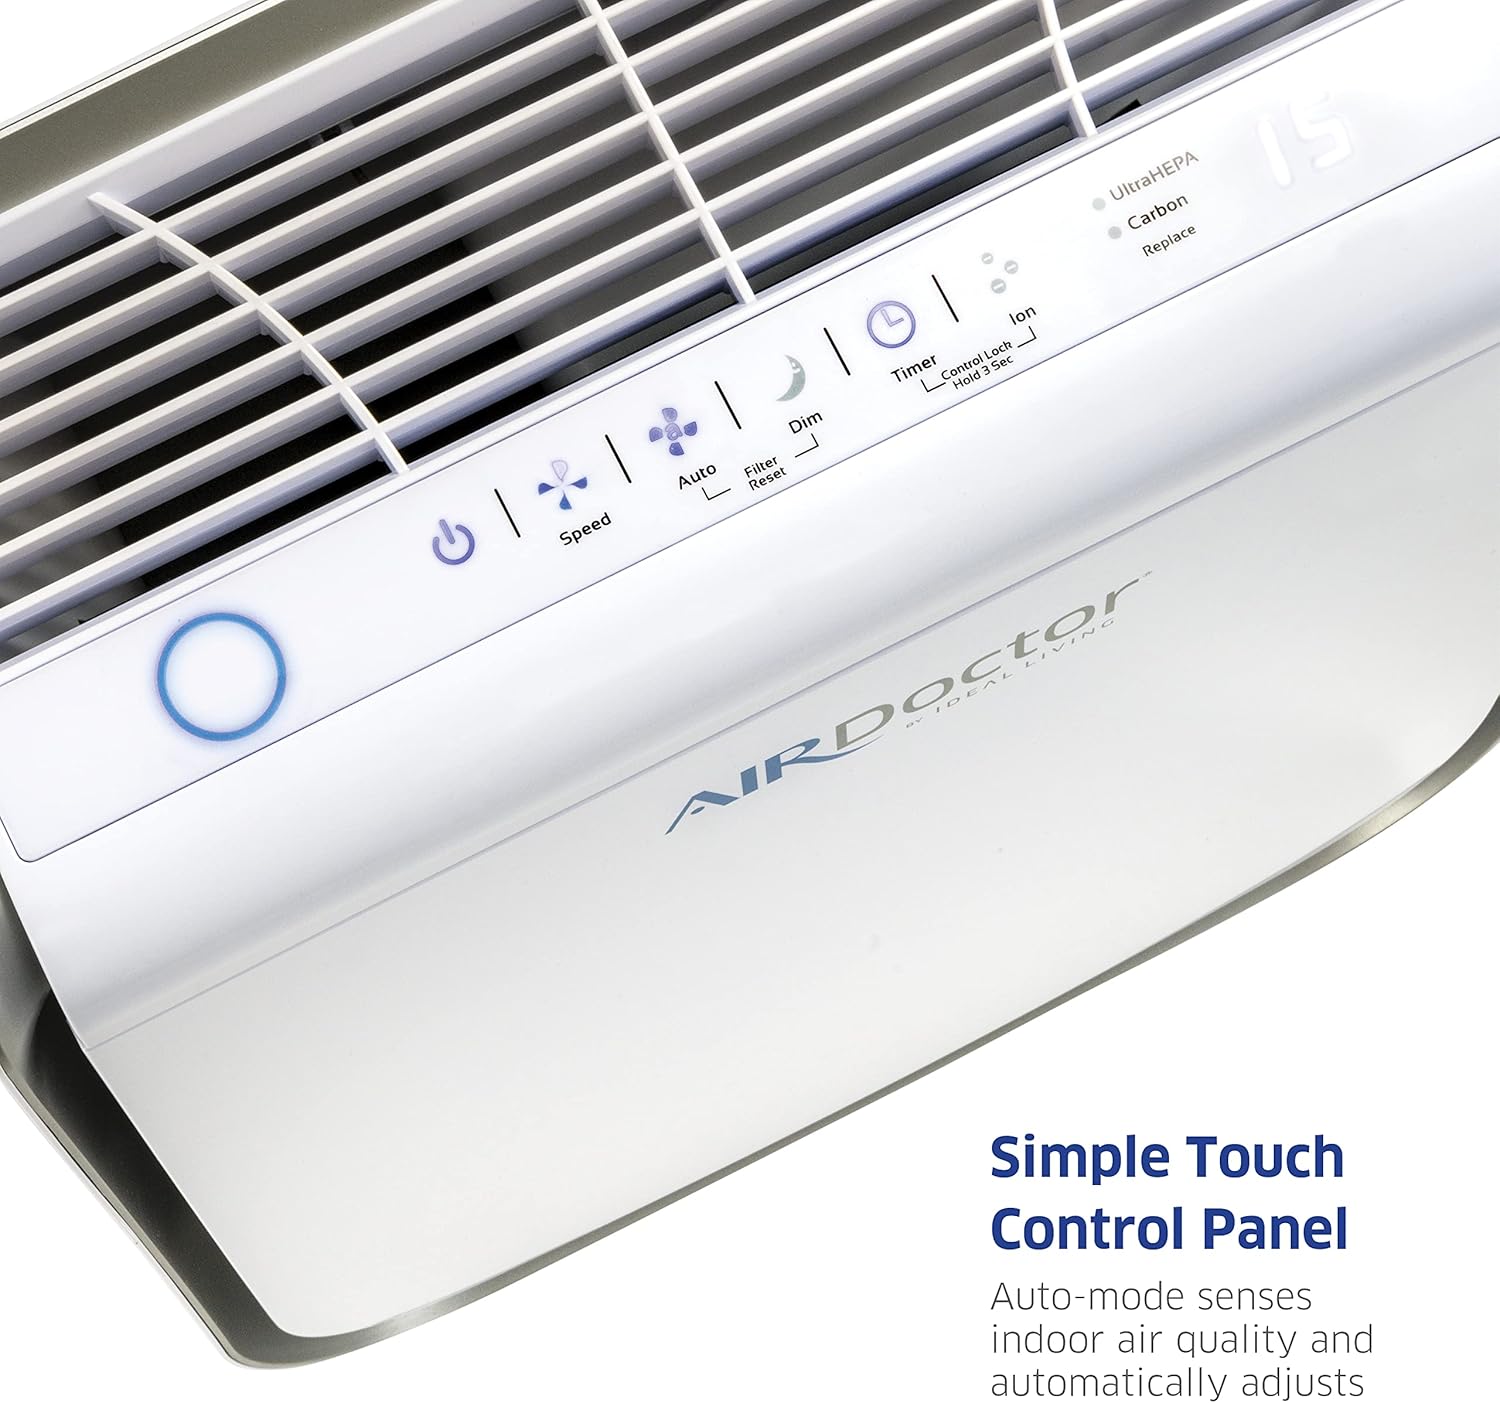
Figure 4: Control panel of the AIRDOCTOR AD2000.
- Power On/Off: Press the Power button (circle with vertical line) to turn the unit on or off.
- Fan Speed: Press the Speed button (fan icon) to cycle through the available fan speeds (1-6).
- Auto Mode: Press the Auto button (fan with 'A' icon) to activate Auto Mode. In this mode, the air purifier automatically adjusts its fan speed based on the detected air quality.
- Air Quality Indicator: The circular light on the front of the unit indicates air quality:
- Blue: Good Air Quality
- Yellow: Moderate Air Quality
- Red: Poor Air Quality

Figure 5: Real-time air quality monitor and its color indications.
- Dim Mode: Press the Dim button (moon icon) to dim or turn off the indicator lights for undisturbed sleep.
- Timer: Press the Timer button (clock icon) to set an operating timer for the unit.
- Ion Mode: Press the Ion button (three dots icon) to activate or deactivate the ionizer function.
4. Maintenance
Regular maintenance ensures optimal performance and longevity of your AIRDOCTOR AD2000. The unit will alert you when filters need attention.
- Filter Replacement Indicators:
- UltraHEPA: Light illuminates when the UltraHEPA filter needs replacement.
- Carbon: Light illuminates when the Carbon/VOC filter needs replacement.
- Replace: Light illuminates when any filter needs replacement.
- Pre-Filter Cleaning: The Pre-Filter is washable and reusable. It should be cleaned regularly, approximately every 6-12 months depending on usage and air quality.
- Turn off and unplug the unit.
- Open the front cover and carefully remove the Pre-Filter.
- Gently vacuum the filter to remove dust and large particles. For deeper cleaning, rinse with water and allow to air dry completely before reinserting.
- Reinsert the clean Pre-Filter and close the cover.
- UltraHEPA and Carbon/VOC Filter Replacement: These filters are not washable and must be replaced when indicated by the unit. Typically, the UltraHEPA filter lasts 12-18 months and the Carbon/VOC filter lasts 6 months, but this can vary.
- Turn off and unplug the unit.
- Open the front cover and remove the old filters.
- Insert new genuine AIRDOCTOR replacement filters, ensuring correct orientation.
- Close the cover and plug in the unit.
- Press and hold the "Filter Reset" button for 3 seconds to reset the filter life indicator.
Always use genuine AIRDOCTOR brand replacement filters to ensure optimal performance and maintain your warranty.
5. Troubleshooting
If you encounter issues with your AIRDOCTOR AD2000, refer to the following common troubleshooting steps:
| Problem | Possible Cause | Solution |
|---|---|---|
| Unit does not turn on. | Power cord not securely plugged in. No power from outlet. Front cover not closed properly. | Ensure power cord is fully inserted. Test outlet with another device. Close front cover securely until it clicks. |
| Airflow is weak or noisy. | Filters are dirty or clogged. Obstruction in air intake/outlet. | Clean or replace filters as indicated. Check for and remove any obstructions. |
| Air quality indicator light is always red/yellow. | High level of pollutants in the air. Sensor is dirty. | Allow unit to run longer on a higher speed. Clean the air quality sensor (refer to manufacturer's guide for sensor location). |
| Filter replacement light remains on after changing filters. | Filter life indicator not reset. | Press and hold the "Filter Reset" button for 3 seconds until the light turns off. |
If the problem persists after attempting these solutions, please contact AIRDOCTOR customer support.
6. Specifications
| Feature | Detail |
|---|---|
| Brand | AIRDOCTOR |
| Model Number | AD2000 |
| Product Dimensions | 9.1"D x 16.3"W x 20.7"H |
| Item Weight | 7.98 Pounds |
| Wattage | 11 watts (lowest setting) |
| Floor Area Coverage | Up to 1220 Square Feet (circulates 2x/hour) |
| Filtration System | 3-Stage (Pre-Filter, Carbon/VOC, UltraHEPA) |
| Particle Capture | 99.99% of particles down to 0.003 microns |
| Country of Origin | China |
| Certification | CARB Certified, Energy Star Certified |
7. Warranty Information
Specific warranty details for your AIRDOCTOR AD2000 Air Purifier are typically provided with the product packaging or can be found on the official AIRDOCTOR website. Please refer to these resources for comprehensive information regarding coverage, terms, and conditions.
Extended protection plans may also be available for purchase, offering additional coverage beyond the standard manufacturer's warranty.
8. Customer Support
For further assistance, technical support, or to purchase genuine replacement filters, please visit the official AIRDOCTOR website or contact their customer service team:
- AIRDOCTOR Official Store: Visit the AIRDOCTOR Store on Amazon
- Manufacturer Contact: Refer to your product packaging or the official AIRDOCTOR website for direct contact information (phone, email, or live chat).
When contacting support, please have your product model number (AD2000) and purchase details ready.