1. Introduction
This manual provides essential instructions for the safe and efficient operation, setup, and maintenance of your Janome 1522LG sewing machine. Please read this manual thoroughly before using the machine to ensure proper function and to prevent damage or injury. Keep this manual in a safe place for future reference.
2. Safety Instructions
Always follow basic safety precautions when using electrical appliances to reduce the risk of fire, electric shock, or injury to persons.
- Ensure the machine is unplugged from the electrical outlet when not in use, when servicing, or when changing needles, presser feet, or other parts.
- Do not operate the machine with a damaged cord or plug. If the machine is not working properly, has been dropped, damaged, or dropped into water, return it to an authorized service center for examination and repair.
- Keep fingers away from all moving parts. Special care is required around the sewing machine needle.
- Always use the proper needle plate. The wrong plate can cause the needle to break.
- Do not pull or push fabric while stitching. This may deflect the needle, causing it to break.
- Use only accessories recommended by the manufacturer.
- This appliance is not intended for use by persons (including children) with reduced physical, sensory or mental capabilities, or lack of experience and knowledge, unless they have been given supervision or instruction concerning use of the appliance by a person responsible for their safety.
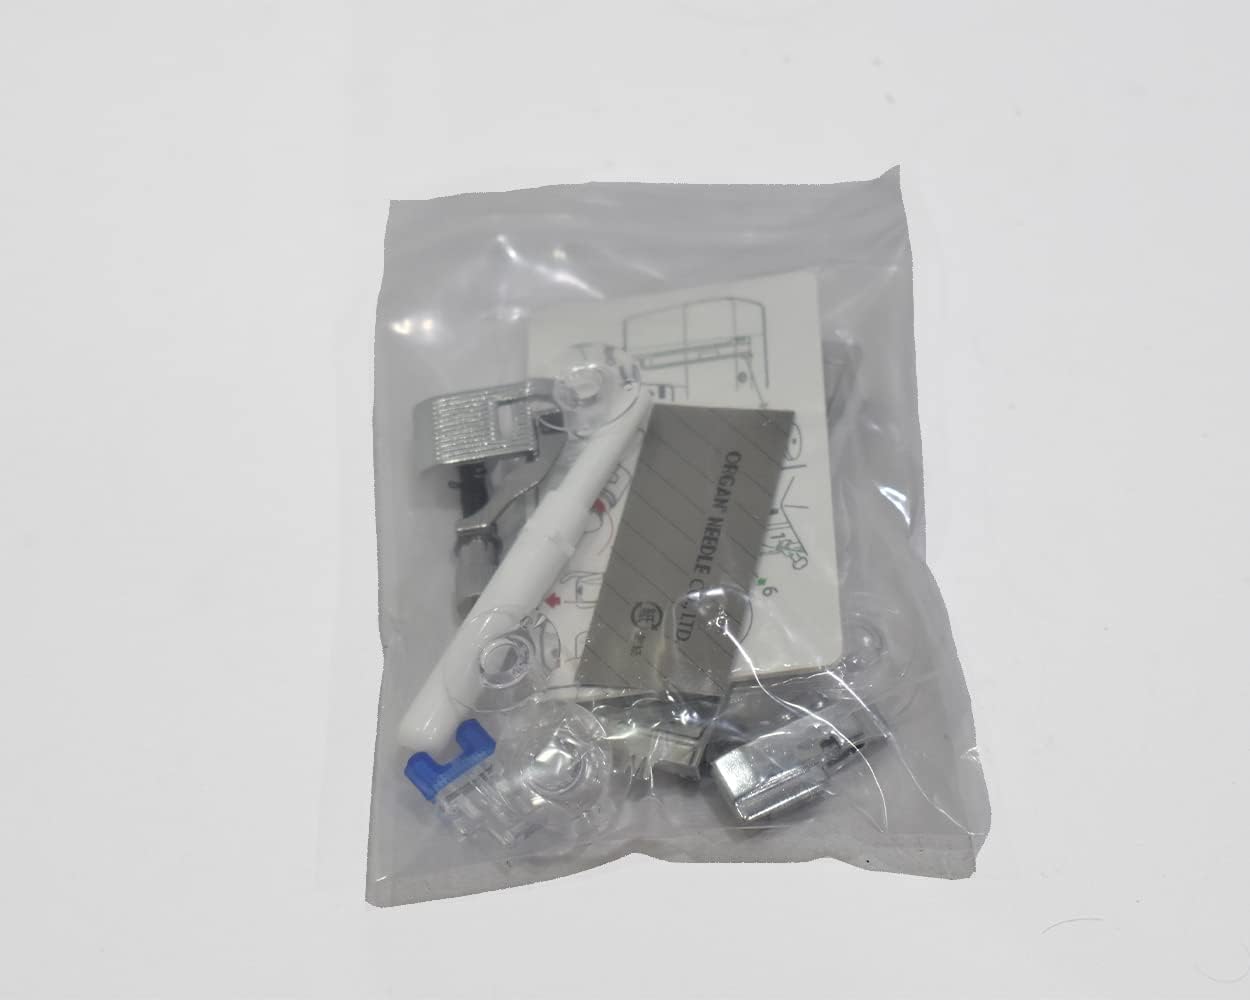
3. Unpacking and Components
Carefully remove the sewing machine and all accessories from the packaging. Verify that all components are present.
Included Components:
- Janome 1522LG Sewing Machine
- Foot Pedal
- Accessories (various presser feet, bobbins, needles, etc.)
- Machine Cover
- Instruction Manual (this document)


4. Setup
4.1 Placing the Machine
Place the sewing machine on a stable, flat surface with adequate lighting. Ensure there is enough space around the machine for comfortable operation and fabric handling.
4.2 Connecting Power
Connect the foot pedal cord to the machine's power input socket, typically located on the right side or rear of the machine. Then, plug the power cord into a suitable electrical outlet. The Janome 1522LG is a corded electric machine.

4.3 Winding the Bobbin
- Place an empty bobbin onto the bobbin winder spindle.
- Guide the thread from the spool pin through the thread guide and around the bobbin winding tension disc.
- Wrap the thread a few times around the bobbin.
- Push the bobbin winder spindle to the right.
- Gently press the foot pedal to start winding. Stop when the bobbin is full.
- Cut the thread and push the bobbin winder spindle back to the left.
4.4 Threading the Upper Thread
- Raise the presser foot lever.
- Place a spool of thread on the spool pin.
- Follow the numbered threading path indicated on the machine, guiding the thread through the upper thread guides, tension discs, and take-up lever.
- Thread the needle from front to back.
4.5 Inserting the Bobbin
- Open the bobbin cover plate, usually located on the free arm.
- Insert the wound bobbin into the bobbin case, ensuring the thread unwinds in the correct direction (refer to the diagram inside the bobbin area).
- Pull the thread through the tension spring and guide it into the thread slot.
- Close the bobbin cover plate.
- Hold the upper thread, turn the handwheel towards you to lower and raise the needle, catching the bobbin thread. Pull both threads to the back under the presser foot.

5. Operating the Machine
5.1 Selecting a Stitch
Turn the Stitch Selector Dial (labeled 'SELECTOR') to choose your desired stitch pattern. The Janome 1522LG offers various utility and decorative stitches.
5.2 Adjusting Stitch Length and Width
- Stitch Length: Use the Length Dial to adjust the length of your stitches. Higher numbers indicate longer stitches.
- Stitch Width: Use the Width Dial to adjust the width of zigzag or decorative stitches. Higher numbers indicate wider stitches.

5.3 Starting to Sew
- Place your fabric under the presser foot.
- Lower the presser foot lever.
- Turn the handwheel towards you to lower the needle into the fabric at the starting point.
- Gently press the foot pedal to begin sewing. The harder you press, the faster the machine will sew.
- Guide the fabric gently with both hands, but do not push or pull it.
5.4 Reverse Sewing
To secure your stitches at the beginning and end of a seam, press and hold the reverse lever (usually located near the needle area) while sewing. Release the lever to sew forward again.
5.5 Changing Needles
Always use the correct needle type and size for your fabric. To change the needle:
- Turn off the machine and unplug it.
- Raise the needle to its highest position.
- Loosen the needle clamp screw.
- Remove the old needle.
- Insert the new needle with the flat side facing the back, pushing it up as far as it will go.
- Tighten the needle clamp screw securely.
6. Maintenance
Regular maintenance ensures the longevity and optimal performance of your sewing machine. Always unplug the machine before performing any maintenance.
6.1 Cleaning the Machine
- Bobbin Area: Remove the needle plate and bobbin case. Use a small brush to remove lint and dust from the bobbin area and feed dogs.
- Feed Dogs: Clean any lint or thread buildup from the feed dogs to ensure proper fabric feeding.
- General Cleaning: Wipe the exterior of the machine with a soft, dry cloth. Do not use harsh chemicals or abrasive cleaners.
6.2 Oiling (If Applicable)
Refer to your machine's specific instructions regarding oiling. Some modern machines are self-lubricating and do not require user oiling. If oiling is required, use only genuine sewing machine oil in the designated points.
7. Troubleshooting
This section addresses common issues you might encounter. For problems not listed here, consult an authorized service technician.
| Problem | Possible Cause | Solution |
|---|---|---|
| Skipped Stitches | Incorrect needle, bent needle, improper threading, wrong needle size for fabric. | Change needle, re-thread machine, use correct needle for fabric type. |
| Thread Breaking | Improper threading, tension too tight, damaged needle, poor quality thread, bobbin wound unevenly. | Re-thread machine, adjust tension, replace needle, use good quality thread, re-wind bobbin. |
| Fabric Not Feeding | Presser foot not lowered, feed dogs clogged with lint, stitch length set to zero. | Lower presser foot, clean feed dogs, adjust stitch length. |
| Machine Not Starting | Not plugged in, power switch off, foot pedal not connected, safety mechanism engaged. | Check power connections, ensure switch is on, check foot pedal connection, consult manual for safety features. |
8. Specifications
- Model: Janome 1522LG
- Power Source: Corded Electric
- Material: Metal construction
- Product Dimensions: Approximately 16D x 41W x 27H centimeters (6.3D x 16.1W x 10.6H inches)
- Item Weight: 5.7 Kilograms (approximately 12.5 lbs)
- International Protection Rating: IP66 (Indicates protection against dust and powerful water jets)
- Included Components: Sewing Machine, Foot Pedal, Accessories, Cover, Instruction Manual
9. Warranty and Support
For information regarding warranty coverage, terms, and conditions, please refer to the warranty card included with your purchase or contact your retailer. For technical support, service, or to order replacement parts, please contact Janome customer service or an authorized Janome service center in your region. Keep your proof of purchase for warranty claims.


