
1. Introduction
Thank you for choosing the Yostyle Wireless Doorbell. This manual provides detailed instructions for the installation, operation, and maintenance of your new doorbell system. Please read this manual carefully before use to ensure proper functionality and longevity of the product.
This system includes two transmitters and one receiver, offering a wide range and multiple customization options for melodies and volume levels. Its waterproof design makes it suitable for various indoor and outdoor environments.
2. Package Contents
- 2 x Wireless Transmitters (Push Buttons)
- 1 x Wireless Receiver (Plug-in Chime)
- Mounting Screws and Anchors
- Double-sided Adhesive Tape
- Mini Screwdriver (for battery access)
- 1 x 12V 23A Alkaline Battery (pre-installed in transmitters)

Image: The package includes two black wireless doorbell transmitters, one black plug-in receiver, a small green screwdriver, two screws with anchors, and a red piece of double-sided adhesive tape. Dimensions are also shown.
3. Setup and Installation
3.1. Receiver Setup
- Plug the receiver into a standard electrical outlet in your desired location. Ensure it is within the operating range of the transmitters.
- The receiver does not require batteries.
3.2. Transmitter Installation
The transmitters can be installed using either double-sided adhesive tape or screws.
Method 1: Double-sided Adhesive Tape
- Clean the surface where you intend to mount the transmitter. Ensure it is dry and free of dust.
- Peel off one side of the protective film from the double-sided adhesive tape.
- Attach the tape firmly to the back of the transmitter.
- Peel off the other side of the protective film and press the transmitter firmly onto the desired surface for at least 30 seconds.

Image: A series of three images demonstrating how to install the doorbell transmitter using double-sided adhesive tape. The first shows the transmitter, tape, and screwdriver. The second shows applying the tape to the back of the transmitter. The third shows pressing the transmitter onto a surface.
Method 2: Screws
- Use the provided mini screwdriver to gently pry open the back cover of the transmitter.
- Mark the desired mounting location on the wall.
- Drill two holes at the marked spots and insert the plastic anchors.
- Align the transmitter's back plate with the holes and secure it with the provided screws.
- Snap the front cover back onto the transmitter.

Image: A six-step visual guide showing how to install the doorbell transmitter using screws. It illustrates opening the back cover, installing the battery, applying adhesive (optional), and then securing the unit with screws.
3.3. Pairing Transmitters with Receiver
The doorbell system is typically pre-paired. If re-pairing is needed or to add new transmitters:
- Plug the receiver into an electrical outlet.
- Press and hold the volume button on the receiver for approximately 3-5 seconds until you hear a 'ding' sound and the LED indicator flashes. This puts the receiver into pairing mode.
- Immediately press the button on the transmitter you wish to pair. The receiver will chime, indicating successful pairing.
- Repeat for any additional transmitters.
Video: This video demonstrates the pairing process between the doorbell transmitter and receiver. It shows how to put the receiver into pairing mode and then activate the transmitter to establish a connection.
4. Operating Instructions
4.1. Changing Melodies
The doorbell offers 36 polyphonic melodies. To change the melody:
- Press the 'Music' button (note icon) on the side of the receiver to cycle through the available melodies.
- Once you find a melody you like, press the transmitter button to confirm and set it.
4.2. Adjusting Volume
The receiver has 4 adjustable volume levels (0-100 dB). To adjust the volume:
- Press the 'Volume' button (speaker icon) on the side of the receiver to cycle through the volume levels.
- Select the desired volume level. The receiver will play the current melody at the selected volume.
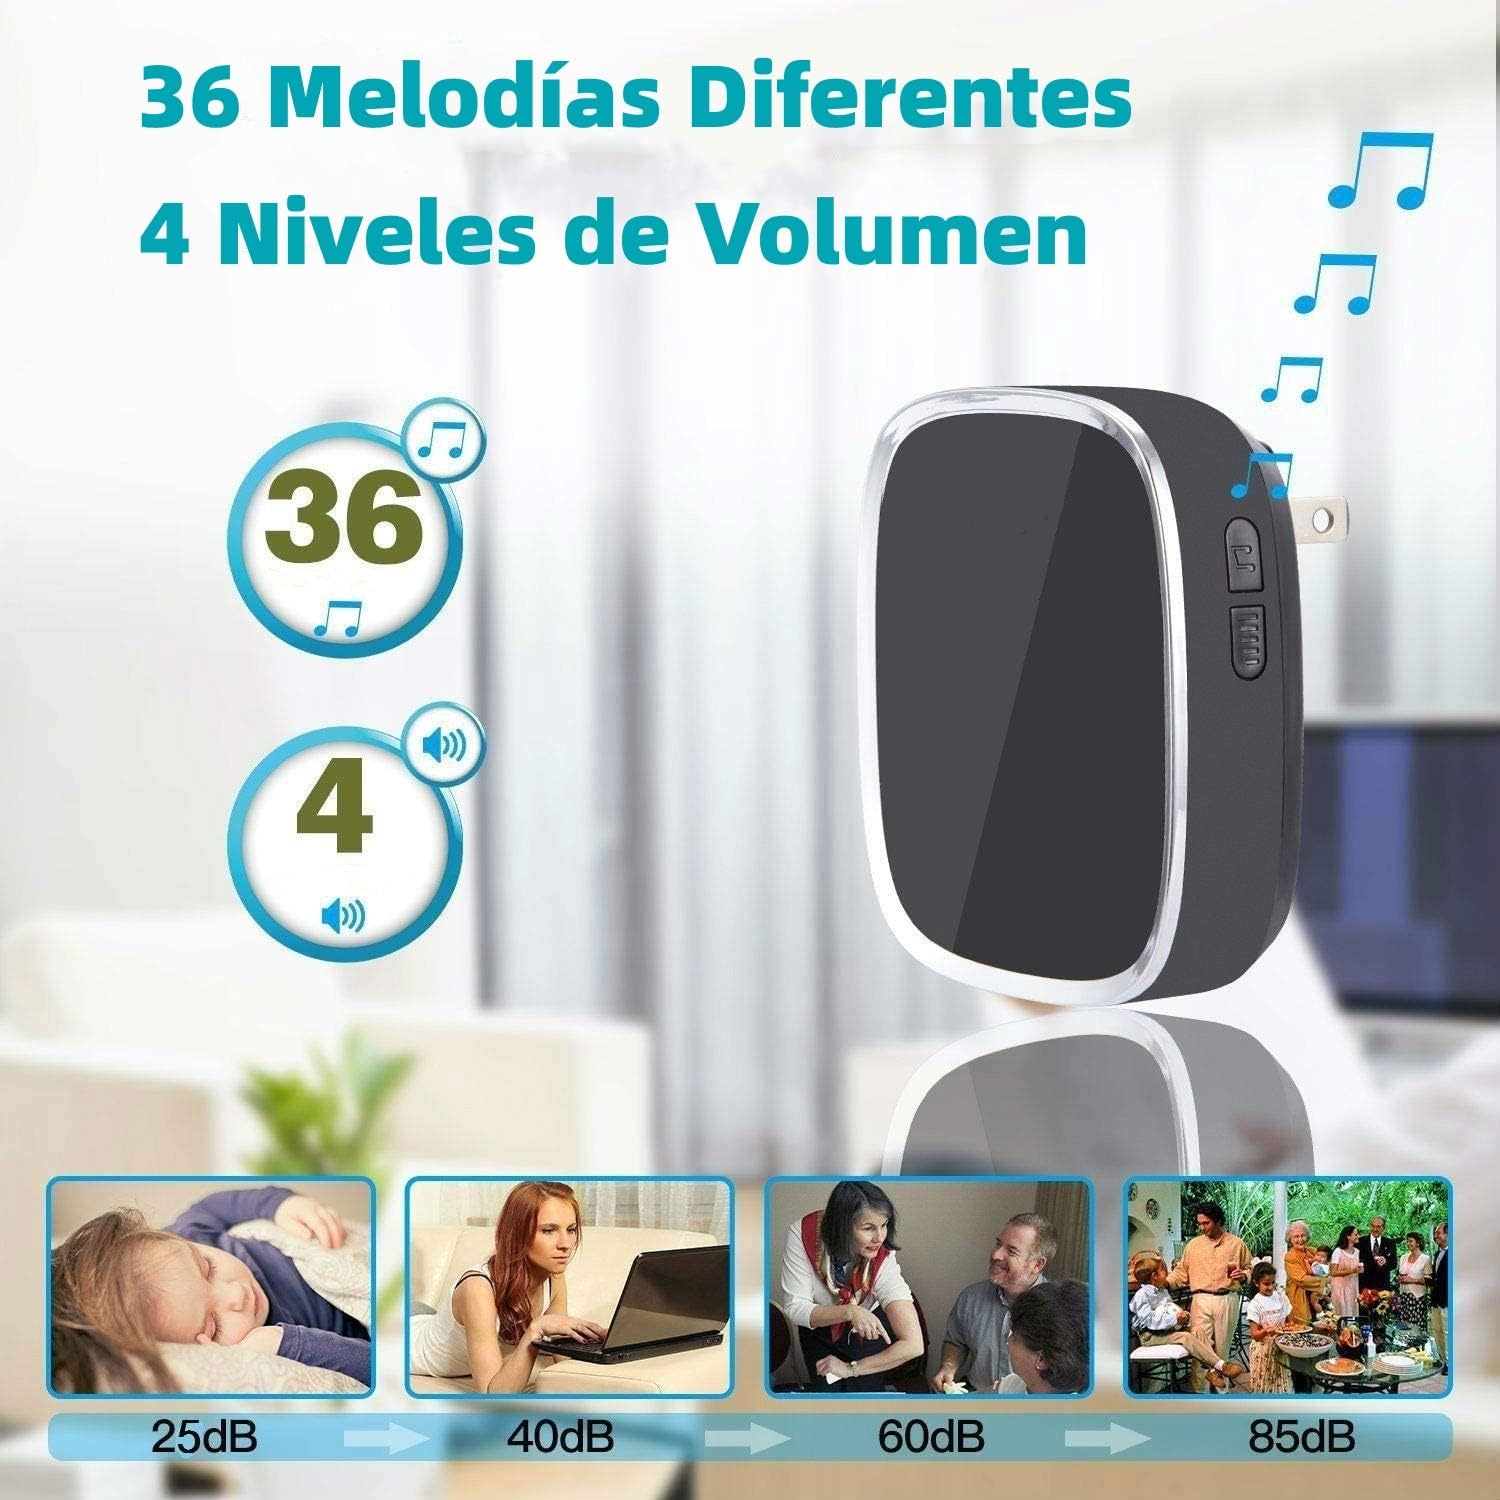
Image: The doorbell receiver is shown with icons indicating 36 different melodies and 4 volume levels. Below are illustrations of different sound environments (25dB for sleeping, 40dB for working, 60dB for gathering, 85dB for party).
Video: This video demonstrates how to adjust the volume and change melodies on the doorbell receiver. It also shows how to open the transmitter to replace the battery.
4.3. LED Indicator
When the doorbell rings, the blue LED light on the receiver will flash, providing a visual alert, which is useful for noisy environments or for individuals with hearing impairments.
5. Maintenance
5.1. Battery Replacement (Transmitter)
The transmitter uses a 12V 23A alkaline battery, which typically lasts over 1 year. When the transmitter's performance degrades or the LED no longer lights up, it's time to replace the battery.
- Use the provided mini screwdriver to gently pry open the back cover of the transmitter.
- Remove the old battery.
- Insert a new 12V 23A alkaline battery, ensuring correct polarity (+/-).
- Snap the back cover firmly into place.
5.2. Waterproof and Dustproof Features
The transmitter has an IP44 waterproof and dustproof rating, ensuring reliable operation in various weather conditions, including rain, snow, or strong sunlight. However, avoid submerging the transmitter in water.

Image: A doorbell transmitter is shown in a rainy environment, highlighting its IP44 waterproof rating and indicating a working temperature range from -7.6°F to 122°F.
6. Troubleshooting
- Doorbell not ringing: Check if the receiver is plugged in and powered on. Ensure the transmitter battery is not depleted. Re-pair the transmitter and receiver if necessary.
- Short range: Ensure there are no major metal objects or thick walls directly between the transmitter and receiver that could interfere with the signal. Relocate the receiver or transmitter if needed.
- No sound from receiver: Check the volume level. It might be set to mute (0 dB).
7. Specifications
| Feature | Specification |
|---|---|
| Brand | Yostyle |
| Model | Negro-2to1 |
| Style | 2 Transmitters and 1 Receiver |
| Color | Black |
| Range | Up to 280m (1000ft) in open areas |
| Melodies | 36 Polyphonic Melodies |
| Volume Levels | 4 Levels (0-100 dB) |
| Waterproof Rating (Transmitter) | IP44 |
| Transmitter Battery | 1 x 12V 23A Alkaline Battery (included) |
| Receiver Power | Plug-in (no battery needed) |
| Product Dimensions | 12 x 9.2 x 8.4 cm; 210 g (Package) |
8. Warranty and Support
For warranty information or technical support, please refer to the product packaging or contact Yostyle customer service directly. Keep your purchase receipt for warranty claims.
9. Application Scenarios
The Yostyle Wireless Doorbell is versatile and suitable for a variety of environments:
- Home: Ideal for houses, apartments, and villas, ensuring you never miss a visitor.
- Office: Perfect for offices, factories, and workshops to alert staff or visitors.
- Hospitality: Suitable for hotels and dormitories.
- Care Facilities: Can be used in elderly care settings for summoning assistance.

Image: A collage of images depicting various locations where the Yostyle Wireless Doorbell can be used, such as apartments, offices, hotels, villas, elderly care facilities, and hospitals.