Introduction
Thank you for choosing the Merax Twin Over Twin Heavy Steel Bunk Bed. This manual provides essential information for the safe assembly, operation, and maintenance of your new bunk bed. Please read all instructions carefully before beginning assembly and retain this manual for future reference.

Image: The Merax Twin Over Twin Heavy Steel Bunk Bed, showcasing its robust metal frame and wooden accents.
Safety Information
WARNING: Failure to follow these warnings and instructions could result in serious injury or death.
- Always follow the manufacturer's recommended mattress size.
- Ensure all connections are tight before use. Periodically check and tighten as necessary.
- Do not allow children under 6 years of age on the upper bunk.
- Prohibit more than one person on the upper bunk.
- Always use the ladder for entering and exiting the upper bunk.
- Do not attach or hang items to any part of the bunk bed that are not designed for use with the bed; for example, but not limited to, hooks, belts, and jump ropes.
- Keep these instructions for future reference.
- Weight Capacity: Upper bed: 250 LBS, Lower bed: 350 LBS. Do not exceed these limits.
Parts List
Before assembly, verify that all components are present and undamaged. If any parts are missing or damaged, do not proceed with assembly. Contact Merax customer support for assistance.
Included Components: 2 Twin Beds, All Tools, Hardware.
A detailed list of specific parts (e.g., frame pieces, slats, bolts, nuts) would typically be provided in a physical manual. Please refer to the packaging for a complete list of numbered parts.
Setup and Assembly Instructions
Partial assembly is required. It is recommended that two people assemble this bed. Estimated assembly time: 0.5 Hour. All necessary tools are included.
- Unpack Components: Carefully remove all parts from the packaging and lay them out on a clean, soft surface (e.g., a carpet or blanket) to prevent scratches.
- Identify Parts: Match each part to the corresponding diagram in the included instructions.
- Assemble Lower Bed Frame: Begin by connecting the side rails to the headboard and footboard of the lower bed using the provided hardware. Ensure all bolts are finger-tight only at this stage.
- Install Lower Bed Slats: Place the metal slats onto the lower bed frame. Secure them according to the instructions, ensuring even spacing and firm attachment.
- Assemble Upper Bed Frame: Repeat steps 3 and 4 for the upper bed frame.
- Attach Ladder: Securely attach the ladder to the designated side of the upper bunk, ensuring it is stable and firmly connected.
- Connect Upper and Lower Bunks: Carefully lift the assembled upper bunk and align it with the lower bunk's support posts. Securely fasten the upper bunk to the lower bunk using the provided connectors and hardware.
- Final Tightening: Once all components are in place and aligned, systematically tighten all bolts and screws using the included tools. Do not overtighten.
- Safety Check: Before use, ensure all connections are secure, the bed is stable, and the guardrails are properly installed on the upper bunk.
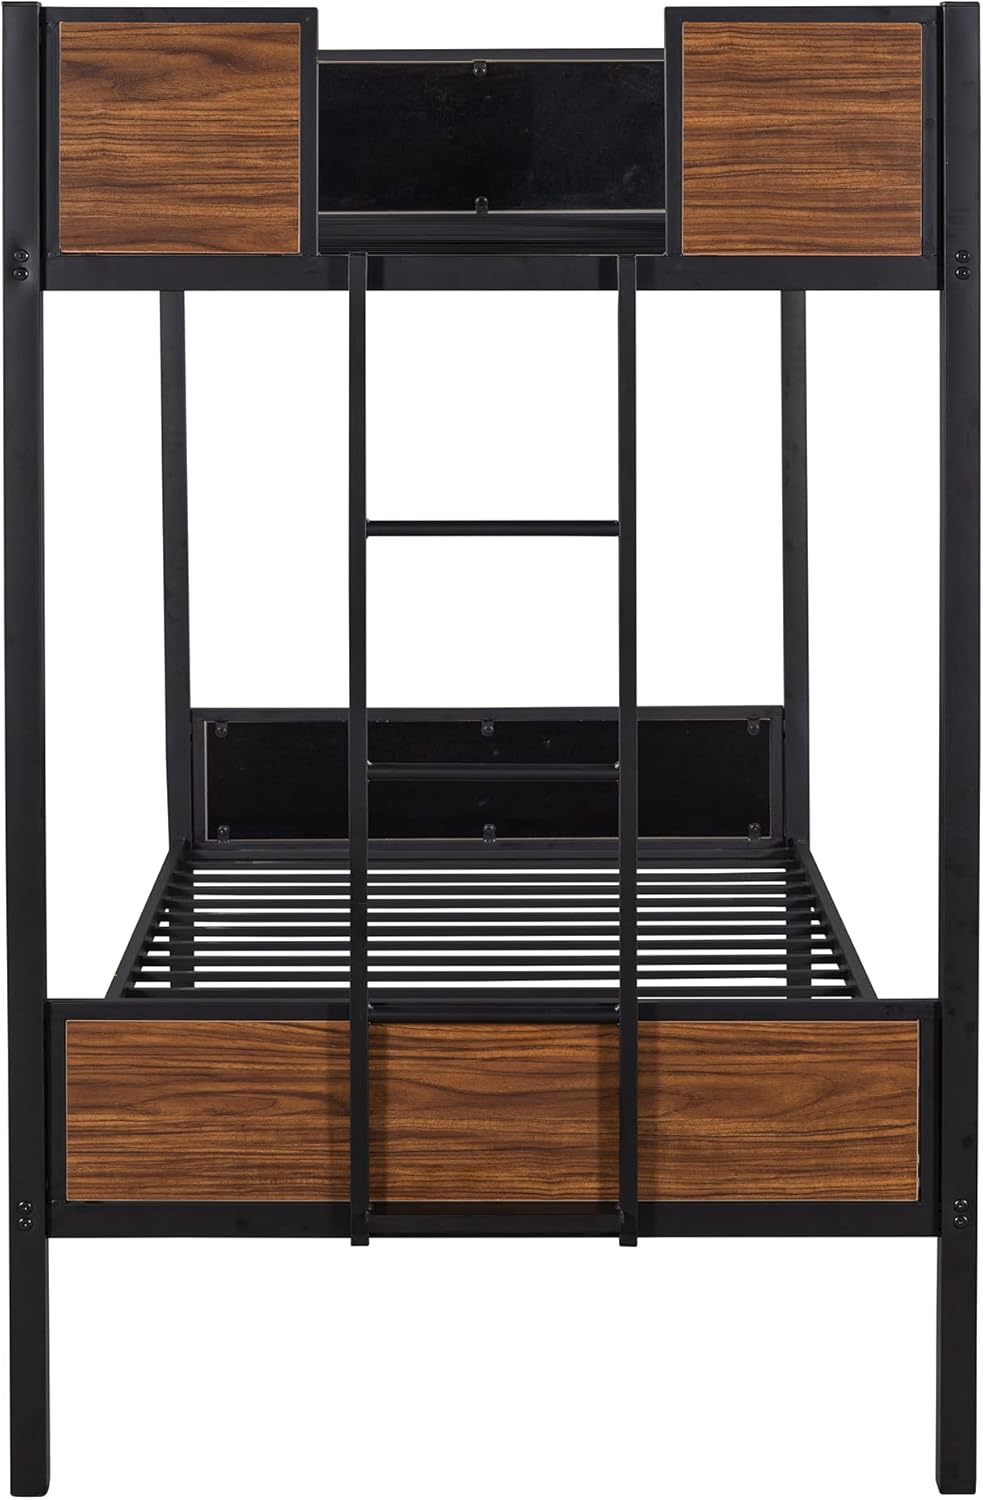
Image: An overview of the bunk bed frame, illustrating the main structural components and their connections.
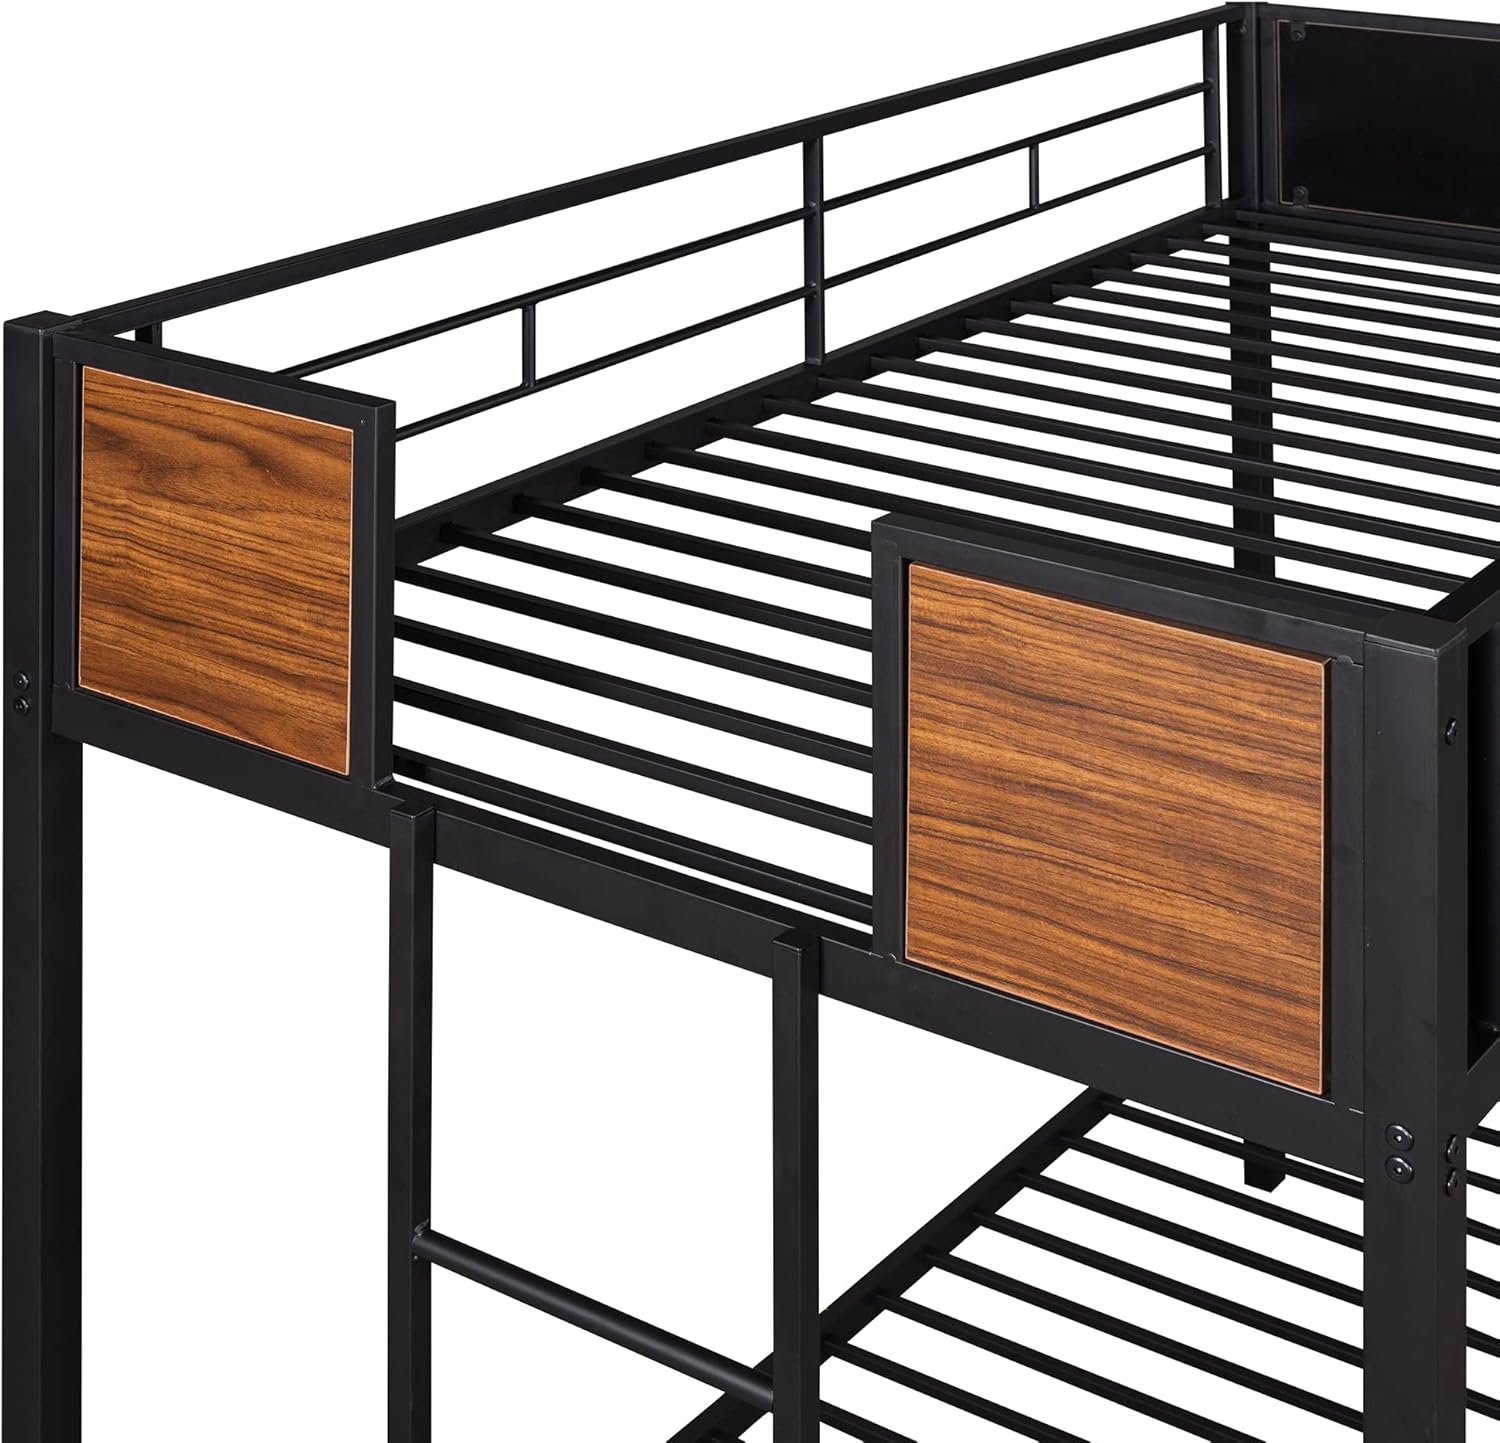
Image: A detailed view of the ladder and its secure attachment points to the bunk bed frame.
Operating Instructions
- Mattress Placement: Place a standard twin-size mattress on both the upper and lower bunks. Ensure the mattress on the upper bunk does not exceed the height of the guardrails.
- Ladder Use: Always use the integrated 3-step ladder for safe access to and from the upper bunk. Do not jump on or off the bunk bed.
- Weight Distribution: Distribute weight evenly across the bed frames. Avoid concentrating heavy loads in one area.
Maintenance
- Cleaning: Wipe the metal frame with a damp cloth for general cleaning. For stubborn marks, a mild soap solution can be used, followed by wiping with a dry cloth. Avoid abrasive cleaners.
- Hardware Check: Periodically (e.g., every 3-6 months) inspect all bolts, screws, and connections to ensure they remain tight. Retighten as necessary to maintain stability and safety.
- Rust Prevention: The bed frame is coated with a rust-proof finish. To maintain this, avoid prolonged exposure to moisture.
Troubleshooting
- Issue: Bed feels wobbly or unstable.
- Solution: Check all assembly hardware. Ensure all bolts and screws are fully tightened. If the issue persists, disassemble and reassemble, paying close attention to each connection point.
- Issue: Parts do not fit together.
- Solution: Verify that you are using the correct parts for each step as indicated in the assembly instructions. Ensure parts are oriented correctly. Do not force parts together.
- Issue: Missing or damaged parts.
- Solution: Do not proceed with assembly. Contact Merax customer support immediately for replacement parts.
Specifications
| Feature | Detail |
|---|---|
| Model Number | HH652 |
| Size | Twin Over Twin |
| Material | Heavy Steel (Metal) |
| Color | Black |
| Overall Product Dimensions | 78"L x 41.3"W x 67"H |
| Overall Product Weight | 97.3 LBS |
| Weight Capacity (Upper Bed) | 250 LBS |
| Weight Capacity (Lower Bed) | 350 LBS |
| Recommended Mattress Size | Twin |
| Ground to Item Distance | 12 Inches |
| Assembly Required | Yes (Partial assembly, approx. 0.5 Hour) |
| Tools Included | Yes |
| Country of Origin | Vietnam |

Image: Detailed dimensions diagram of the Merax Twin Over Twin Bunk Bed, showing length, width, and height measurements.
Warranty and Support
Merax provides customer support for product inquiries, missing parts, or assembly assistance. For specific warranty details, please refer to the documentation included with your purchase or visit the official Merax website.
If you have any questions or require assistance, please contact Merax customer service. Contact information is typically found on the product packaging or the brand's official website.
Note: Items may slightly differ from photos in terms of color due to lighting or your monitor’s display.


