Introduction
Thank you for choosing the Parkside PBH 800 A1 Rotary Hammer Drill. This powerful tool is designed for drilling in concrete, masonry, metal, and wood, as well as for light chiseling work. To ensure safe and efficient operation, please read this user manual thoroughly before first use. Keep this manual in a safe place for future reference.
This manual provides important information on product safety, operation, maintenance, and troubleshooting.
General Safety Instructions
WARNING! Read all safety warnings, instructions, illustrations and specifications provided with this power tool. Failure to follow all instructions listed below may result in electric shock, fire and/or serious injury.
- Work Area Safety: Keep work area clean and well lit. Do not operate power tools in explosive atmospheres, such as in the presence of flammable liquids, gases or dust.
- Electrical Safety: Power tool plugs must match the outlet. Never modify the plug in any way. Avoid body contact with earthed or grounded surfaces.
- Personal Safety: Always wear eye protection. Use hearing protection when operating the tool for extended periods. Wear a dust mask if operations create dust. Dress properly. Do not wear loose clothing or jewelry.
- Power Tool Use and Care: Do not force the power tool. Use the correct power tool for your application. Disconnect the plug from the power source before making any adjustments, changing accessories, or storing power tools.
- Service: Have your power tool serviced by a qualified repair person using only identical replacement parts.
Specific Safety for Rotary Hammer Drills
- Wear ear protectors when hammer drilling. Exposure to noise can cause hearing loss.
- Use auxiliary handles supplied with the tool. Loss of control can result in personal injury.
- Hold power tool by insulated gripping surfaces, when performing an operation where the cutting accessory may contact hidden wiring or its own cord.
- Always ensure the workpiece is securely clamped or supported.
Product Overview
Familiarize yourself with the components and controls of your Parkside PBH 800 A1 Rotary Hammer Drill.

Figure 1: The Parkside PBH 800 A1 Rotary Hammer Drill equipped with an SDS-Plus drill bit and the adjustable depth stop, ready for operation.

Figure 2: Side view of the rotary hammer drill, highlighting the central mode selector for switching between drilling, hammer drilling, and chiseling functions.

Figure 3: The rotary hammer drill fitted with a flat chisel, demonstrating its capability for light chiseling tasks.

Figure 4: A flat chisel accessory (250 mm) with an SDS-Plus shank, included for chiseling applications.

Figure 5: The metal depth stop, used to precisely control drilling depth and prevent over-drilling.

Figure 6: An SDS-Plus drill bit (e.g., Ø 6/8/10 mm x 150 mm), designed for efficient drilling in concrete and masonry.
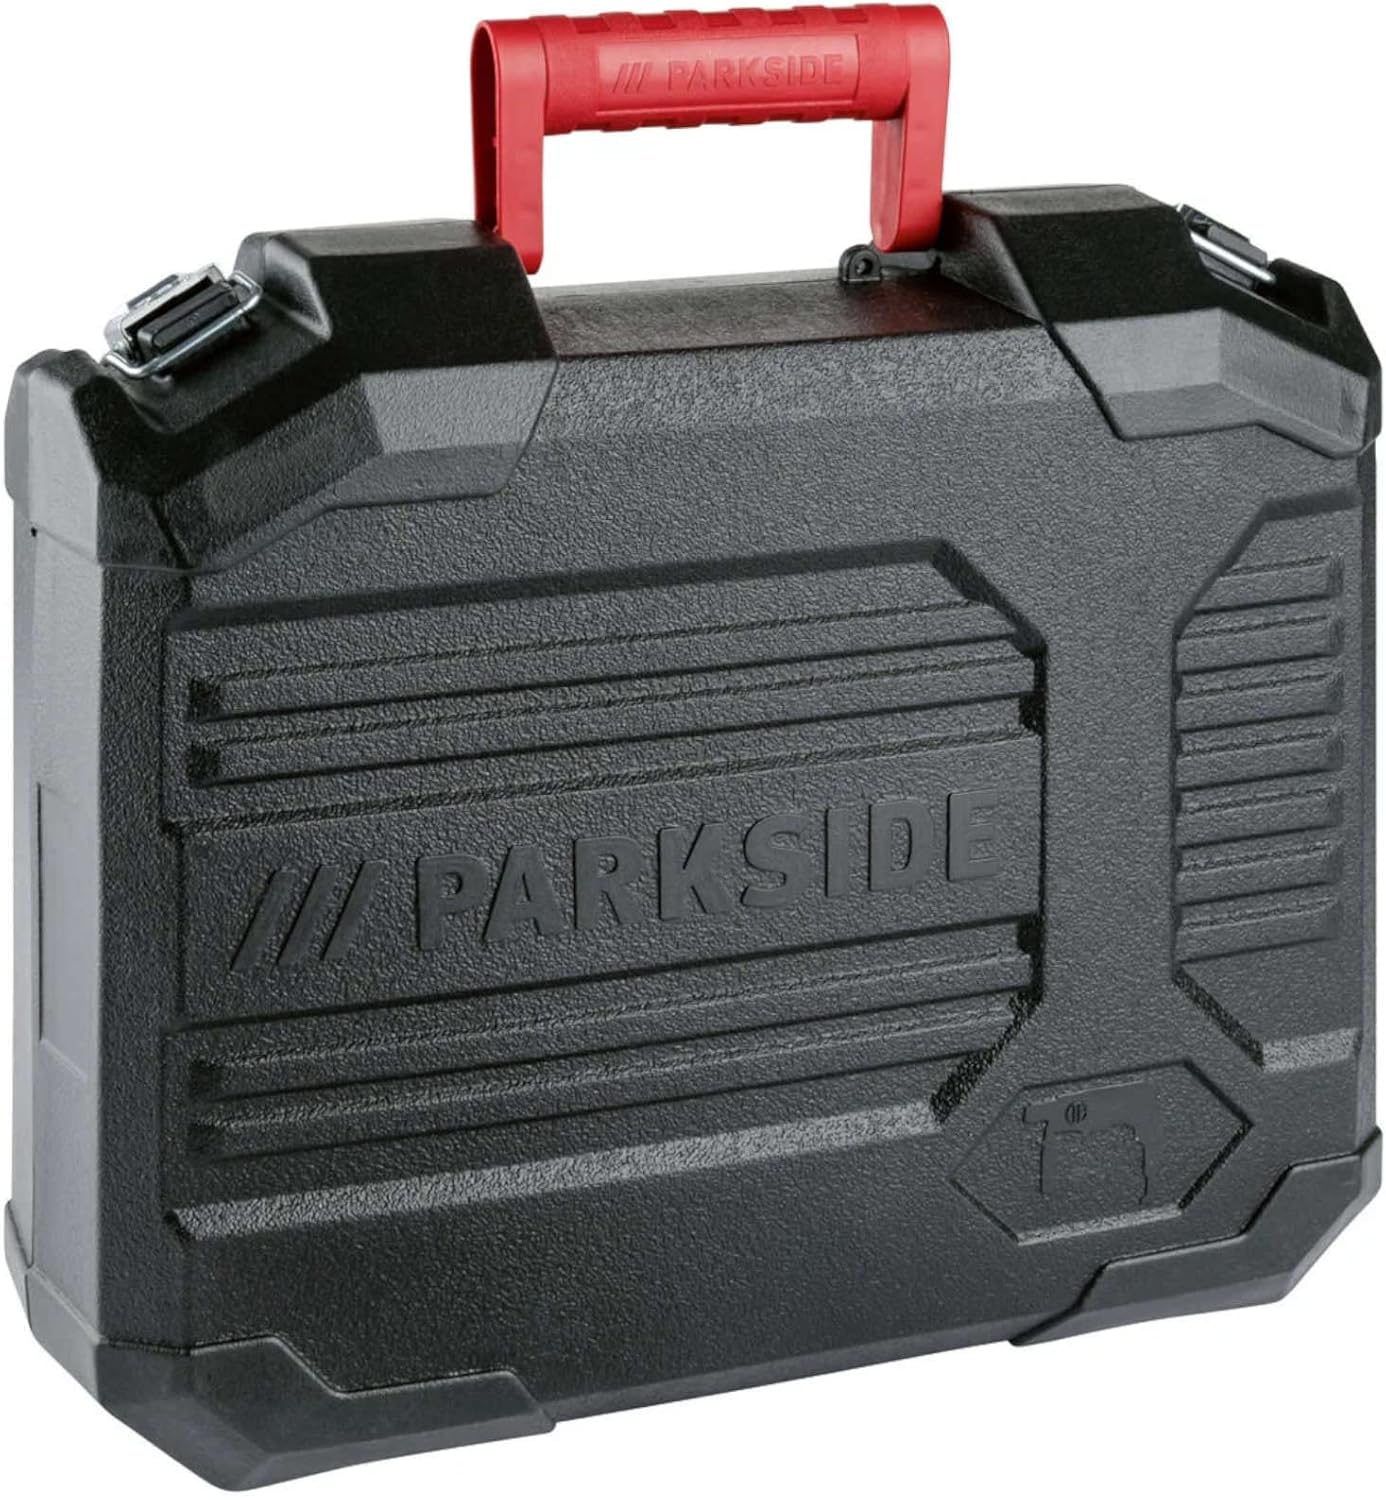
Figure 7: The durable transport case provided with the Parkside PBH 800 A1, ensuring convenient storage and portability for the tool and its accessories.
Key Components:
- SDS-Plus Chuck: For quick and secure insertion of SDS-Plus drill bits and chisels.
- Mode Selector Switch: Allows selection between drilling, hammer drilling, chisel rotation adjustment, and chiseling modes.
- Auxiliary Handle: Provides additional grip and control during operation.
- Depth Stop: For setting precise drilling depths.
- On/Off Trigger Switch: Activates and deactivates the tool.
- Lock-on Button: For continuous operation (use with caution).
- Keyless Chuck (for round shank bits): An adapter chuck for using standard drill bits.
Setup
1. Attaching the Auxiliary Handle
Loosen the auxiliary handle by twisting it counter-clockwise. Slide it over the chuck and position it to your desired angle for optimal control. Tighten by twisting clockwise until secure.
2. Installing SDS-Plus Accessories (Drill Bits/Chisels)
- Clean the shank of the accessory and apply a thin layer of grease.
- Pull back the chuck sleeve and insert the SDS-Plus accessory into the chuck.
- Release the chuck sleeve. Pull on the accessory to ensure it is securely locked. The SDS-Plus system allows for slight axial movement, which is normal for hammer action.
3. Installing the Keyless Chuck for Round Shank Bits
For drilling with standard round shank drill bits (e.g., in wood or metal without hammer action), attach the supplied keyless chuck adapter.
- Insert the SDS-Plus end of the keyless chuck adapter into the SDS-Plus chuck as described above.
- Open the jaws of the keyless chuck by twisting the front collar.
- Insert the round shank drill bit and tighten the chuck by twisting the collar until the bit is firmly gripped.
4. Setting the Depth Stop
Insert the depth stop into the hole on the auxiliary handle. Adjust its position so that the desired drilling depth is achieved when the end of the depth stop touches the workpiece. Secure the depth stop by tightening the auxiliary handle.
Operating Instructions
Always ensure the tool is disconnected from the power supply before changing modes or accessories.
1. Selecting Operating Mode
The central mode selector allows you to choose between the following functions:
- Drilling (Rotation Only): For drilling in wood, metal, or plastic. Use with the keyless chuck and round shank drill bits. Hammer action is deactivated.
- Hammer Drilling (Rotation with Hammer Action): For drilling in concrete, masonry, and stone. Use with SDS-Plus drill bits.
- Chiseling (Hammer Action Only): For light chiseling work, such as removing tiles or breaking small concrete sections. Use with SDS-Plus chisels.
- Chisel Position Adjustment: Allows you to rotate the chisel to the desired working angle without activating the hammer action.
To change the mode, rotate the central selector switch to the desired symbol. Ensure the switch clicks into place.
2. Powering On/Off
- To turn on: Press the On/Off trigger switch. The speed is variable depending on how far the trigger is pressed.
- For continuous operation: Press the On/Off trigger switch and then press the lock-on button. Release the trigger.
- To turn off (from continuous operation): Press the On/Off trigger switch briefly and release it.
- To turn off (from momentary operation): Release the On/Off trigger switch.
3. Drilling Tips
- Always start drilling at a low speed to prevent the drill bit from slipping.
- Apply steady, even pressure. Do not force the tool.
- For deep holes, periodically withdraw the drill bit to clear debris.
- When drilling metal, use cutting oil to prolong bit life and improve performance.
Maintenance
Regular maintenance ensures the longevity and optimal performance of your tool. Always disconnect the tool from the power supply before performing any maintenance.
1. Cleaning
- Keep the ventilation openings clean to prevent motor overheating. Use a soft brush or compressed air to clear dust.
- Wipe the tool housing with a soft, damp cloth. Do not use harsh cleaning agents or solvents.
- Clean the SDS-Plus chuck regularly. Remove any dust or debris from the chuck and apply a small amount of grease to the SDS-Plus shank of accessories before insertion.
2. Storage
Store the tool and its accessories in the supplied transport case in a dry, secure place, out of reach of children. Protect from direct sunlight and extreme temperatures.
3. Carbon Brushes
The carbon brushes are wear parts. If the motor sparks excessively or the tool stops working, the carbon brushes may need replacement. This should be performed by a qualified service technician.
Troubleshooting
Before attempting any repairs, always disconnect the tool from the power supply.
| Problem | Possible Cause | Solution |
|---|---|---|
| Tool does not start. | No power supply. Faulty power cord/plug. On/Off switch faulty. | Check power outlet and circuit breaker. Inspect cord for damage; replace if necessary (by qualified personnel). Contact customer support. |
| Reduced hammer action. | SDS-Plus chuck dirty/dry. Worn internal components. | Clean and grease SDS-Plus chuck and accessory shanks. Contact customer support for service. |
| Excessive sparking at motor. | Worn carbon brushes. Motor fault. | Have carbon brushes checked/replaced by a qualified technician. Contact customer support. |
| Drill bit not rotating or slipping. | Accessory not properly inserted in chuck. Chuck jaws worn (for keyless chuck). | Re-insert accessory, ensuring it clicks into place. Replace keyless chuck if worn. |
Technical Specifications
| Parameter | Value |
|---|---|
| Model | PBH 800 A1 |
| Rated Power Input | 800 W |
| Impact Force | 1.2 Joule |
| Impact Rate | 0 - 7500 bpm (blows per minute) |
| No-load Speed | 0 - 1650 rpm (revolutions per minute) |
| Max. Drilling Diameter (Concrete/Stone) | 19 mm |
| Max. Drilling Diameter (Metal) | 13 mm |
| Max. Drilling Diameter (Wood) | 24 mm |
| Chuck Type | SDS-Plus (with included keyless chuck adapter for round shank bits) |
| Weight | Approx. 2.5 kg |
| Dimensions (L x W x H) | Approx. 310 x 205 x 100 mm |
| Cable Length | Approx. 3 m |
| Material | Plastic, Metal |
Warranty and Support
This Parkside product is manufactured with care and undergoes strict quality controls. In the unlikely event of a defect, please contact your retailer or the authorized service center for assistance.
Please retain your proof of purchase (receipt) as it will be required for any warranty claims.
For technical support or spare parts inquiries, please refer to the contact information provided with your purchase documentation or visit the official Parkside website.