Generic A200 HUD Head-Up Display User Manual
Model: A200
1. Introduction
The Generic A200 Head-Up Display (HUD) is designed to project essential driving information directly onto your vehicle's windshield. This allows drivers to view data such as speed, engine RPM, water temperature, and voltage without diverting their eyes from the road, thereby enhancing driving safety and convenience. The A200 connects via the On-Board Diagnostics II (OBD2) port, offering a plug-and-play solution for compatible vehicles.
Key Features:
- Plug and Play connectivity with OBDII or EUOBD capable vehicles.
- 3.5-inch HD multi-color display for clear readability.
- Nano-technology to minimize reflections and enhance display clarity.
- Displays speed, RPM, water temperature, voltage, and single mileage.
- Includes alarms for low voltage, high water temperature, over speed, and fatigue driving.
- Automatic and manual brightness adjustment with 5 levels.
- Automatic power on/off with vehicle ignition, with a manual switch option.
- Switchable between kilometers (KM/H) and miles (MPH).

Figure 1.1: The Generic A200 HUD in operation, projecting vehicle speed onto the windshield.
2. Safety Information
Please read all safety instructions carefully before using the A200 HUD. Failure to follow these instructions may result in injury or damage to the device or vehicle.
- Ensure the HUD is securely mounted and does not obstruct your view of the road or interfere with vehicle controls.
- Do not attempt to disassemble or modify the device. This may cause damage and void the warranty.
- Keep the device away from extreme temperatures, direct sunlight for prolonged periods, and moisture.
- Only use the provided OBD cable for connection.
- Always prioritize driving safety. Do not adjust settings or interact with the HUD in a way that distracts you from driving.
3. Package Contents
Verify that all items are present in the package:
- 1x A200 Head-Up Display Unit
- 1x Reflective Film
- 1x OBD Cable
- 1x Antiskid Pad
- 1x English User Manual

Figure 3.1: All components included in the A200 HUD package.
4. Setup and Installation
Follow these steps to install your A200 HUD:
- Vehicle Compatibility: The A200 HUD is designed for cars that comply with the OBD II protocol. Please note that some Italian and Japanese cars may not be compatible. OBDII models in Europe and the United States are generally compatible if produced after 2004. Asian car brands with OBDII models are typically compatible if produced after 2008. If your vehicle is not compatible, a GPS model HUD may be required.
- Locate OBD Port: Identify your vehicle's OBD2 diagnostic port, usually located under the dashboard on the driver's side.
- Connect OBD Cable: Plug one end of the provided OBD cable into the vehicle's OBD2 socket.
- Route Cable: Carefully route the OBD cable along the A-pillar sealing strip to conceal it and prevent obstruction.
- Position HUD: Place the A200 HUD unit on the dashboard in a position that does not obstruct your view of the road. Use the included anti-skid pad to secure the device.
- Connect HUD: Plug the other end of the OBD cable into the USB cable input on the HUD unit.
- Apply Reflective Film (Optional): If the display appears blurry or has double reflections on your windshield, apply the reflective film. Clean the windshield area where the HUD will project. Spray a little water on the glass, then carefully peel and apply the film, smoothing out any air bubbles.

Figure 4.1: Illustrated installation steps for the A200 HUD.
5. Operating Instructions
5.1 Device Overview

Figure 5.1: Labeled diagram of the A200 HUD unit and its controls.
5.2 Power On/Off
The HUD will automatically power on when the vehicle starts and power off when the vehicle is shut down. This feature helps protect the car battery. A manual power on/off button is also available on the side of the unit for direct control.
5.3 Displayed Information
The A200 HUD can display various driving data:
- Vehicle Speed (KM/H or MPH)
- Engine RPM
- Water Temperature
- Battery Voltage
- Single Driving Mileage
5.4 Control Buttons
The unit features a three-way wave button (Up, OK, Down) for navigation and adjustments:
- Up Button: Move up in menus or increase values.
- OK Button (Inward press): Confirm selection or enter menu.
- Down Button: Move down in menus or decrease values.
5.5 Settings and Alarms
The A200 HUD allows for various adjustments and alarm settings:
- Brightness Adjustment: The HUD has 5 levels of brightness. It supports both automatic adjustment (via the light sensor) and manual adjustment.
- Speed Unit Switch: Easily switch between Kilometers per Hour (KM/H) and Miles per Hour (MPH).
- High Water Temperature Alarm: Set a threshold for water temperature. An alarm will sound if the temperature exceeds this value. Both automatic and manual adjustment modes are available.
- Low Voltage Alarm: Set a threshold for battery voltage. An alarm will sound if the voltage drops below this value. Both automatic and manual adjustment modes are available.
- Over Speed Alarm: Configure a speed limit. An alarm will activate if the vehicle exceeds this speed.
- Fatigue Driving Alarm: Set a duration (e.g., 4 hours). The HUD will remind you to rest after this period of continuous driving. Both automatic and manual adjustment modes are available.
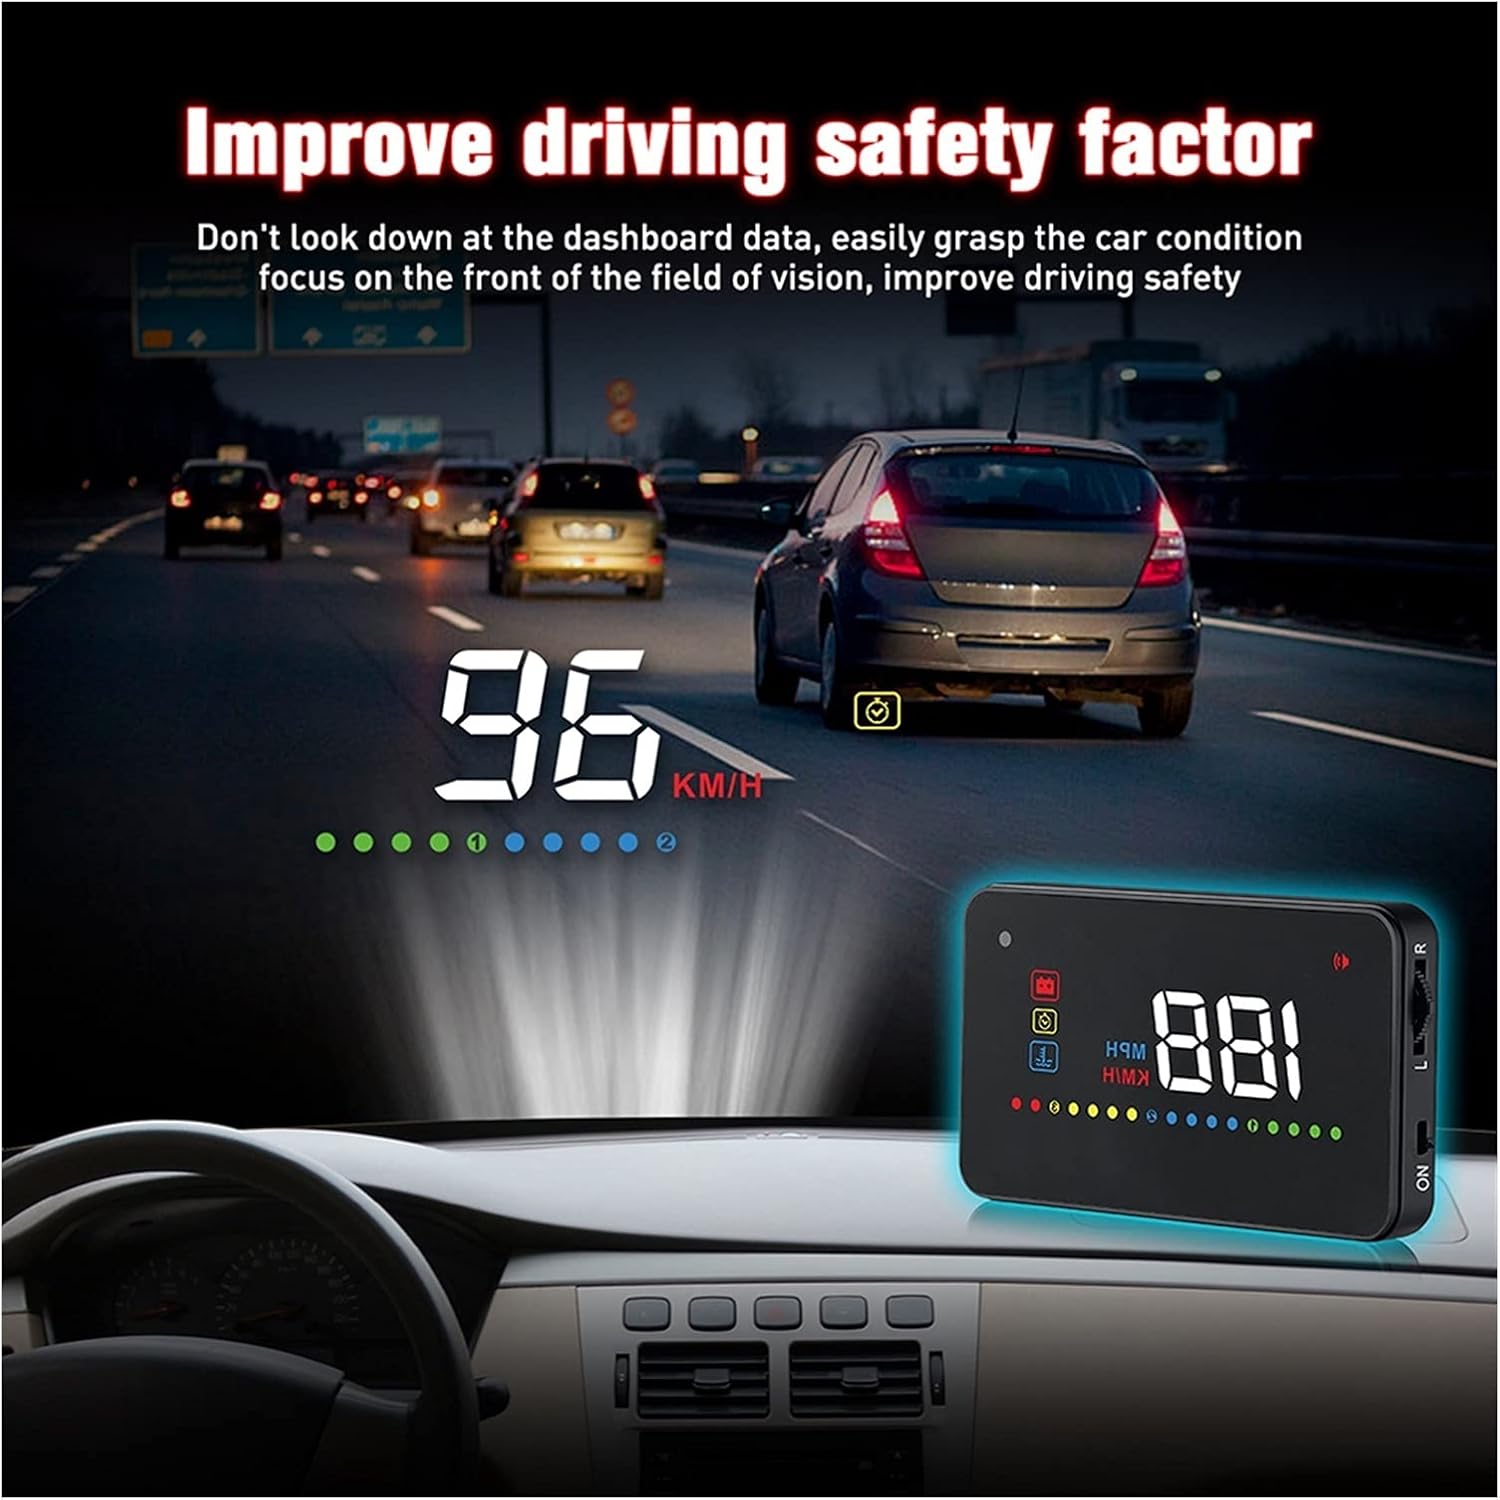
Figure 5.2: The A200 HUD enhancing driving safety by displaying critical information in the driver's line of sight.
6. Maintenance
To ensure the longevity and optimal performance of your A200 HUD, follow these maintenance guidelines:
- Cleaning: Use a soft, dry cloth to clean the HUD unit. For stubborn smudges, slightly dampen the cloth with water. Avoid using harsh chemicals or abrasive materials.
- Reflective Film: If the reflective film becomes dirty or damaged, it can be gently cleaned with a soft, damp cloth. If replacement is needed, ensure the new film is applied smoothly to avoid distortions.
- Storage: If storing the device for an extended period, disconnect it from the OBD port and store it in a cool, dry place away from direct sunlight.
7. Troubleshooting
If you encounter issues with your A200 HUD, refer to the following common problems and solutions:
- No Display/Power:
- Ensure the OBD cable is securely connected to both the vehicle's OBD2 port and the HUD unit.
- Check if your vehicle's ignition is on. The HUD powers on with the vehicle.
- Verify your vehicle's OBD2 compatibility (refer to Section 4.1).
- Try pressing the manual power button on the HUD.
- Inaccurate Speed Display:
- The HUD's speed reading might slightly differ from the vehicle's dashboard speedometer due to manufacturer calibration. You can adjust the speed calibration setting in the HUD's menu (refer to the detailed user manual for specific steps).
- Ensure the correct speed unit (KM/H or MPH) is selected.
- Double Image/Blurry Projection:
- Adjust the angle of the HUD unit.
- Ensure the reflective film is properly applied to the windshield. If not, apply it as described in Section 4.6.
- Clean the windshield and the HUD's projection lens.
- Alarms Triggering Incorrectly:
- Check the alarm threshold settings (e.g., over speed, high water temperature, low voltage) in the HUD's menu and adjust them as needed.
8. Specifications

Figure 8.1: A200 HUD dimensions and detailed specifications.
| Specification | Value |
|---|---|
| Product Name | A200 Multi-function HUD |
| Product Feature | Safe and easy to use |
| Product Size | 90 x 54 x 12 mm (Approx. 3.5 x 2.1 x 0.5 inches) |
| Atmospheric Pressure | 86-106 KPa |
| Alarm Sound Level | >=30 dB(A) |
| Product Color | Black |
| Working Voltage | 9V-16V DC (12V DC / 400mA) |
| Environment Temperature | -40℃ to +80℃ |
| Environmental Noise | <=60 dB(A) |
| Product Weight | 110g (Approx. 0.24 lbs) |
| Material | Glass |
| Manufacturer | Lifyn2 |
9. Warranty and Support
Specific warranty information is not provided in the product details. Please refer to your purchase documentation or contact the seller directly for details regarding warranty coverage and customer support.


