1. Introduction
This manual provides comprehensive instructions for the proper setup, operation, and maintenance of your CRT SS 7900 V TURBO CB Radio. This transceiver is designed for amateur radio enthusiasts, offering multi-mode operation including AM, FM, LSB, USB, and SSB across the 28.000-29.700 MHz frequency range. Please read this manual thoroughly before using the device to ensure safe and efficient operation.

Image 1: Front view of the CRT SS 7900 V TURBO CB Radio with its connected microphone.
2. What's in the Box
Upon unpacking, please verify that all the following components are included in your package:
- CRT SS 7900 V TURBO Radio Station
- Microphone (RJ45 type)
- Mounting bracket and screws for radio station fixation
- Microphone support and screws
- Power cable
- User Manual (this document)

Image 2: All included components of the CRT SS 7900 V TURBO CB Radio.
3. Setup
3.1 Power Connection
- Ensure the radio is turned off before connecting power.
- Connect the supplied 12V DC power cable to the power input port on the rear of the radio. Observe correct polarity (red to positive, black to negative).
- Connect the other end of the power cable to a stable 12V DC power source capable of supplying sufficient current (e.g., a car battery or a regulated power supply).
3.2 Antenna Connection
- Connect a suitable 28-29.7 MHz antenna to the 'ANT' (SO-239) connector on the rear panel of the radio.
- Ensure the antenna cable is securely fastened and has a low SWR (Standing Wave Ratio) for optimal performance and to prevent damage to the transceiver.
3.3 Microphone Connection
- Plug the RJ45 microphone connector into the corresponding port on the front panel of the radio.
- Ensure the connection is firm.
3.4 External Speaker/PA Connection (Optional)
- For an external speaker, connect it to the 'EXT.SP' jack on the rear panel.
- For a Public Address (PA) speaker, connect it to the 'PA.SP' jack on the rear panel.
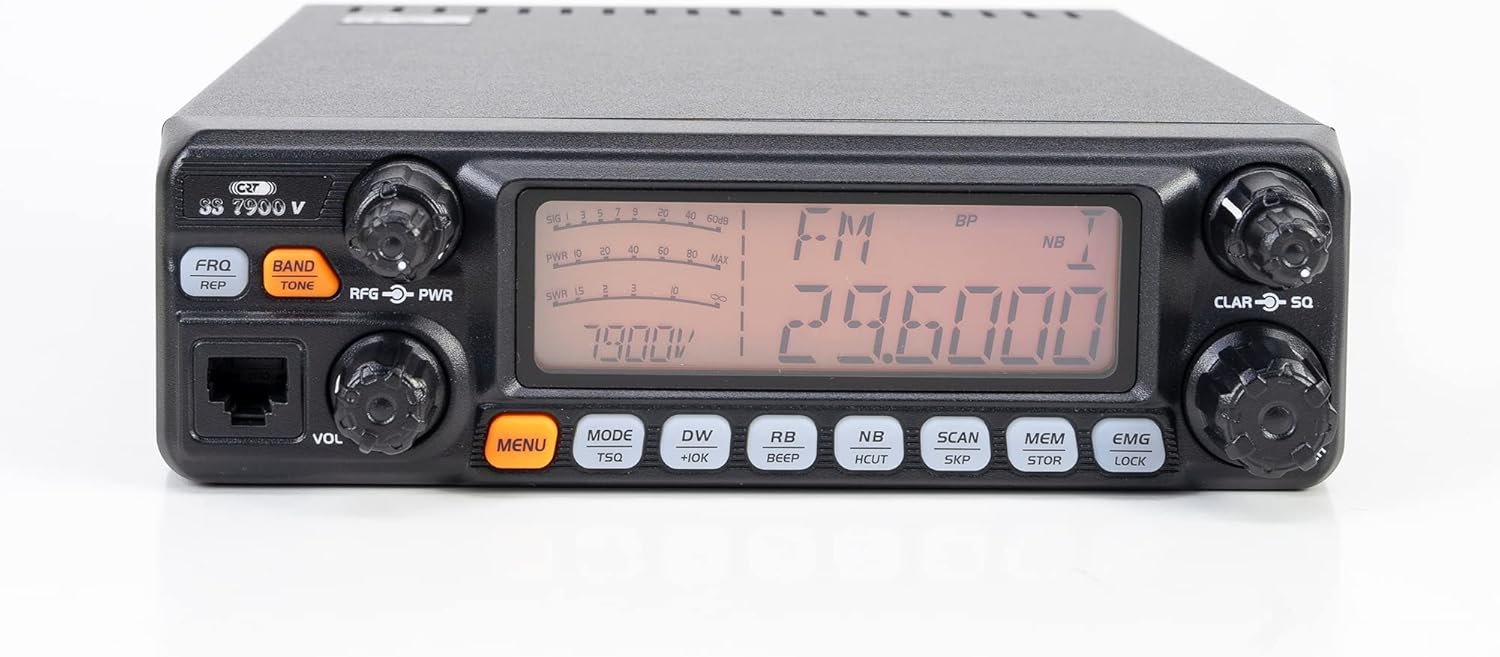
Image 3: Rear panel connections including ANT, DATA, PA.SP, EXT.SP, and Power input.
4. Operating Instructions
4.1 Basic Operation
- Power On/Off: Rotate the 'VOL' (Volume) knob clockwise to turn the radio on. Continue rotating to adjust the listening volume. Rotate counter-clockwise until it clicks to turn off.
- Squelch (SQ): Rotate the 'CLAR-SQ' knob clockwise to increase the squelch level, silencing background noise when no signal is present. Rotate counter-clockwise to decrease.
- RF Gain: Adjust the 'RFG-PWR' knob to control the sensitivity of the receiver. This helps in reducing strong signal interference.
4.2 Mode Selection
Press the 'MODE' button to cycle through the available transmission modes: AM, FM, LSB, USB, and SSB.
4.3 Frequency Tuning
Use the main tuning knob (large knob on the right) to adjust the operating frequency. The display will show the current frequency.
4.4 Special Features
- Roger Beep: Activates an audible tone at the end of your transmission. Press the 'BEEP' button to toggle this feature.
- Noise Blanker (NB) / HI CUT: Press the 'NB/HCUT' button to activate the Noise Blanker for impulse noise reduction or the HI CUT filter for high-frequency noise reduction.
- Automatic Digital Squelch (ASQ): This feature automatically adjusts the squelch level for optimal performance.
- CTCSS / DCS: The radio supports 38 CTCSS tones and 104 DCS codes for selective calling. Refer to the full programming manual for detailed setup.
- Channel Scan: Press the 'SCAN' button to initiate channel scanning. The radio will stop on active channels.
- Memory Channels: The radio features 6 memory channels. Use the 'MEM/STOR' button to store and recall frequencies.
- Dual Watch: Allows monitoring of two frequencies simultaneously.
- VOX: Voice-activated transmission.
- TOT (Time Out Timer): Limits transmission duration to prevent accidental long transmissions.

Image 4: Close-up of the front panel displaying controls and the multi-color screen.
5. Maintenance
- Cleaning: Use a soft, dry cloth to clean the exterior of the radio. Do not use abrasive cleaners or solvents.
- Environment: Keep the radio away from excessive dust, moisture, and direct sunlight.
- Ventilation: Ensure the heatsink on the rear of the unit is not obstructed to allow for proper cooling during operation.
- Power Supply: Always use a stable 12V DC power supply. Fluctuations can damage the unit.
6. Troubleshooting
| Problem | Possible Cause | Solution |
|---|---|---|
| No power | Power cable disconnected; Blown fuse; Faulty power supply | Check power cable connection; Replace fuse; Verify power supply output. |
| No reception | Antenna disconnected; Squelch too high; Incorrect mode selected | Check antenna connection; Adjust squelch (SQ) knob; Verify mode (AM/FM/SSB). |
| Poor audio quality | Incorrect mode; RF Gain too low/high; Antenna SWR issue | Ensure correct mode for signal; Adjust RF Gain; Check antenna SWR. |
| Cannot transmit | Microphone disconnected; TOT activated; Frequency locked | Check microphone connection; Wait for TOT reset; Unlock frequency if applicable. |
7. Specifications
- Transmission Band Type: AM / FM / LSB / USB
- Frequency Range: 28.000 - 29.700 MHz
- Microphone Type: RJ45
- Emission Power: 30 W AM / 50 W FM / 60 W SSB
- Power Supply: 12V DC
- Dimensions (L x H x D): 200 x 305 x 60 mm
- Weight: 1.5 kg (product) / 2.31 kg (item)
- Special Features: Dual Watch, Channel Scan, RF Gain, Keypad Lock, Emergency Channels, Roger Beep, Noise Blanker (NB), HI CUT Filter, Clarifier, Multi-color Display, 6 Memory Channels, Programmable, VOX, CTCSS / DCS (38 CTCSS / 104 DCS), Automatic Digital Squelch (ASQ), TOT (Time Out Timer), Key Tone.
- Number of Channels: 40
- Maximum Talk Range: 30 Miles (approximate, depends on conditions)
- Water Resistance Level: Not water resistant
8. Warranty and Support
For warranty information and technical support, please refer to the documentation provided with your purchase or contact your authorized CRT dealer. Keep your proof of purchase for warranty claims.


