
Mars Gaming MCS2W
Contents
Mars Gaming MC-S2 Ultra-Compact Micro-ATX PC Case User Manual
Model: MCS2W
1. Introduction
This manual provides comprehensive instructions for the installation, operation, and maintenance of your Mars Gaming MC-S2 Ultra-Compact Micro-ATX PC Case. Please read this manual thoroughly before beginning installation to ensure proper setup and optimal performance.
The Mars Gaming MC-S2 compact gaming case is designed for efficiency in small spaces, featuring a front panel grille and two included FRGB fans for outstanding cooling. It supports liquid cooling up to 240mm (with motherboards up to 200mm wide) and includes a full side window to showcase your PC components.
2. Key Features
- Ultra-Compact Size: Designed for minimalist aesthetics and functionality, ideal for small workspaces and portability.
- Motherboard Compatibility: Supports Micro-ATX and Mini-ITX motherboards.
- Storage Capacity: Integrates up to 2 x 2.5" SSDs and 1 x 3.5" HDD.
- Component Clearance: Accommodates CPU coolers up to 145mm and VGAs up to 256mm.
- FRGB Lighting: Equipped with two included FRGB Rainbow fans for illumination.
- Advanced Cooling: Features a front grille and two efficient, quiet FRGB fans. Supports an additional 120mm front fan and liquid coolers up to 240mm (with motherboards up to 200mm wide).
- Side Window: A full-length side window allows for clear viewing of internal components.
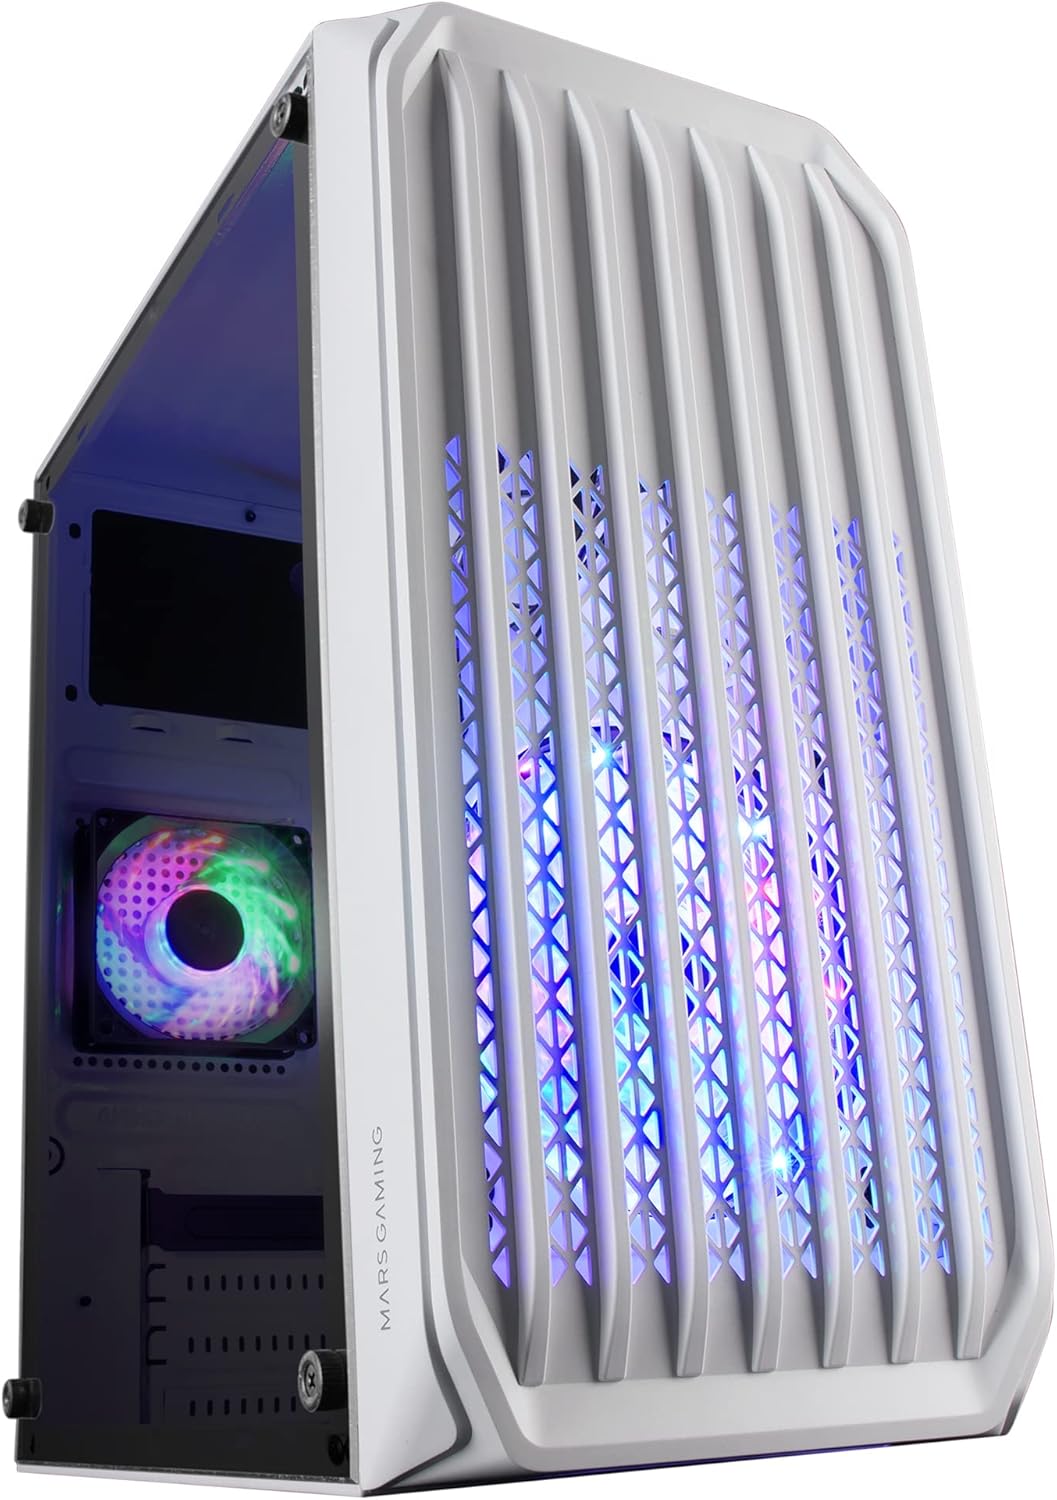
Figure 2.1: Overview of the MC-S2 PC Case, highlighting its compact design and internal layout.
3. Setup and Installation
Follow these steps for proper installation of your PC components into the MC-S2 case.
3.1 Preparing the Case
- Unpack the MC-S2 case and place it on a stable, flat surface.
- Carefully remove the side panel by unscrewing the thumbscrews at the rear of the case and sliding the panel backward.
3.2 Motherboard Installation

Figure 3.1: The MC-S2 case supports Micro-ATX and Mini-ITX motherboards.
- Install the I/O shield that came with your motherboard into the opening at the rear of the case.
- Align your Micro-ATX or Mini-ITX motherboard with the standoffs inside the case. Ensure all screw holes on the motherboard align with the standoffs.
- Secure the motherboard using the appropriate screws.
3.3 Storage Drive Installation

Figure 3.2: The MC-S2 case offers ample space for storage drives.
- 2.5" SSDs: Locate the 2.5" drive mounting points. Secure up to two 2.5" SSDs using screws.
- 3.5" HDD: Locate the 3.5" drive bay. Slide in one 3.5" HDD and secure it with screws.
3.4 Graphics Card (VGA) Installation
- Remove the necessary expansion slot covers at the rear of the case.
- Insert your graphics card into the appropriate PCIe slot on the motherboard.
- Secure the graphics card with the retention screw or clip. The case supports VGAs up to 256mm in length.
3.5 Power Supply Unit (PSU) Installation
The MC-S2 case supports front-mounted power supplies.
- Mount your PSU to the designated area at the front of the case.
- Secure the PSU with screws from the exterior of the case.
- Route the PSU cables through the cable management cutouts to connect to your components.
3.6 Cooling System Setup

Figure 3.3: The MC-S2 comes with two FRGB fans for advanced cooling.
- The case comes with two pre-installed FRGB fans. Ensure they are properly connected to your motherboard or fan controller.
- Additional Fans: An additional 120mm fan can be installed at the front.
- Liquid Cooling: For liquid cooling, the case supports radiators up to 240mm. Install the radiator and fans according to the liquid cooler's instructions, ensuring compatibility with motherboard width (up to 200mm).
- CPU Cooler: Install your CPU cooler (up to 145mm height) onto the CPU socket on the motherboard.
3.7 Cable Management
Utilize the cable routing cutouts and tie-down points behind the motherboard tray to manage cables neatly. This improves airflow and aesthetics.
3.8 Closing the Case

Figure 3.4: The MC-S2 features a full side window to showcase your build.
- Once all components are installed and cables are managed, carefully slide the side panel back into place.
- Secure the side panel with the thumbscrews.
4. Operating Instructions
The MC-S2 PC case provides the housing and cooling for your computer components. Its operation is primarily tied to the functionality of the installed components.
4.1 Powering On
After connecting all external peripherals (monitor, keyboard, mouse, power cable), press the power button located on the front I/O panel of the case to start your computer.
4.2 FRGB Fan Control

Figure 4.1: The FRGB fans provide vibrant illumination.
The included FRGB fans typically connect to your motherboard's RGB headers or a dedicated controller. RGB lighting effects can usually be controlled via motherboard software or a physical button on the case (if available and connected). Refer to your motherboard's manual for specific RGB control instructions.
5. Maintenance
Regular maintenance helps ensure optimal performance and longevity of your PC components.
- Dust Cleaning: Periodically clean dust from the case interior, fans, and filters using compressed air or a soft brush. Dust accumulation can impede airflow and lead to overheating.
- Exterior Cleaning: Wipe the exterior of the case with a soft, damp cloth. Avoid abrasive cleaners or solvents.
- Fan Inspection: Check fans for any obstructions or unusual noises. Ensure fan blades are clean and spinning freely.
6. Troubleshooting
This section addresses common issues you might encounter.
| Problem | Possible Cause | Solution |
|---|---|---|
| PC does not power on. | Loose power connections, faulty PSU, incorrect front panel header connection. |
|
| Fans are not spinning or RGB is not lighting up. | Loose fan/RGB connections, incorrect motherboard header, software issue. |
|
| Overheating components. | Poor airflow, dust accumulation, insufficient cooling. |
|
7. Specifications
| Feature | Detail |
|---|---|
| Brand | Mars Gaming |
| Model Name | MCS2W |
| Case Type | Micro-ATX Tower |
| Motherboard Compatibility | Micro-ATX, Mini-ITX |
| Color | White |
| Material | Tempered Glass (Side Panel) |
| Item Weight | 3.89 pounds |
| Product Dimensions (LxWxH) | 13.82 x 7.28 x 11.81 inches |
| Number of USB 2.0 Ports | 2 |
| Number of USB 3.0 Ports | 1 |
| Pre-installed Fans | 2 x FRGB Fans |
| Liquid Cooling Support | Up to 240mm (with motherboards up to 200mm wide) |
| CPU Cooler Height Clearance | Up to 145mm |
| VGA Length Clearance | Up to 256mm |
| Storage Bays | 2 x 2.5" SSD, 1 x 3.5" HDD |
| Power Supply Mounting Type | Front Mount |
8. Warranty and Support
Specific warranty information for the Mars Gaming MC-S2 PC Case is not provided in this document. Please refer to the product packaging or the official Mars Gaming website for detailed warranty terms and conditions.
For technical support or further assistance, please visit the official Mars Gaming support channels or contact their customer service department.
Documents and downloads
Ask a question about this manual
Ask about setup, troubleshooting, compatibility, parts, safety, or missing instructions. Manuals+ will review the question and use this page’s manual context to help answer it.