
Camcamp Wireless Solar Security Camera System
CAMCAMP Wireless Solar Security Camera System User Manual
Model: Wireless Solar Security Camera System
1. Introduction
This manual provides detailed instructions for the installation, operation, and maintenance of your CAMCAMP Wireless Solar Security Camera System. This system offers a reliable and wire-free solution for outdoor surveillance, featuring 4MP resolution, solar power, two-way audio, and advanced motion detection. Please read this manual thoroughly before using the product to ensure proper setup and optimal performance.

Image: Overview of the CAMCAMP Wireless Solar Security Camera System, showing four cameras with integrated solar panels and the central base station.
2. Safety Information
- Ensure all components are securely mounted to prevent falling.
- Do not expose the base station to water or extreme humidity. The cameras are waterproof (IP66 rated), but the base station is for indoor use.
- Use only the provided power adapter for the base station.
- Keep the product away from heat sources and direct flame.
- Do not attempt to disassemble or repair the device yourself. Contact customer support for assistance.
- Ensure proper ventilation for the base station.
3. Package Contents
Verify that all items are present in your package:
- 4x Wireless Solar Security Cameras
- 1x Base Station
- 4x Antennas
- 4x Screw Packs (for mounting)
- 1x 3.3ft Network Cable
- 1x USB Cable
- 1x Charger
4. Product Overview
The CAMCAMP system consists of solar-powered cameras and a central base station. The cameras are designed for outdoor use, featuring integrated solar panels for continuous power and robust weatherproofing. The base station acts as the central hub for video storage and network connectivity.
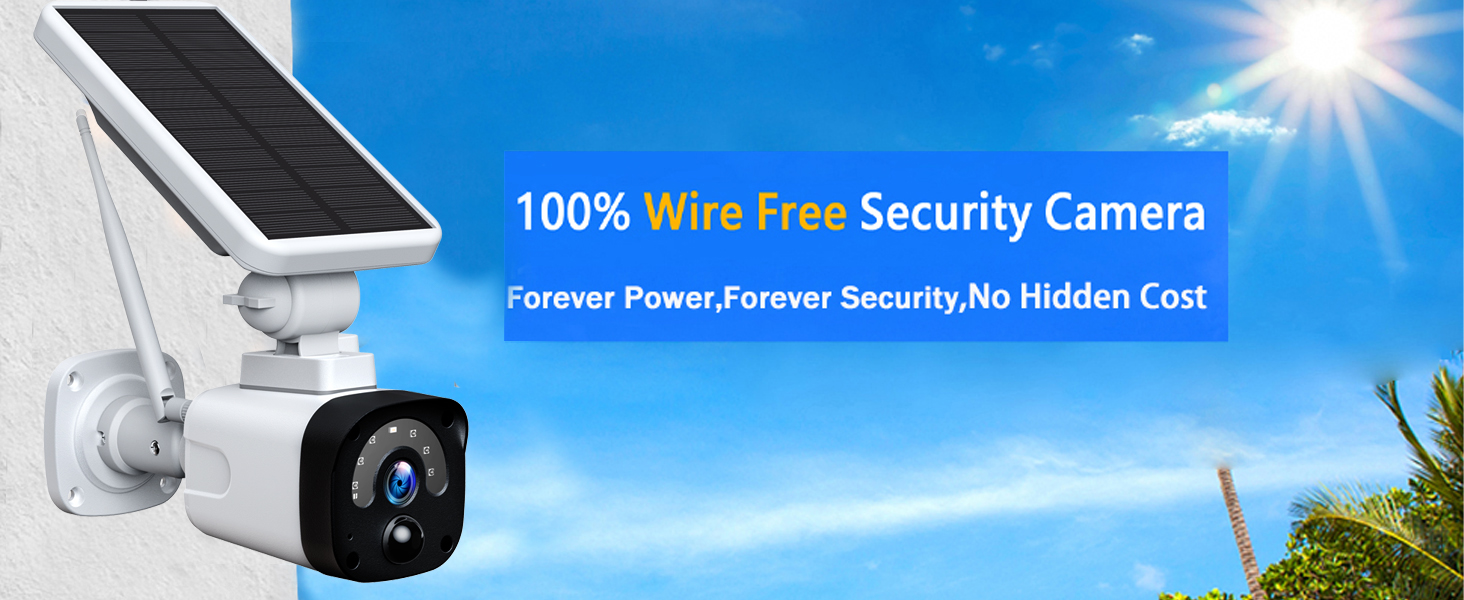
Image: A single CAMCAMP wireless solar security camera, highlighting its wire-free design and solar power capability.
Camera Features:
- 4MP/2.5K FHD Resolution: Provides clear and detailed video footage.
- Solar Powered: Integrated solar panel recharges the internal battery, ensuring continuous operation.
- PIR Human Detection: Advanced sensor for accurate motion detection, reducing false alarms.
- Night Vision: Infrared (IR) illumination for clear images in low light or complete darkness.
- Two-Way Audio: Built-in microphone and speaker for communication.
- IP66 Waterproof: Durable metal housing designed to withstand various weather conditions.
- 120° Wide Angle: Broad field of view for comprehensive coverage.
Base Station Features:
- Local Storage: Supports Micro SD card (up to 128GB, not included) for encrypted local video storage.
- HDMI Output: Connects to larger screens (computer, smart TV, LCD) for live viewing.
- Network Connectivity: Supports both 2.4G WiFi and wired Ethernet connection to your router.
- Central Hub: Manages communication with all connected cameras.
5. Setup Guide
5.1. Base Station Setup
- Connect the base station to your router using the provided network cable or via 2.4G WiFi.
- Plug the base station into a power outlet using the provided charger.
- Insert a Micro SD card (up to 128GB, not included) into the base station's SD card slot for local storage.

Image: The base station can connect to your home network via 2.4G WiFi or a wired Ethernet cable, offering flexible installation options.
5.2. Camera Installation
- Choose an outdoor location for each camera that receives ample direct sunlight for the solar panel. Ensure the location provides the desired viewing angle and is within range of the base station.
- Mount the camera securely to a wall or other stable surface using the provided screws and screw packs.
- Adjust the angle of the camera and solar panel to optimize sunlight exposure and surveillance coverage.

Image: Simplified setup process, illustrating connecting the base station, scanning a QR code for camera pairing, and installing the camera.
5.3. App Setup and Pairing
- Download the "CloudEye 365" app from your smartphone's app store (iOS or Android).
- Register for an account and log in.
- Follow the in-app instructions to add your base station and pair each camera by scanning the QR code on the device.
- Once paired, you can view live feeds, access recordings, and configure settings through the app.
6. Operating Instructions
6.1. Live View and Recording
- Open the "CloudEye 365" app to access the live feed from your cameras.
- Recordings are automatically triggered by motion detection and saved to the Micro SD card in the base station or optionally to cloud storage.
- You can review recorded events directly from the app's library.
6.2. PIR Motion Detection & Alerts
The cameras utilize advanced PIR (Passive Infrared) detection to accurately identify human and vehicle movement, minimizing false alarms.
- When motion is detected, the system will immediately push notifications to your smartphone via the "CloudEye 365" app.
- Motion events are recorded and saved for later review.
- Adjust sensitivity settings within the app to optimize detection performance for your environment.
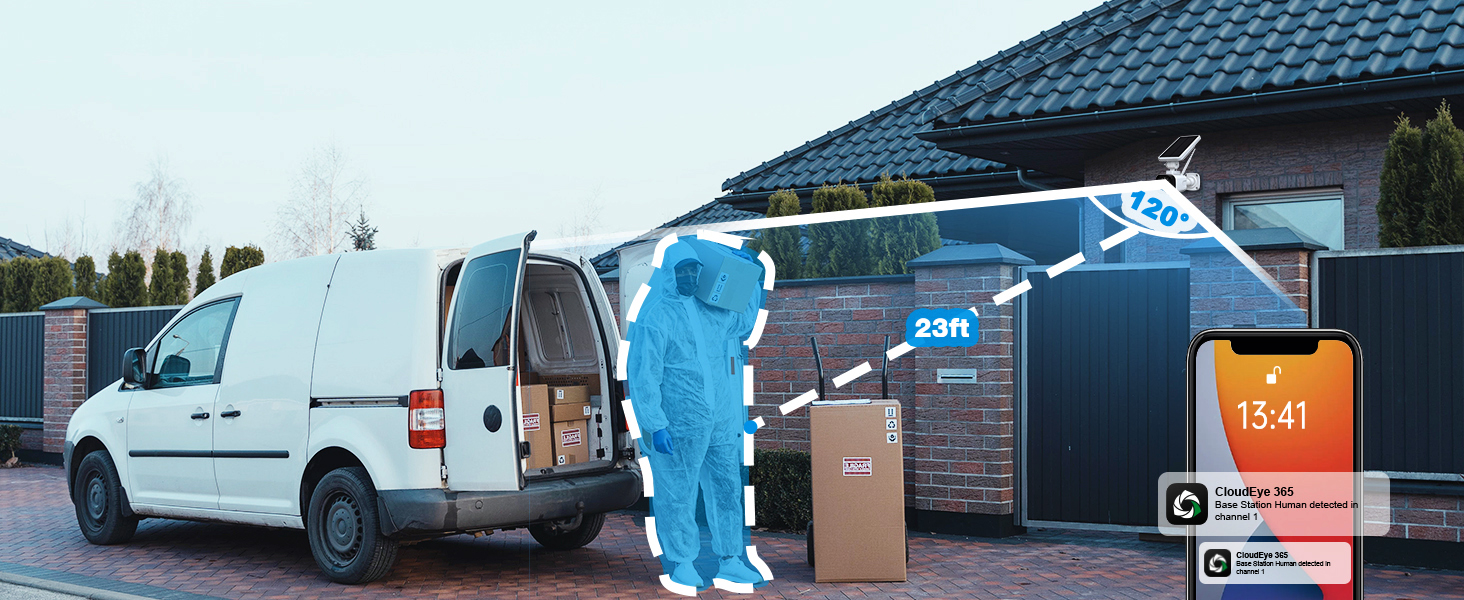
Image: The camera's 120-degree PIR human detection range, illustrating how it identifies and alerts you to human presence.
6.3. Night Vision
The cameras are equipped with IR illumination to provide clear video footage even in complete darkness, with a night vision range of up to 100 feet.
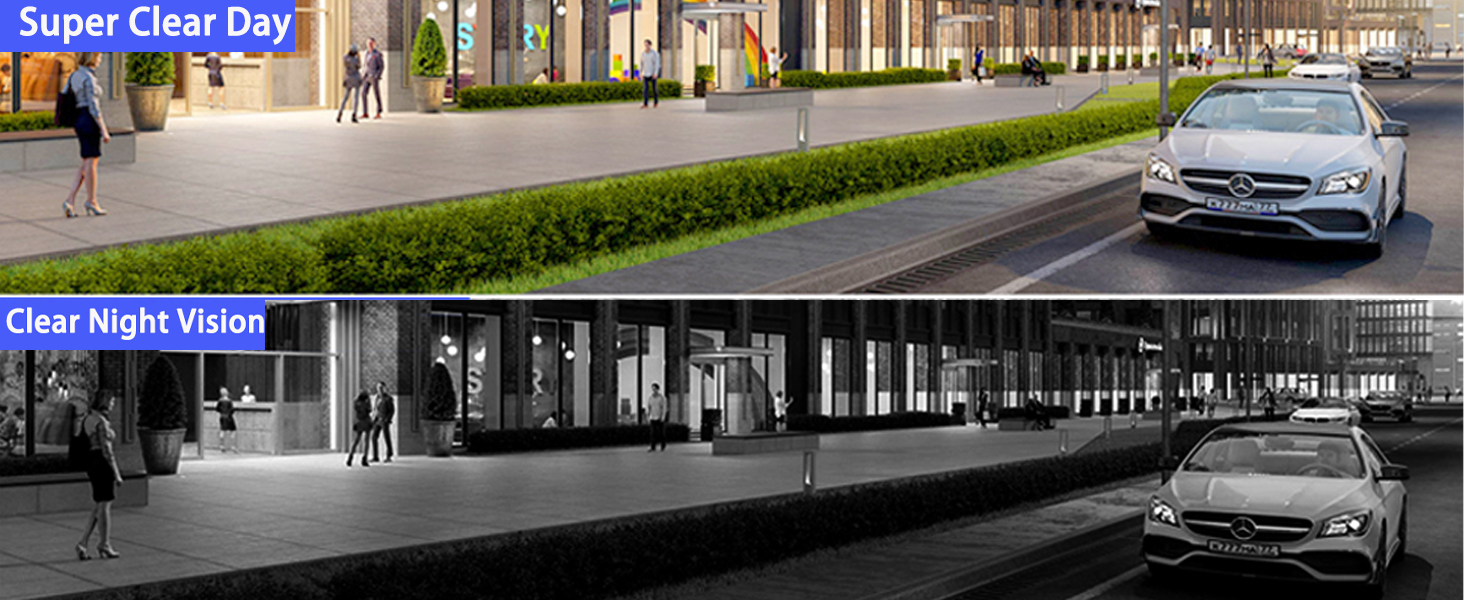
Image: A side-by-side comparison demonstrating the camera's clear image quality during the day and its effective night vision capabilities.
6.4. Two-Way Audio
Communicate with visitors or deter intruders using the built-in microphone and speaker.
- From the live view in the app, tap the microphone icon to speak through the camera.
- Tap the speaker icon to hear audio from the camera's location.
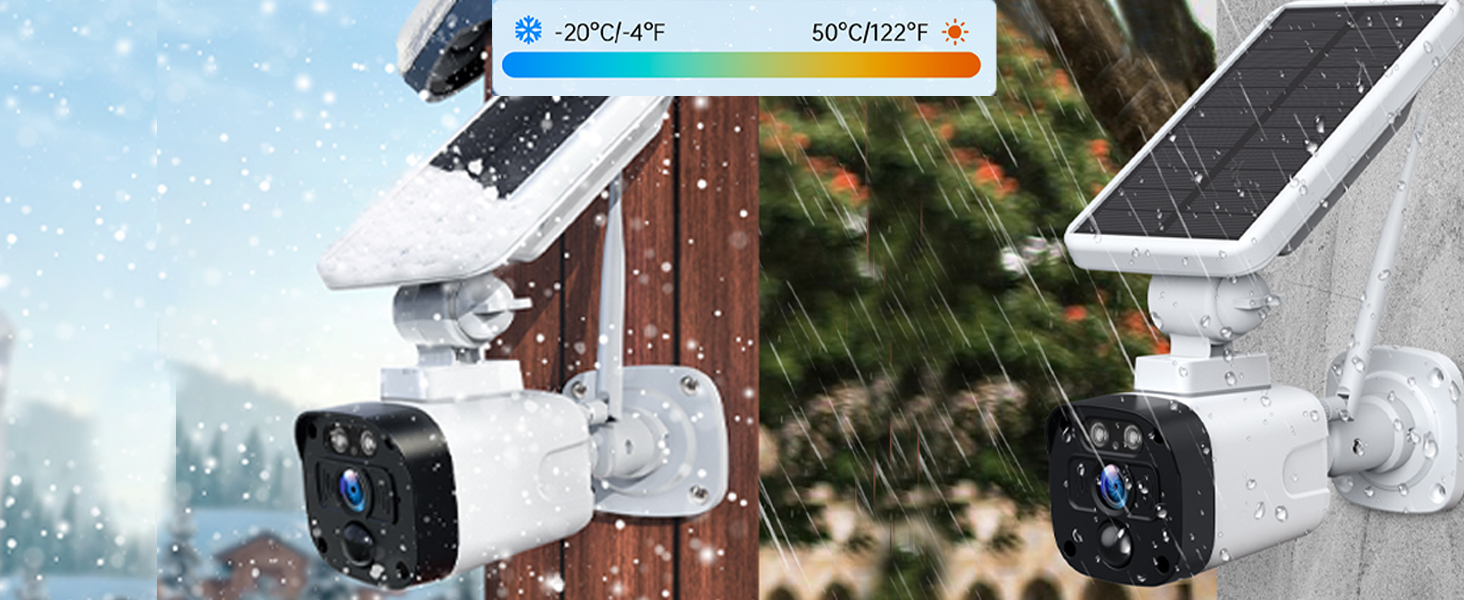
Image: An illustration of the two-way audio feature, allowing interaction with individuals at your door, such as a delivery person.
6.5. Storage Options
Your system supports two storage methods:
- Micro SD Card: All video data is encrypted and saved locally in the base station on a Micro SD card (max. 128GB, not included). This offers a no-monthly-fee solution.
- Cloud Storage: An optional cloud service is available (free 30-day trial). Subscription plans are optional and can be managed through the app.

Image: Visual representation of the two available storage methods: optional cloud storage and local storage via a Micro SD card (not included).
6.6. HDMI Output
The base station features an HDMI port, allowing you to connect it to a larger display such as a computer monitor, smart TV, or large LCD screen to view your camera feeds.
6.7. Works with Alexa
For added convenience, the system can be paired with Alexa-enabled devices to help you monitor your home. Refer to the "CloudEye 365" app for specific instructions on integrating with Alexa.
6.8. Share Live View
You can share access to your camera's live view with family members or trusted individuals through the "CloudEye 365" app.

Image: The system allows multiple users to view live camera feeds simultaneously on their smartphones, facilitating shared monitoring.
7. Maintenance
7.1. Solar Panel Care
- Periodically clean the surface of the solar panel with a soft, damp cloth to ensure maximum sunlight absorption.
- Remove any debris, dust, or snow that may accumulate on the panel.
7.2. Weather Resistance
The cameras are IP66 waterproof, designed to withstand various outdoor conditions, including rain, snow, and dust.

Image: The CAMCAMP camera demonstrating its durability and IP66 waterproof rating in both snowy and rainy weather conditions.
7.3. Battery Management
The integrated rechargeable batteries are continuously charged by the solar panels. In areas with prolonged low sunlight, the battery level may decrease. Ensure the solar panel is positioned for optimal sun exposure.
8. Troubleshooting
- No Power/Camera Offline: Ensure the solar panel is clean and receiving direct sunlight. Check the battery level in the app. For the base station, verify the power adapter is securely connected.
- Poor Video Quality: Check for obstructions in front of the camera lens. Ensure the lens is clean. Verify network signal strength for the base station.
- No Motion Detection: Adjust PIR sensitivity settings in the app. Ensure the camera's field of view covers the desired area.
- App Connectivity Issues: Ensure your smartphone has a stable internet connection. Restart the app or your phone. Check if the base station is connected to your home network.
- SD Card Not Recording: Ensure the SD card is correctly inserted and formatted within the app. Check if the card is full.
9. Specifications
| Feature | Specification |
|---|---|
| Model Name | CAMCAMP Wireless Solar Security Cameras Outdoor |
| Video Capture Resolution | 4 MP |
| Mounting Type | Wall Mount |
| Color | White |
| Number of Items | 4 (Cameras) |
| Number of Channels | 4 |
| Wireless Communication Technology | Wi-Fi (2.4G for base station) |
| Form Factor | Bullet |
| Viewing Angle | 120 Degrees |
| Night Vision Range | 100 Feet |
| Upper Temperature Rating | 50 Degrees Celsius |
| Frame Rate | 15 frames per second |
| Material | Metal |
| Voltage | 5 Volts |
| Wattage | 2 watts |
| Item Dimensions (L x W x H) | 25.4 x 22.9 x 30.5 Centimetres |
| Water Resistance Level | Waterproof (IP66) |
| Power Source | Solar / Battery Powered |
| Compatible Devices | Tablet, Smartphone |
| Battery Cell Type | Lithium Ion |
| Item Weight | 3.05 kg |
10. Warranty and Support
CAMCAMP offers a 30-day money-back guarantee and a 12-month replacement guarantee for this product, ensuring your risk-free purchase.
Customer Support:
If you have any questions, concerns, or require technical assistance, please contact CAMCAMP customer support:
- Phone: (626)-420-9375 (GMT-8 9:00-17:00, Mon-Fri)
- Email: SC@yooomail.com
Related documentsWireless Solar Security Camera System

Ask a question about this manual
Ask about setup, troubleshooting, compatibility, parts, safety, or missing instructions. Manuals+ will review the question and use this page’s manual context to help answer it.