Glitter 801H
GLITTER 801H Battery Spot Welder User Manual
Model: 801H
1. Introduction
The GLITTER 801H Battery Spot Welder is a high-performance, portable capacitor energy storage pulse welding machine designed for precise welding applications. It is particularly suitable for building and maintaining battery packs, including 18650 and LiFePO4 lithium batteries, as well as welding common metals like stainless steel, iron, nickel, copper, aluminum, titanium, and molybdenum. This manual provides comprehensive instructions for safe and effective operation of the device.

Image 1.1: The GLITTER 801H Battery Spot Welder and included accessories.
2. Safety Information
Please read and understand all safety warnings and instructions before operating the GLITTER 801H spot welder. Failure to follow these instructions may result in electric shock, fire, or serious injury.
- Always wear appropriate personal protective equipment (PPE), including safety glasses, gloves, and protective clothing, during operation.
- Ensure the welding area is well-ventilated and free from flammable materials.
- Do not operate the welder in wet or damp conditions.
- Keep children and unauthorized personnel away from the welding area.
- Disconnect the power supply before performing any maintenance or cleaning.
- Do not touch the welding electrodes or welded material immediately after welding, as they will be hot.
- Ensure proper grounding of the equipment.
- Avoid direct eye exposure to the welding arc.
3. Package Contents
Verify that all items listed below are included in your package:
- GLITTER 801H Spot Welder Main Unit
- 75A Separated-Style Spot Welding Pen
- Foot Pedal (for MT mode)
- Power Adapter
- Hex Wrench
- Spare Welding Pins
- Nickel Strips (sample)
- Yellow Tray

Image 3.1: The GLITTER 801H main unit with the welding pens connected.
4. Product Overview
The GLITTER 801H features a compact design with an aluminum alloy housing for durability and portability. The front panel includes an LED screen and control buttons for easy operation.

Image 4.1: Detailed view of the control panel, showing the LED display and buttons.
Control Panel Features:
- LED Display: Shows real-time welding current, energy storage voltage, and spot weld signal icon.
- UP/DOWN Buttons: Adjust welding parameters (energy grade).
- PWR/SET Button: Powers on/off the unit and enters/exits setup mode.
- DISCH DELAY Button: Activates the AT induction spot welding preload delay function.
- AL/NI Button: Selects the Aluminum-Nickel dedicated welding mode.
- Pulse Output Ports: Connect the spot welding pen.
5. Setup
- Unpacking: Carefully remove all components from the packaging and inspect for any damage.
- Connect Welding Pen: Insert the cables of the 75A separated-style spot welding pen into the 'Pulse Output' ports on the front of the main unit. Ensure a secure connection.
- Connect Power: Plug the power adapter into the DC input port on the rear of the main unit, then connect it to a suitable power outlet (100-240V AC).
- Initial Charge: Upon first use or after extended storage, allow the unit to charge its supercapacitors. The voltage display will show the current charge level. It may take 20+ minutes to reach the required ~5.5V for welding.
- Power On: Press the 'PWR/SET' button to turn on the spot welder. The display will illuminate.
6. Operating Instructions
6.1. Setting Parameters
The GLITTER 801H allows adjustment of welding energy and trigger mode.
- Enter Setup Mode: With the unit powered on, press the 'PWR/SET' button. The displayed value (energy grade) will flash, indicating you are in setup mode.
- Adjust Energy Grade: Use the 'UP' and 'DOWN' buttons to adjust the energy grade. The range is 0-99T. Select the appropriate energy grade based on the material and thickness you are welding. For example, 0.45mm nickel plated and 0.4mm pure nickel can be easily welded with 420 J max energy.
- Select Trigger Mode (MT/AT): Press the 'PWR/SET' button again to cycle through setup options. You can select between MT (Manual Trigger, typically with foot pedal) or AT (Automatic Trigger, induction spot welding).
- Set Preload Delay (for AT mode): If using AT mode, long press the 'DISCH DELAY' button. The 'LO MI SS' (Green light) will light up. The maximum delay is 500ms. The preload delay function offers 100ms, 200ms, 300ms, 400ms, and 500ms options to select from.
- Aluminum-Nickel Dedicated Mode: For welding pure nickel to the aluminum pole of lithium iron phosphate batteries, press the 'AL/NI' button. The red light will illuminate, and the spot welder voltage will rise to 6.0V. This mode is specifically designed for this application.
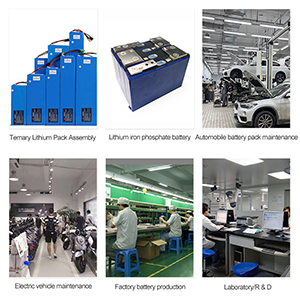
Image 6.1: The control panel displaying adjustable welding parameters and indicators.
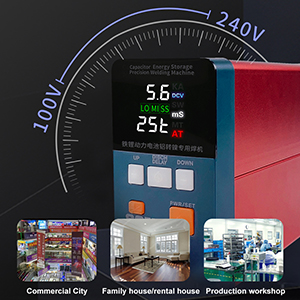
Image 6.2: The GLITTER 801H set to Aluminum-Nickel dedicated mode for welding pure nickel to aluminum battery terminals.
6.2. Welding Process
Before welding, ensure the welding surface is flat. If uneven, use a file or other tools to grind it flat. This ensures optimal contact and weld quality.
- Positioning: Place the nickel strip onto the battery terminal or material to be welded.
- Apply Pressure: Using your left hand, press the welding pen pins firmly against the pure nickel and the battery.
- Trigger Welding: With your right hand, press the welding pen against the nickel sheet. If in AT (Automatic Trigger) mode, the machine will automatically trigger the induction spot welding. You will hear two distinct triggering sounds to confirm the weld is complete. If in MT (Manual Trigger) mode, use the foot pedal to initiate the weld.
- Release: After welding, slightly tilt the welding pen approximately 40 degrees to release it from the nickel. This prevents pulling the nickel off together with the pins and ensures a clean separation.

Image 6.3: Demonstrating Nickel to Nickel welding mode, suitable for pure nickel and nickel-plated sheets of ternary lithium batteries.
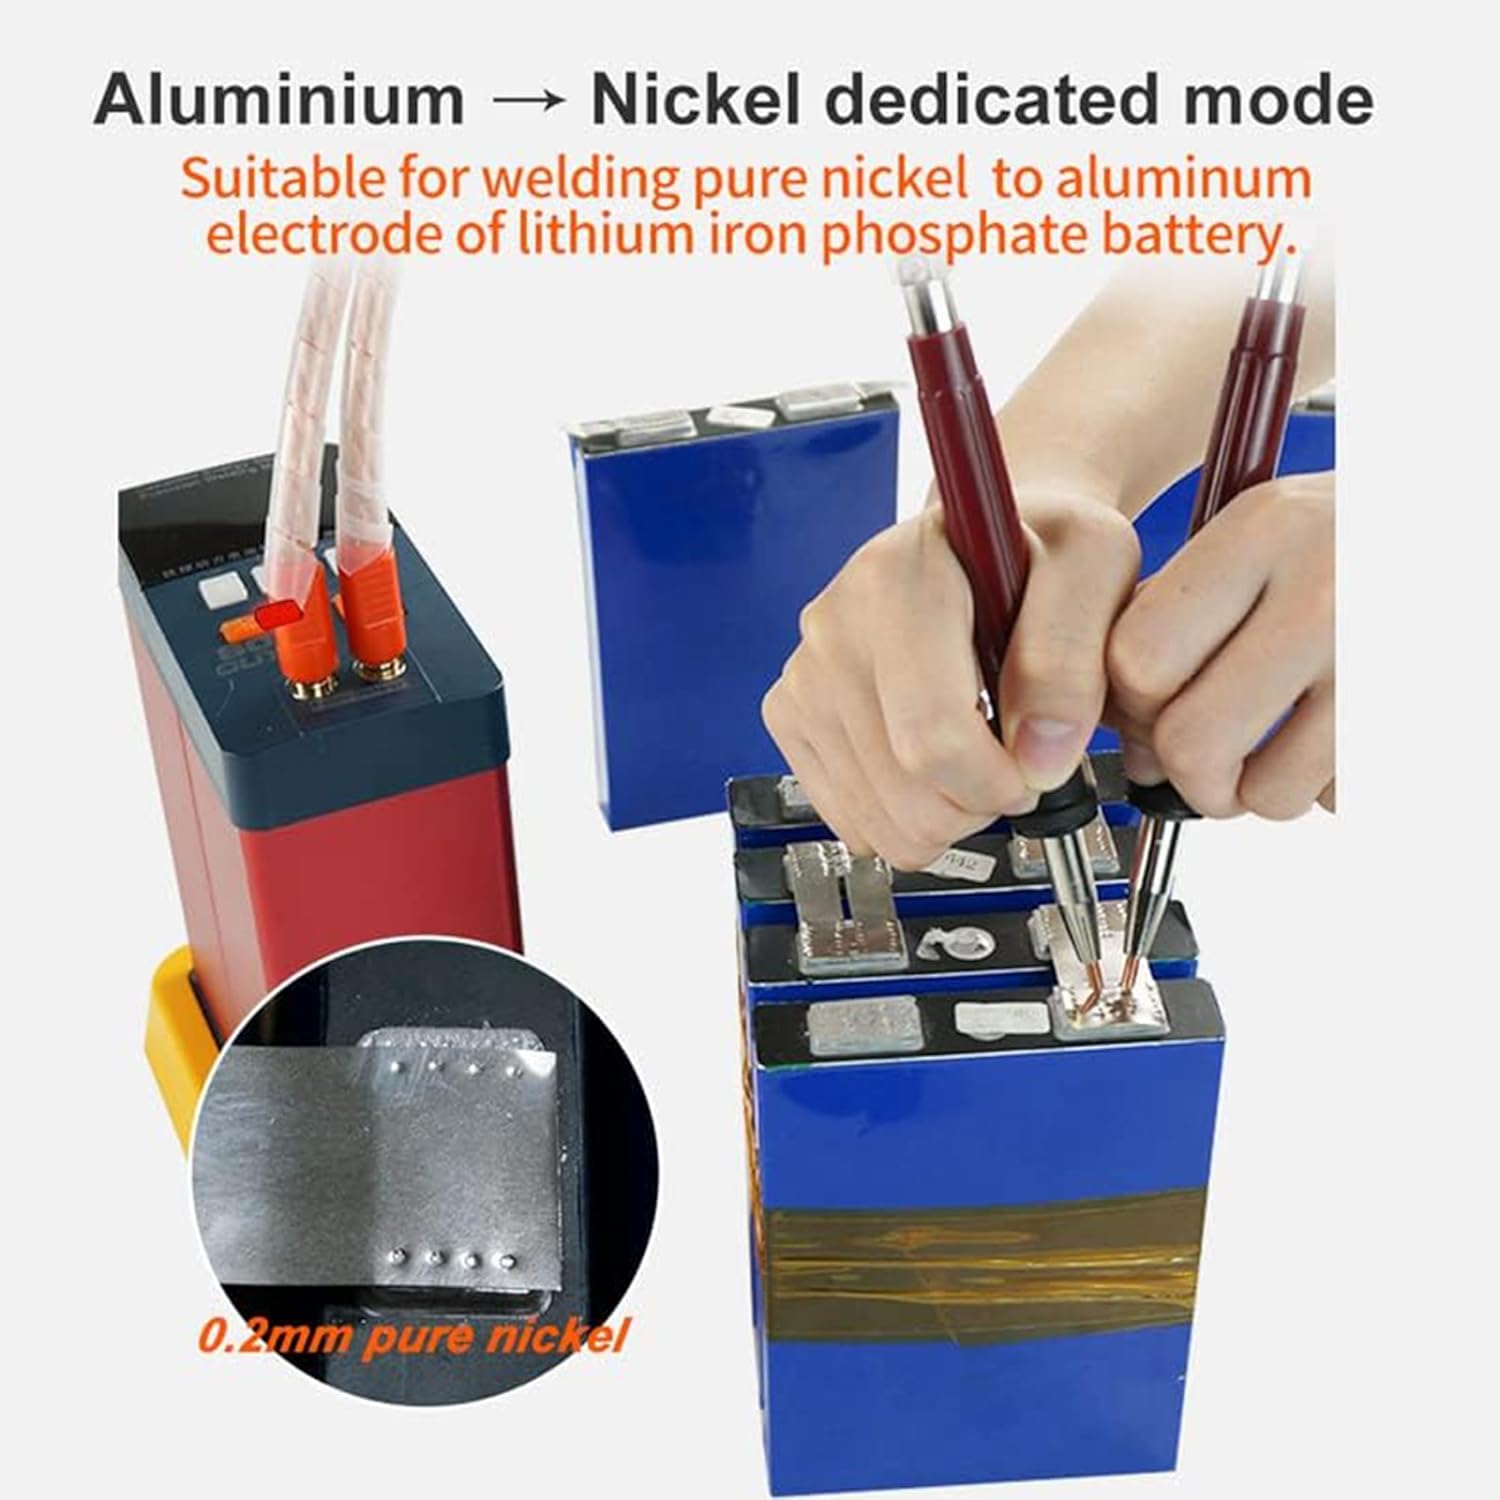
Image 6.4: Demonstrating Aluminum to Nickel dedicated mode, suitable for welding pure nickel to the aluminum electrode of lithium iron phosphate batteries.
6.3. Tutorial Video
For a visual guide on using the GLITTER 801H Battery Spot Welder, please refer to the tutorial video below:
Video 6.5: A comprehensive tutorial demonstrating the use and operation of the GLITTER 801H Battery Spot Welder, including parameter settings and welding techniques for various materials.
7. Maintenance
Regular maintenance ensures the longevity and optimal performance of your spot welder.
- Cleaning: Keep the main unit and welding pens clean and free from dust and debris. Use a soft, dry cloth for cleaning.
- Welding Pin Maintenance: Clean the welding pen tips regularly with a fine abrasive sponge or Dremel after welding a group of batteries to remove carbon buildup. Replace worn or damaged welding pins promptly to maintain weld quality.
- Storage: Store the spot welder in a dry, cool place away from direct sunlight and moisture.
- Charging: Ensure the unit is adequately charged before use. Note that initial charging or charging after long periods of inactivity may take several hours.
8. Troubleshooting
This section addresses common issues you might encounter with the GLITTER 801H spot welder.
- Unit Not Powering On: Ensure the power adapter is securely connected to both the unit and the power outlet. Verify the power outlet is functional.
- No Weld or Weak Weld:
- Check the capacitor charge level on the LED display. The unit needs sufficient charge (around 5.5V-6.0V) to perform welds. Allow ample time for charging.
- Adjust the energy grade (T setting) higher. The recommended settings in the manual might be conservative; experiment to find the optimal setting for your material.
- Ensure the welding pen tips are clean and have good contact with the nickel strip and battery terminal.
- Apply firm, consistent pressure on the welding pens.
- Verify the welding surface is flat and clean.
- Error Code E-2: If you encounter an E-2 error code, consult the manufacturer's official support channels or the full PDF manual for specific resolution steps, as this indicates a critical internal issue.
- Overheating: The unit is designed for low power consumption and efficient operation for extended periods. If overheating occurs, discontinue use and allow the unit to cool down in a well-ventilated area. Ensure proper airflow around the unit.
9. Specifications
| Feature | Specification |
|---|---|
| Brand | Glitter |
| Model Number | 801H |
| Wattage | 21 KW |
| Power Source | Battery Powered (Capacitor Energy Storage) |
| Voltage | 220 Volts (AC) |
| Special Feature | Portable |
| Item Weight | 9.03 pounds |
| UPC | 888107102960 |
| Welding Thickness (Nickel Plated) | Up to 0.45mm |
| Welding Thickness (Pure Nickel) | Up to 0.4mm |
| Welding Thickness (Pure Nickel to Aluminum) | 0.2mm |
10. Warranty and Support
For warranty information and technical support, please refer to the documentation included with your product or contact Glitter customer service. Keep your purchase receipt as proof of purchase for warranty claims.
Additional resources, including a PDF user manual, may be available on the product's official Amazon listing page or the manufacturer's website.
User Manual (PDF): Download Here
Related Documents - 801H
 |
GLITTER 811A Spot Welder User Manual: Features, Operation, and Maintenance Comprehensive user manual for the GLITTER 811A Industrial Intelligent Spot Welder. Covers features, applications, troubleshooting, maintenance, and operation for battery welding and metal fabrication. |
 |
GLITTER 801H Capacitor Energy Storage Spot Welder Machine - Features and Interface Detailed overview of the GLITTER 801H spot welder machine, highlighting its industrial interface, capacitor energy storage, welding modes, and user controls for efficient battery welding. |
 |
GLITTER 811H Spot Welder User Manual Comprehensive user manual for the GLITTER 811H Industrial Intelligent Energy Storage Spot Welder, detailing features, applications, troubleshooting, maintenance, and operation for welding various metals and battery packs. |
 |
GLITTER 801D Battery Spot Welder User Manual Comprehensive user manual for the GLITTER 801D battery spot welder (Model P853). This guide covers product specifications, operating instructions, troubleshooting, package contents, and safety warnings for efficient battery pack assembly and maintenance. |
 |
P852C – GLITTER 811A Průmyslová inteligentní bodová svářečka – Návod k použití a specifikace Kompletní návod k obsluze pro průmyslovou inteligentní bodovou svářečku GLITTER 811A od společnosti Hadex. Pokrývá specifikace, provoz, funkce, řešení problémů a údržbu pro efektivní svařování baterií a kovů. |
 |
Glitter 811H Универсальный Сварочный Аппарат - Инструкция по Эксплуатации Подробное руководство пользователя для универсального сварочного аппарата Glitter 811H, охватывающее обзор устройства, подготовку, режимы сварки (MT/AT), использование миллиомметра, мобильной ручки и процедуры испытаний. |
Ask a question about this manual
Ask about setup, troubleshooting, compatibility, parts, safety, or missing instructions. Manuals+ will review the question and use this page’s manual context to help answer it.