
VANBAR D300/1520P
VANBAR Trail Camera D300/1520P User Manual
Model: D300/1520P | Brand: VANBAR
Introduction
The VANBAR Trail Camera D300/1520P is a compact and high-performance hunting camera designed for capturing clear videos and images of wildlife. Its upgraded design is smaller than traditional trail cameras, making it easier to conceal. It features a rapid 0.2-second trigger time, IP66 water resistance, and a wide 120° video angle, ensuring you capture detailed moments day or night. This manual provides comprehensive instructions for setting up, operating, and maintaining your trail camera.
Package Contents
Please verify that all items are present in your package:
- VANBAR D300 Trail Camera
- Mounting Strap
- USB Cable
- User Manual
- 32GB SD Card
- 4 AA Batteries
- Mounting Bracket (Base of Stand, Body of Stand, Hex Key, Screws)

Image: All components included in the VANBAR Trail Camera D300/1520P package.
Product Overview
Compact Design & High Performance

The VANBAR D300 is designed to be smaller than typical trail cameras, enhancing its concealment in natural environments. It operates efficiently with just 4 AA batteries and supports external solar panel charging (solar panel not included) for extended use.
HD Video & Night Vision

Capture clear 1520P videos and 24MP images. The 120° wide-angle IR sensor provides high-quality details during the day (color) and black and white images at night, allowing you to observe wildlife vividly.
Fast Motion Detection

With a trigger distance of up to 25m (80ft) during the day and 20m (65ft) at night, the camera's 0.2-second trigger speed ensures you capture every fantastic moment of wildlife movement.
IP66 Water Resistance

The camera boasts an IP66 waterproof rating, making it resistant to rain, dust, and fog. This robust design eliminates common lens moisture issues, ensuring reliable operation in various weather conditions.
Versatile Applications

The D300 game camera is suitable for a variety of uses, including hunting, farm security, wildlife monitoring, and home security. Its multifunctionality and easy installation make it a versatile choice.
Invisible Night Vision
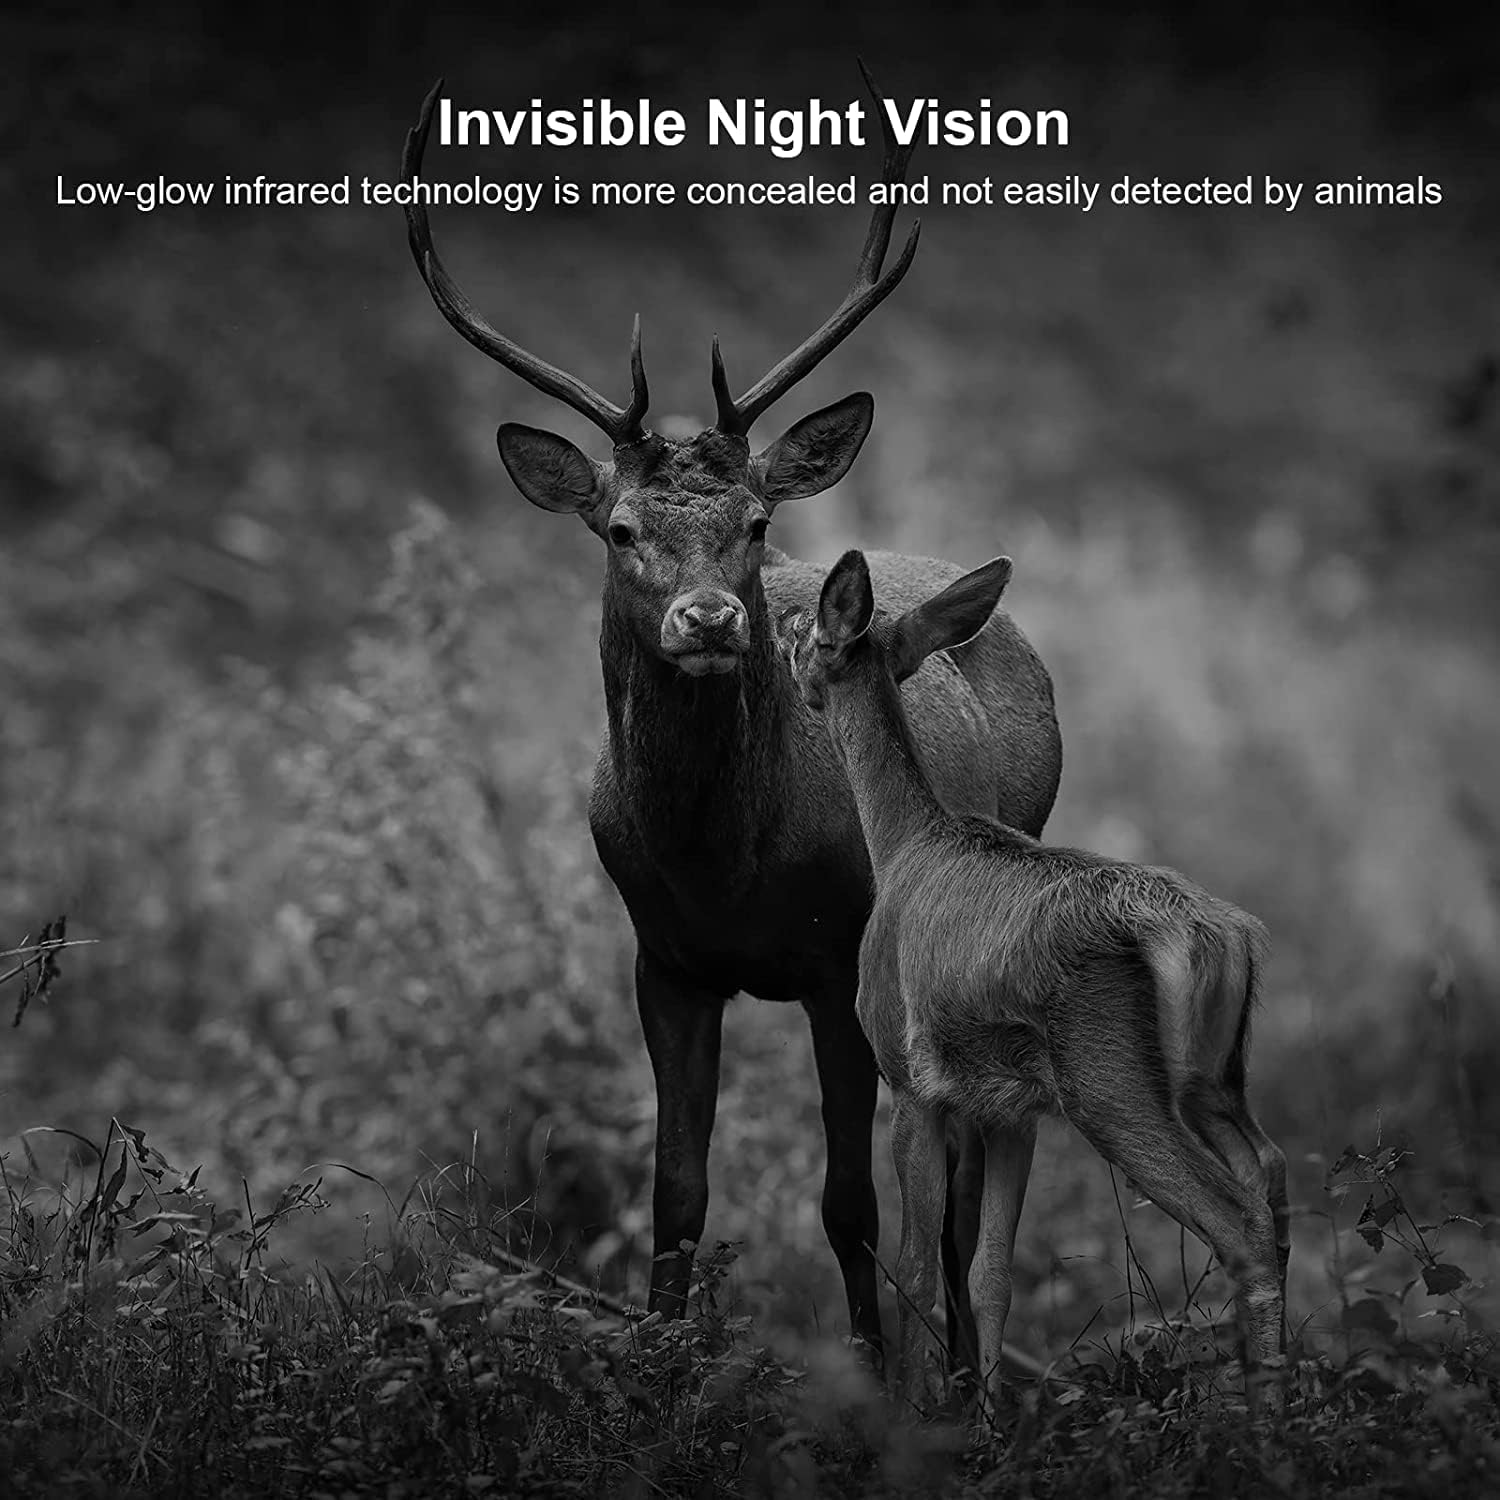
Equipped with low-glow infrared technology, the camera's night vision is more concealed and less likely to be detected by animals, ensuring undisturbed observation and capture.
Setup
- Battery Installation: Open the camera's housing by releasing the side latches. Insert 4 AA batteries into the designated battery compartment, ensuring correct polarity (+/-). The camera can also be powered by an external solar panel (not included).
- SD Card Insertion: Locate the SD card slot. Insert the provided 32GB SD card firmly until it clicks into place. Ensure the card is formatted before first use via the camera's menu.
- Mounting:
- Using the Mounting Strap: Thread the provided strap through the slots on the back of the camera. Secure the camera to a tree or pole at the desired height and angle.
- Using the Mounting Bracket: Attach the base of the stand to a flat surface (e.g., wall, wooden post) using the provided screws. Connect the body of the stand to the base, then attach the camera to the bracket. Adjust the angle using the hex key.
- Power On: Close the camera housing securely. Switch the camera to the "ON" position. The display will light up, showing the VANBAR logo and then the main interface.
Operating Instructions
The VANBAR Trail Camera features a user-friendly interface with multiple language options. Navigate through the menu using the control buttons located inside the camera housing.
- Mode Selection: The camera typically has Photo, Video, and Photo+Video modes. Select your desired mode from the menu.
- Setting Date and Time: Access the "Date/Time" setting in the menu to set the current date and time. This is crucial for accurate timestamps on your recordings.
- Resolution Settings: Adjust photo resolution (up to 24MP) and video resolution (up to 1520P) in the settings menu to suit your needs. Higher resolutions consume more storage space.
- Trigger Interval: Configure the delay between detections in the settings. A shorter interval captures more events but uses more battery and storage.
- Viewing Media: Switch the camera to "Playback" mode. Use the navigation buttons to browse through captured photos and videos on the internal display. You can also connect the camera to a computer via the USB cable to view files directly or remove the SD card and insert it into a card reader.
- Deleting Media: In Playback mode, select the media you wish to delete and use the delete option in the menu.
Maintenance
- Cleaning: Use a soft, dry cloth to clean the camera lens and body. For stubborn dirt, a slightly damp cloth can be used, but ensure no moisture enters the camera.
- Battery Care: Replace batteries when the low battery indicator appears. If storing the camera for an extended period, remove all batteries to prevent leakage. Consider using rechargeable batteries for long-term cost savings and environmental benefits.
- SD Card Management: Regularly back up important files from your SD card to a computer. Format the SD card periodically (e.g., once a month) to maintain optimal performance and prevent data corruption.
- Storage: Store the camera in a cool, dry place away from direct sunlight and extreme temperatures when not in use.
Troubleshooting
| Problem | Possible Cause | Solution |
|---|---|---|
| Camera not turning on. | Low or dead batteries; incorrect battery polarity; camera switch off. | Replace batteries, ensure correct polarity, switch camera to ON. |
| Poor image/video quality. | Dirty lens; low light conditions; incorrect resolution settings. | Clean lens, ensure adequate lighting, adjust resolution settings. |
| Camera not detecting motion. | PIR sensor blocked; trigger interval too long; subject out of range. | Clear sensor, shorten trigger interval, ensure subject is within detection range. |
| Short battery life. | Frequent triggers; extreme temperatures; low-quality batteries. | Reduce trigger frequency, use high-quality or rechargeable batteries, avoid extreme cold. |
| SD card error. | Improperly inserted card; corrupted card; incompatible card. | Reinsert card, format card in camera, try a different compatible SD card. |
Specifications
| Feature | Detail |
|---|---|
| Model Number | D300/1520P |
| Effective Still Resolution | 24 MP |
| Video Capture Resolution | 1520P |
| Trigger Time | 0.2 seconds |
| Field of View | 120 Degrees |
| International Protection Rating | IP66 |
| Power Source | Battery Powered (4x AA), Solar (optional) |
| Item Dimensions (L x W x H) | 5 x 2 x 2 inches |
| Item Weight | 1.08 pounds |
| Connectivity Technology | Wireless (Wi-Fi) |
| Low Light Technology | Night Color (Infrared) |
Warranty and Support
For warranty information and technical support, please refer to the contact details provided on the product packaging or visit the official VANBAR website. Keep your purchase receipt as proof of purchase for any warranty claims.
Manufacturer: VANBAR
Ask a question about this manual
Ask about setup, troubleshooting, compatibility, parts, safety, or missing instructions. Manuals+ will review the question and use this page’s manual context to help answer it.