Download PDFFree PDF. The Save button below keeps a bookmark and private notes in your account.
Ymiko 7-inch Marine GPS Chart Plotter User Manual
Model: Ymikoob47ekvyxz4301
1. Introduction
This manual provides detailed instructions for the installation, operation, and maintenance of your Ymiko 7-inch Marine GPS Chart Plotter (Model: Ymikoob47ekvyxz4301). This device is designed for marine navigation, offering precise positioning, chart plotting capabilities, and various display modes to enhance your boating experience. Please read this manual thoroughly before using the product to ensure safe and correct operation.
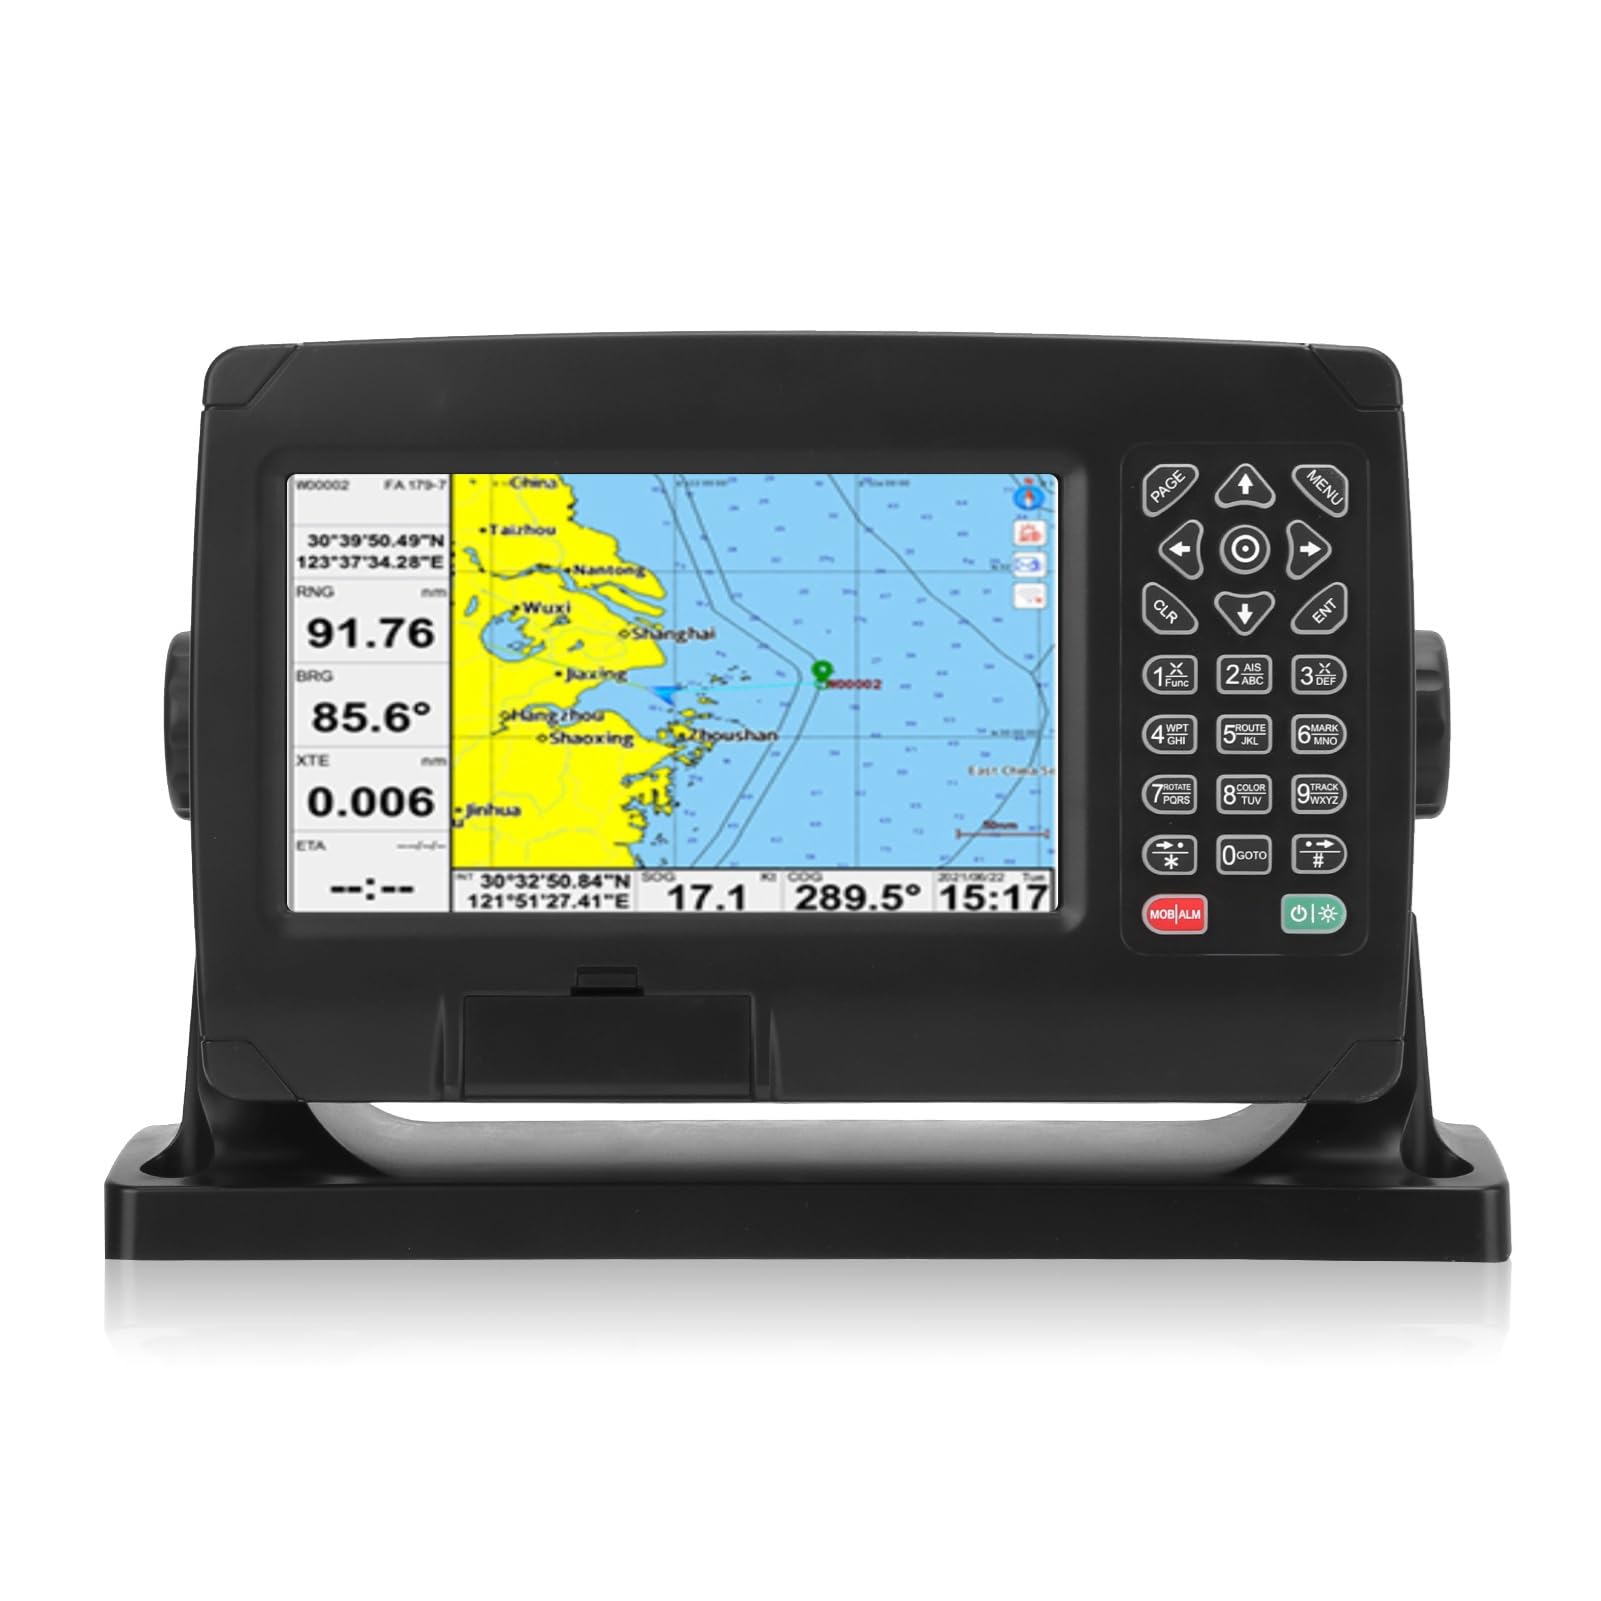
Figure 1: Ymiko 7-inch Marine GPS Chart Plotter in use and standalone.
2. Setup
2.1 Unboxing and Package Contents
Carefully unpack all components and verify that all items listed below are present. If any items are missing or damaged, contact your dealer immediately.
1 x GPS Chart Plotter Unit
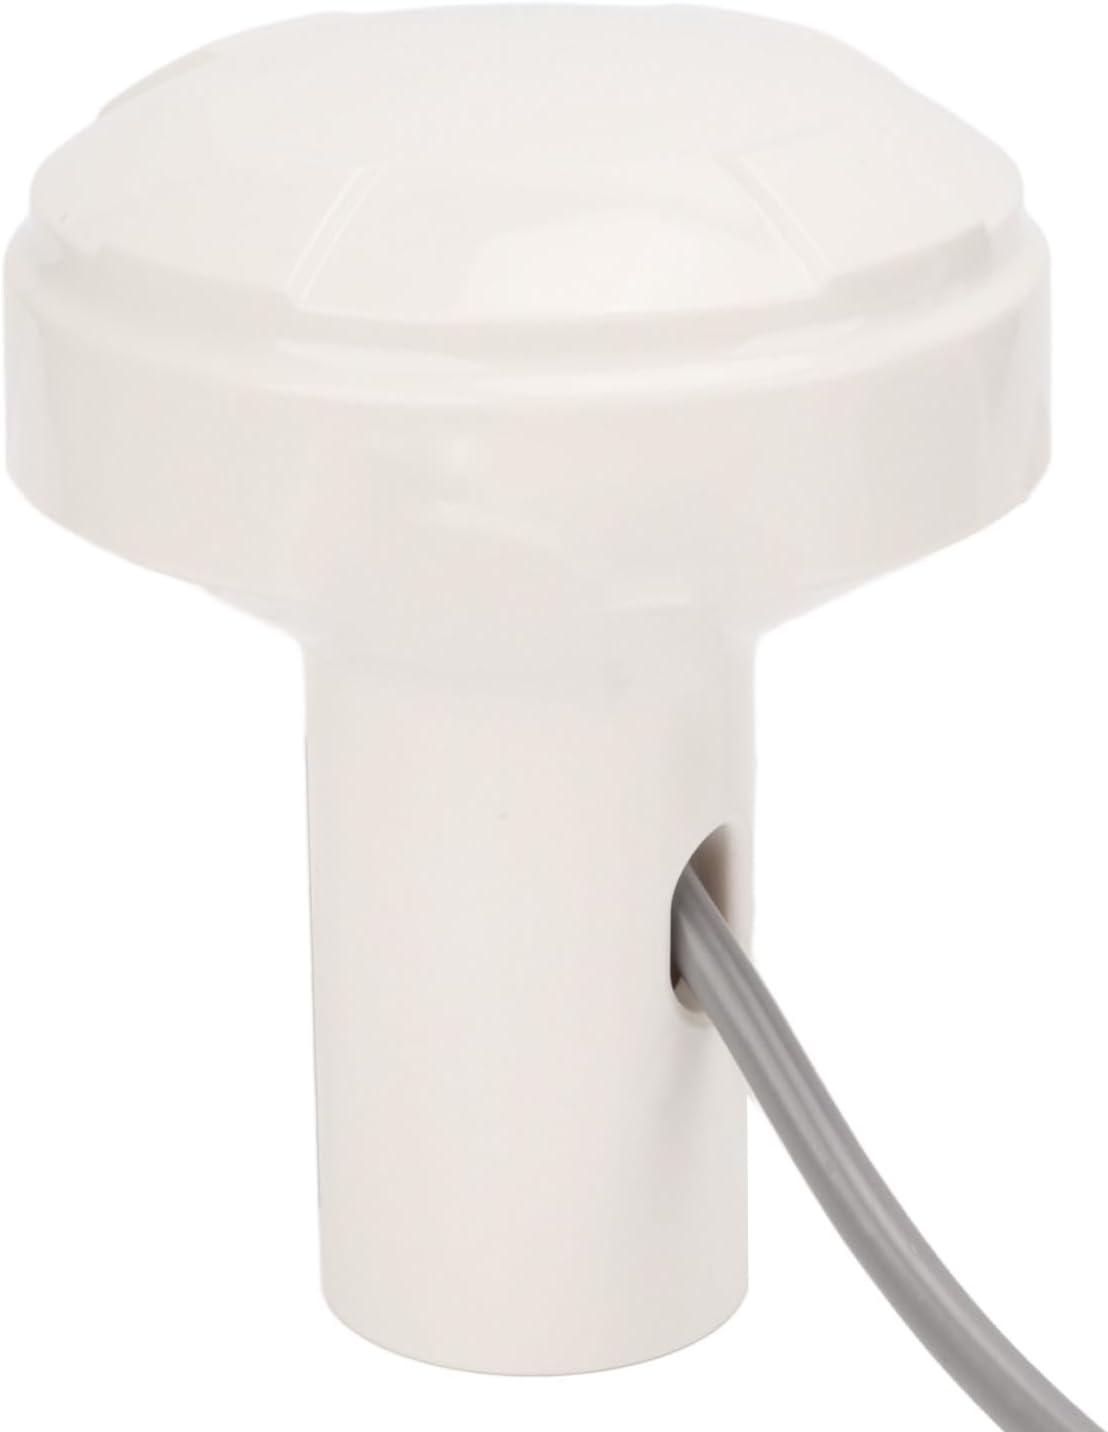
1 x GNSS Antenna
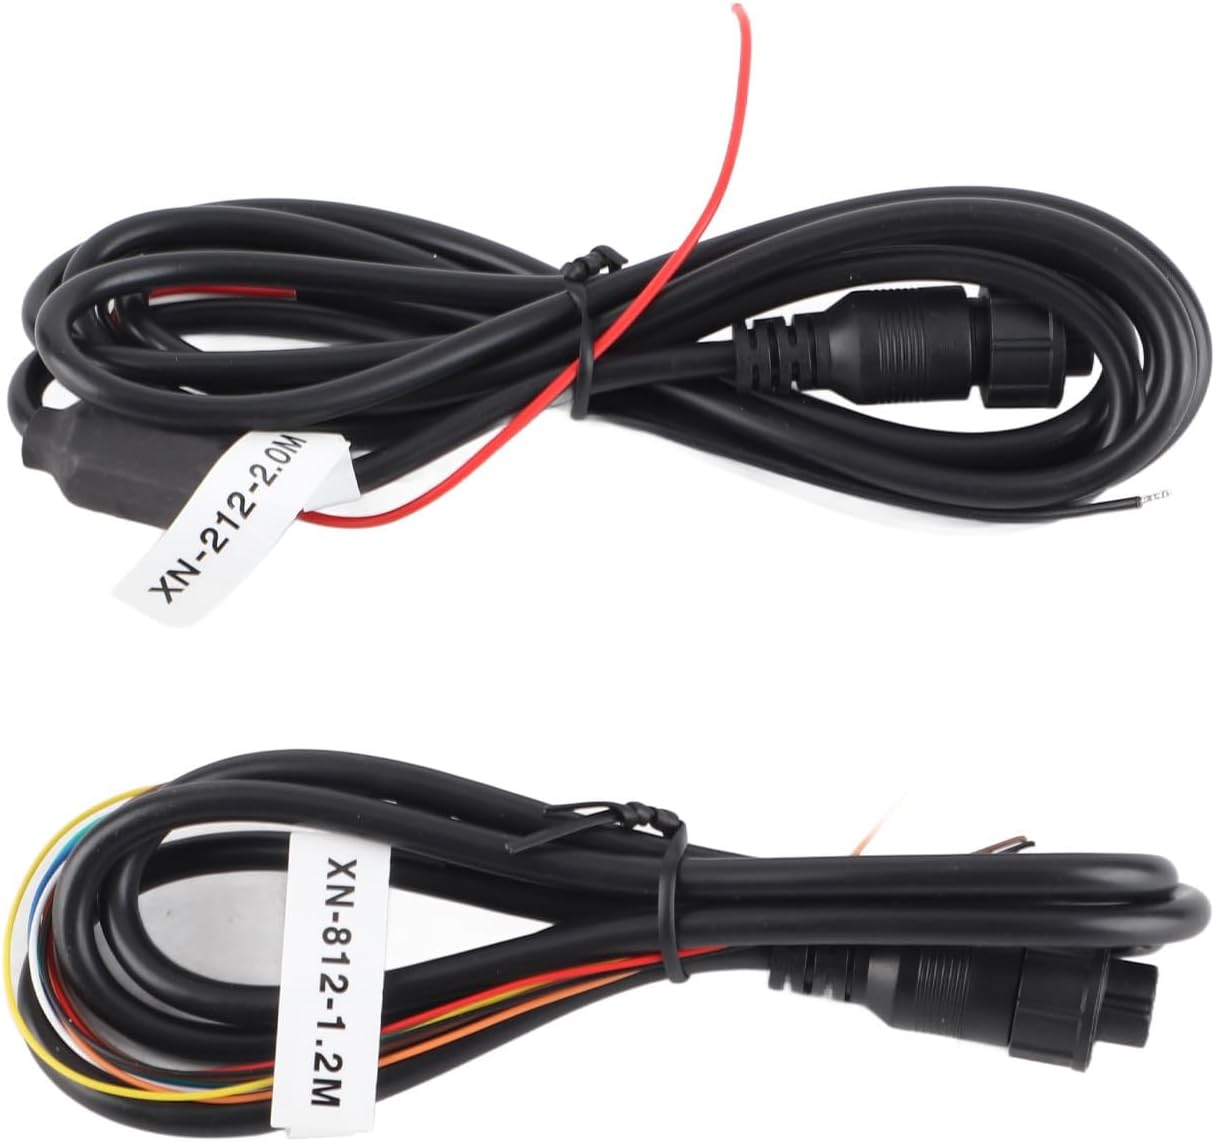
1 x 8-core Data Cable
1 x 2-conductor Power Cord
1 x Mounting Base Bracket
2 x Fixed Buttons (for mounting)
4 x Base Fixing Screws
4 x Small Screws
1 x User Manual
Figure 2: Included data and power cables.
Figure 3: GNSS Antenna.
2.2 Physical Installation
The chart plotter is designed for panel mounting. Choose a location that provides clear visibility, easy access to controls, and protection from direct sunlight and excessive vibration. Ensure sufficient space behind the unit for cable connections and ventilation.
Mounting Bracket: Secure the mounting base bracket to a flat surface using the provided base fixing screws.
Unit Placement: Position the chart plotter unit onto the bracket and secure it with the fixed buttons and small screws.
Antenna Placement: Install the GNSS antenna in a location with an unobstructed view of the sky for optimal satellite reception. Avoid placing it near other electronic devices that may cause interference.
Figure 4: Front view of the Chart Plotter unit.
2.3 Electrical Connections
Connect the power cord and data cables as follows:
Power: Connect the 2-conductor power cord to a 24V DC power source. Ensure correct polarity.
GNSS Antenna: Connect the GNSS antenna cable to the designated port on the chart plotter.
NMEA0183: Use the 8-core data cable for NMEA0183 input/output connections to other marine electronics (e.g., autopilot, depth sounder). The unit supports two independent NMEA0183 input/output channels, with configurable baud rates.
Wi-Fi: The unit supports 802.11 b/g/n Wi-Fi for connectivity.
3. Operation
3.1 Power On/Off and Basic Controls
Press the power button (usually marked with a power symbol or located near the screen) to turn the unit on or off. Use the directional keys and ENT (Enter) button for menu navigation and selection. The CLR (Clear) button is used to cancel operations or go back.
Figure 5: Control panel with buttons.
3.2 Display Modes
The chart plotter offers several display modes accessible via the PAGE or MENU buttons. These modes include:
Standard Chart: Displays detailed navigational charts.
Simple Chart: A less cluttered chart view.
Full Screen Chart: Maximizes the chart display area.
AIS Data: Shows Automatic Identification System (AIS) targets (if an AIS receiver is connected and configured).
Navigation Data: Displays key navigation information such as speed, course, position.
Satellite Ephemeris: Provides information about visible GPS/BDS satellites.
3D Navigation: Offers a three-dimensional perspective of your route.
Compass: A digital compass display.
Figure 6: Examples of different screen display modes.
3.3 Map Systems
The unit supports dual map systems: C MAP MAX and XINUO MAP. Users can switch between these systems independently. Integrated global maps are provided, with regular updates for XINUO maps.
3.4 Waypoints, Routes, and Tracks
The device features high-speed, stable flash memory chips for extensive data storage:
Waypoints: Store up to 50,000 waypoints.
Markers: Store up to 50,000 markers.
Routes: Create and store up to 500 routes, with each route supporting up to 200 points.
Tracks: Record up to 1,000 tracks, comprising 1.6 million track points.
Refer to the on-screen menu for detailed instructions on creating, editing, and navigating using waypoints, routes, and tracks.
3.5 Customization
The chart plotter allows for various customizations:
Own Ship Display: Adjust the display of your vessel anywhere on the screen to extend the navigation area.
Data Names: Customize data names for clarity.
Symbol Styles: Select preferred symbol styles.
Colors: Adjust display colors to your preference.
4. Maintenance
4.1 Cleaning
To maintain optimal performance and screen clarity, regularly clean the unit. Use a soft, damp cloth to wipe the screen and casing. Avoid abrasive cleaners or solvents that could damage the display or plastic housing.
4.2 Waterproofing
The unit features an IPX6 waterproof and dustproof plastic shell design, providing protection against strong jets of water. While designed to be robust, ensure all cable connections are properly sealed and secured to maintain its waterproof integrity.
Figure 7: Waterproof shell design.
4.3 Software Updates
Information regarding guaranteed software updates is not available. Please check the manufacturer's website or contact customer support for any available software or map updates.
5. Troubleshooting
This section addresses common issues you might encounter. For problems not listed here, please contact customer support.
Problem
Possible Cause
Solution
Unit does not power on.
No power supply; incorrect wiring; blown fuse.
Check power cable connections and polarity. Verify power source. Check for blown fuses in the boat's electrical system.
No GPS/BDS signal.
Antenna not connected; antenna obstructed; poor satellite visibility.
Ensure GNSS antenna is securely connected. Relocate antenna to an area with a clear view of the sky. Wait for the unit to acquire satellites.
Inaccurate positioning.
Poor satellite reception; interference.
Check antenna placement. Ensure no other electronic devices are causing interference. Allow time for the unit to achieve higher accuracy.
Screen is blank or frozen.
Software error; power issue.
Perform a soft reset by turning the unit off and on. If the problem persists, disconnect power for a few minutes and reconnect.
6. Specifications
Feature
Detail
Model Name
GPS Chart Plotter
Model Number
Ymikoob47ekvyxz4301
Display Type
Color TFT LCD
Screen Size
7 inches
Resolution
800 x 480
Screen Brightness
500 cd/㎡
Languages Supported
English, Simplified Chinese, Traditional Chinese, Vietnamese, Malay, Korean, Turkish, Thai, Greek, Indonesian, Japanese, Burmese, Arabic, Spanish, French, Persian
Ymiko products are manufactured to high-quality standards. For specific warranty terms and conditions, please refer to the warranty card included with your product or visit the official Ymiko website. Keep your purchase receipt as proof of purchase for any warranty claims.
7.2 Customer Support
If you encounter any issues or have questions not covered in this manual, please contact Ymiko customer support. Contact details can typically be found on the product packaging, the official Ymiko website, or through your retailer.
Ask a question about this manual
Ask about setup, troubleshooting, compatibility, parts, safety, or missing instructions. Manuals+ will review the question and use this page’s manual context to help answer it.