1. Introduction
The NEXTION HMI Display 4.3" Enhanced Series NX4827K043 is a human-machine interface solution designed for various applications. This display features a 4.3-inch resistive LCD-TFT touch screen with a resolution of 480x272 pixels. It integrates a Real-Time Clock (RTC) for accurate timekeeping, EEPROM for user data storage, and 8 digital GPIOs, including 4 PWM capable pins, enhancing its functionality for diverse projects.
This manual provides detailed instructions for setting up, operating, and maintaining your NEXTION HMI Display, along with troubleshooting tips and product specifications.

Figure 1: NEXTION HMI Display 4.3" Enhanced Series NX4827K043
2. Key Features
- Powerful Features: Integrates RTC for accurate time, EEPROM for user data storage, and 8 digital GPIOs (4 PWM capable) to enhance HMI project functionality.
- Cost-effective HMI Solution: Easy-to-use components, touch event programming, and customized GUI at the screen side enable rapid project development.
- Free Programming Software: Develop HMI GUI projects via the free Nextion Editor software, utilizing drag-and-drop components and simple ASCII text-based instructions.
- Wide Range of Applications: Suitable for Vehicle HMI, 3D Printers, Medical Devices, Beauty Devices, Production Lines, and more.
- Quality and Safety Assurance: Guaranteed availability for a minimum of 5 years, CE and RoHS compliant, with responsive technical support.
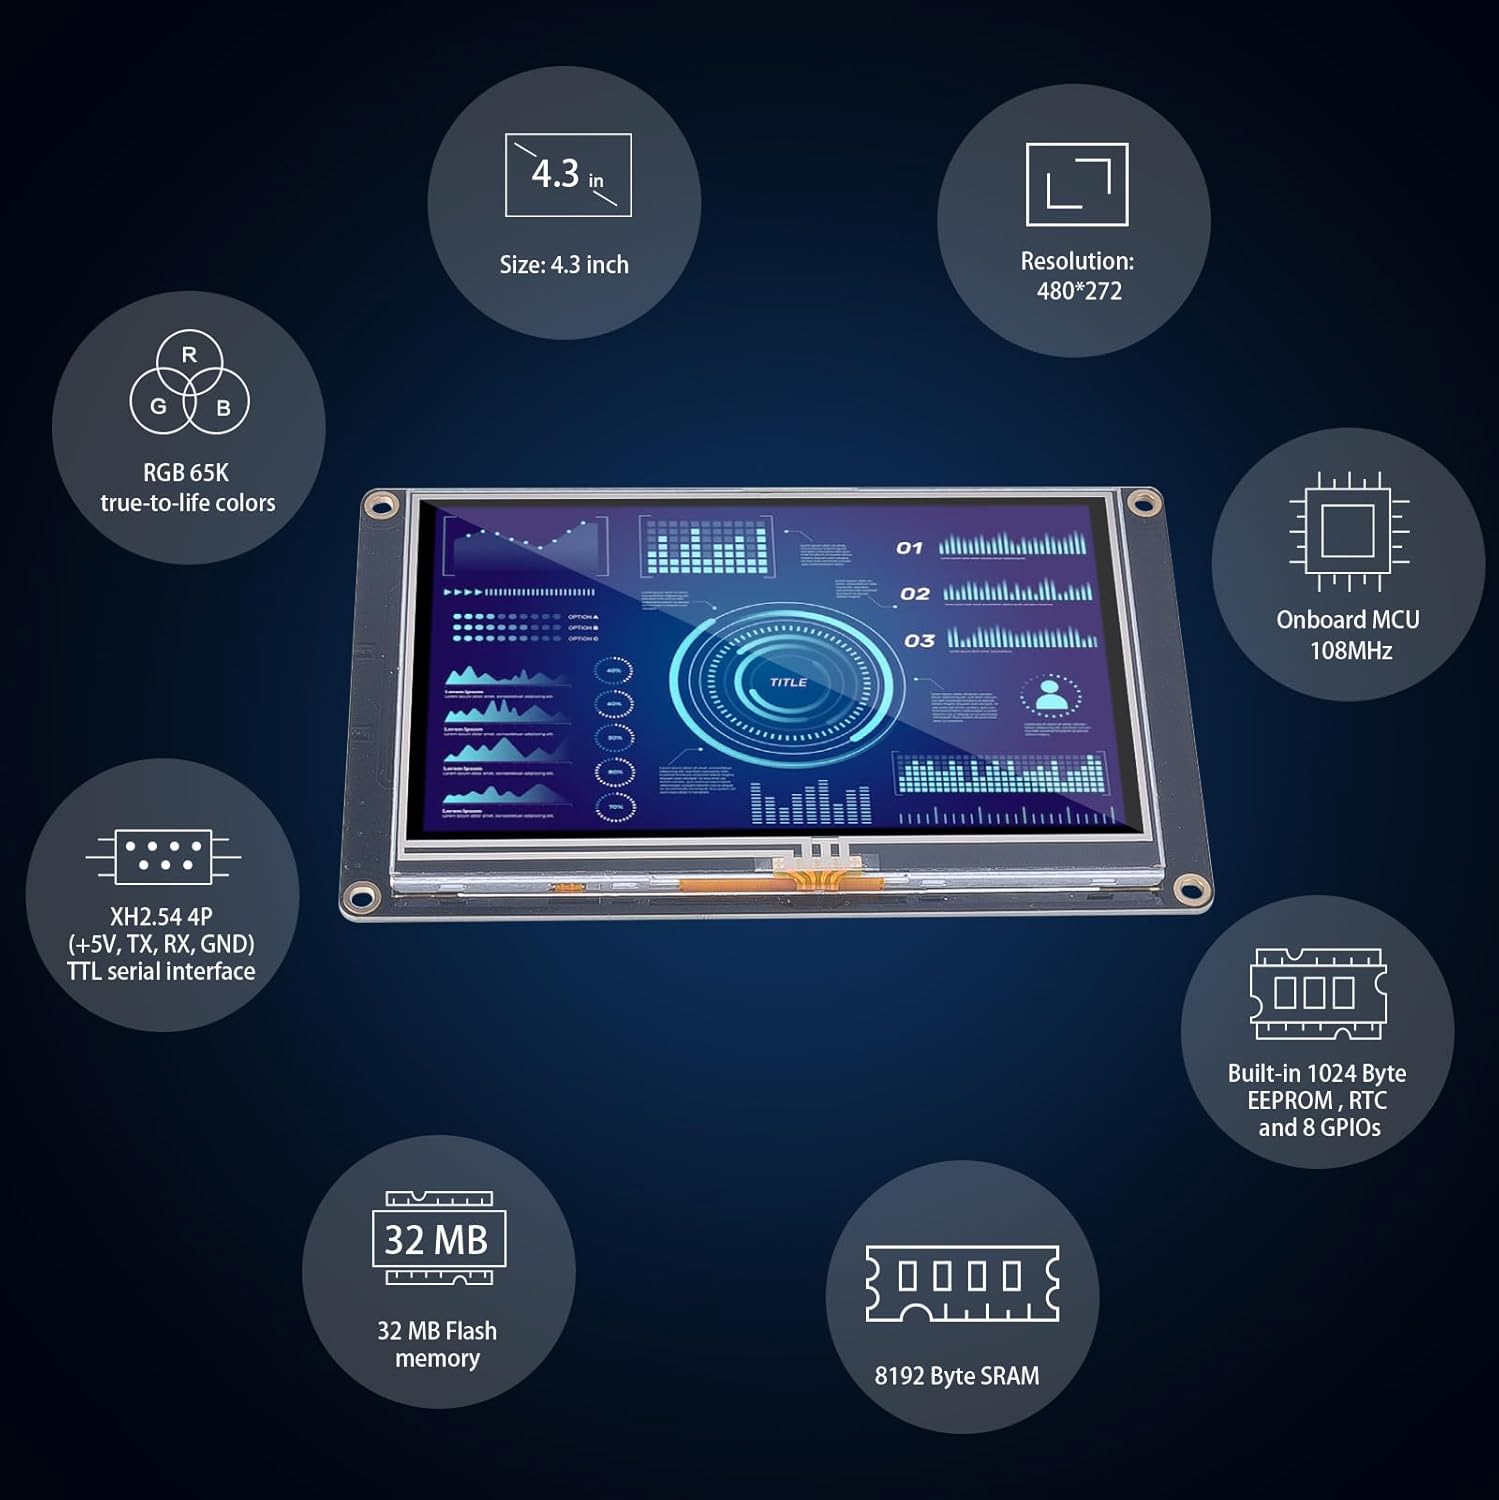
Figure 2: Overview of Nextion HMI Display features.
3. What's in the Box
Upon unpacking your NEXTION HMI Display, please ensure all the following items are included:
- Nextion HMI Display *1
- Power Supply Test Board *1
- XH2.54 4P Wire *1

Figure 3: Components included in the product package.
4. Setup
4.1. Physical Connection
To power the Nextion Display, connect the provided XH2.54 4P wire to the display's serial port. Then, connect the VCC and GND wires to the positive and negative terminals of the power supply test board, respectively. Finally, connect the micro USB cable to the power supply test board and a 5V 2A power supply adapter.
Video 1: Instructions on how to power the Nextion Display via Micro USB 5V.
4.2. Software Installation and Configuration
To program the Nextion HMI Display, you will need to set up the Arduino IDE development environment and install the necessary ESP32 board packages.
- Download and Install Arduino IDE: Obtain the latest version of the Arduino IDE from the official Arduino website.
- Install ESP32 Board Package: Within the Arduino IDE, navigate to File > Preferences. In the "Additional Boards Manager URLs" field, add the URL for the ESP32 package. Then, go to Tools > Board > Boards Manager, search for "ESP32", and install the package provided by Espressif Systems. Ensure to select a stable version like 2.0.14 or 2.0.15 to avoid potential errors.
- Configure Board Information: For the 4.3" screen, select the appropriate ESP32 Dev Module. Additionally, configure the PSRAM option to "QSPI PSRAM" and the Partition Scheme to "Huge APP" if your project requires more memory.
- Install CH340 Driver (if needed): If your computer does not recognize the connected serial port, you may need to install the CH340 driver. This driver is typically found in the tools folder of the course file or can be downloaded online.
Video 2: Guide to setting up the ESP32 development environment in Arduino IDE.
5. Operation
5.1. Programming with Nextion Editor
The Nextion Editor software simplifies the creation of graphical user interfaces (GUIs) for your display. It features a drag-and-drop interface and supports simple ASCII text-based instructions.
- GUI Design: Use the drag-and-drop functionality to place components like buttons, text fields, and progress bars on your screen.
- Event Programming: Assign actions and logic to touch events directly within the editor.
- Upload to Display: Once your GUI is designed, compile the project and upload the generated .TFT file to the Nextion Display via an SD card.

Figure 4: Key features of the Nextion Editor software.
Video 3: Demonstrates how to program the Nextion Display using an SD card.
5.2. Using Serial Communication
The display can communicate with a computer or microcontroller via its TTL serial port. This allows for sending and receiving data, enabling dynamic control and feedback for your projects.
To monitor serial data, open the Serial Monitor in the Arduino IDE. Ensure the baud rate in the Serial Monitor matches the baud rate set in your code (e.g., 9600 baud) to prevent garbled text.
6. Applications
The versatility of the Nextion HMI Display makes it suitable for a broad spectrum of applications:
- 3D Printers: Provides an intuitive touch interface for controlling printer settings and monitoring progress.
- IoT Smart Devices: Integrates seamlessly into smart home systems for controlling appliances and displaying environmental data.
- Medical Devices: Offers a clear and interactive display for diagnostic equipment and patient monitoring.
- Production Lines: Enhances efficiency by providing control panels for machinery and real-time process visualization.

Figure 5: Nextion Display as a control interface for 3D printers.

Figure 6: Nextion Display integrated into an IoT smart device.

Figure 7: Nextion Display in a medical device application.
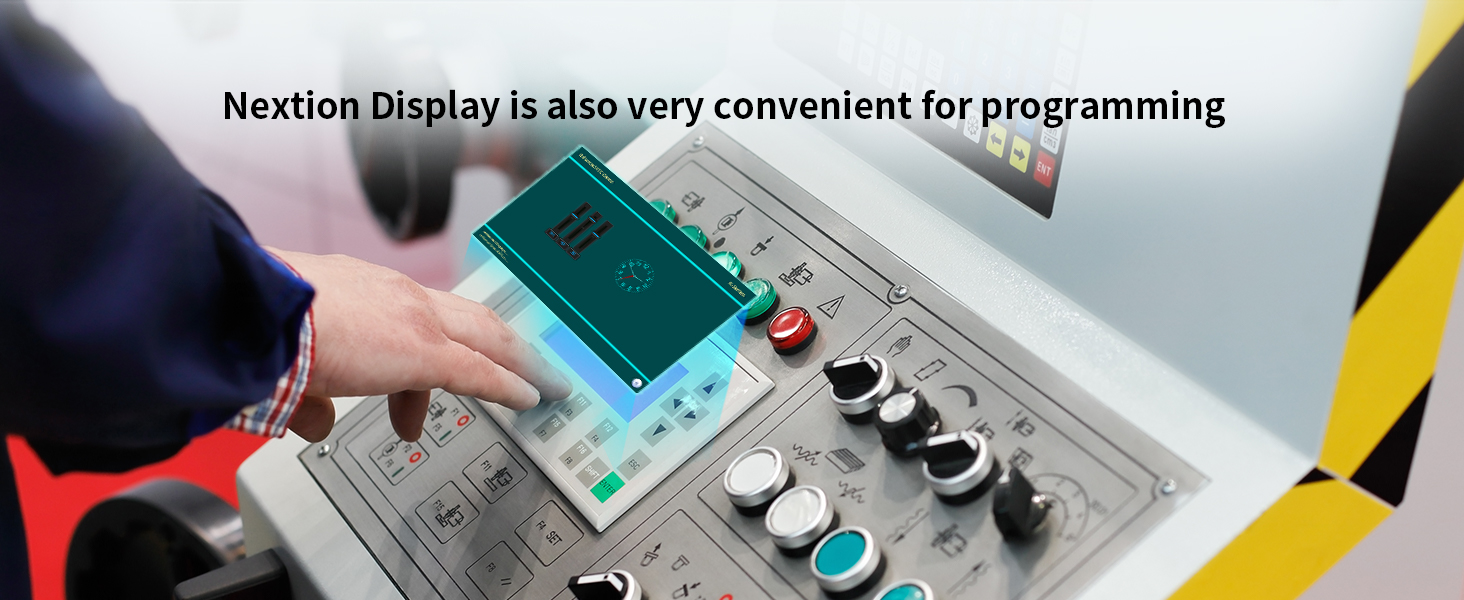
Figure 8: Nextion Display improving efficiency on a production line.
7. Specifications
| Feature | Specification |
|---|---|
| Model Name | NX4827K043 |
| Display Size | 4.3 inches |
| Resolution | 480 x 272 pixels |
| Touch Panel | Resistive Touch Panel (RTP) |
| MCU | 108 MHz |
| Flash Memory | 32 MB |
| SRAM | 8192 Bytes |
| EEPROM | 1024 Bytes |
| GPIOs | 8 (4 PWM capable) |
| RTC Function | Yes |
| Item Weight | 3.29 ounces |
| Product Dimensions | 4.72 x 2.91 x 0.47 inches |
8. Maintenance
To ensure the longevity and optimal performance of your Nextion HMI Display, follow these maintenance guidelines:
- Cleaning: Use a soft, dry, lint-free cloth to clean the screen. Avoid abrasive cleaners, solvents, or aerosol sprays that may damage the display surface.
- Handling: Handle the display by its edges to prevent fingerprints or damage to the screen. Avoid applying excessive pressure to the touch panel.
- Environment: Operate the display within its specified temperature and humidity ranges. Protect it from direct sunlight, extreme temperatures, and high moisture.
- Power Supply: Always use a stable and appropriate power supply (5V 2A recommended) to prevent electrical damage.
9. Troubleshooting
If you encounter issues with your Nextion HMI Display, refer to the following common troubleshooting steps:
- Display Not Powering On:
- Ensure the power supply is correctly connected and providing the specified 5V 2A.
- Check the XH2.54 4P wire connections for proper seating and polarity. - Touch Screen Unresponsive:
- Verify that the display is receiving power.
- Ensure the correct HMI project file has been uploaded to the display. - Garbled Text on Serial Monitor:
- Confirm that the baud rate set in your Arduino IDE Serial Monitor matches the baud rate configured in your code. - Programming Errors in Arduino IDE:
- Double-check that the ESP32 board package is correctly installed and the appropriate board (ESP32 Dev Module) is selected.
- Ensure PSRAM and Partition Scheme settings are correct for your display size (e.g., QSPI PSRAM and Huge APP for 4.3" screens).
- Install the CH340 driver if the serial port is not recognized. - HMI Project Not Updating via SD Card:
- Ensure the SD card is formatted to FAT32 and is less than 32GB.
- Verify that only the .TFT file is present on the SD card's root directory.
- Power cycle the display after inserting the SD card.
10. Warranty and Support
NEXTION guarantees the availability of all series products for a minimum of 5 years. The product is CE and RoHS compliant, ensuring adherence to quality and safety standards.
For technical assistance, the NEXTION technical support team provides responsive basic hardware technical service across all time zones. Please refer to the official NEXTION website for contact information and additional resources.


