1. Introduction
This manual provides detailed instructions for setting up, operating, maintaining, and troubleshooting your Clover Mini v.3 Point of Sale (POS) system with an integrated cash drawer. The Clover Mini v.3 is a compact countertop smart POS designed to streamline your business transactions and management.
2. What's in the Box
Upon unboxing your Clover Mini v.3, please verify that all components are present:
- Clover Mini v.3 device
- Power supply
- 16x16 inch cash drawer

Image: The Clover Mini v.3 device, a compact countertop smart POS system with an 8-inch screen.

Image: The 16x16 inch cash drawer included with the Clover Mini v.3 system.
3. Setup
Follow these steps to set up your Clover Mini v.3:
- Unpack Components: Carefully remove the Clover Mini v.3 and cash drawer from their packaging.
- Connect Power: Plug the power supply into the Clover Mini v.3 and then into a standard electrical outlet.
- Connect Cash Drawer: Connect the cash drawer cable to the designated port on the Clover Mini v.3.
- Network Connection: The Clover Mini v.3 supports multiple connectivity options:
- Ethernet: For a stable wired connection, connect an Ethernet cable from your router to the device.
- Wi-Fi: Follow on-screen prompts to connect to your wireless network.
- LTE: The device is LTE enabled for mobile hotspot connectivity.
- Merchant Account Activation: A merchant account through Powering POS is required for operation. This Mini will not tether with a Station or Mini through a different Merchant Processor. This service is for US-based businesses only. Please contact Powering POS at (855) 552-1278 for account activation and any questions regarding processing.

Image: Side view of the Clover Mini v.3 highlighting its components: credit card reader for dip, contactless reader, credit card reader for swipe, built-in camera & barcode scanner, and built-in receipt printer.
4. Operating Instructions
The Clover Mini v.3 features an intuitive 8-inch touchscreen interface for managing transactions and business operations.
4.1. Processing Payments
The device supports various payment methods:
- Card Swipe: Use the magnetic stripe reader for traditional card swipes.
- Card Dip (EMV): Insert EMV chip cards into the dedicated slot.
- Contactless Payments: Tap compatible cards or mobile devices for NFC payments.
The new payment flow UI is designed for efficiency and ease of use.

Image: A merchant assisting a customer with a transaction using the Clover Mini v.3 at a counter.
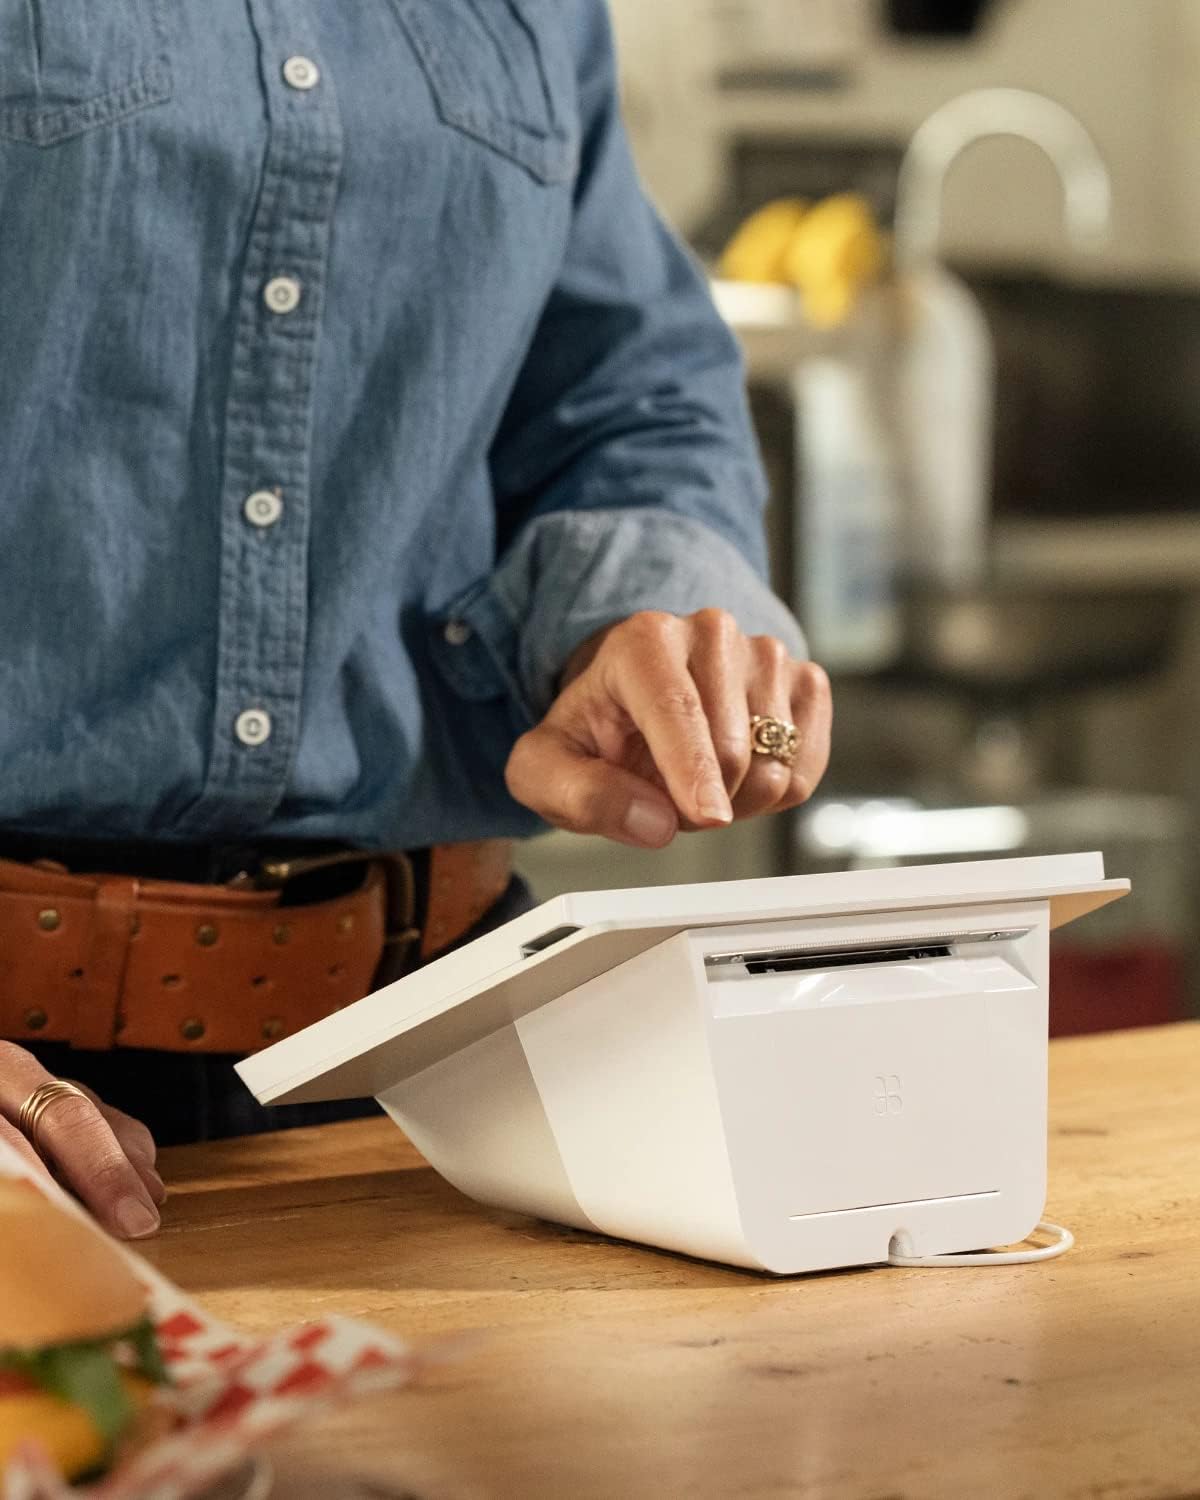
Image: A hand reaching towards the Clover Mini v.3, showing the integrated receipt printer slot.
4.2. Key Features Overview
- Compact Design: Countertop smart POS with an 8-inch screen.
- Connectivity: LTE enabled, along with Ethernet, Wi-Fi, and mobile hotspot options.
- Security: Top-centered camera with LED privacy indicator.
- User Interface: Dedicated tactile volume control buttons and a new payment flow UI.
- Power Management: Designed for graceful shutdowns only; no battery operation.

Image: The Clover reporting interface displayed on a laptop and a smartphone, showing sales overview and data.
5. Maintenance
To ensure the longevity and optimal performance of your Clover Mini v.3, follow these maintenance guidelines:
- Cleaning: Use a soft, lint-free cloth slightly dampened with water or a screen cleaner to wipe the screen and exterior. Avoid abrasive cleaners or solvents.
- Power Off: Always perform a graceful shutdown of the device before disconnecting power or performing any maintenance. The device is designed for graceful shutdowns only and does not operate on battery power.
- Ventilation: Ensure the device's ventilation slots are clear of obstructions to prevent overheating.
6. Troubleshooting
If you encounter issues with your Clover Mini v.3, consider the following common troubleshooting steps:
- Device Not Powering On: Ensure the power supply is securely connected to both the device and a working electrical outlet.
- Network Connectivity Issues: Check your Ethernet cable connection, Wi-Fi settings, or LTE signal strength. Restart your router if necessary.
- Payment Processing Errors: Verify that cards are inserted or swiped correctly. Ensure your merchant account is active and in good standing with Powering POS.
- Cash Drawer Not Opening: Check the connection cable to the Clover Mini. Ensure the transaction is finalized and configured to trigger the drawer.
For persistent issues or advanced troubleshooting, please contact Powering POS support directly at (855) 552-1278.
7. Specifications
| Feature | Detail |
|---|---|
| Product Dimensions | 12 x 10 x 6 inches |
| Item Weight | 5 pounds |
| Model Number | Mini3 |
| Visible Screen Diagonal | 8 inches / 21 cm |
| Date First Available | August 12, 2022 |
| Manufacturer | CloverMini3 |
8. Warranty and Support
For all warranty claims, technical support, and service inquiries related to your Clover Mini v.3, please contact Powering POS directly. As stated, a merchant account through Powering POS is required for the device's operation, and they are your primary point of contact for support.
Powering POS Contact Information:
- Phone: (855) 552-1278
- Seller Profile: Powering POS on Amazon
Please have your device's model number (Mini3) and any relevant purchase information ready when contacting support.


