
NETVIP WN519
NETVIP N300 WiFi Extender User Manual
Model: WN519
1. Introduction
Thank you for choosing the NETVIP N300 WiFi Extender. This device is designed to extend the coverage of your existing wireless network, eliminating Wi-Fi dead zones and providing a stable, high-speed internet connection throughout your home or office. It supports both Repeater Mode for extending wireless signals and Access Point (AP) Mode for converting a wired connection into a wireless hotspot.

Image 1.1: The NETVIP N300 WiFi Extender, a compact wall-plug device with indicator lights and an Ethernet port.
2. Safety Information
- Do not expose the device to water or humidity.
- Do not attempt to disassemble or repair the device yourself.
- Use only the power adapter provided or specified by the manufacturer.
- Ensure proper ventilation around the device to prevent overheating.
- Keep the device away from direct sunlight and heat sources.
3. Package Contents
Please check the package for the following items:
- NETVIP N300 WiFi Extender (Model WN519)
- User Manual
- RJ45 Ethernet Cable (may vary by package)
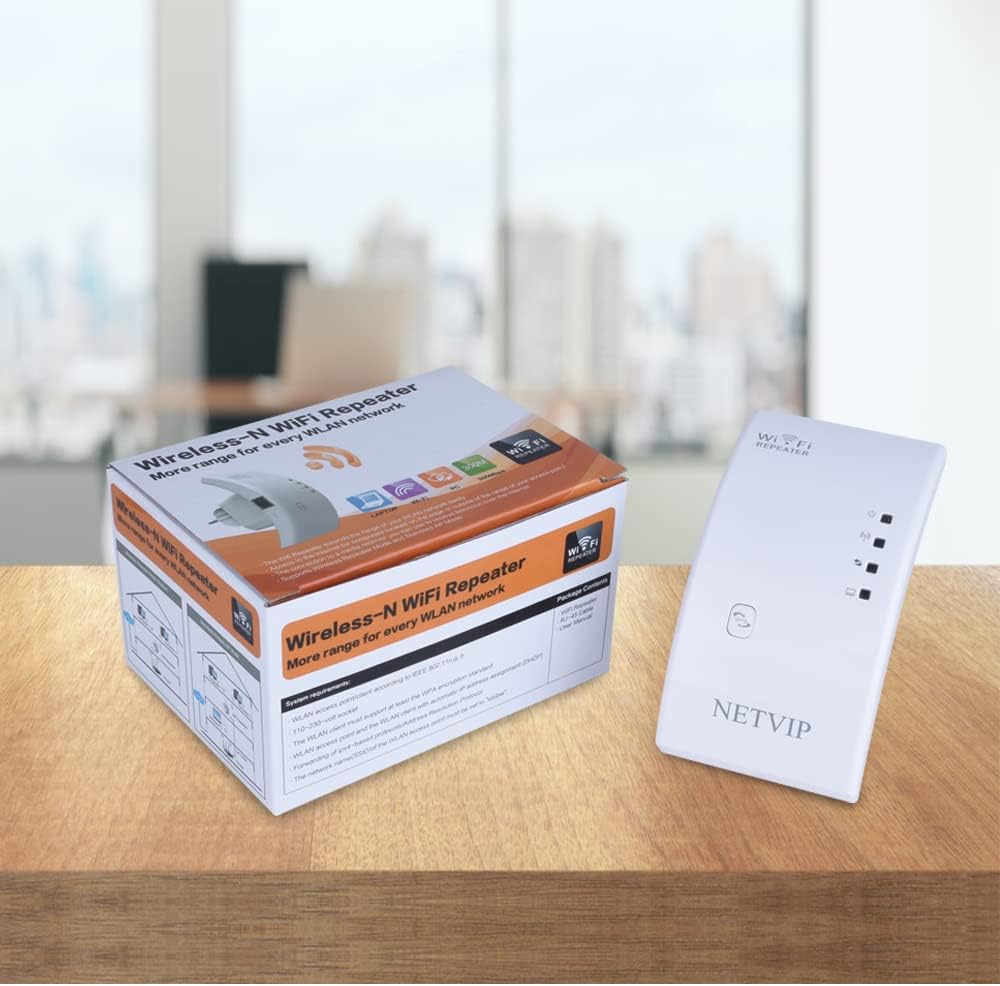
Image 3.1: The NETVIP N300 WiFi Extender and its retail packaging.
4. Product Overview
The NETVIP N300 WiFi Extender features a compact design with essential indicators and ports for easy operation.
4.1. Device Components
- Power LED: Indicates power status.
- WLAN LED: Indicates wireless activity.
- LAN LED: Indicates Ethernet port activity.
- WPS Button: For quick setup with WPS-enabled routers.
- Reset Button: Used to restore factory default settings.
- Ethernet Port: For wired connections in AP mode or for connecting a wired device in Repeater mode.

Image 4.1: Detail of the Ethernet port, Reset button, and WPS button on the extender.
5. Setup Guide
The NETVIP N300 WiFi Extender can be set up in two main modes: Repeater Mode and Access Point (AP) Mode.
5.1. Repeater Mode Setup (Extending Existing WiFi)
Repeater Mode extends the range of your existing wireless network.
- Power On: Plug the extender into an electrical outlet near your main router. Wait for the Power LED to light up.
- Connect to Extender: On your computer or mobile device, connect to the extender's default Wi-Fi network (e.g., "Wireless-N" or "NETVIP_Ext"). No password is required initially.
- Access Setup Page: Open a web browser and enter the default IP address (e.g., 192.168.10.1) or the default web address (e.g., wifi.repeater or netvip.cc) into the address bar. If the page doesn't load, try clearing your browser cache or using a different browser.
- Login: Enter the default username and password (usually admin/admin).
- Select Repeater Mode: On the setup page, select "Repeater Mode". The extender will scan for available Wi-Fi networks.
- Choose Network: Select your home Wi-Fi network (SSID) from the list.
- Enter Password: Enter the Wi-Fi password for your home network. You can also change the extender's SSID if desired (e.g., "YourNetwork_EXT").
- Apply Settings: Click "Apply" or "Save". The extender will restart.
- Relocate Extender: Once restarted, unplug the extender and move it to a location halfway between your router and the Wi-Fi dead zone. Ensure the signal strength from your router is still good at this location.
- Verify Connection: Connect your devices to the new extended Wi-Fi network.


Image 5.1: Visual guide for WPS setup, showing the steps to connect the extender to a router using the WPS button.
5.2. Access Point (AP) Mode Setup (Creating a New WiFi Hotspot)
AP Mode converts a wired internet connection into a wireless hotspot.
- Power On: Plug the extender into an electrical outlet.
- Connect Ethernet Cable: Connect an Ethernet cable from your router (or modem) to the Ethernet port on the extender.
- Connect to Extender: On your computer or mobile device, connect to the extender's default Wi-Fi network.
- Access Setup Page: Open a web browser and enter the default IP address or web address.
- Login: Enter the default username and password.
- Select AP Mode: On the setup page, select "AP Mode".
- Configure WiFi: Set a new SSID (Wi-Fi name) and password for your new wireless network.
- Apply Settings: Click "Apply" or "Save". The extender will restart.
- Verify Connection: Connect your devices to the new Wi-Fi network created by the extender.

Image 5.2: The Ethernet port of the extender, illustrating a wired connection for AP mode.
6. Operating Modes
The NETVIP N300 WiFi Extender offers versatile operating modes to suit various networking needs.
6.1. Repeater Mode
In Repeater Mode, the device acts as a wireless signal booster, taking an existing Wi-Fi signal from your main router and rebroadcasting it to extend its coverage area. This is ideal for eliminating Wi-Fi dead zones in larger homes or offices.

Image 6.1: Visual representation of Repeater Mode and Access Point Mode functionality.
6.2. Access Point (AP) Mode
In AP Mode, the device connects to a wired network (e.g., from a router or Ethernet wall port) and transforms it into a new wireless network. This is useful for adding Wi-Fi capability to a wired-only network or creating a separate Wi-Fi hotspot.
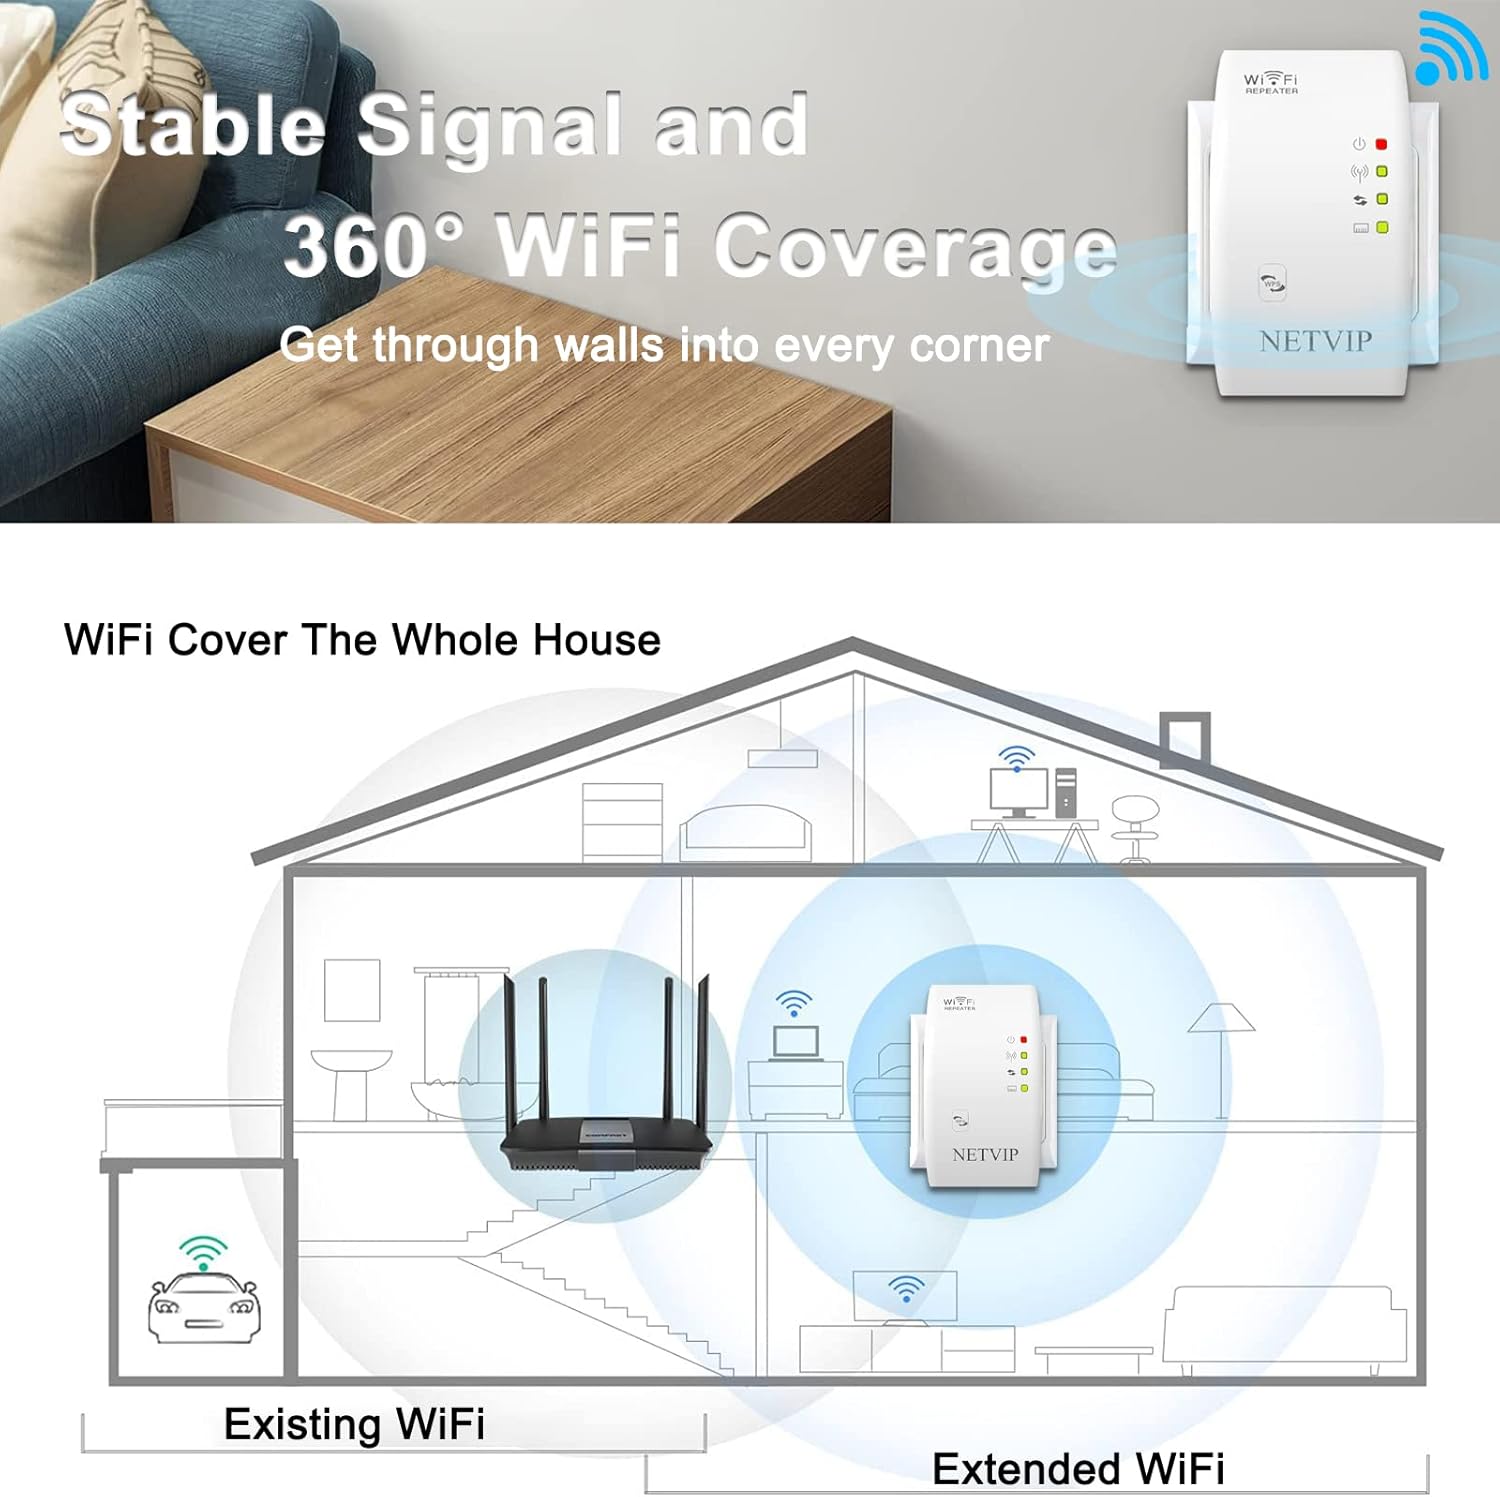
Image 6.2: Illustration of how the extender provides stable signal and 360° WiFi coverage throughout a home.
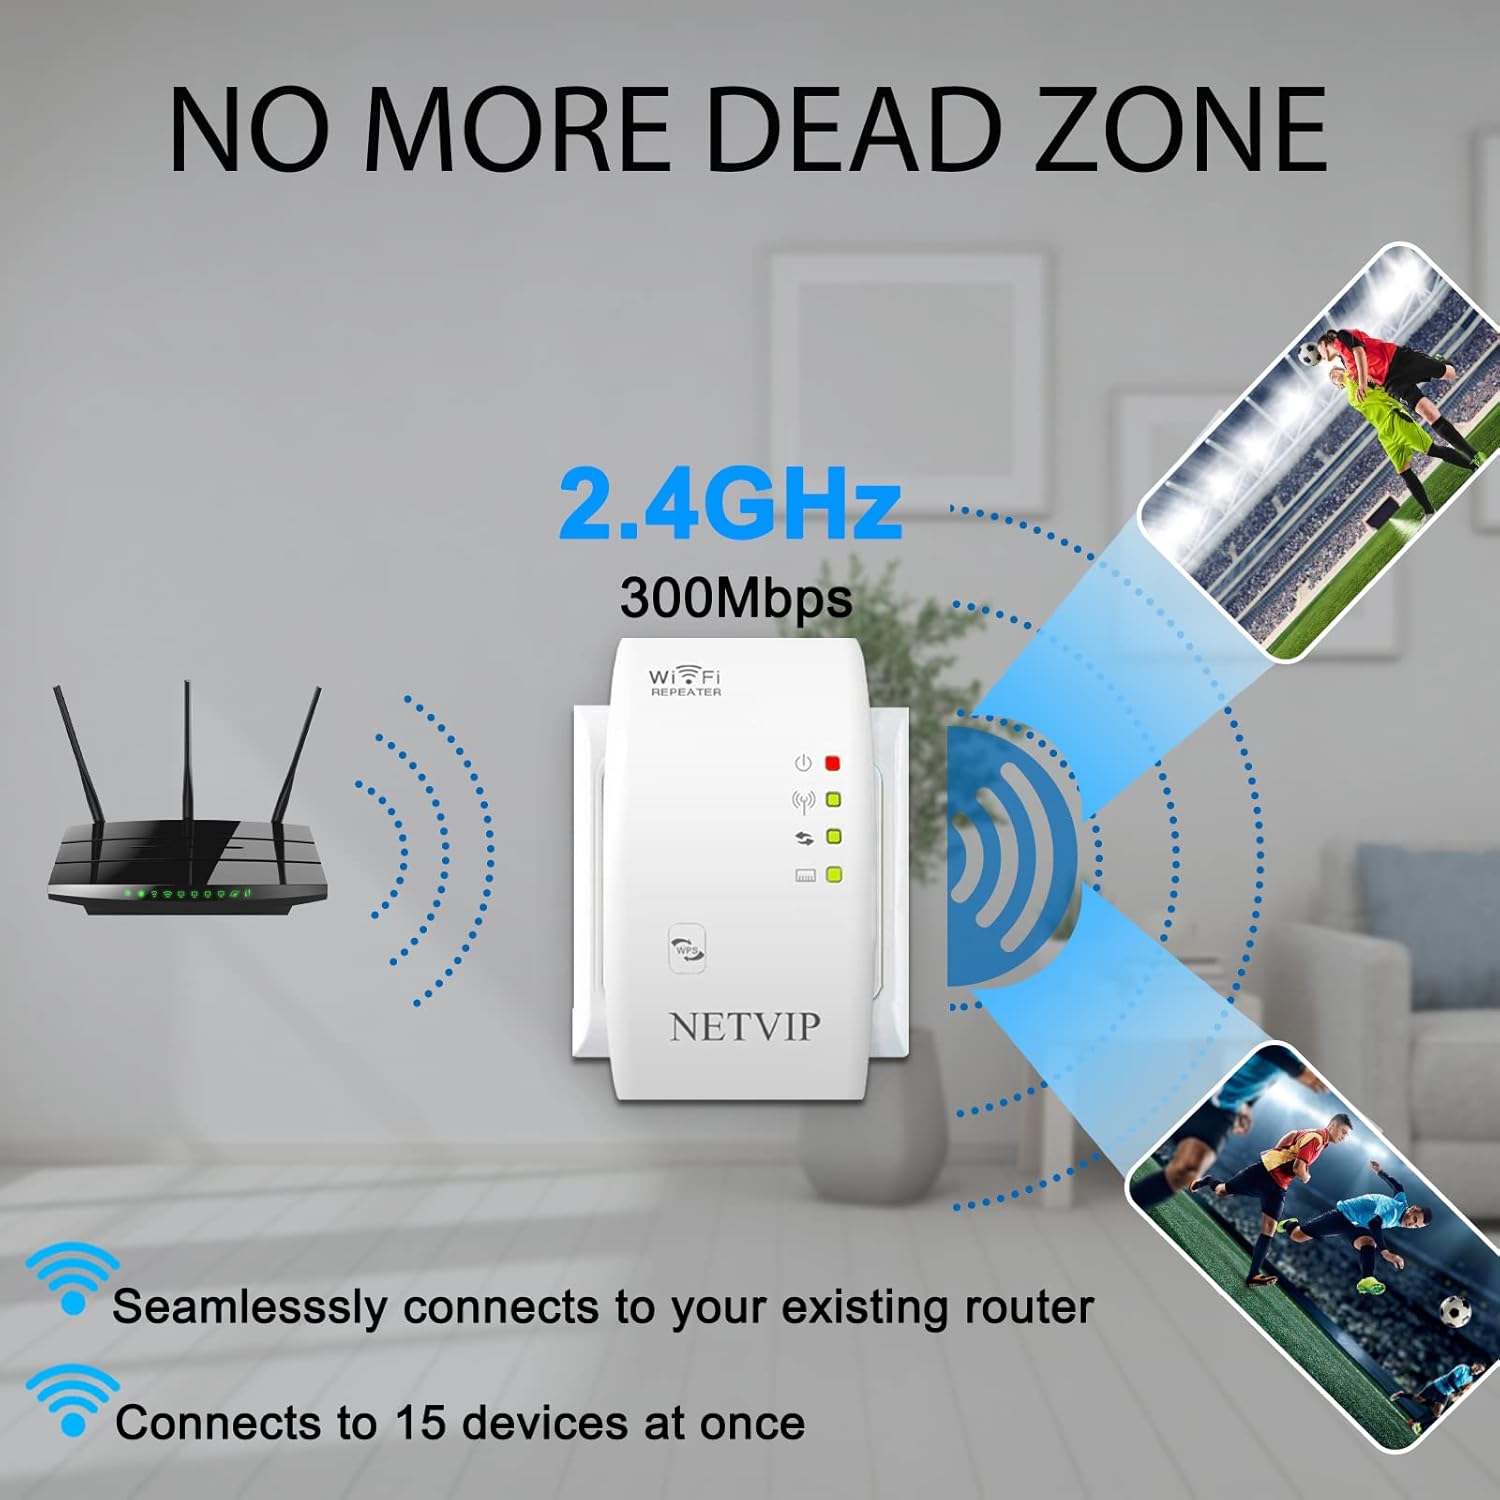
Image 6.3: The extender's ability to eliminate dead zones and connect multiple devices simultaneously.
7. Troubleshooting
If you encounter issues with your NETVIP N300 WiFi Extender, please refer to the following common problems and solutions:
| Problem | Possible Cause | Solution |
|---|---|---|
| Cannot access the setup page (192.168.10.1) | Incorrect IP address, device not connected to extender's Wi-Fi, IP conflict, browser cache issue. | Ensure your device is connected to the extender's default Wi-Fi. Try wifi.repeater or netvip.cc. Clear browser cache or try a different browser. Restart the extender. |
| No internet access after setup | Incorrect Wi-Fi password entered for the main router, extender placed too far from the router, main router issues. | Verify the Wi-Fi password for your main router. Relocate the extender closer to the main router. Check if your main router has internet access. |
| Weak signal or frequent disconnections | Extender placed too far from the main router or in an area with too many obstructions. | Move the extender to a location halfway between your router and the desired coverage area. Avoid placing it near large metal objects or thick walls. |
| Forgot login password for setup page | Custom password set and forgotten. | Perform a factory reset by pressing and holding the Reset button for 5-8 seconds. This will revert all settings to default. |

Image 7.1: Common Wi-Fi issues that the extender aims to resolve.
8. Specifications
Technical specifications for the NETVIP N300 WiFi Extender (Model WN519):
| Feature | Detail |
|---|---|
| Model Number | WN519 |
| Wireless Standard | IEEE 802.11b/g/n |
| Frequency Band | 2.4 GHz |
| Data Transfer Rate | Up to 300 Mbps |
| Operating Modes | Repeater Mode, Access Point (AP) Mode |
| Ethernet Port | 1 x 10/100 Mbps LAN Port |
| Security | WPA-PSK/WPA2-PSK encryption |
| Power Consumption | Low power consumption |
| Dimensions | Approx. 5 x 3.7 x 2.91 inches |
| Item Weight | Approx. 5.6 ounces |
9. Maintenance
To ensure optimal performance and longevity of your NETVIP N300 WiFi Extender, follow these maintenance guidelines:
- Cleaning: Use a soft, dry cloth to clean the device. Do not use liquid cleaners or aerosols.
- Ventilation: Ensure the device is placed in a well-ventilated area and that its ventilation holes are not blocked.
- Firmware Updates: Periodically check the manufacturer's website for firmware updates. Updating firmware can improve performance and security.
- Restarting: If the device experiences performance issues, try restarting it by unplugging it from the power outlet for 10 seconds and then plugging it back in.
10. Warranty and Support
NETVIP products are designed for reliability and performance. For specific warranty details, please refer to the warranty card included with your product or visit the official NETVIP website.
If you require technical assistance or have questions about your product, please contact NETVIP customer support through the contact information provided on their official website or through your retailer.
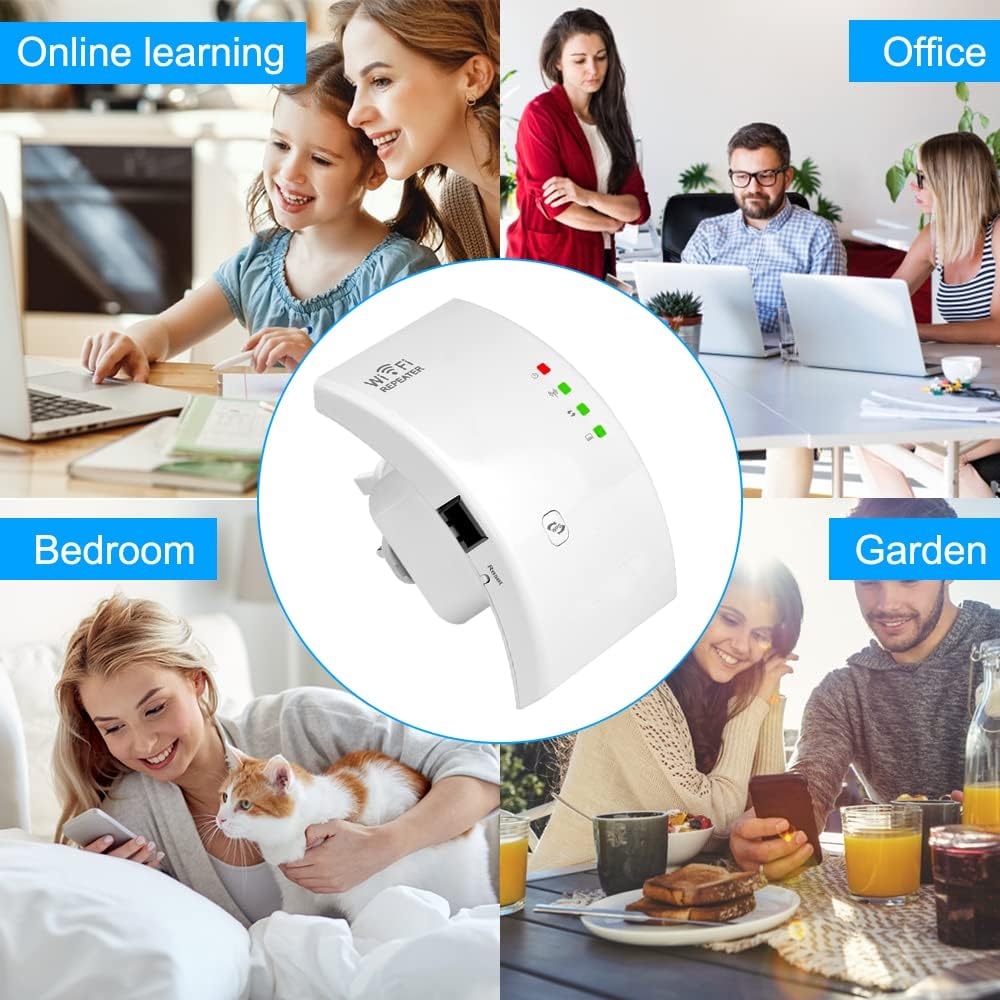
Image 10.1: The NETVIP N300 WiFi Extender supports various activities and environments.

Image 10.2: The extender enhances connectivity for various demanding online activities.
Related documentsWN519


Ask a question about this manual
Ask about setup, troubleshooting, compatibility, parts, safety, or missing instructions. Manuals+ will review the question and use this page’s manual context to help answer it.