
1. Product Overview
The SOVMIKU 2CQ1 AI 2K Solar Security Camera is a wireless outdoor surveillance solution designed for comprehensive home monitoring. It features battery power with solar charging capabilities, two-way audio, motion detection, 360° pan and tilt view, color night vision, and an audible flashlight siren for enhanced security.
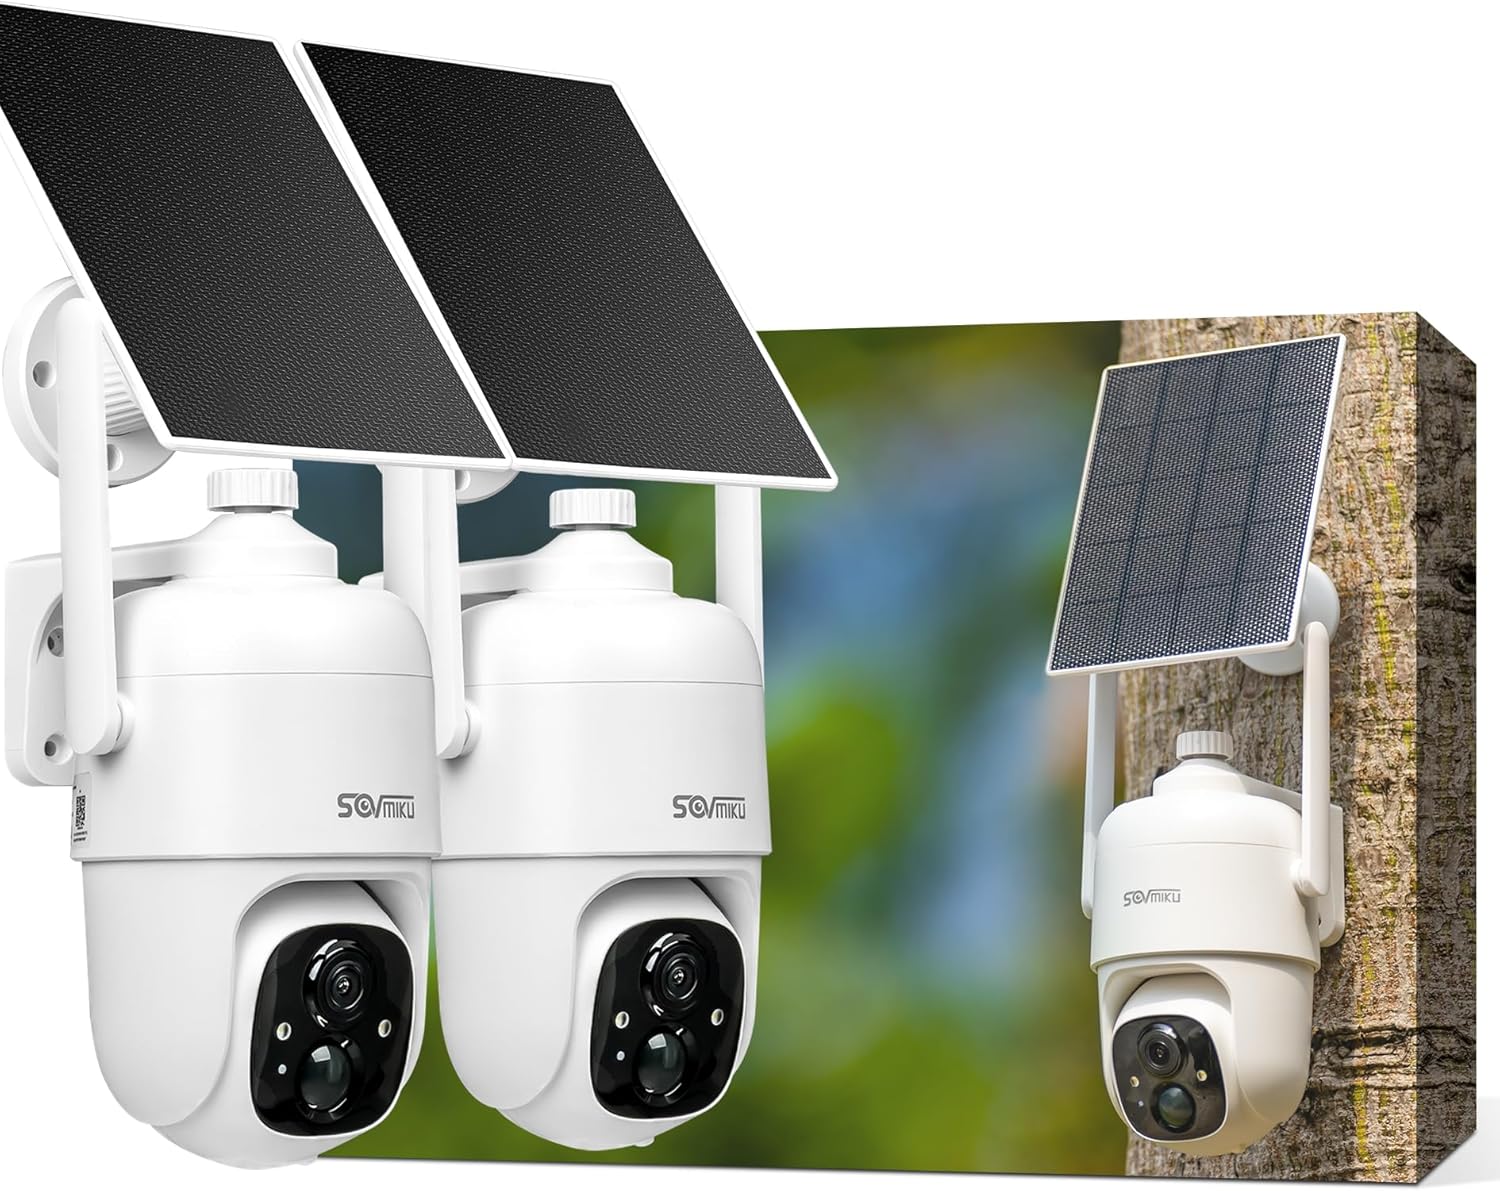
Figure 1: Overview of the SOVMIKU 2CQ1 AI 2K Solar Security Camera, showing two units with their respective solar panels.
2. What's in the Box
Verify that all components are present in the package:
- Camera body (1)
- Solar panel (1)
- Mounting screws and anchors
- USB-C charging cable
- User Manual (this document)
3. Setup Guide
3.1 App Installation
The SOVMIKU 2CQ1 camera operates via the Vicohome App. Follow these steps to install the application:
- Download the free Vicohome App from Google Play Store (for Android devices) or Apple App Store (for iOS devices).
- Register a Vicohome account using your email or mobile number, then sign in.

Figure 2: The Vicohome App interface, allowing simultaneous viewing of multiple cameras.
3.2 Camera Connection
To connect your camera to the Vicohome App:
- In the Vicohome App, select the "add camera now" button.
- Enter your 2.4G Wi-Fi network name and password. A QR code will appear on your phone screen.
- Press the power button on the camera for 3 seconds to activate it.
- Scan the QR code displayed on your phone screen with the camera lens. The camera will confirm successful connection.
3.3 Physical Installation
The camera is designed for wall mounting. Ensure the solar panel is positioned for maximum sunlight exposure.
- Install the camera mount securely on a desired surface using the provided screws and anchors.
- Attach the camera to the installed mount and secure it with the center locking screw.
- Install the solar panel mount in a location that receives direct sunlight for most of the day.
- Attach the solar panel to its mount and lock it into position. Connect the solar panel cable to the camera.

Figure 3: Step-by-step guide for installing the camera and solar panel.

Figure 4: A guide for optimal solar panel placement to ensure maximum sunlight exposure.
4. Operating Instructions
4.1 Power Management
The camera is equipped with a high-capacity 9000mAh battery and a monocrystalline silicon solar panel for continuous power. A full charge can sustain the camera for 60 days or more, and the high-quality battery is designed for over 8 years of use with less frequent charging.

Figure 5: Non-stop standby feature with solar power settings. The device automatically turns on after charging if it runs out of battery.
4.2 Video and Audio Features
- 2K Ultra-High-Definition: The camera provides 2K resolution images and videos, ensuring clear visuals regardless of weather conditions. It features a 3MP quad-pixel sensor for enhanced detail.
- Color Night Vision & Infrared: The camera supports both starlight color night vision and traditional infrared night vision for clear monitoring in low-light conditions.
- Two-Way Audio: Communicate with visitors or deter intruders using the built-in two-way audio feature via the Vicohome App.

Figure 6: Two-way audio functionality allows clear communication through the camera.
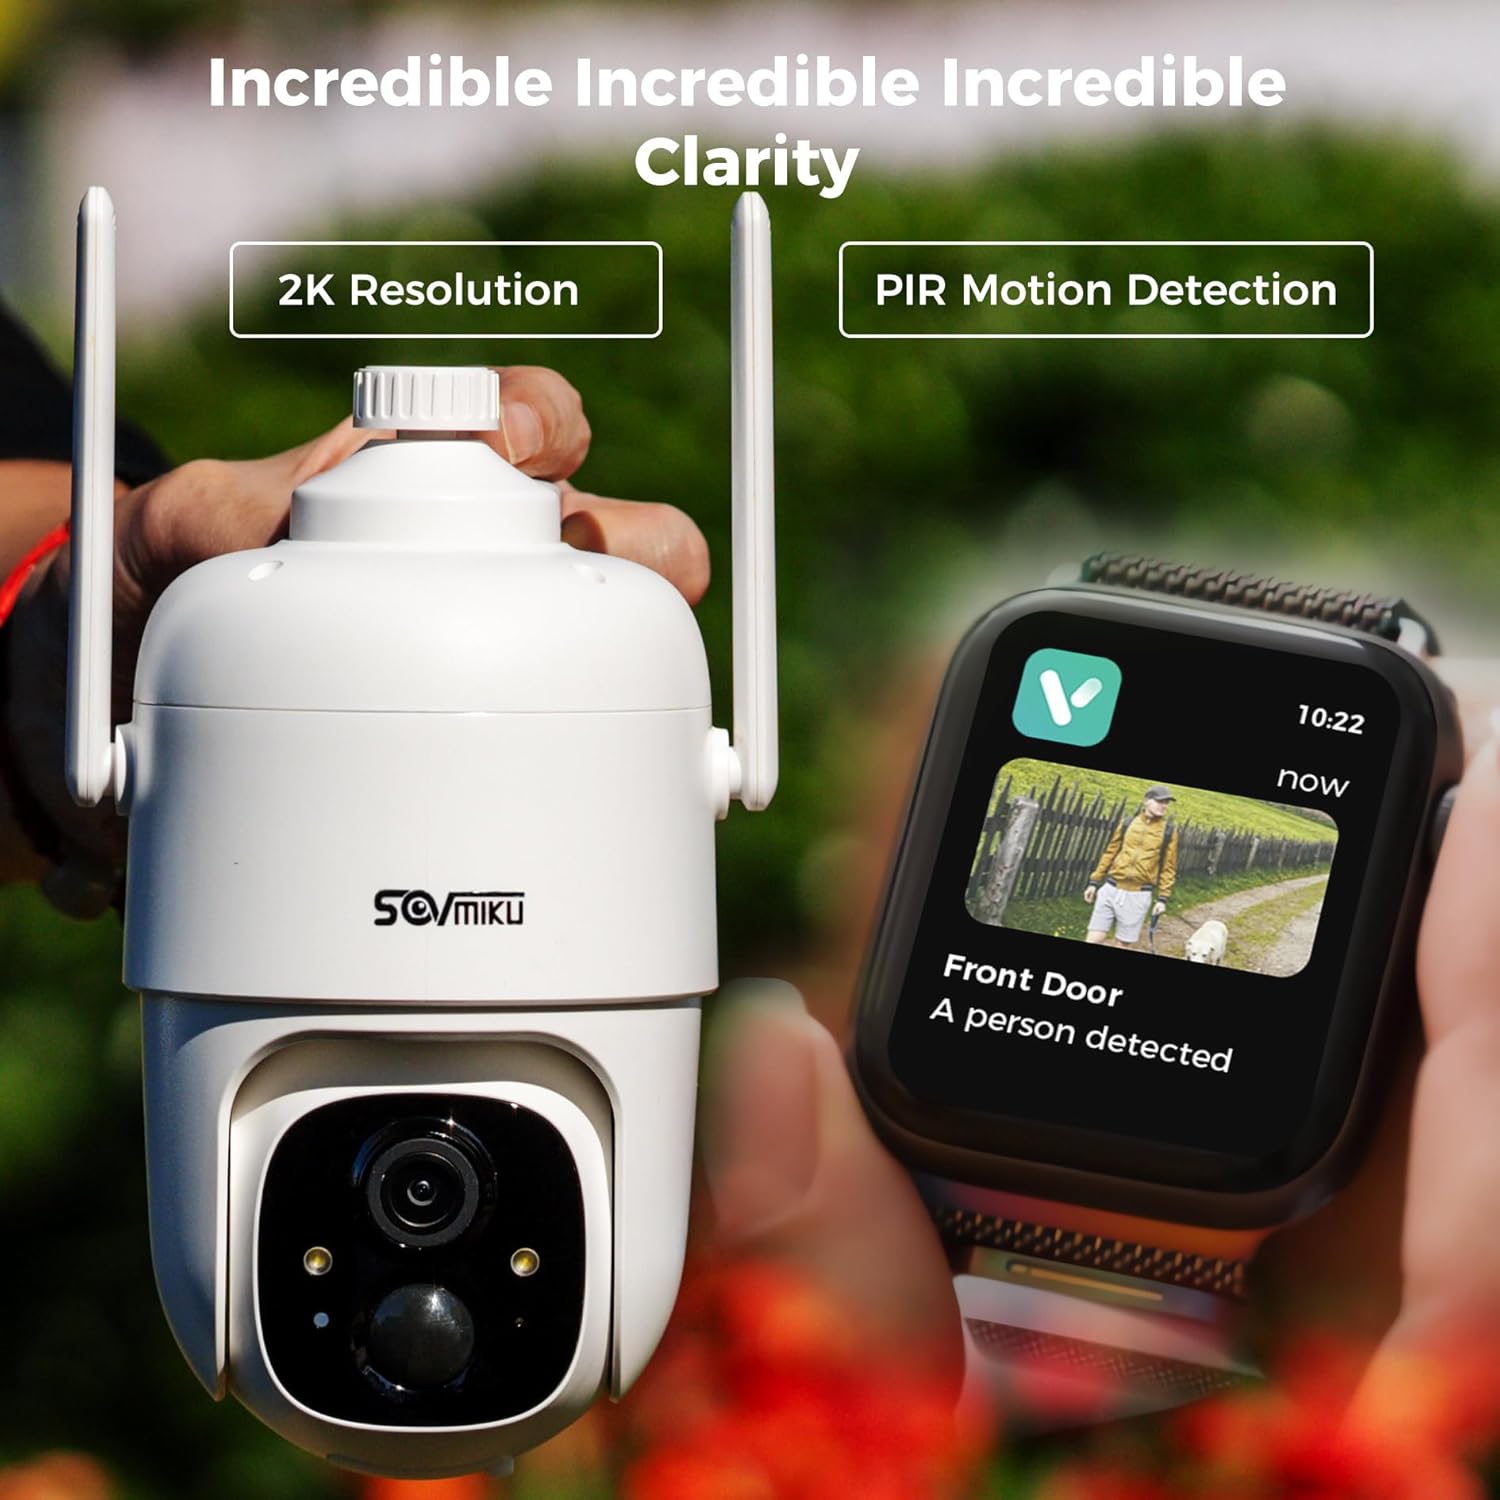
Figure 7: The camera offers 2K resolution for incredible clarity and features PIR motion detection.

Figure 8: Day and night vision modes, including starlight color night vision and infrared, with an audible flashlight siren.
4.3 Motion Detection and Alerts
The camera features an always-on Passive Infrared (PIR) sensor. When a warm body (human or animal) passes by, the PIR sensor triggers the camera within milliseconds, activating the spotlight at night. If enabled, the alarm flash and siren will also activate.
- AI Analysis: The camera utilizes AI to analyze vehicles, pets, persons, and packages, pushing advanced alarm notifications.
- Audible & Flashlight Alarm: When motion is detected, the device can automatically flash and sound an alert.
- Activity Zones: Define specific areas for motion detection to reduce false alerts. This feature requires cloud storage subscription.

Figure 9: Premium Cloud Intelligence provides AI analysis for advanced alarm notifications.
4.4 Pan and Tilt Control
Control the camera's viewing angle remotely via the Vicohome App, offering a 360° field of view with pan and tilt capabilities.

Figure 10: The camera offers 360° view with remote pan and tilt control.
4.5 Storage Options
The camera supports local storage via a built-in microSD slot (up to 128GB, microSD card not included) and offers optional encrypted cloud storage.

Figure 11: Local storage via microSD card and encrypted cloud storage options are available.
4.6 Video Demonstration
Video 1: Demonstration of the SOVMIKU CQ1 camera's long-range Wi-Fi capabilities and pan-tilt-zoom (PTZ) functionality, showing its performance at a distance of 100 feet.
5. Maintenance
- Solar Panel Cleaning: Regularly wipe the solar panels to maintain optimal performance and energy conversion.
- Optimal Charging Temperature: The optimal charging temperature for the solar panel is 0°C-45°C (14°F-113°F).
- Weather Resistance: The CQ1 camera is IP65 weather resistant, meaning it is splash, water, and dust resistant. The charging interface has a silicone waterproof protective plug.

Figure 12: Tips for maintaining the solar panels and ensuring IP65 weather resistance.
6. Troubleshooting
If you encounter issues with your SOVMIKU 2CQ1 camera, consider the following:
- Connectivity: Ensure your Wi-Fi network is 2.4G and has a strong signal at the camera's location. Obstacles and distance can affect signal strength.
- Motion Detection: Adjust sensitivity settings in the Vicohome App. Ensure activity zones are correctly configured if used.
- Battery Life: Verify the solar panel is receiving adequate direct sunlight. Check the battery status in the app.
- App Responsiveness: Ensure your Vicohome App is updated to the latest version. Check your smartphone's internet connection.
- Image Clarity: Ensure the camera lens is clean and free from obstructions.
7. Specifications
| Feature | Detail |
|---|---|
| Model Name | 2CQ1 |
| Indoor/Outdoor Usage | Outdoor |
| Power Source | Solar Powered |
| Connectivity Technology | Wireless (2.4G Wi-Fi) |
| Controller Type | Vicohome App |
| Video Capture Resolution | 3 MP (2K) |
| Field Of View | 360 Degrees (Pan & Tilt) |
| Special Feature | 2-Way Audio, Color Night Vision, Motion Detection, Audible Flashlight Siren |
| Water Resistance Level | IP65 |
| Item Dimensions (L x W x H) | 11.2 x 8.22 x 4.7 inches |
| Item Weight | 4 pounds |
| Manufacturer | Sovmiku |
8. Warranty and Support
SOVMIKU offers a 180-day exchange policy for this product. If you are not satisfied for any reason, you can submit a request for a solution within 24 hours.
For further assistance or inquiries, please contact SOVMIKU support:
- Email: Sovmik@163.com