
Introduction
Thank you for choosing the Hocazor HP10 FM AM Radio Headphones. These earmuffs are designed to provide effective hearing protection while allowing you to listen to your favorite radio stations or external audio sources. Please read this manual carefully before using the product to ensure proper operation and safety.

Image: The Hocazor HP10 FM AM Radio Headphones, shown in grey, featuring an adjustable headband and earcups.
Product Features
- LCD Digital Display: Easily view FM/AM channels for precise tuning.
- Radio Presets: Store up to 10 AM and 10 FM stations for quick access.
- Superior Reception: Equipped with an antenna and advanced DSP chip for stable AM/FM radio signals.
- Extended Playtime: Up to 56 hours of operation on two AA batteries (not included).
- Certified Hearing Protection: NRR 25dB and SNR 30dB ratings, certified by ANSI S3.19 (US) & CE EN 352-1 (EU), effectively reducing harmful noise levels.
- Comfortable Design: Features comfortable earpads and an adjustable headband for prolonged wear.
- Stereo Sound: High-quality built-in speakers deliver clear, loud stereo audio.
- AUX Input: Includes an AUX audio cable for connecting to external devices like phones, computers, or MP3 players.

Image: A graphic illustrating key features of the Hocazor HP10 earmuffs, including channel memory, noise reduction ratings, battery type, and playtime.
Setup
1. Battery Installation
The Hocazor HP10 requires two AA batteries for operation. Batteries are not included.
- Locate the battery compartment cover on one of the earcups.
- Gently open the cover.
- Insert two AA batteries, ensuring correct polarity (+/-) as indicated inside the compartment.
- Close the battery compartment cover securely.
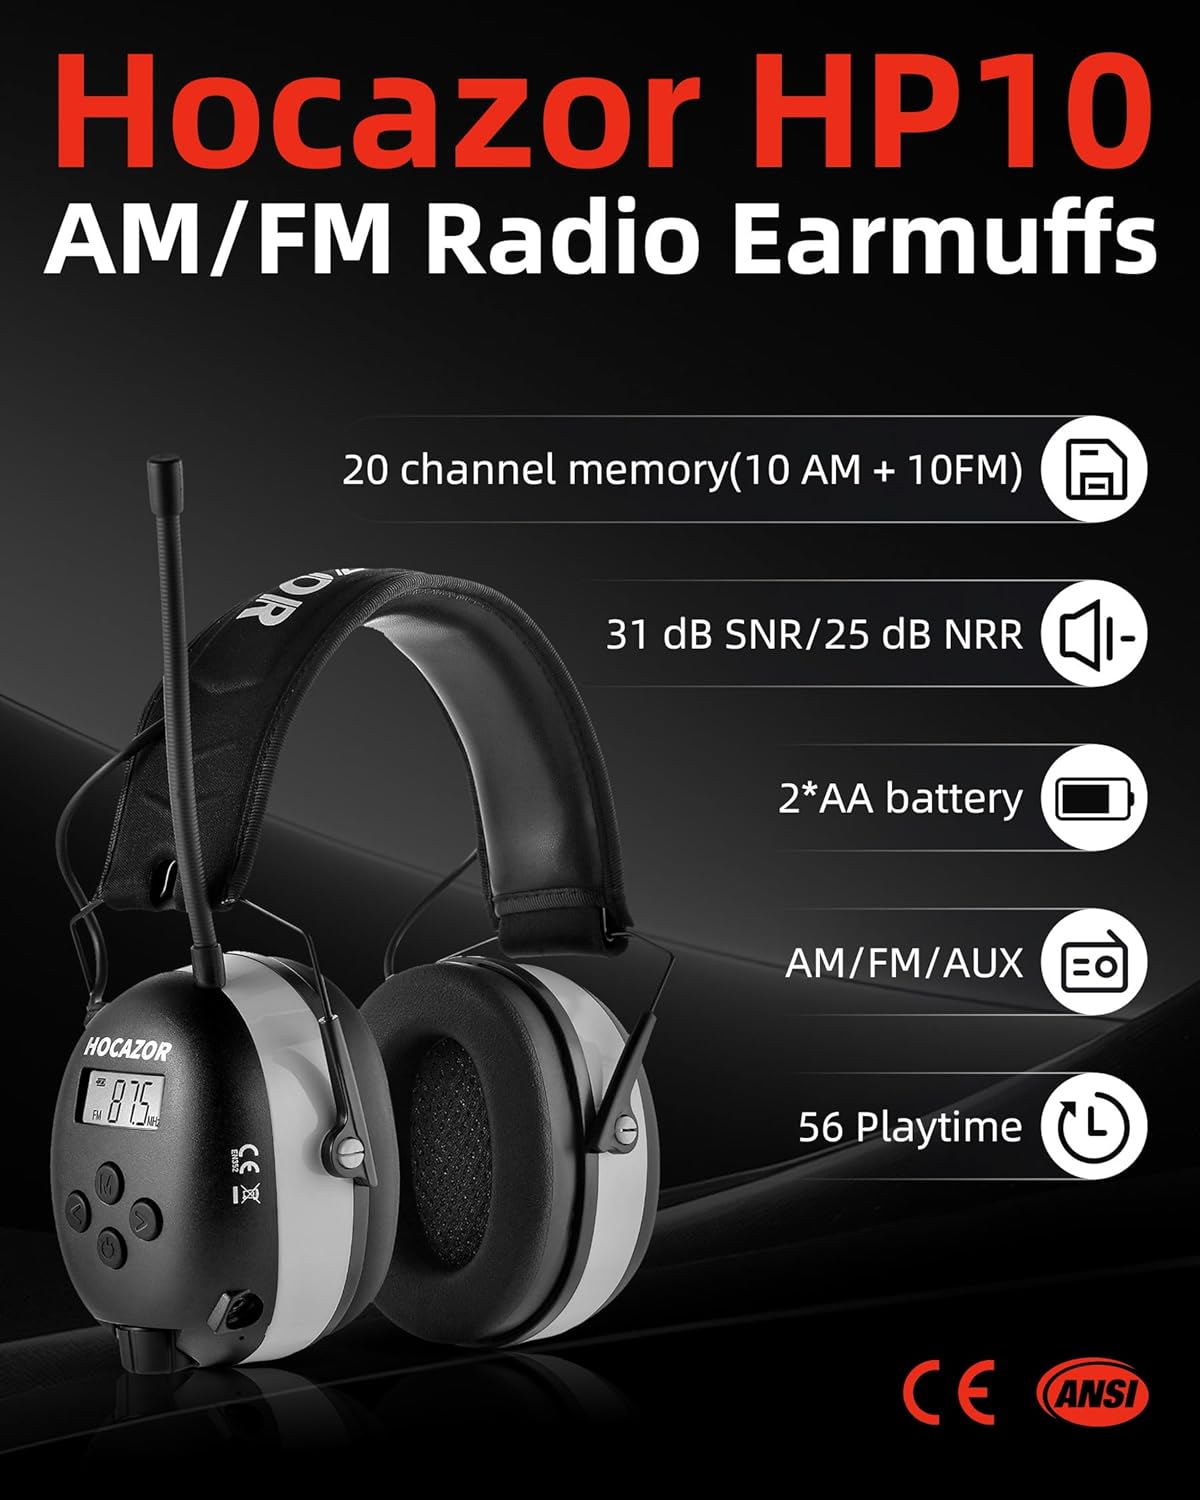
Image: A close-up view of the battery compartment on the Hocazor HP10 earmuffs, showing where to insert AA batteries.
2. Adjusting the Fit
For optimal hearing protection and comfort, adjust the headband to fit snugly over your head and ears.
- Extend or retract the headband arms until the earcups fully cover your ears and the headband rests comfortably on your head.
- Ensure a tight seal around your ears to maximize noise reduction.

Image: Detailed view of the upgraded EVA headband, industrial canvas, soft-seal leather, and high-density EVA foam for comfort and durability.
Operating Instructions
1. Power On/Off
Press and hold the power button (usually marked with a power symbol) on the earcup to turn the device on or off.
2. Radio Mode Selection
Press the 'M' (Mode) button to cycle through AM, FM, and AUX modes.
3. Tuning Radio Stations (AM/FM)
In AM or FM mode:
- Automatic Search: Press and hold the 'Scan' button (often represented by an arrow icon) to automatically search for and store available stations.
- Manual Tuning: Use the 'Up' and 'Down' arrow buttons to manually tune to specific frequencies.
- Preset Recall: Use the 'Preset' button (if available) or arrow buttons to cycle through saved stations.
4. Volume Control
Rotate the volume knob located on the earcup to adjust the listening volume to a comfortable level.

Image: A close-up of the earcup showing the LCD display, power button, mode button, tuning buttons, and volume knob.
5. AUX Input
To listen to audio from an external device:
- Switch the earmuffs to AUX mode using the 'M' (Mode) button.
- Connect one end of the provided AUX audio cable to the AUX port on the earmuffs.
- Connect the other end of the cable to the audio output jack of your external device.
- Adjust the volume on both the earmuffs and your external device as needed.
Video: Demonstration of AM/FM radio tuning and operation on similar hearing protection earmuffs. This video illustrates how to navigate frequencies and modes.
Video: A detailed look at the BJKING EP003 AM/FM Hearing Protector with Digital Display, showcasing its functions and user interface, which is similar to the Hocazor HP10.
Maintenance
1. Cleaning
To maintain the cleanliness and hygiene of your earmuffs:
- Wipe the exterior surfaces with a soft, damp cloth.
- Do not use abrasive cleaners or immerse the earmuffs in water.
- Regularly inspect earpads for wear and tear.
2. Storage
When not in use, store the earmuffs in a clean, dry place away from direct sunlight and extreme temperatures.
3. Battery Replacement
Replace batteries when the sound quality diminishes or the display indicates low power. Always use fresh AA batteries.
Troubleshooting
| Problem | Possible Cause | Solution |
|---|---|---|
| No power / Device won't turn on | Dead or incorrectly inserted batteries; poor battery contact. | Replace batteries with fresh AA batteries, ensuring correct polarity. Check battery contacts and gently adjust if necessary. |
| Poor radio reception | Weak signal; antenna not extended; interference. | Extend the antenna fully. Move to a location with better signal. Avoid areas with strong electromagnetic interference. |
| No sound from radio or AUX input | Volume too low; incorrect mode; loose AUX cable. | Increase volume using the knob. Ensure correct mode (AM/FM/AUX) is selected. Check that the AUX cable is securely connected. |
Video: A short guide on how to adjust battery contact tabs in the battery compartment, a common solution for power issues.
Specifications
- Brand: Hocazor
- Model: HP10
- Item Weight: 499 g
- Age Range: Adults
- Noise Reduction Rating (NRR): 25 Decibels
- Single Number Rating (SNR): 30 Decibels
- Material Type: Polyvinyl Chloride
- Fit Type: Over the Head
- Power Source: 2 AA batteries (not included)
- FM Frequency Range: 88 - 108 MHz
- AM Frequency Range: 530 - 1710 kHz
Warranty and Support
Hocazor provides a ONE-YEAR WARRANTY for the HP10 FM AM Radio Headphones. For any questions, concerns, or support needs, please contact our customer service. We offer 24/7 customer service to assist you.