
DAYBETTER FLSLWU5450RGBUS
DAYBETTER LED Strip Lights User Manual
Model: FLSLWU5450RGBUS | Brand: DAYBETTER
1. Introduction
Thank you for choosing DAYBETTER LED Strip Lights. This product features smart app control, an IR remote, music sync capabilities, and timing settings, designed to enhance the ambiance of your bedroom, living room, kitchen, or for party decoration. This manual provides comprehensive instructions for safe installation, operation, and maintenance of your LED strip lights.

Image 1.1: Overview of the DAYBETTER LED Strip Lights product, including the LED strips, remote control, and a smartphone displaying the control app interface.
2. Package Contents
Please verify that all items are present and in good condition upon opening the package:
- 4 x 50 ft (total 200 ft) LED Strip Light Rolls
- 1 x IR Remote Control (24-key)
- 1 x IR Receiver Box
- 1 x Power Adapter
- 1 x User Manual (this document)
3. Safety Information
To ensure safe operation and prevent damage, please read and adhere to the following safety guidelines:
- Indoor Use Only: This product is designed for indoor use. Do not expose to water or high humidity.
- Power Supply: Use only the provided power adapter. Using an incompatible adapter may damage the lights or pose a fire hazard.
- Installation Surface: Ensure the installation surface is clean, dry, and smooth to ensure proper adhesion.
- Cutting the Strips: If cutting is necessary, only cut along the designated cut marks (usually indicated by a copper pad and scissor icon). Cutting elsewhere will damage the strip.
- Avoid Over-bending: Do not bend the LED strips sharply, as this can damage the internal circuitry.
- Unplug Before Maintenance: Always unplug the power adapter from the wall outlet before performing any cleaning or maintenance.
- Children and Pets: Keep the product and its components out of reach of small children and pets.
4. Setup and Installation
Follow these steps to properly set up your DAYBETTER LED Strip Lights:
4.1 Surface Preparation
Clean the surface where you intend to install the LED strips. Ensure it is free of dust, dirt, and moisture. A clean, dry surface is crucial for optimal adhesive performance.
4.2 Attaching the LED Strips
- Carefully peel off the protective backing from the adhesive tape on the back of the LED strip.
- Press the strip firmly onto the prepared surface, working in small sections to ensure smooth application and strong adhesion.
- Repeat for all four rolls, planning your layout to cover the desired area.
4.3 Power Connection
Connect the components in the following order:
- Connect the 4-pin connectors of each LED strip roll to the corresponding ports on the IR Receiver Box. Ensure the arrow on the strip's connector aligns with the +12V mark on the receiver box.
- Connect the power adapter's output plug to the input port on the IR Receiver Box.
- Plug the power adapter into a standard wall outlet.

Image 4.1: Connection diagram illustrating how to connect the power adapter, IR receiver, and the four LED strip rolls. Note the importance of aligning the arrow on the strip connector with the +12V mark on the receiver.

Image 4.2: An example of the 200ft ultra-long LED strip lights installed in a room, demonstrating their extensive coverage and ambient lighting effect.
5. Operating Instructions
Your DAYBETTER LED Strip Lights can be controlled via a smartphone app or the included IR remote control.

Image 5.1: Illustration of the two primary control methods: using the dedicated smartphone application for advanced settings and the 24-key IR remote for quick adjustments.
5.1 App Control
For full functionality and smart features, download the recommended app (refer to product packaging or quick start guide for app name, typically 'HappyLighting' or similar). Ensure your smartphone's Bluetooth is enabled.
- Pairing: Open the app, and it should automatically detect your LED lights via Bluetooth. If not, follow the app's instructions to add a device.
- Color Selection: Use the color wheel or preset color options to choose your desired light color.
- Brightness Adjustment: Adjust the brightness slider to dim or brighten the lights.
- Dynamic Modes: Select from various pre-programmed dynamic modes (e.g., flash, fade, jump).
- DIY Modes: Create and save your own custom color sequences and patterns.
5.2 IR Remote Control
Point the IR remote directly at the IR Receiver Box for optimal response. The remote allows for quick access to basic functions:
- On/Off: Power the lights on or off.
- Color Buttons: Select static colors (e.g., Red, Green, Blue, White, etc.).
- Brightness Control: Increase or decrease light intensity.
- DIY Buttons: Store custom colors.
- Mode Buttons: Cycle through various dynamic lighting modes.
5.3 Music Sync Mode
The music sync feature allows the LED lights to change color and rhythm with the beat of music. This function is primarily controlled via the smartphone app.
- Activate: In the app, navigate to the 'Music' or 'Sound Sync' section.
- Microphone Access: Grant the app permission to access your device's microphone. The lights will then react to ambient sounds or music played near your phone.
- Sensitivity: Adjust the microphone sensitivity within the app if available, to fine-tune the light's reaction to music.
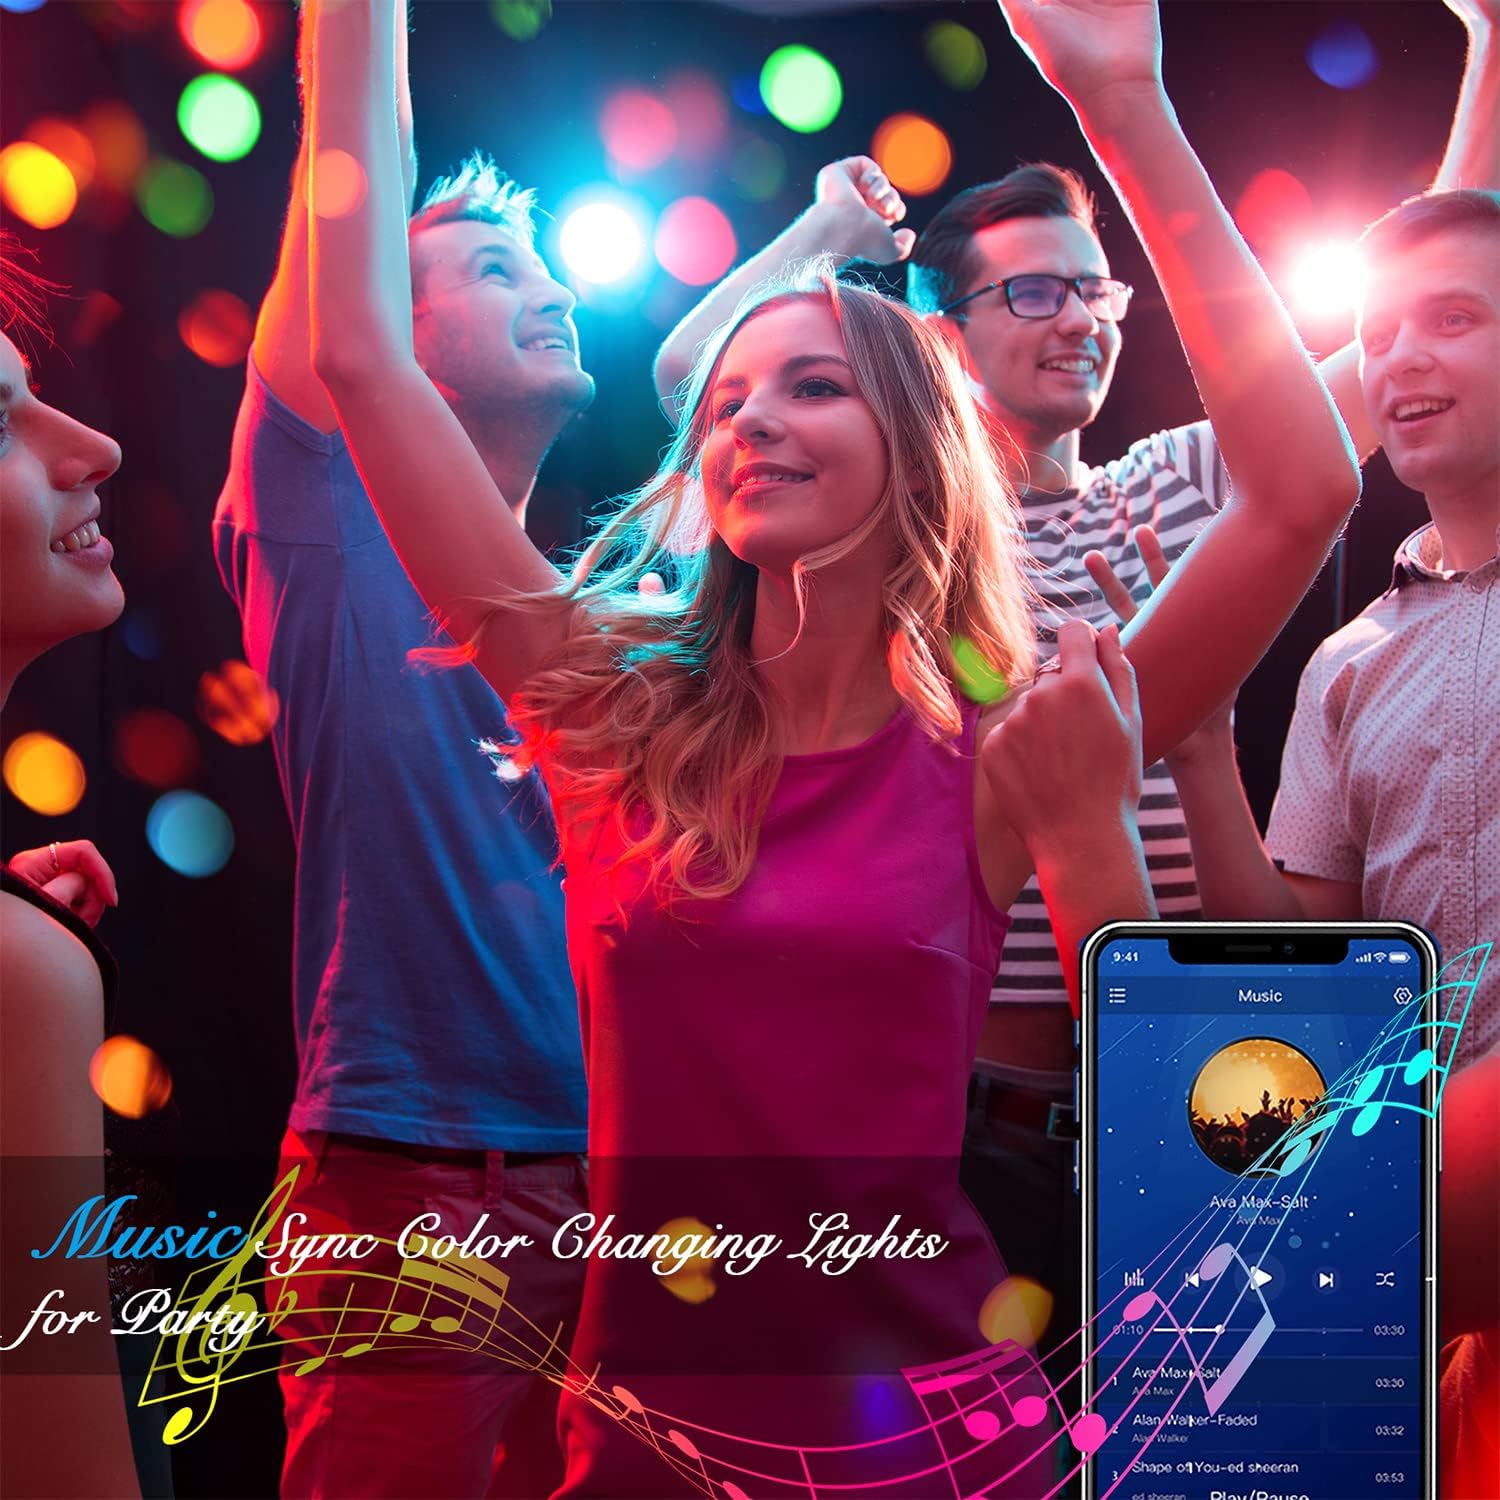
Image 5.2: A depiction of LED lights changing colors in sync with music, controlled via a smartphone application, enhancing a party atmosphere.
5.4 Smart Timing Settings
Utilize the app's timer function to schedule when your LED lights turn on or off, and even to change colors at specific times.
- Set Schedules: Access the 'Timer' or 'Schedule' section in the app.
- Configure: Set desired on/off times, days of the week, and even specific colors or modes for each scheduled event.
6. Maintenance
Proper maintenance ensures the longevity and optimal performance of your LED strip lights.
- Cleaning: Gently wipe the LED strips with a dry, soft cloth to remove dust. Do not use liquid cleaners or abrasive materials. Ensure the power is disconnected before cleaning.
- Storage: If removing the lights for storage, carefully roll them up and store them in a cool, dry place, away from direct sunlight and extreme temperatures.
- Adhesive: The adhesive is designed for single-use application. If you need to re-install the strips, new adhesive tape may be required.
7. Troubleshooting
Refer to the table below for common issues and their solutions.
| Problem | Possible Cause | Solution |
|---|---|---|
| Lights do not turn on. | No power, loose connection, faulty adapter. | Check if the power adapter is securely plugged into the outlet and the IR receiver. Ensure all strip connections are firm. Test the outlet with another device. |
| Remote control not working. | Battery depleted, IR receiver blocked, remote out of range. | Replace the remote battery. Ensure there are no obstructions between the remote and the IR receiver. Point the remote directly at the receiver from a close distance. |
| Lights display incorrect colors or only partial colors. | Incorrect 4-pin connection, damaged strip segment. | Verify that the 4-pin connectors are inserted correctly, aligning the arrow with the +12V mark. If a segment is damaged, it may need replacement. |
| App cannot connect to the lights. | Bluetooth off, app not updated, lights not powered. | Ensure Bluetooth is enabled on your phone. Restart the app and the lights (unplug and replug). Update the app to the latest version. |
| Adhesive is not sticking well. | Surface is dirty, dusty, or uneven. | Ensure the surface is thoroughly cleaned and dry before application. Apply firm pressure during installation. For re-installation, consider using additional adhesive tape. |
8. Specifications
Technical details for the DAYBETTER LED Strip Lights:
| Feature | Detail |
|---|---|
| Model Number | FLSLWU5450RGBUS |
| Total Length | 200 ft (4 rolls of 50 ft) |
| LED Type | 5050 RGB LED Chips |
| Control Methods | Smart App Control, 24-Key IR Remote Control |
| Special Features | Music Sync, Timing Settings, Color Changing |
| Power Source | Corded Electric |
| Indoor/Outdoor Use | Indoor Use Only |
| Package Dimensions | 17.3 x 16.21 x 6.2 cm |
| Item Weight | 431 g |
9. Warranty and Support
DAYBETTER products are manufactured with high-quality standards. This product comes with a standard manufacturer's warranty against defects in materials and workmanship under normal use. Please retain your proof of purchase for warranty claims.
For technical support, troubleshooting assistance, or warranty inquiries, please contact DAYBETTER customer service through the retailer's platform or the contact information provided on the product packaging.
Related documentsFLSLWU5450RGBUS


Ask a question about this manual
Ask about setup, troubleshooting, compatibility, parts, safety, or missing instructions. Manuals+ will review the question and use this page’s manual context to help answer it.