
1. Introduction
This manual provides essential information for the safe operation, maintenance, and troubleshooting of your SKIL PWR CORE 12 Brushless 12V 1/2" Compact Variable-Speed Drill Driver Kit, model DL6290A-10. Please read these instructions thoroughly before using the tool to ensure proper function and to prevent injury.
Included Components:
- SKIL PWR CORE 12 12V Brushless Drill Driver (DL6290A-00)
- PWR CORE 12 12V 2.0Ah Lithium-Ion Battery with PWR ASSIST Mobile Charging (BY500101)
- PWR CORE 12 PWR JUMP Charger (QC535701)
- Belt Clip
- Screwdriving Bit
2. General Safety Instructions
Always follow basic safety precautions when using power tools to reduce the risk of fire, electric shock, and personal injury. Keep this manual for future reference.
Work Area Safety:
- Keep the work area clean and well-lit. Cluttered or dark areas invite accidents.
- Do not operate power tools in explosive atmospheres, such as in the presence of flammable liquids, gases, or dust.
- Keep children and bystanders away while operating a power tool.
Electrical Safety:
- Power tool plugs must match the outlet. Never modify the plug in any way.
- Avoid body contact with earthed or grounded surfaces such as pipes, radiators, ranges, and refrigerators.
- Do not expose power tools to rain or wet conditions.
Personal Safety:
- Always wear eye protection and appropriate personal protective equipment.
- Stay alert, watch what you are doing, and use common sense when operating a power tool.
- Do not overreach. Keep proper footing and balance at all times.
Tool Use and Care:
- Do not force the power tool. Use the correct power tool for your application.
- Disconnect the battery pack from the power tool before making any adjustments, changing accessories, or storing power tools.
- Store idle power tools out of the reach of children and do not allow persons unfamiliar with the power tool or these instructions to operate the power tool.
Battery Tool Use and Care:
- Recharge only with the charger specified by the manufacturer.
- Use power tools only with specifically designated battery packs.
- When battery pack is not in use, keep it away from other metal objects.
3. Setup
3.1 Charging the Battery
The PWR CORE 12 2.0Ah Lithium-Ion Battery (BY500101) must be charged before first use. Use only the supplied PWR JUMP Charger (QC535701).
- Connect the PWR JUMP Charger to a standard power outlet.
- Slide the battery pack onto the charger until it clicks into place.
- The charger's indicator lights will show the charging status. A full charge is indicated when all lights are solid green.
The PWR JUMP Charger can charge the battery from 0% to 25% in approximately 5 minutes, providing enough power for quick tasks.

Image: The SKIL PWR JUMP Charger with a PWR CORE 12 battery inserted, illustrating the 5-minute charging capability.
The PWR CORE 12 battery also features PWR ASSIST mobile charging, allowing you to use the battery's USB port to charge compatible mobile devices.

Image: A SKIL PWR CORE 12 battery connected via USB cable to a smartphone, demonstrating its mobile charging function.
3.2 Installing and Removing the Battery
- To Install: Align the battery pack with the base of the drill driver and slide it in until it locks securely into place.
- To Remove: Press the battery release button (usually located on the front or sides of the battery) and slide the battery pack out.
3.3 Installing and Removing Drill Bits/Accessories
The drill driver is equipped with a 1/2 inch single-sleeve keyless chuck for quick and easy bit changes.
- To Install: Rotate the chuck counter-clockwise to open the jaws. Insert the drill bit or accessory fully into the chuck. Rotate the chuck clockwise to tighten the jaws securely around the bit. Ensure the bit is centered and firmly gripped.
- To Remove: Rotate the chuck counter-clockwise to loosen the jaws and remove the bit.
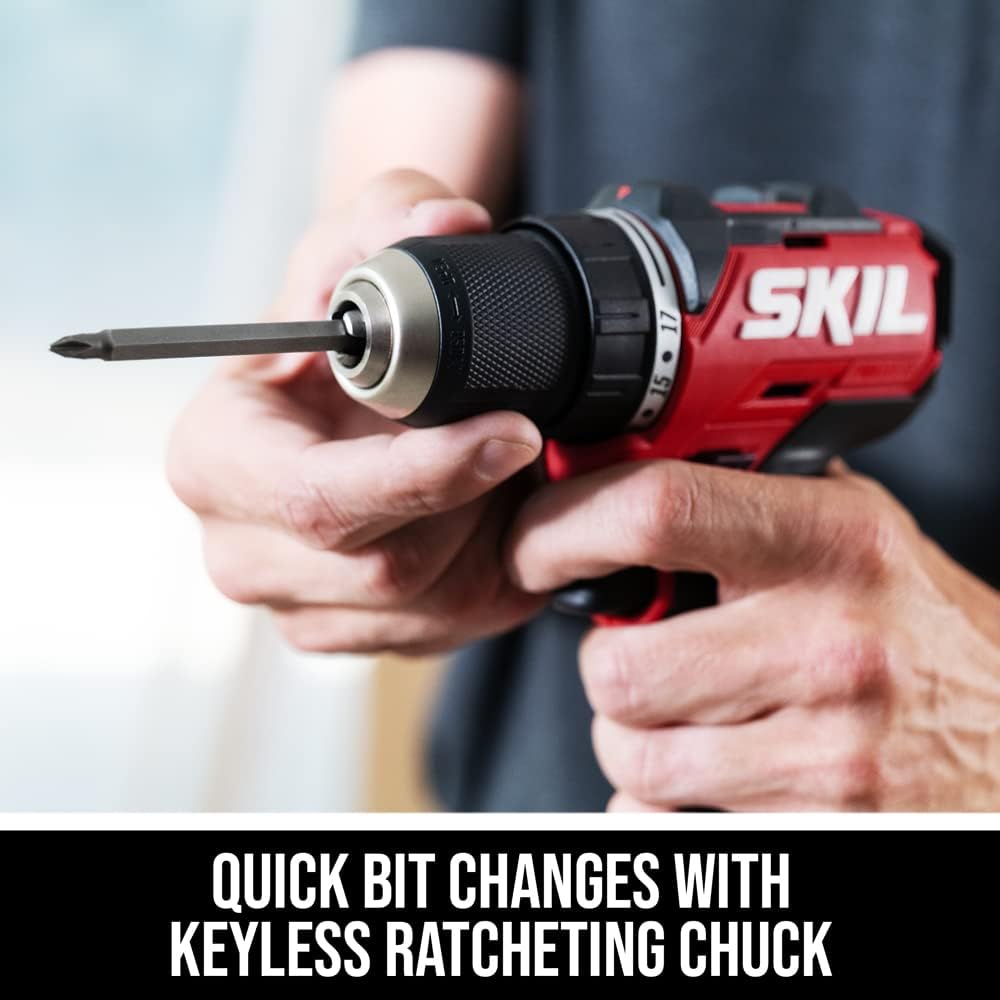
Image: A close-up view of the drill's keyless chuck with a screwdriver bit inserted, highlighting the quick bit change feature.
3.4 Attaching the Belt Clip
The included belt clip can be attached to either side of the drill driver for convenient carrying. Secure it with the provided screw.
4. Operating Instructions
4.1 Powering On/Off and Variable Speed Control
The drill driver is activated by the variable speed trigger. The speed of the drill is controlled by the amount of pressure applied to the trigger.
- To Start: Squeeze the trigger. The further the trigger is pressed, the faster the drill will operate.
- To Stop: Release the trigger.
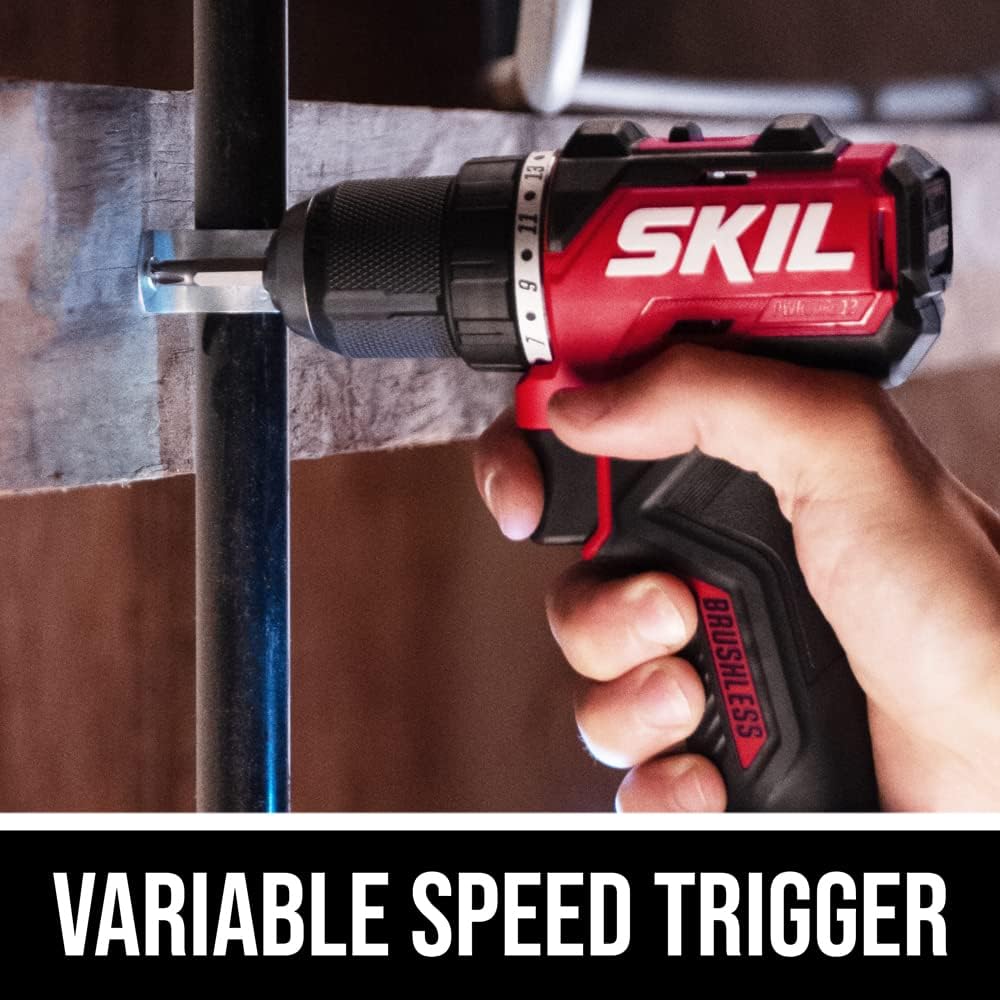
Image: A hand gripping the drill driver, with a finger on the variable speed trigger, demonstrating precise speed control.
4.2 Speed Settings
The drill driver features two mechanical speed settings, typically selected via a switch on the top of the tool:
- Low Speed (1): For high torque applications, such as driving large fasteners or drilling large holes.
- High Speed (2): For faster drilling and smaller fasteners.
Always select the appropriate speed setting before starting your task.
4.3 Torque Adjustment
The torque collar, located behind the chuck, allows you to adjust the amount of torque applied. This prevents over-driving screws or damaging materials.
- Rotate the collar to align the desired torque setting with the indicator mark. Lower numbers are for lighter tasks, higher numbers for heavier tasks.
- The drill setting (drill icon) provides maximum torque for drilling applications.
4.4 LED Worklight
The integrated LED worklight illuminates the work area for improved visibility. It features a pre-light function (activates when the trigger is slightly pressed) and an after-glow function (remains on for a short period after the trigger is released).

Image: The drill driver's LED light illuminating a dark work surface, demonstrating its effectiveness in low-light conditions.
4.5 Drilling and Driving Techniques
- Always hold the tool firmly with both hands if possible, especially during high-torque applications.
- Apply steady, even pressure. Do not force the tool.
- For drilling, start with a pilot hole if necessary, especially in hard materials or near edges.
- For driving screws, ensure the bit is fully seated in the screw head to prevent cam-out.

Image: A user operating the drill driver overhead, demonstrating its compact design and power for tasks requiring up to 350 inch-pounds of torque.
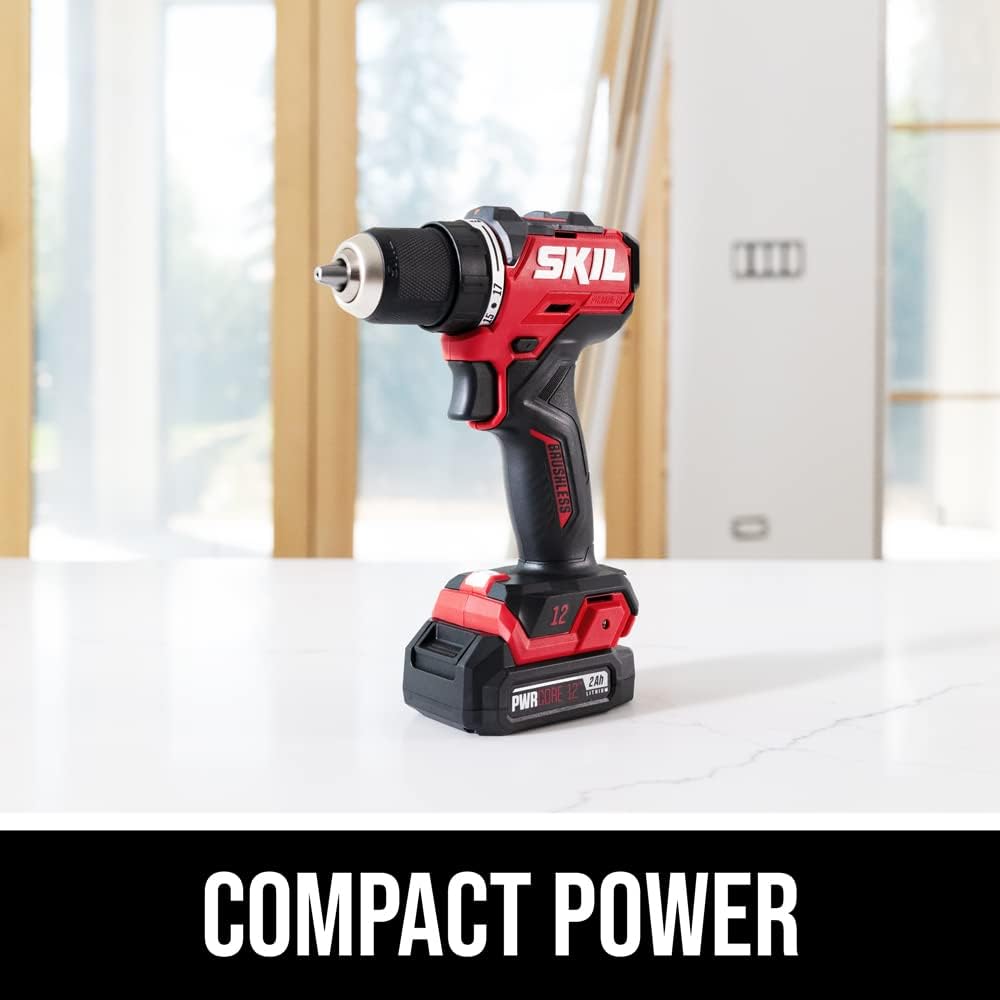
Image: The SKIL drill driver with its battery pack resting on a surface, highlighting its compact design.

Image: A user operating the drill driver, illustrating the benefit of its longer runtime for extended tasks.
5. Maintenance
5.1 Cleaning
- Always disconnect the battery pack before cleaning.
- Use a clean, dry cloth to wipe down the tool. Do not use harsh chemicals or abrasive cleaners.
- Keep the ventilation openings clear of dust and debris to prevent overheating.
5.2 Battery Care and Storage
- Store batteries in a cool, dry place away from direct sunlight and extreme temperatures.
- Do not store batteries in a discharged state for extended periods. Recharge them periodically.
- Avoid dropping or subjecting batteries to impact.
5.3 General Inspection
- Regularly inspect the tool for any signs of damage, loose screws, or worn parts.
- Ensure the chuck operates smoothly and grips bits securely.
- If any damage is found, do not use the tool. Contact customer support for repair.
6. Troubleshooting
This section addresses common issues you might encounter with your drill driver. If the problem persists, contact SKIL customer support.
| Problem | Possible Cause | Solution |
|---|---|---|
| Tool does not start | Battery not charged or improperly installed. | Ensure battery is fully charged and securely inserted. |
| Reduced power or performance | Battery charge is low. Tool is overloaded. | Recharge battery. Reduce load on the tool. |
| Battery not charging | Charger not plugged in. Faulty battery or charger. | Check power connection. Try another outlet. Contact support if issue persists. |
| Bit slips in chuck | Chuck not tightened sufficiently. Bit shank is dirty or damaged. | Retighten chuck firmly. Clean or replace bit. |
7. Specifications
| Feature | Specification |
|---|---|
| Brand | Skil |
| Model Number | DL6290A-10 |
| Power Source | Battery Powered |
| Voltage | 12 Volts |
| Amperage | 2 Amps |
| Maximum Rotational Speed | 1700 RPM |
| Maximum Torque | 350 Inch Pounds |
| Maximum Chuck Size | 0.5 Inches |
| Number of Speeds | 2 |
| Battery Type | Lithium Ion |
| Battery Capacity | 2 Amp Hours |
| Product Dimensions | 3.43"L x 8.54"W x 13.54"H |
| Item Weight | 4.8 pounds |
| Special Feature | Variable Speed |
8. Warranty and Support
8.1 Warranty Information
This SKIL PWR CORE 12 Brushless 12V 1/2" Drill Driver Kit (DL6290A-10) comes with a 5-year limited warranty upon product registration. Please refer to the official SKIL website or your product packaging for detailed warranty terms and conditions, including registration procedures.
8.2 Customer Support
For technical assistance, replacement parts, or warranty claims, please contact SKIL customer support. You can find contact information and additional resources on the official SKIL website: www.skil.com