1. Introduction
This manual provides detailed instructions for the setup, operation, and maintenance of your NEXTION 5.0" Intelligent HMI Display. This Human Machine Interface (HMI) display is designed for a wide range of applications, offering advanced features for interactive control and data visualization.

Figure 1: NEXTION 5.0" Intelligent HMI Display with Enclosure
2. Product Overview
The NEXTION Intelligent Series HMI Display features powerful hardware, including a 200MHz MCU, 128MB Flash storage, and 512KB SRAM. It supports unique functions such as audio, video, and animation playback, enhancing user interaction in various projects. The display also offers advanced software features like transparent components, page loading effects, and component movement/dragging.
2.1. Key Features
- Powerful Hardware: 200MHz MCU, 128MB Flash storage, 512KB SRAM.
- Unique Functions: Audio, video, and animation playback for enhanced HMI interaction.
- Advanced Software Features: Transparent components, page loading effects, component move and drag.
- Free Programming Software: Nextion Editor for GUI design, built-in debugger, and ASCII text-based instructions.
- Wide Range of Applications: Suitable for Vehicle HMI, 3D Printers, Medical Devices, Beauty Devices, Production Lines, and more.

Figure 2: Key Features and Specifications
2.2. What's in the Box
- Nextion HMI Display*1
- Power Supply Test Board*1
- XH2.54 4P Wire*1
- Mounting Buckle & Screw*4
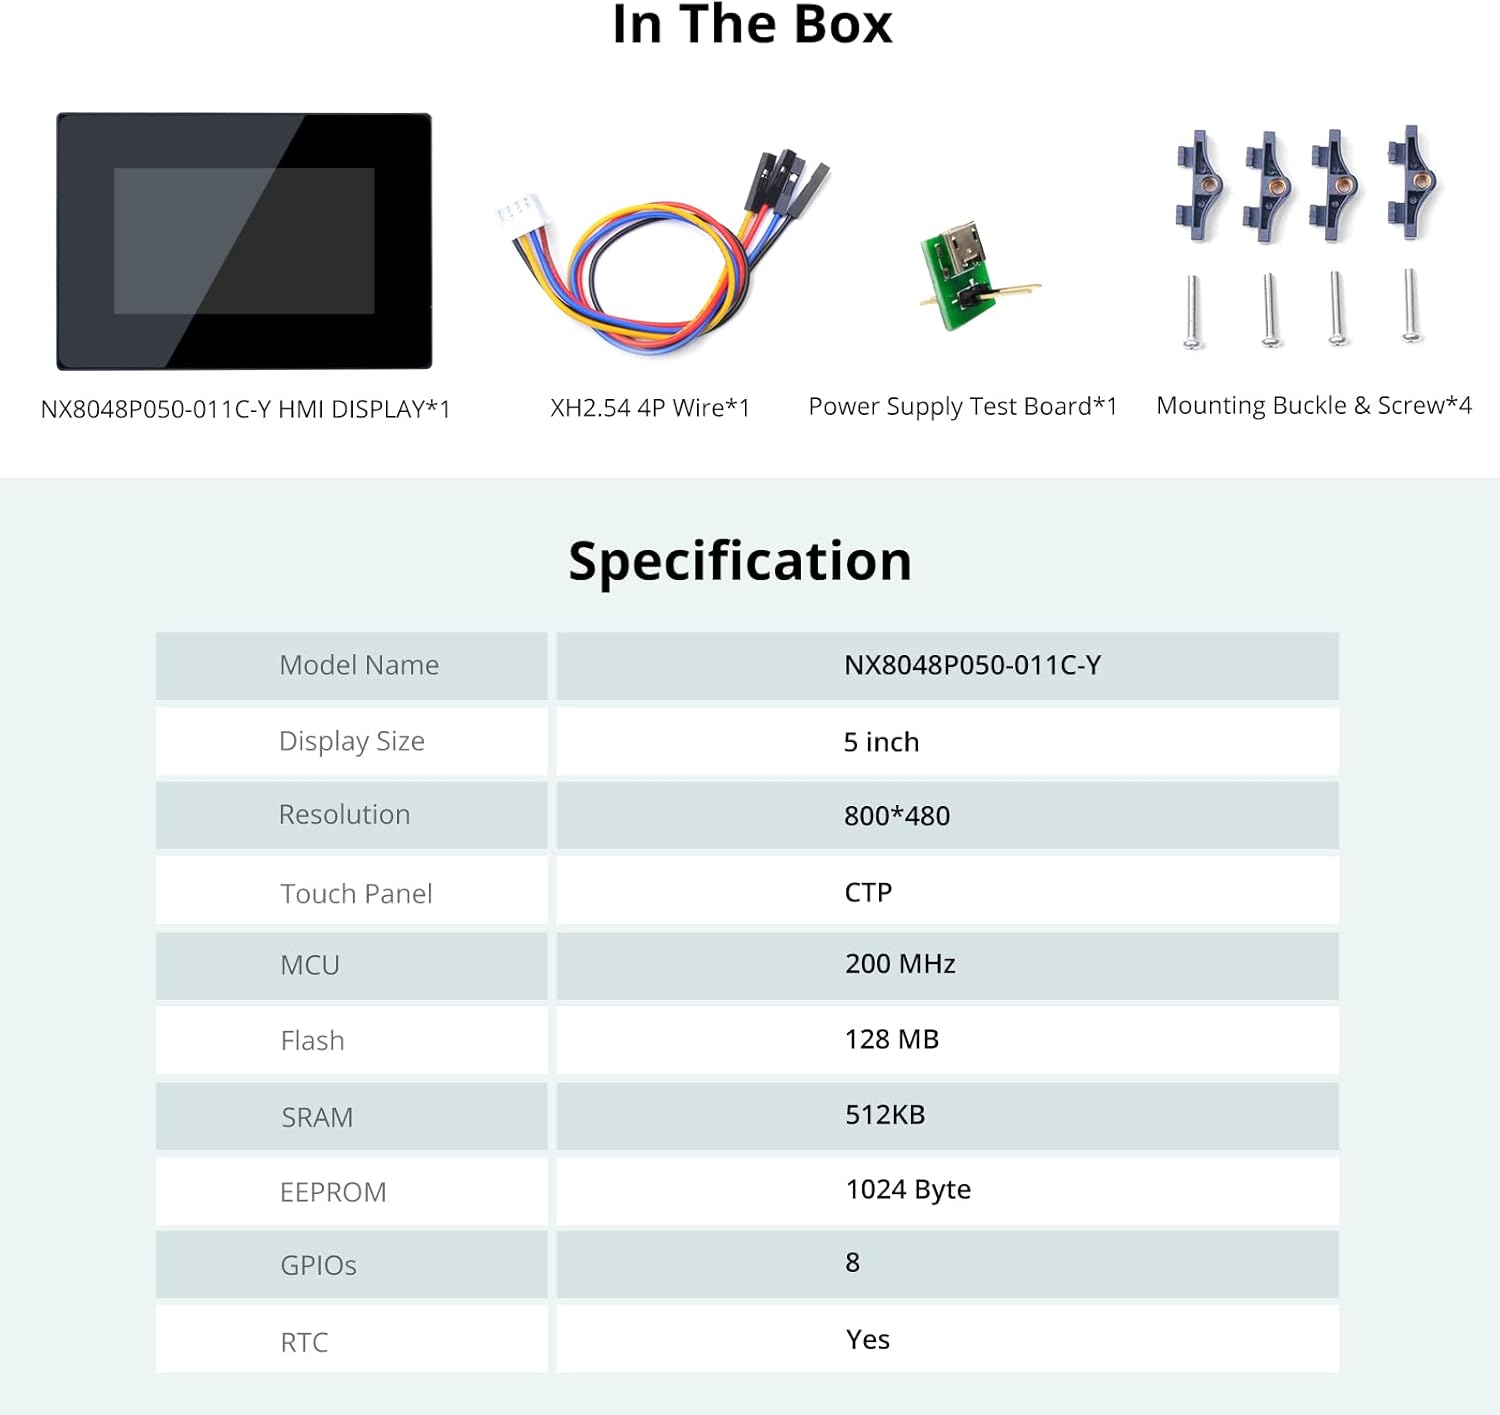
Figure 3: Package Contents
2.3. Specifications
| Feature | Value |
|---|---|
| Model Name | NX8048P050 |
| Display Size | 5 inch |
| Resolution | 800*480 |
| Touch Panel | CTP (Capacitive Touch Panel) |
| MCU | 200 MHz |
| Flash | 128 MB |
| SRAM | 512KB |
| EEPROM | 1024 Byte |
| GPIOs | 8 |
| RTC | Yes |
3. Setup
3.1. Powering the Display
The NEXTION display can be powered via a Micro USB 5V connection. Ensure you use a stable 5V power supply.
Video 1: Instructions on how to power the Nextion Display via Micro USB 5V.
3.2. Programming the Display via SD Card
To upload your HMI project to the display, you can use an SD card. Ensure the SD card is less than 32GB and formatted as FAT32. Copy the generated .TFT file to the SD card (ensure it's the only file on the card), insert it into the display's SD card slot, and then power on the display. The display will automatically update.
Video 2: Guide on how to program the Nextion Display using an SD Card.
3.3. Connecting to a Host Microcontroller (e.g., ESP32)
The NEXTION display communicates with a host microcontroller via TTL serial. Connect the +5V, TX, RX, and GND pins from the display to the corresponding pins on your microcontroller. For ESP32 development, ensure your Arduino IDE is configured with the correct ESP32 board package.
Video 3: Tutorial on setting up the development environment for ESP32, relevant for connecting to the Nextion display.
4. Operating Instructions
4.1. Using Nextion Editor Software
The Nextion Editor is a free, powerful software for designing your HMI projects. It features a drag-and-drop interface for GUI design, a built-in debugger for project simulation, and supports ASCII text-based instructions for display-side encoding. This allows for rapid development of interactive user interfaces.

Figure 4: Nextion Editor Features

Figure 5: Nextion Editor - Versatile Character Encoding

Figure 6: Nextion Editor - Font Creator

Figure 7: Nextion Editor - Components for GUI Design

Figure 8: Nextion Editor - Component Attribute Setting

Figure 9: Nextion Editor - Keyboard Input

Figure 10: Nextion Editor - Touch Press Event

Figure 11: Nextion Editor - Instruction Input Area

Figure 12: Nextion Editor - Password Input Example
4.2. Applications
The Intelligent Series display is versatile and can be integrated into various systems:
- IoT Smart Devices: Control and monitor smart home appliances.
- Industrial Control: Human Machine Interface for production lines and machinery.
- 3D Printers: Intuitive control panel for 3D printing operations.
- Medical Devices: Display critical information and control medical equipment.
- Vehicle HMI: Integrate into vehicle dashboards for navigation and control.
Video 4: Overview of Nextion Intelligent Series Display applications.
Video 5: Demonstrating the Nextion Intelligent Series Display with Enclosure.

Figure 13: Nextion Display in Home Appliances
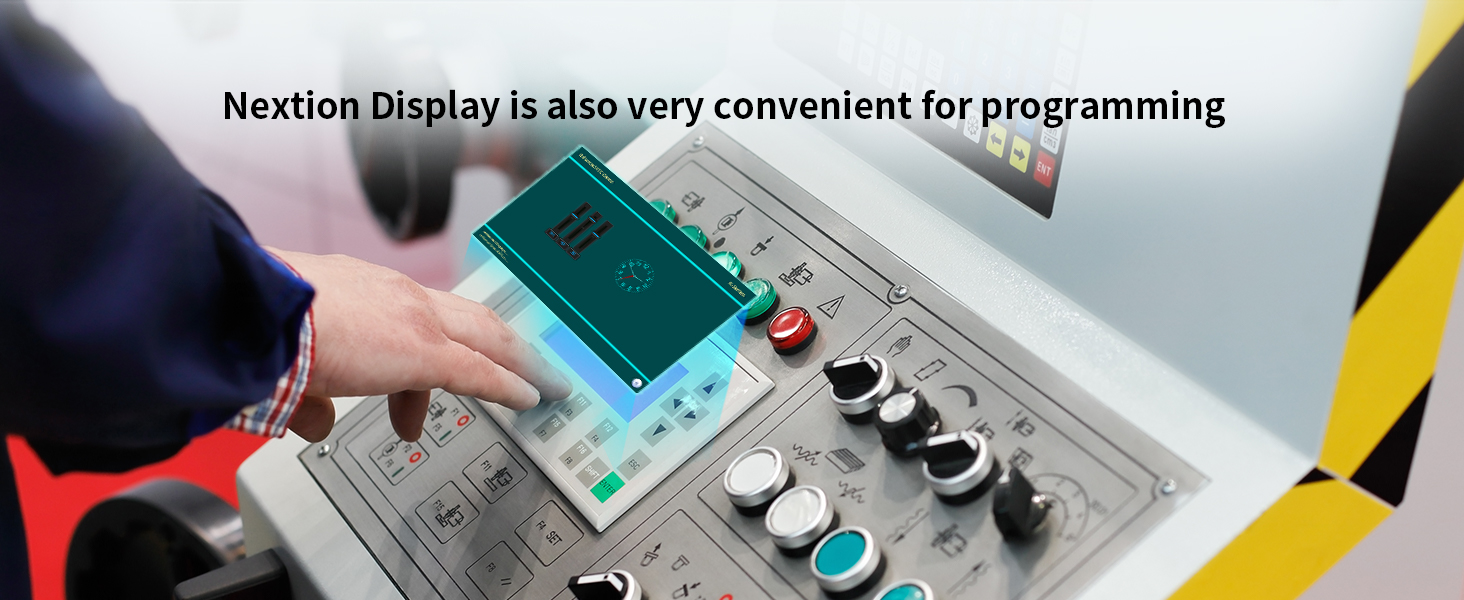
Figure 14: Nextion Display in Production Lines

Figure 15: Nextion Display as a 3D Printer Partner

Figure 16: Nextion Display in Medical Devices

Figure 17: Nextion Display in Vehicle HMI
5. Maintenance
To ensure the longevity and optimal performance of your NEXTION HMI Display, follow these maintenance guidelines:
- Cleaning: Use a soft, dry, lint-free cloth to clean the screen. Avoid abrasive cleaners, solvents, or aerosol sprays that can damage the display surface.
- Handling: Handle the display by its edges. Avoid applying excessive pressure to the screen, especially the capacitive touch surface.
- Environment: Operate the display within its specified temperature and humidity ranges. Avoid exposure to direct sunlight, extreme temperatures, or high moisture.
- Power: Always use a stable 5V power supply. Incorrect voltage can damage the device.
6. Troubleshooting
If you encounter issues with your NEXTION HMI Display, refer to the following common problems and solutions:
- Display Not Powering On:
- Ensure the 5V power supply is correctly connected and providing sufficient current.
- Check the power cable for any damage.
- Screen Remains Blank After Programming:
- Verify that the .TFT file was correctly copied to the SD card and that the card is properly inserted.
- Ensure the SD card is formatted as FAT32 and is less than 32GB.
- Confirm that the display model in your Nextion Editor project matches your physical display.
- Touch Screen Unresponsive:
- Check for any physical obstructions or debris on the screen surface.
- Ensure the display is receiving adequate power.
- Recalibrate the touch screen if the option is available in your project.
- Communication Issues with Microcontroller:
- Verify the TX/RX and GND connections between the display and the microcontroller.
- Ensure the baud rate set in your microcontroller code matches the baud rate configured in your Nextion project.
- Check that the correct serial port is selected in your development environment.
7. Warranty and Support
NEXTION guarantees product availability for a minimum of 5 years for all series products. The display is CE and RoHS compliant, ensuring adherence to safety and environmental standards.
For technical assistance, the NEXTION technical support team provides responsive basic hardware technical service across all time zones. For further information and resources, please visit the official NEXTION store:


