
1. Introduction
This manual provides essential instructions for the safe operation, maintenance, and troubleshooting of your CRAFTSMAN CMCD713C2 V20 BRUSHLESS RP Cordless Drill/Driver Kit. Please read this manual thoroughly before using the tool to ensure proper function and to prevent injury.
The CRAFTSMAN CMCD713C2 V20 BRUSHLESS RP Cordless 1/2 inch Drill/Driver is designed for drilling and fastening tasks. Its brushless motor provides up to 25% more runtime and enhanced durability. An integrated LED light improves visibility in dark work areas.
2. Safety Instructions
WARNING: Read all safety warnings, instructions, illustrations, and specifications provided with this power tool. Failure to follow all instructions listed below may result in electric shock, fire, and/or serious injury.
General Power Tool Safety Warnings
- Work Area Safety: Keep work area clean and well-lit. Cluttered or dark areas invite accidents. Do not operate power tools in explosive atmospheres, such as in the presence of flammable liquids, gases, or dust.
- Electrical Safety: Power tool plugs must match the outlet. Never modify the plug in any way. Do not expose power tools to rain or wet conditions.
- Personal Safety: Stay alert, watch what you are doing, and use common sense when operating a power tool. Do not use a power tool while you are tired or under the influence of drugs, alcohol, or medication. Always wear eye protection. Use safety equipment such as dust masks, non-skid safety shoes, hard hats, or hearing protection when appropriate.
- Power Tool Use and Care: Do not force the power tool. Use the correct power tool for your application. Disconnect the battery pack from the power tool before making any adjustments, changing accessories, or storing power tools. Store idle power tools out of the reach of children.
- Battery Tool Use and Care: Recharge only with the charger specified by the manufacturer. Use power tools only with specifically designated battery packs.
- Service: Have your power tool serviced by a qualified repair person using only identical replacement parts.
Specific Safety Rules for Drills/Drivers
- Hold power tool by insulated gripping surfaces when performing an operation where the cutting accessory may contact hidden wiring.
- Always wear safety glasses or goggles.
- Secure the workpiece. Use clamps or a vise to hold the workpiece.
- Do not use dull or damaged bits.
- Keep hands clear of rotating parts.
3. Product Overview
Familiarize yourself with the components of your CRAFTSMAN CMCD713C2 Drill/Driver.

Figure 3.1: Front view of the CRAFTSMAN CMCD713C2 Cordless Drill/Driver.

Figure 3.2: Key features of the drill/driver, including the 1/2 inch ratcheting chuck, 2-speed gearbox, and LED work light.
Key Features:
- Brushless Motor: Delivers up to 25% more runtime and 350 Unit Watts Out (UWO) for enhanced durability and performance.
- 1/2 inch Ratcheting Chuck: Ensures improved bit retention and facilitates quick and easy bit changes.
- Two-Speed Gearbox: Provides versatility with speeds of 0-600 RPM for high torque applications and 0-1900 RPM for high-speed drilling.
- LED Work Light: Illuminates the work area for better visibility in dimly lit conditions.
- V20 System Compatibility: Part of the CRAFTSMAN V20 cordless power tool and outdoor equipment system.
4. Setup
4.1 Kit Contents
Your CRAFTSMAN CMCD713C2 kit includes the following items:
- CRAFTSMAN CMCD713C2 Cordless Brushless Drill/Driver
- (2) V20 2.0Ah Lithium-Ion Batteries
- (1) V20 Battery Charger
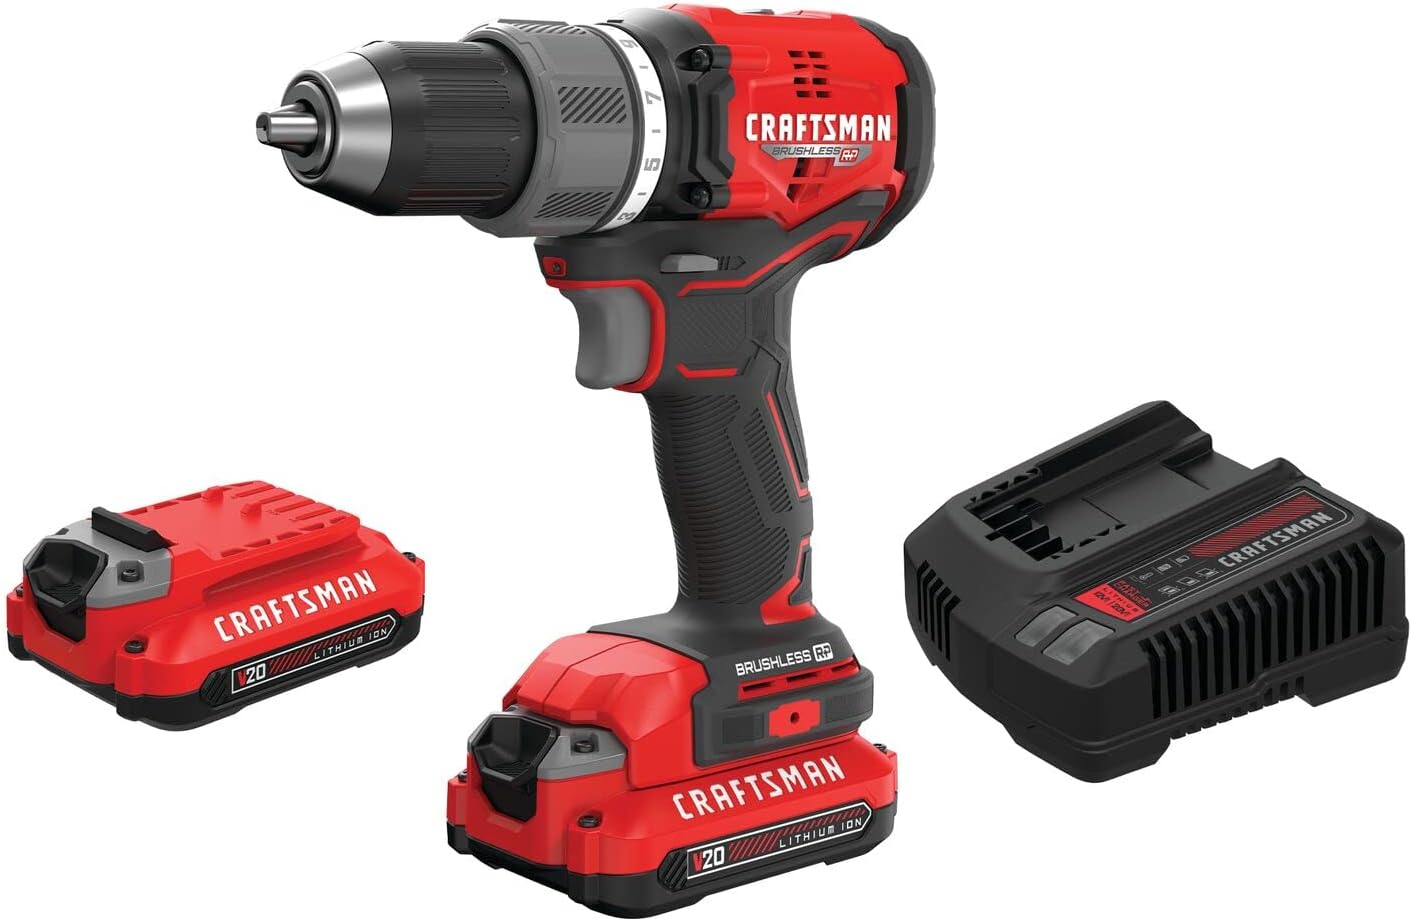
Figure 4.1: The complete kit, showing the drill, two V20 batteries, and the battery charger.
4.2 Charging the Battery
- Ensure the charger is plugged into a standard electrical outlet.
- Slide the V20 battery pack onto the charger until it clicks into place.
- The charging indicator light on the charger will illuminate, indicating the charging status. Refer to the charger's manual for specific light patterns.
- Once fully charged, remove the battery pack from the charger.
NOTE: New battery packs are not fully charged and must be charged before first use. For optimal battery life, avoid storing batteries in a discharged state.
4.3 Installing and Removing the Battery Pack
- To Install: Align the battery pack with the receptacle on the bottom of the drill handle. Slide the battery pack into the drill until it locks securely into place.
- To Remove: Press the battery release button (usually located on the front or sides of the battery pack) and slide the battery pack out of the tool.
4.4 Installing and Removing Drill Bits/Accessories
- Ensure the drill is off and the battery pack is removed.
- Grasp the rear half of the chuck with one hand and rotate the front half counter-clockwise until the chuck jaws are open wide enough to accept the bit.
- Insert the drill bit or accessory into the chuck. Ensure the bit is centered and fully seated.
- Rotate the front half of the chuck clockwise to tighten the jaws securely around the bit. Hand-tighten firmly.
- To Remove: Reverse the tightening procedure.
5. Operating Instructions
5.1 Powering On/Off and Variable Speed Trigger
- To turn the drill on, depress the trigger switch. The speed of the drill is controlled by how far the trigger is pressed.
- To turn the drill off, release the trigger switch.
- The LED work light will activate when the trigger is pressed.
5.2 Forward/Reverse Button
- The forward/reverse button (located above the trigger) controls the direction of rotation.
- Push the button to the left for forward (clockwise) rotation for drilling and driving screws.
- Push the button to the right for reverse (counter-clockwise) rotation for removing screws or backing out bits.
- Center the button for the lock-off position, which prevents accidental starting.
5.3 Two-Speed Gearbox
The drill features a two-speed gearbox for optimal performance in various applications.
- Speed 1 (0-600 RPM): Use for high-torque applications such as driving large fasteners or drilling large diameter holes.
- Speed 2 (0-1900 RPM): Use for high-speed drilling with smaller bits or when less torque is required.
To change speeds, slide the gear selector switch (located on top of the drill) to the desired position. Ensure the drill is stopped before changing speeds.

Figure 5.1: The drill's maximum no-load speed of 1900 RPM.
5.4 Clutch Settings
The clutch collar (located behind the chuck) allows you to adjust the torque output. This prevents overdriving screws and damaging the workpiece or fasteners.
- Rotate the clutch collar to select the desired torque setting. Lower numbers indicate lower torque, suitable for small screws or soft materials. Higher numbers indicate higher torque, for larger screws or harder materials.
- The drill symbol setting is for drilling applications, providing maximum torque without clutch disengagement.

Figure 5.2: The drill's power output of 350 Unit Watts Out (UWO).
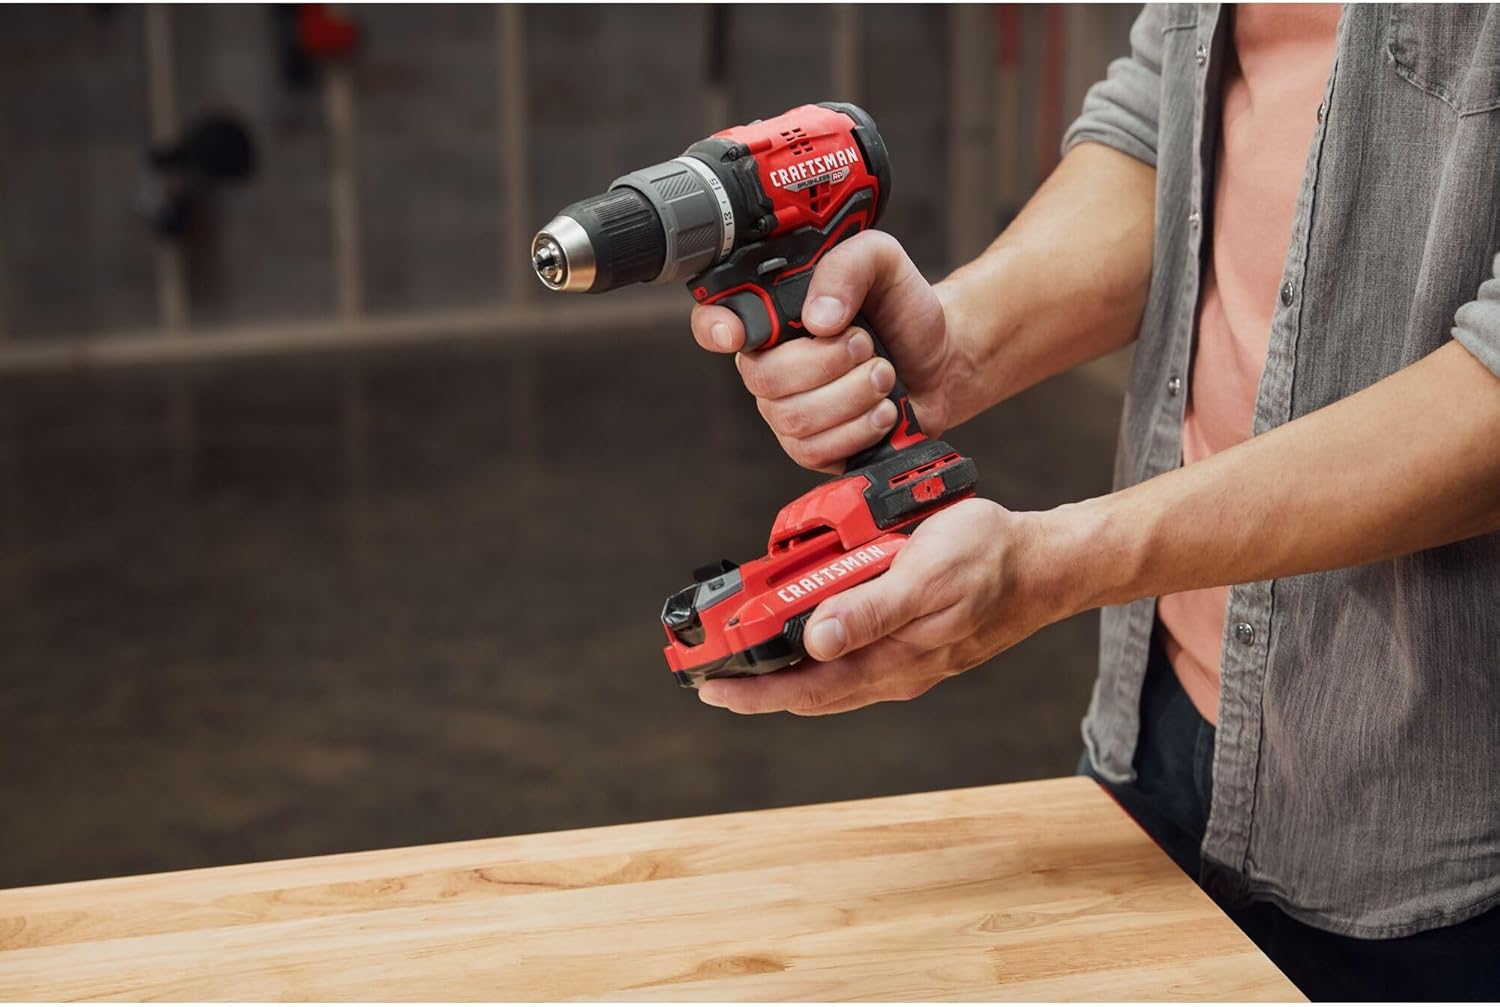
Figure 5.3: Proper handling of the drill/driver during operation.
6. Maintenance
6.1 Cleaning
- Keep the ventilation slots on the tool clean to prevent overheating.
- Use a soft, damp cloth to clean the exterior of the tool. Do not use harsh chemicals or abrasive cleaners.
- Never immerse the tool or battery in liquid.
6.2 Battery Care
- Store batteries in a cool, dry place away from direct sunlight and extreme temperatures.
- Do not store batteries in a discharged state. Recharge them periodically if not in use for extended periods.
- Do not incinerate battery packs, even if they are severely damaged or completely worn out.
6.3 General Inspection
- Regularly inspect the tool for any signs of damage, loose parts, or wear.
- Check the chuck for proper operation and ensure it grips bits securely.
- If any damage is found, do not use the tool. Contact a qualified service center for repair.
7. Troubleshooting
| Problem | Possible Cause | Solution |
|---|---|---|
| Drill does not start. | Battery not installed correctly or discharged. Forward/reverse button in lock-off position. | Ensure battery is fully charged and properly seated. Move forward/reverse button to forward or reverse position. |
| Loss of power during operation. | Battery is low. Overload protection activated. | Recharge battery. Reduce pressure on the tool or use a lower speed setting. |
| Bit slips in chuck. | Chuck not tightened sufficiently. Bit shank is dirty or damaged. | Retighten chuck firmly. Clean or replace the bit. |
| Excessive vibration. | Bent or damaged bit. Loose chuck. | Replace damaged bit. Ensure chuck is tightened correctly. |
8. Specifications
| Feature | Specification |
|---|---|
| Model Number | CMCD713C2 |
| Brand | Craftsman |
| Power Source | Battery Powered |
| Voltage | 20V (Max) |
| Max Rotational Speed | 1900 RPM |
| Amperage | 2 Amperes |
| Max Chuck Size | 1/2 inch (12.7 mm) |
| Special Features | Variable Speed, Brushless Motor, LED Work Light |
| Number of Speeds | 2 |
| Max Power | 350 Unit Watts Out (UWO) |
| Drill Type | Basic Drill/Driver |
| Battery Capacity | 2.0 Ah (per battery) |
| Compatible Devices | V20 System |
| Metal Drilling Capacity | 12.7 mm (1/2 inch) |
| Item Weight | 2.73 kg |
| Included Components | Drill/Driver, (2) V20 2.0Ah Batteries, Charger |
| Material | Metal and Plastic |
| UPC | 885911818858 |
9. Warranty and Support
Warranty Information
CRAFTSMAN offers a 3-year limited warranty on this product. For specific warranty terms and conditions, please refer to the warranty card included with your product or visit the official CRAFTSMAN website. This warranty typically covers defects in material or workmanship.
Extended warranty options may be available for purchase. Please check with your retailer or CRAFTSMAN for details.
Customer Support
For technical assistance, replacement parts, or service, please contact CRAFTSMAN customer support. Contact information can typically be found on the CRAFTSMAN website or on the product packaging.
Website: www.craftsman.com
Please have your model number (CMCD713C2) and UPC (885911818858) available when contacting support.


