Introduction
The MXR M233 Micro Amp+ is an advanced guitar and bass effects pedal designed to boost and enhance your instrument's tone. Building upon the classic Micro Amp circuit, this pedal features added EQ controls (Bass and Treble), low-noise operational amplifiers, and true bypass switching for superior signal integrity. It provides up to +26dB of clean boost, allowing you to drive your amplifier harder or increase your signal level for solos.
Safety Information
- Use only the specified 9V DC power supply (center-negative). Incorrect power supplies can damage the unit and void the warranty.
- Do not expose the pedal to extreme temperatures, humidity, or direct sunlight.
- Avoid dropping the pedal or subjecting it to strong impacts.
- Do not attempt to open the pedal enclosure or modify its internal components. Refer all servicing to qualified personnel.
- Keep out of reach of children.
Package Contents
Your MXR M233 Micro Amp+ bundle includes:
- MXR M233 Micro Amp+ Pedal
- 9V DC Power Supply (not explicitly listed in product data, but implied by 'PSU' in model number and standard pedal operation)
- Two (2) Instrument Cables
- Two (2) Patch Cables
- User Manual (this document)
Product Overview
The MXR M233 Micro Amp+ features intuitive controls for precise tone shaping and signal boosting.
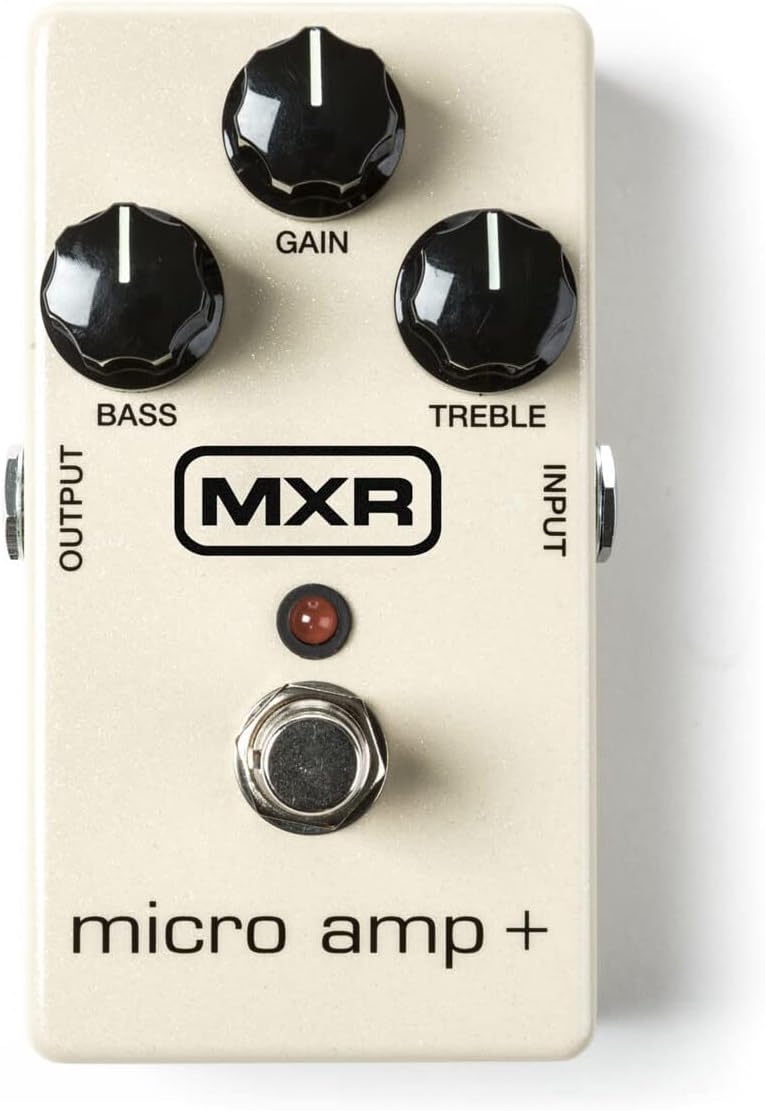
Figure 1: Front view of the MXR M233 Micro Amp+ pedal, showing the Gain, Bass, and Treble control knobs, the footswitch, and the Input/Output jacks.
Controls and Jacks:
- GAIN Knob: Adjusts the amount of boost applied to your signal, from unity gain up to +26dB.
- BASS Knob: Controls the low-frequency response of the boosted signal. Turn clockwise for more bass, counter-clockwise for less.
- TREBLE Knob: Controls the high-frequency response of the boosted signal. Turn clockwise for more treble, counter-clockwise for less.
- INPUT Jack: Connect your instrument or the output of another effects pedal here.
- OUTPUT Jack: Connect this to your amplifier's input or the input of the next pedal in your signal chain.
- FOOTSWITCH: Toggles the effect on and off. The LED illuminates when the effect is active.
- 9V DC Input: Connect a 9V DC (center-negative) power adapter here.
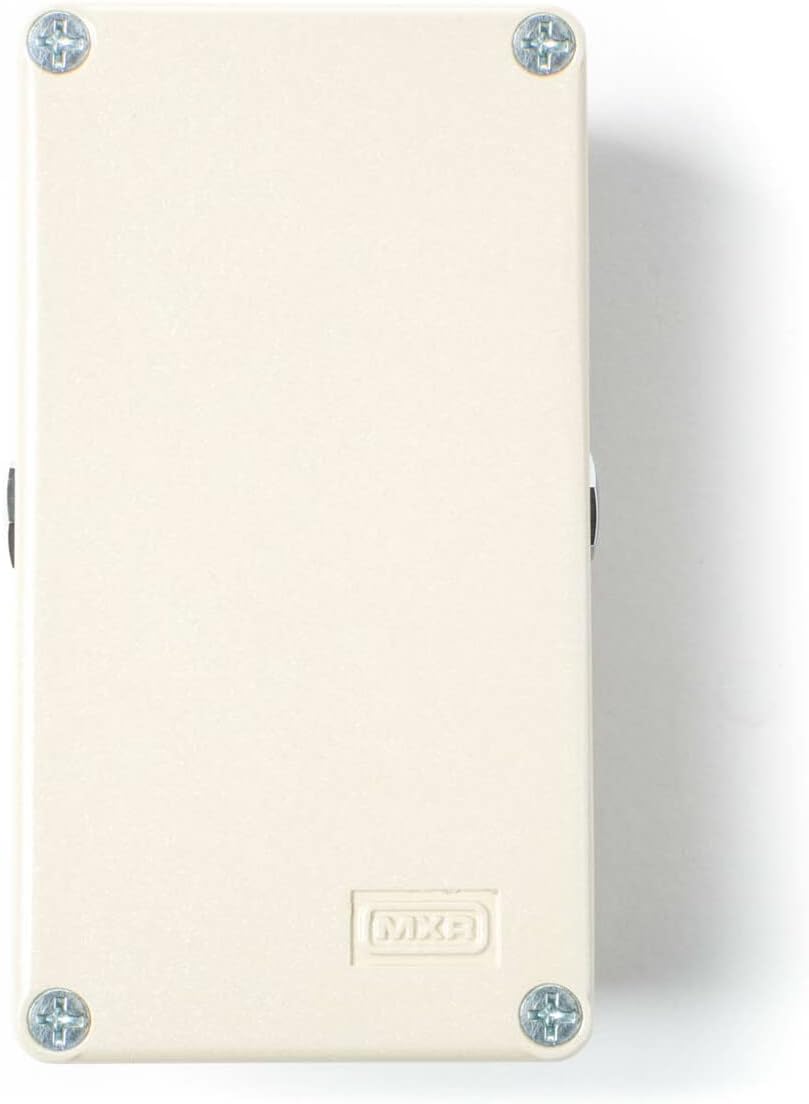
Figure 2: Rear view of the MXR Micro Amp+ pedal, highlighting the 9V DC power input jack.
Setup
Follow these steps to connect your MXR M233 Micro Amp+ pedal:
- Power Connection: Connect a 9V DC (center-negative) power adapter to the 9V DC input jack on the pedal. Ensure the power adapter is compatible to prevent damage.
- Instrument Connection: Use one of the provided instrument cables to connect your guitar or bass to the INPUT jack of the Micro Amp+.
- Amplifier Connection: Use another instrument cable to connect the OUTPUT jack of the Micro Amp+ to your amplifier's input.
- Signal Chain Integration (Optional): If integrating into an existing pedalboard, use the provided patch cables to connect the Micro Amp+ between other effects pedals. The Micro Amp+ is typically placed early in the signal chain to boost the instrument's signal before other effects, or later to boost the overall signal for solos.
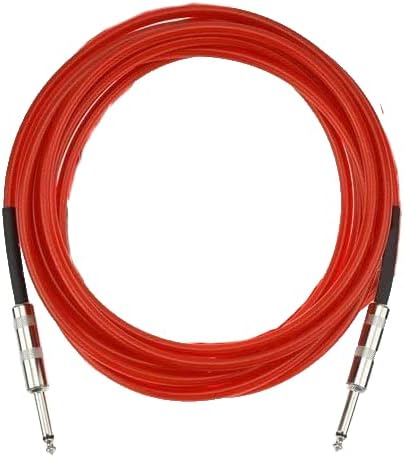
Figure 3: Example of an instrument cable included in the bundle.

Figure 4: Example of a patch cable included in the bundle.
Operating Instructions
Once connected, operate your MXR M233 Micro Amp+ as follows:
- Activate the Pedal: Press the footswitch to engage the effect. The LED will light up, indicating the pedal is active. Press again to bypass the effect (true bypass).
- Adjust Gain: Turn the GAIN knob clockwise to increase the boost level. Start with the knob at a lower setting and gradually increase to achieve the desired volume and drive.
- Shape Tone with EQ:
- BASS: Adjust the BASS knob to add or cut low frequencies. For a classic Micro Amp sound, set this knob to the 12 o'clock (noon) position.
- TREBLE: Adjust the TREBLE knob to add or cut high frequencies. For a classic Micro Amp sound, set this knob to the 12 o'clock (noon) position.
- Experiment: The optimal settings will vary depending on your instrument, amplifier, and other pedals. Experiment with different knob positions to find the sound that best suits your needs.
Maintenance
To ensure the longevity and optimal performance of your MXR M233 Micro Amp+:
- Cleaning: Wipe the pedal with a soft, dry cloth. Do not use abrasive cleaners or solvents.
- Storage: Store the pedal in a cool, dry place away from direct sunlight and extreme temperatures when not in use.
- Cable Care: Handle instrument and patch cables carefully. Avoid sharp bends or kinks that can damage the internal wiring.
- Power Supply: Always disconnect the power supply when the pedal is not in use for extended periods.
Troubleshooting
| Problem | Possible Cause | Solution |
|---|---|---|
| No sound when pedal is active. | Incorrect power supply, faulty cables, incorrect connections, pedal bypassed. | Verify 9V DC (center-negative) power supply. Check all cable connections. Ensure footswitch LED is illuminated. Test cables with another device. |
| Excessive noise or hum. | Ground loop, faulty power supply, interference from other electronics. | Use a high-quality isolated power supply. Try a different power outlet. Move pedal away from other electronic devices. Check for faulty cables. |
| LED does not light up. | No power, faulty power supply, pedal not engaged. | Ensure power supply is connected and functional. Press the footswitch to engage the effect. |
| Boost level is too low/high. | GAIN knob setting. | Adjust the GAIN knob to the desired level. |
If you continue to experience issues, please contact customer support.
Specifications
| Feature | Detail |
|---|---|
| Model | M233 Micro Amp+ |
| Signal Format | Analog |
| Audio Output Effects | Preamp / Boost |
| Max Gain | +26dB |
| Power Source | Corded Electric (9V DC, center-negative) |
| Voltage | 9 Volts |
| Switching | True Bypass |
| Item Weight | 1.68 pounds (pedal and bundle accessories) |
| Package Dimensions | 11.3 x 9.96 x 2.99 inches |
| Color | White |
Warranty and Support
This product is covered by a manufacturer's warranty against defects in materials and workmanship. For specific warranty terms and conditions, please refer to the documentation provided with your purchase or visit the official MXR website. For technical support, troubleshooting assistance, or warranty claims, please contact the retailer where the product was purchased or the manufacturer's customer service department.
For additional resources and product information, you may visit the official MXR website: www.jimdunlop.com/mxr/


