
1. Introduction
This manual provides detailed instructions for the installation, operation, maintenance, and troubleshooting of your SODOLA 12 Port 10G SFP+ Smart Switch. This high-performance L2/L3+ managed Ethernet switch is designed for advanced network applications, offering robust security features, flexible management options, and high-speed connectivity.
2. Product Overview
2.1 Key Features
- 10 Gigabit SFP+ Ports: Equipped with 12 x 10Gbps SFP+ ports, supporting standard SFP interface optical modules (multi-mode, single-mode, SFP to RJ45). SFP modules are not included.
- Enhanced Network Security: Features a comprehensive security control strategy including 802.1Q VLAN, IP-MAC-Port binding, ACL, Port Security, DoS defense, Storm control, DHCP Snooping, and 802.1X radius authentication.
- Universal L3 Management: Supports DHCP Server, QoS, ACL control, SNMP V1/V2/V3, IGMP Snooping v1/v2, STP/RSTP/MSTP (ERPS), loop detection, self-healing, and remote loop back monitoring (802.3ah OAM).
- Diverse Management Methods: Offers easy-to-use Web management interfaces, CLI (Console, Telnet), SNMP (V1, V2, V3), and RMON for efficient setup and configuration.
- Efficient Heat Dissipation: Incorporates a built-in fan and multi-directional heat dissipation design to ensure stable and safe operation.
2.2 Physical Components
Familiarize yourself with the front and rear panels of the switch:

Figure 1: Front and Rear Panel Layout. Shows 1 RJ45 Console Port, 12 10G SFP+ Ports on the front, and Power Supply (12V8A) and Grounding Screw on the rear.

Figure 2: 10x Faster Network Speed. Illustrates the performance advantage of 10Gbps SFP+ ports over 1Gbps, showing various devices like NAS, 4K Video, WiFi 6 AP, Server, and Gaming PC connected.

Figure 3: Advanced Security System. Highlights the switch's capabilities in preventing DoS attacks and ensuring stable network operation.
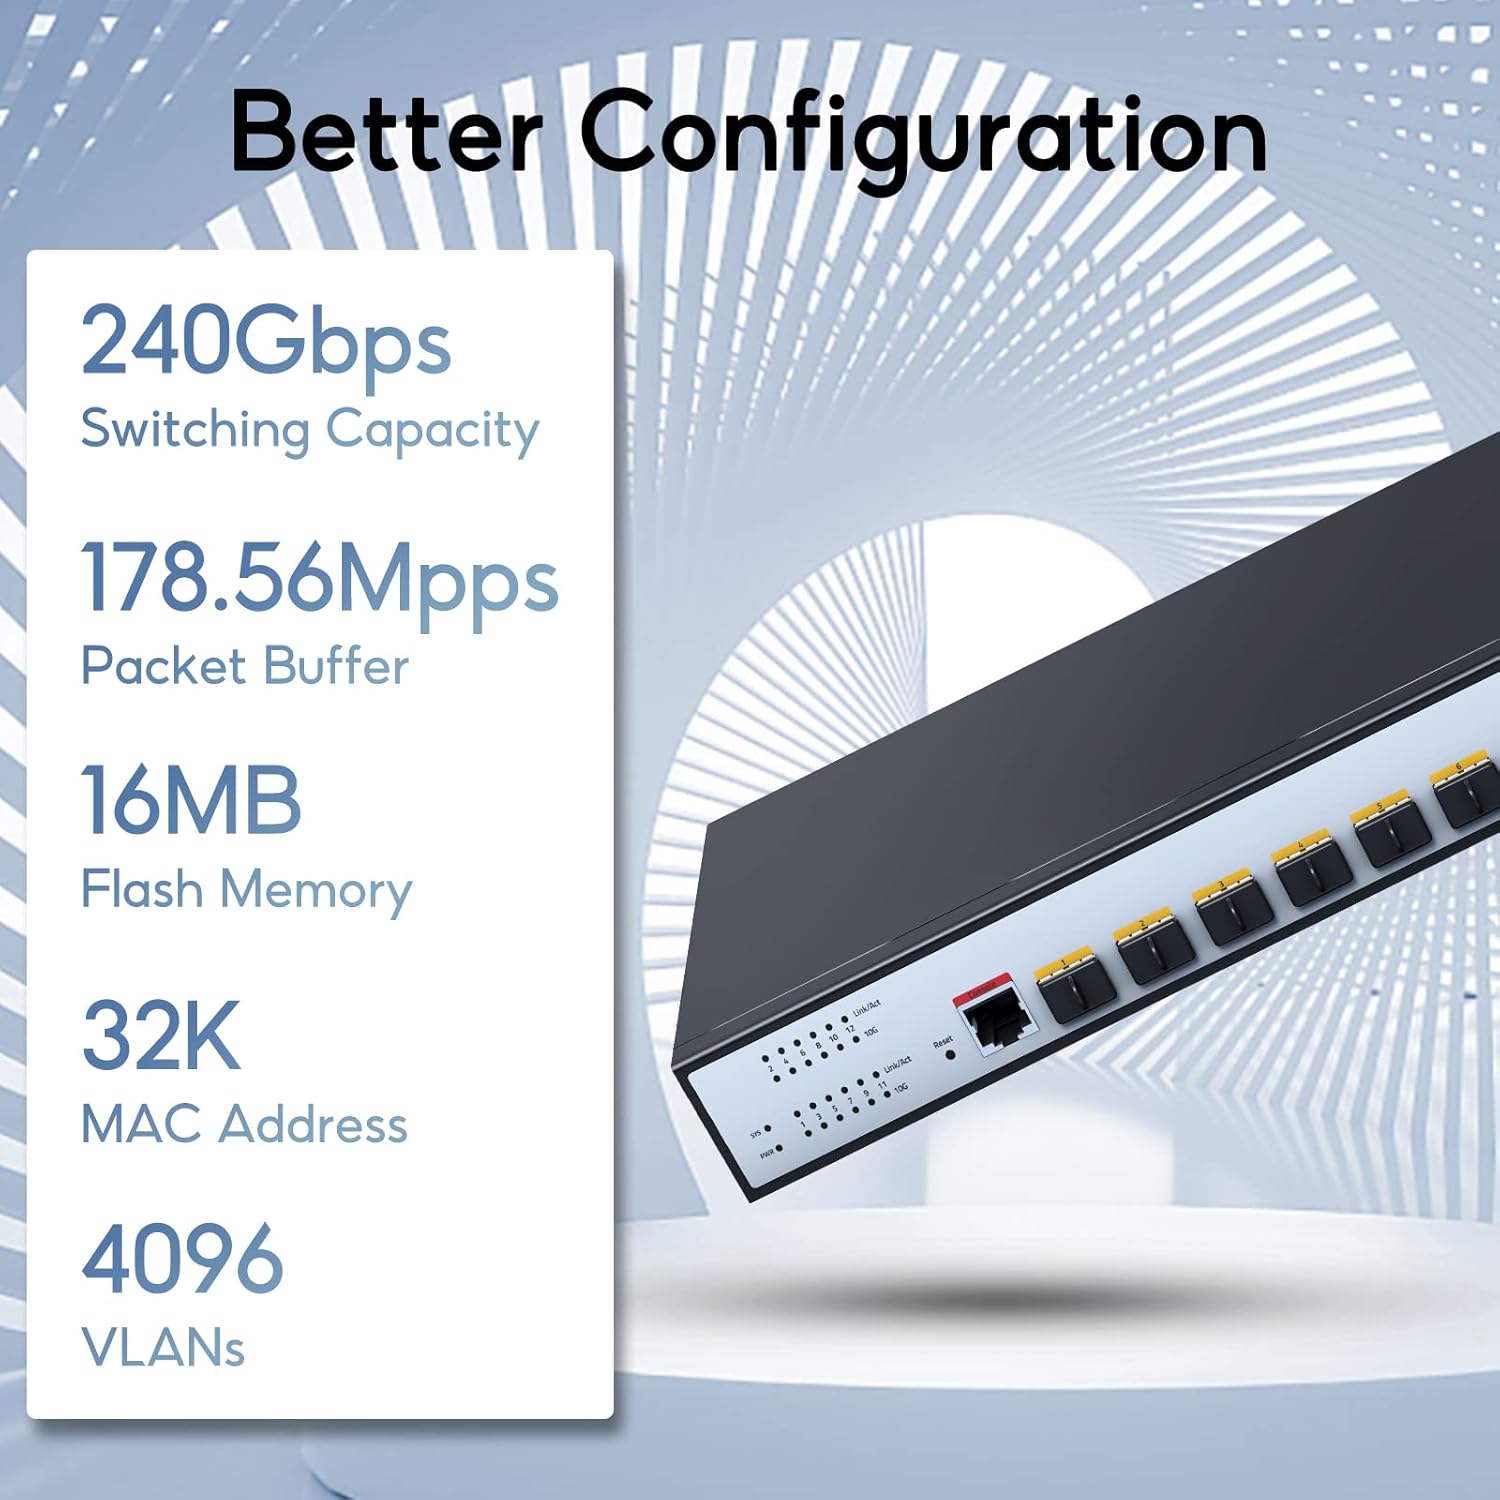
Figure 4: Better Configuration. Displays key internal specifications such as 240Gbps Switching Capacity, 178.56Mpps Packet Buffer, 16MB Flash Memory, 32K MAC Address, and 4096 VLANs.
3. Setup Instructions
3.1 Package Contents
Verify that your package contains the following items:
- SODOLA 12 Port 10G SFP+ Smart Switch (Model: SL-SWTG3C12F-D)
- Power Adapter
- Mounting Kit (if applicable for rackmount)
- User Manual (this document)
3.2 Installation Steps
The switch can be placed on a desktop or mounted in a standard 19-inch rack.
Desktop Installation:
- Place the switch on a flat, stable surface.
- Ensure adequate ventilation around the device.
Rackmount Installation:
- Attach the provided rackmount brackets to the sides of the switch using the included screws.
- Secure the switch into a standard 19-inch equipment rack using appropriate rack screws.
- Ensure proper airflow for cooling.

Figure 5: Rackmount Installation. Displays the switch dimensions (440mm x 205mm x 45mm) and an example of multiple switches installed in a server rack.
3.3 Connecting Power
- Connect the power adapter to the power input port on the rear panel of the switch.
- Plug the other end of the power adapter into a suitable power outlet.
- Ensure the grounding screw is properly connected to an earth ground for safety.
- The power indicator LED on the front panel should illuminate, indicating the device is receiving power.
3.4 Network Connections
- Insert compatible SFP+ modules (not included) into the desired SFP+ ports.
- Connect fiber optic cables or SFP to RJ45 modules with Ethernet cables to the SFP+ ports.
- Connect your network devices (servers, workstations, other switches) to the SFP+ ports.
- The Link/Act LEDs for each port will indicate connection status and activity.
4. Operating Instructions
4.1 Initial Power On
Once the power is connected, the switch will automatically power on and begin its boot sequence. Wait for the system LED (SYS) to stabilize, indicating the switch is ready for operation.
4.2 Accessing the Management Interface
The SODOLA Smart Switch offers multiple management methods:
- Web-based Management (GUI): Access the switch's web interface by entering its IP address into a web browser. The default IP address and login credentials can be found in the quick start guide or by consulting the full software manual.
- Command Line Interface (CLI): Connect to the switch via the RJ45 console port using a console cable and a terminal emulator (e.g., PuTTY). Alternatively, Telnet can be used for remote CLI access.
- SNMP: The switch supports SNMP V1/V2/V3 for network management systems to monitor and configure the device.

Figure 6: Multiple L3 Management Features. Highlights features like IGMP Snooping, DHCP Server, SNMP, DoS, ACL control, IPv6, QoS, Link Aggregation, and Spanning Tree.
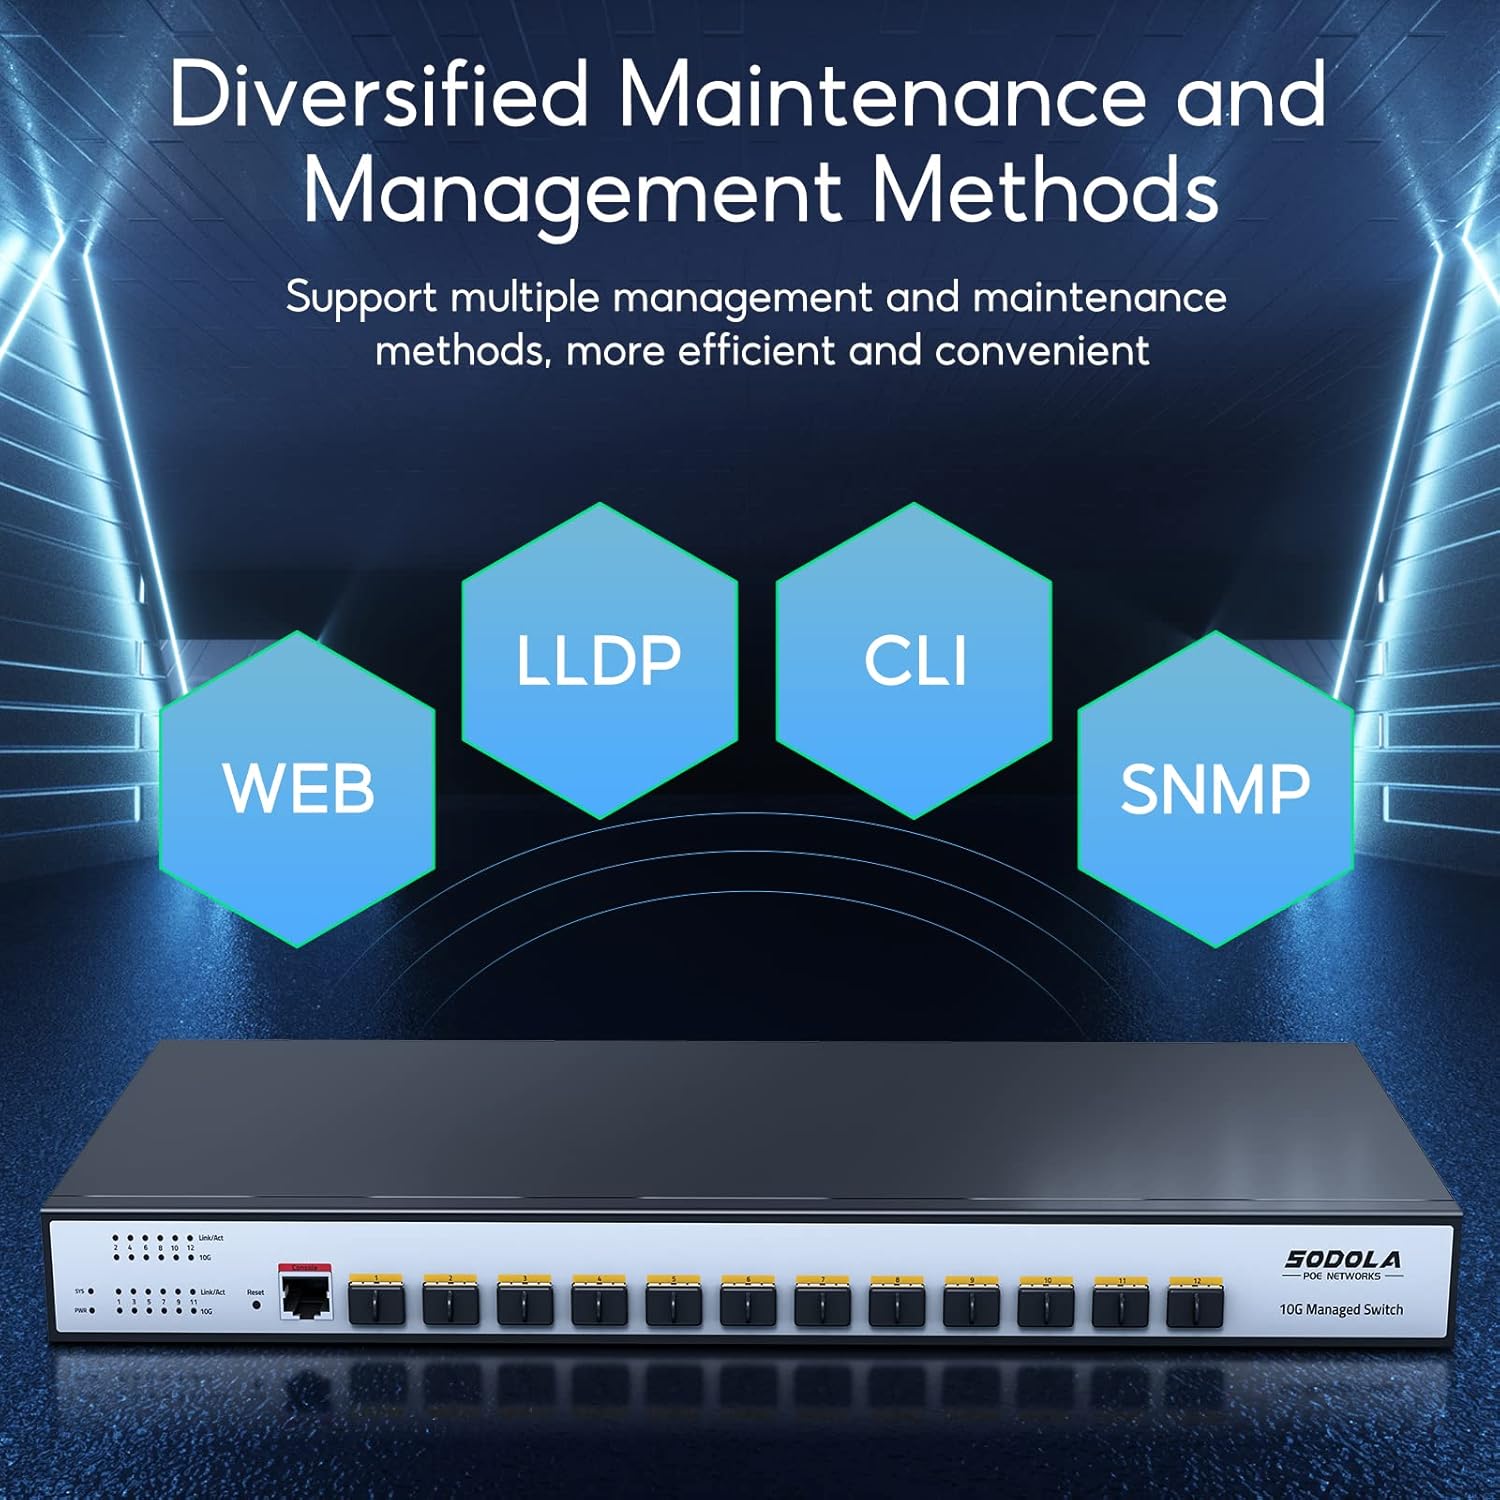
Figure 7: Diversified Maintenance and Management Methods. Shows WEB, LLDP, CLI, and SNMP as available management options.
4.3 Basic Configuration
After accessing the management interface, you can perform basic configurations such as:
- Setting the device IP address and subnet mask.
- Changing login credentials.
- Configuring VLANs for network segmentation.
- Setting up Quality of Service (QoS) policies.
- Enabling security features like ACLs and DoS prevention.
Important: Always save your configuration changes after making them to prevent loss of settings upon reboot or power cycle.
5. Maintenance
5.1 Cooling System
The switch features a built-in fan and cooling holes for optimal heat dissipation. Ensure that the cooling vents are not obstructed to maintain proper airflow and prevent overheating. Regularly inspect the vents for dust accumulation and clean as necessary.

Figure 8: Powerful Cooling System. Illustrates the internal fan and external cooling holes designed for efficient heat dissipation.
5.2 Firmware Updates
Periodically check the manufacturer's website for firmware updates. Keeping your switch's firmware up-to-date ensures optimal performance, security, and access to new features. Follow the instructions provided with the firmware update package carefully.
5.3 Cleaning
Use a soft, dry cloth to clean the exterior of the switch. Do not use liquid or aerosol cleaners. For internal cleaning, especially of fan blades, use compressed air. Always power off and disconnect the switch from the power source before cleaning.
6. Troubleshooting
This section addresses common issues you might encounter with your SODOLA 12 Port 10G SFP+ Smart Switch.
| Problem | Possible Cause | Solution |
|---|---|---|
| No power / Power LED is off | Power cable disconnected; Power outlet failure; Power adapter malfunction. | Ensure power cable is securely connected. Test power outlet with another device. Try a different power adapter if available. |
| No network connection on a port / Link/Act LED is off | Incorrect SFP+ module; Faulty cable; Incorrect port configuration; Device at other end is off or misconfigured. | Ensure SFP+ module is compatible and correctly inserted. Check cable integrity. Verify port settings (speed, duplex) in the management interface. Check the connected device. |
| Cannot access Web management interface | Incorrect IP address; Network connectivity issue; Browser settings. | Verify the switch's IP address. Ensure your computer is on the same subnet. Check network cable. Try a different browser. Clear browser cache. |
| Configuration lost after reboot | Configuration changes were not saved. | After making any configuration changes, ensure you explicitly save them through the Web GUI or CLI command (e.g., 'write memory' or 'save configuration'). |
| Switch is running hot or fan is loud | Obstructed airflow; High ambient temperature; Fan malfunction. | Ensure cooling vents are clear. Operate in a well-ventilated area. If fan noise is excessive or persistent, contact support. |
7. Specifications
| Feature | Detail |
|---|---|
| Brand | Sodola |
| Model Number | SL-SWTG3C12F-D |
| Number of Ports | 12 (10G SFP+) |
| Data Transfer Rate | 10000 Megabits Per Second |
| Switch Type | Smart Managed (L2/L3+) |
| Interface | SFP+ |
| Maximum Power Consumption | 50 Watts |
| Color | Black |
| Case Material Type | Metal |
| Item Weight | 3.04 Kilograms |
| Compatible Devices | Desktop |
| Manufacturer | Shenzhen hongyavision Technology Co.,Ltd. |
8. Warranty and Support
8.1 Product Warranty
The SODOLA 12 Port 10G SFP+ Smart Switch comes with a 1-year warranty for product replacement without repair service for any quality issues. This warranty covers defects in materials and workmanship under normal use.
8.2 Technical Support
SODOLA is committed to providing lifetime technical support for its products. If you encounter any issues or have questions regarding the installation, configuration, or operation of your switch, please contact SODOLA customer service or visit the official SODOLA website for support resources.


