
WLIVE ASNG103DHS2
WLIVE Dresser with Charging Station User Manual
Model: ASNG103DHS2
1. Introduction
Thank you for choosing the WLIVE Dresser with Charging Station. This versatile furniture piece is designed to provide ample storage and convenient power access for your bedroom, living room, closet, or entryway. Featuring a robust metal frame, durable fabric drawers, and integrated power outlets, this dresser combines functionality with a rustic brown wood grain print aesthetic.

Figure 1: WLIVE Dresser with Charging Station (Rustic Brown Wood Grain Print)
2. Safety Information
Please read and understand all safety instructions before assembly and use. Failure to follow these instructions may result in injury or damage to the product.
- Anti-Tip Device: This dresser is equipped with anti-topper components to prevent accidental tipping. It is crucial to securely fix the cabinet to the wall using the provided hardware, especially in households with children or pets.
- Weight Capacity: Do not exceed the maximum weight capacity for each shelf and drawer. The top shelf can bear up to 50 pounds, and the open shelf can bear up to 25 pounds.
- Electrical Safety: The integrated charging station is UL/ETL certified for electrical safety. Ensure the power cord is not pinched or damaged. Do not overload the outlets.
- Stable Placement: Place the dresser on a flat, level surface. The adjustable feet can be used to stabilize the unit on uneven floors.
- Material Handling: The fabric drawers are made of breathable non-woven fabric and fiberboard. Avoid sharp objects that could puncture or tear the fabric.

Figure 2: Anti-tilt device for wall mounting.

Figure 3: Adjustable feet for stability.
3. Setup and Assembly
Assembly of the WLIVE Dresser is designed to be straightforward. All necessary parts and tools are included, and a detailed assembly guide is provided.
3.1 Unpacking
- Carefully open the packaging and remove all components.
- Verify that all parts listed in the assembly guide are present and undamaged.
- Keep small parts and hardware out of reach of children.
3.2 Assembly Steps
Follow the step-by-step instructions in the included assembly manual. Key steps typically include:
- Assemble the metal steel frame using the provided screws and tools. Ensure all connections are secure.
- Attach the P2 grade artificial wood top and middle shelves to the frame.
- Insert the fabric drawers into their designated slots. The drawers are designed for easy insertion and removal.
- Install the anti-tip device to the wall as per the safety instructions.
- Adjust the 4 all-directional adjustable feet to ensure the dresser is stable and level.

Figure 4: Sturdy steel frame structure.

Figure 5: Detail of fabric drawer construction.
Estimated assembly time: Approximately 1 hour.
4. Operating Instructions
4.1 Using the Drawers
- The dresser features 5 detachable fabric drawers. These drawers are ideal for organizing clothing, accessories, and other household items.
- To open a drawer, gently pull the ergonomic curved handle. To close, push the drawer back into its slot.
- The open shelves provide additional space for displaying decorative items or storing frequently accessed belongings.
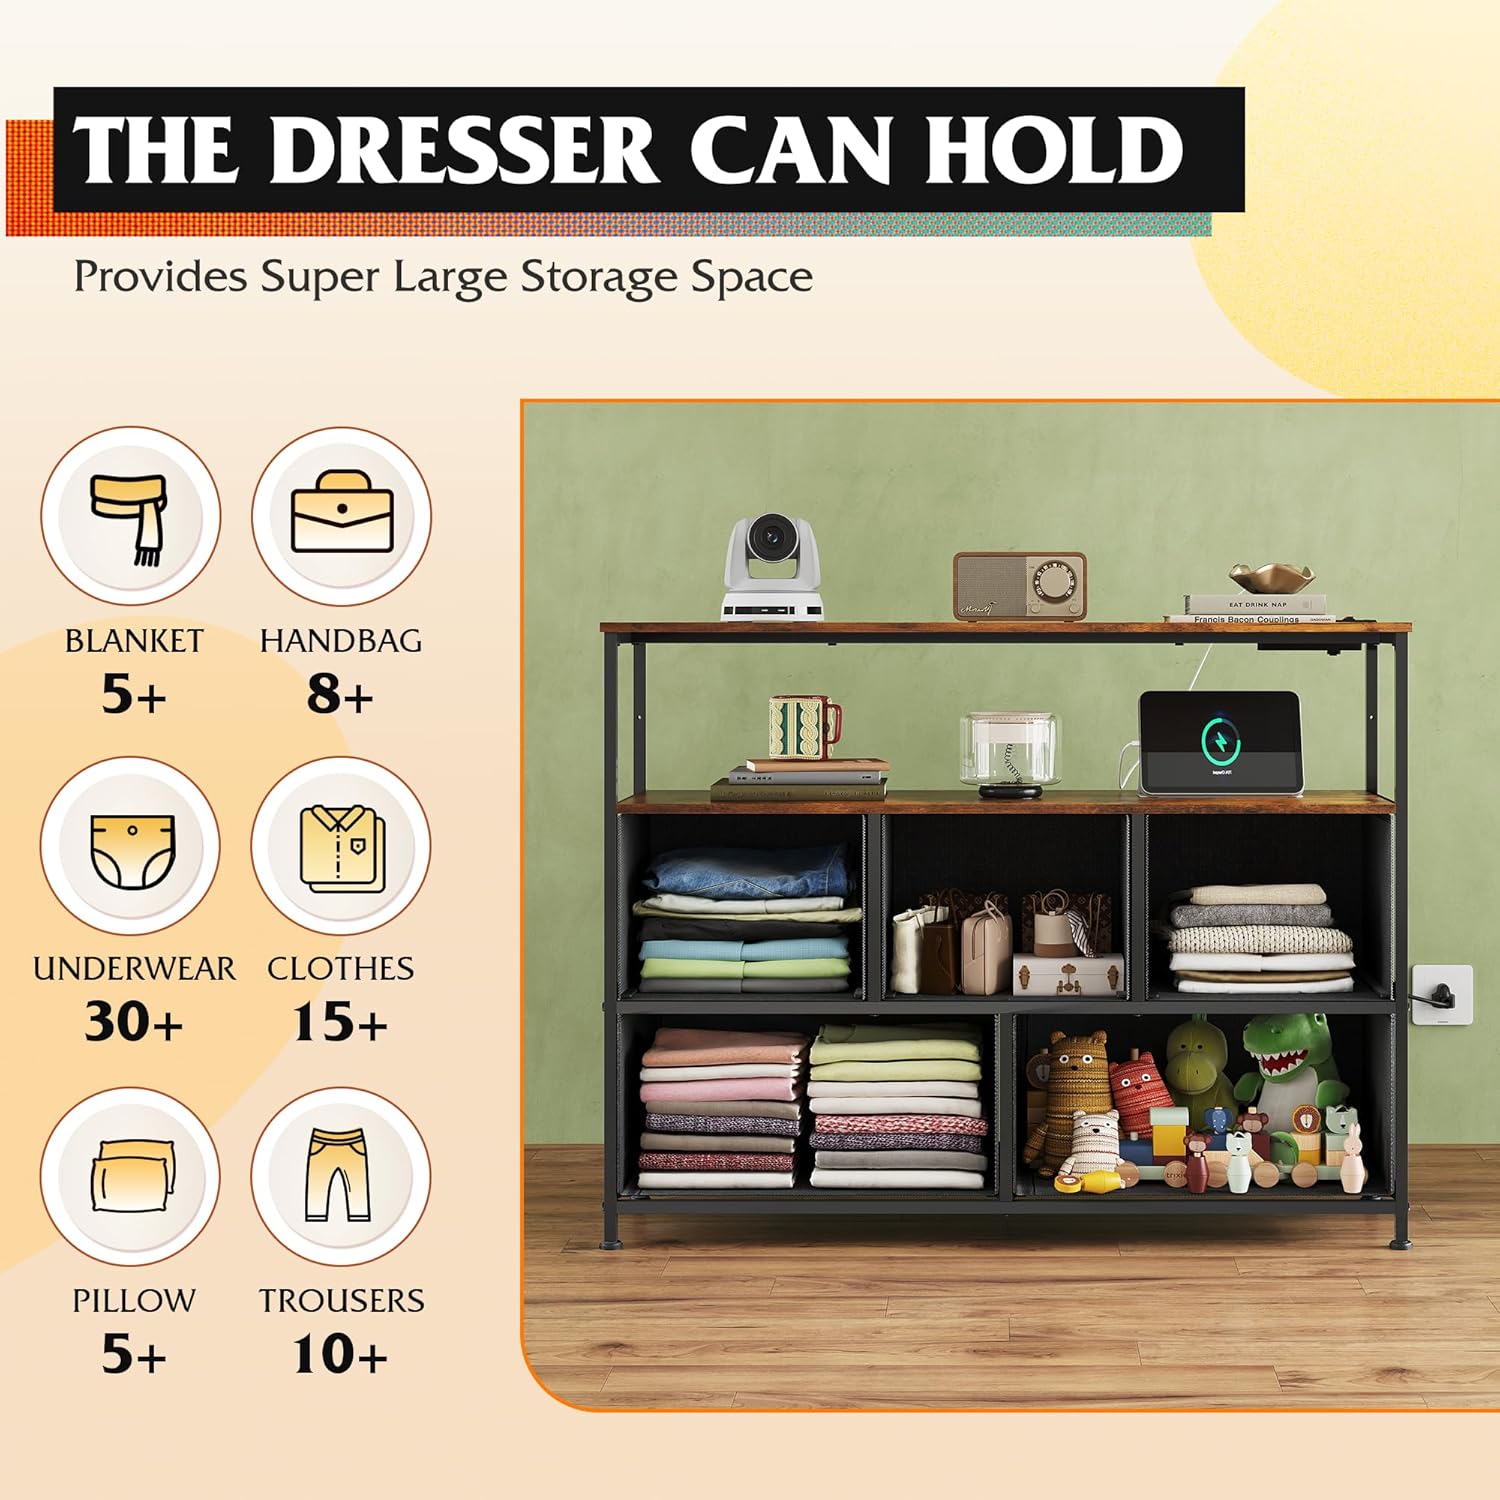
Figure 6: Example of storage capacity and organization.
4.2 Using the Charging Station
- The dresser is equipped with a built-in charging station located on the top shelf.
- It includes 3 AC sockets (125V/2A) and a 5-foot power cord.
- Plug the dresser's power cord into a standard wall outlet.
- Use the controllable switch to turn the power outlets on or off.
- Connect your electronic devices (e.g., TV, game console, router, phone chargers) to the AC sockets for convenient power access.
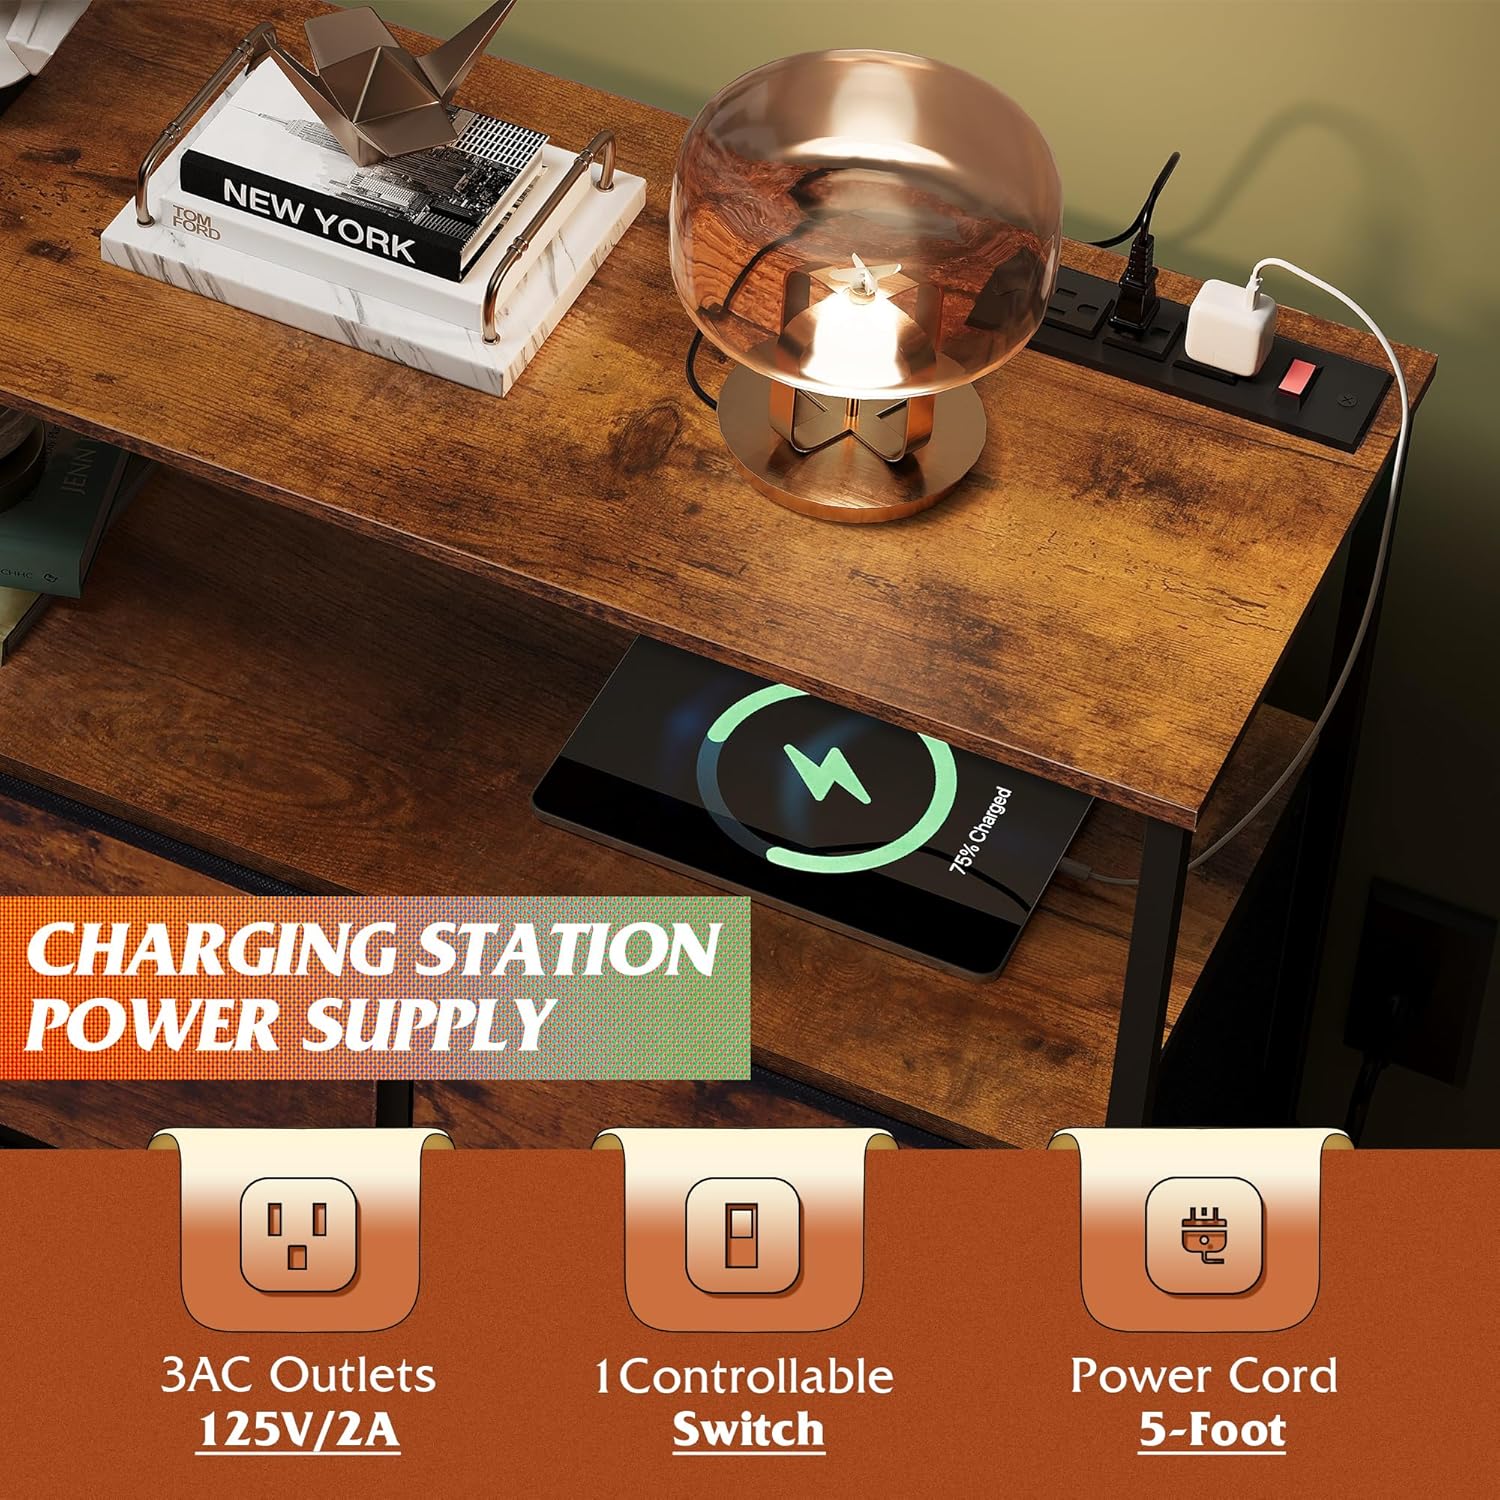
Figure 7: Integrated charging station with 3 AC outlets.
5. Maintenance
- Cleaning: Wipe the wood and steel surfaces with a dry cloth to remove dust and debris. For the fabric drawers, spot clean with a damp cloth and mild detergent if necessary, then allow to air dry completely.
- Inspection: Periodically check all screws and connections to ensure they remain tight. Re-tighten if needed.
- Drawer Care: Avoid overfilling drawers to prevent strain on the fabric and frame.
6. Troubleshooting
| Problem | Possible Cause | Solution |
|---|---|---|
| Dresser feels wobbly. | Uneven floor; loose connections. | Adjust the leveling feet at the bottom of the frame. Check and tighten all assembly screws. |
| Charging station not working. | Power cord not plugged in; switch is off; overloaded circuit. | Ensure the power cord is securely plugged into a live outlet. Turn the power switch on. Unplug some devices if the circuit is overloaded. |
| Drawers are difficult to open/close. | Drawer is overloaded; fabric is misaligned. | Reduce the contents of the drawer. Ensure the fabric drawer is properly seated within its frame. |
7. Specifications
| Feature | Detail |
|---|---|
| Brand | WLIVE |
| Model Name | ASNG103 Storage Cabinet/DHS2 |
| Product Dimensions (D x W x H) | 11.73"D x 39.61"W x 30.63"H |
| Color | Rustic Brown Wood Grain Print |
| Material | Wood, Steel, Fabric (Oxford Fabric, MDF Board, Non-Woven Fabric) |
| Number of Drawers | 5 |
| Charging Station | 3 AC Outlets (125V/2A), 1 Controllable Switch, 5-Foot Power Cord (UL/ETL Certified) |
| Assembly Required | Yes |
| Special Features | Adjustable Feet, Safety Stop (Anti-Tip), Scratch Resistant Top |
| Item Weight | 27.6 pounds |

Figure 8: Product dimensions and weight capacities.
8. Warranty and Support
WLIVE is committed to providing high-quality products and excellent customer service. While specific warranty details are not provided in this manual, a professional after-sales team is available to assist you with any questions or concerns regarding your dresser.
For support, please refer to the contact information provided at the point of purchase or visit the official WLIVE store online:
Related documentsASNG103DHS2

Ask a question about this manual
Ask about setup, troubleshooting, compatibility, parts, safety, or missing instructions. Manuals+ will review the question and use this page’s manual context to help answer it.