Introduction
This manual provides detailed instructions for the safe and effective use of your Andoer Portable 720P Digital Camera. Please read this manual thoroughly before operating the device and retain it for future reference. This camera is designed for capturing high-quality photos and videos with ease.
Package Contents
Verify that all items are present in the package:
- Digital Camera
- Charge Cable
- Wrist Strap
- Carry Bag
- Users' Manual (English)

Image: Contents of the Andoer Digital Camera package, showing the camera, USB charging cable, wrist strap, carry bag, and the user manual.
Setup
1. Battery Installation and Charging
The camera comes with a built-in rechargeable lithium battery. Before first use, ensure the battery is fully charged.
- Open the battery compartment cover located on the bottom of the camera.
- Insert the lithium battery (3.7V 550mAh) into the compartment, ensuring correct polarity.
- Close the battery compartment cover securely.
- Connect the camera to a USB power source (e.g., computer USB port or USB wall adapter) using the provided USB charging cable. The charging indicator light will illuminate.
- Charging is complete when the indicator light turns off or changes color (refer to camera display for battery status).

Image: The Andoer Digital Camera with its battery compartment open, showing the slot for the lithium-ion battery. The battery itself is shown separately below.
2. Memory Card Installation (Not Included)
This camera supports SD memory cards up to 32GB. A memory card is required to save photos and videos.
- Locate the memory card slot on the side of the camera.
- Insert the SD card with the metal contacts facing the front of the camera until it clicks into place.
- To remove, gently push the card inward until it springs out.
3. Initial Power On
Press and hold the Power button to turn on the camera. The 2.7-inch TFT display will illuminate.
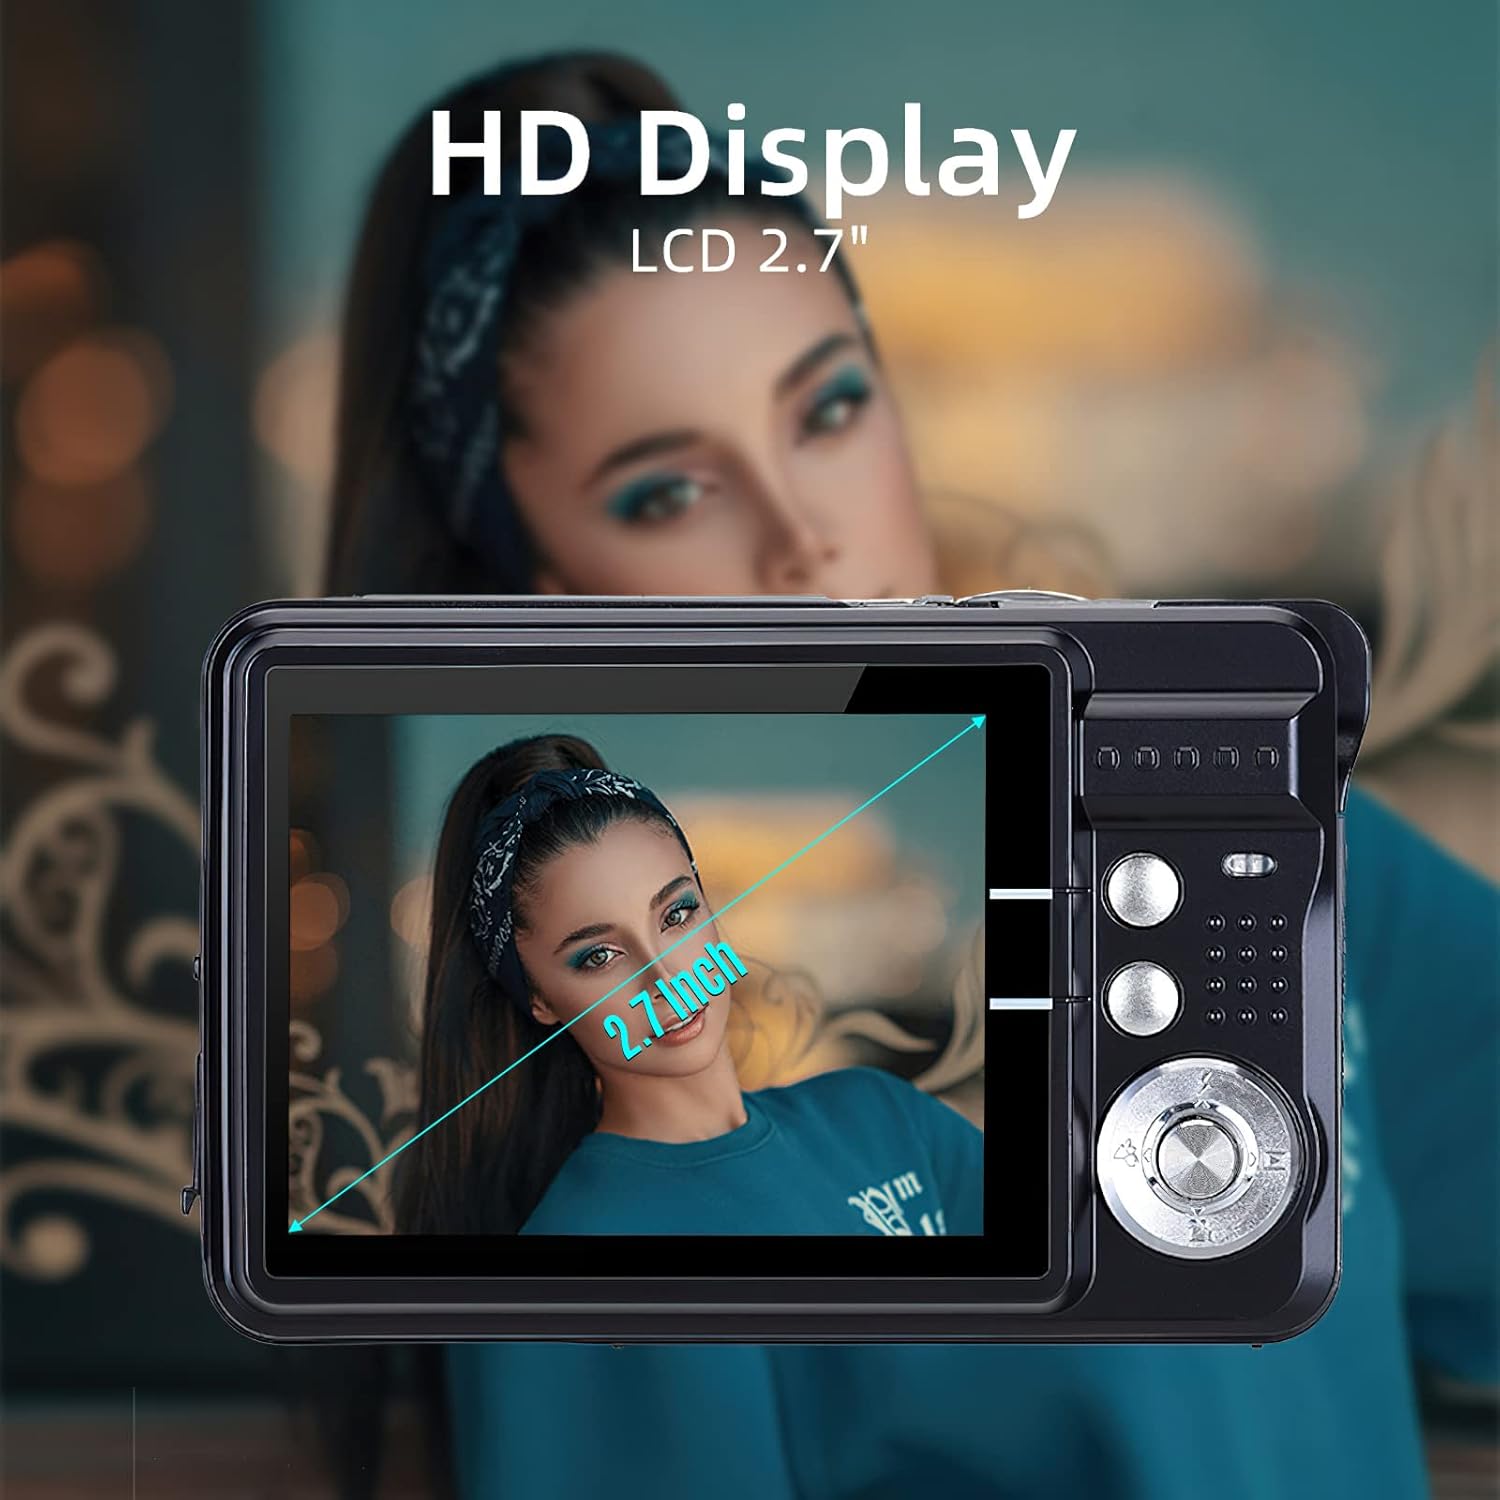
Image: The Andoer Digital Camera showcasing its 2.7-inch HD display, indicating the screen size.
Operating the Camera
1. Basic Controls
- Power Button: Turns the camera on/off.
- Shutter Button: Takes a photo or starts/stops video recording.
- Zoom Lever: Controls the 8X digital zoom (W for wide, T for telephoto).
- Mode Button: Switches between photo, video, and playback modes.
- Navigation Buttons (Up/Down/Left/Right/OK): Used to navigate menus and select options.
- Flash Button: Toggles flash modes (Auto, On, Off).
2. Taking Photos
- Turn on the camera and ensure it is in photo mode.
- Frame your shot using the 2.7-inch TFT display.
- Use the zoom lever to adjust the 8X digital zoom as needed.
- Press the Shutter button halfway down to focus, then press fully to capture the image.
- Adjust settings like picture resolution (up to 18MP), self-timer, and scene modes via the menu.
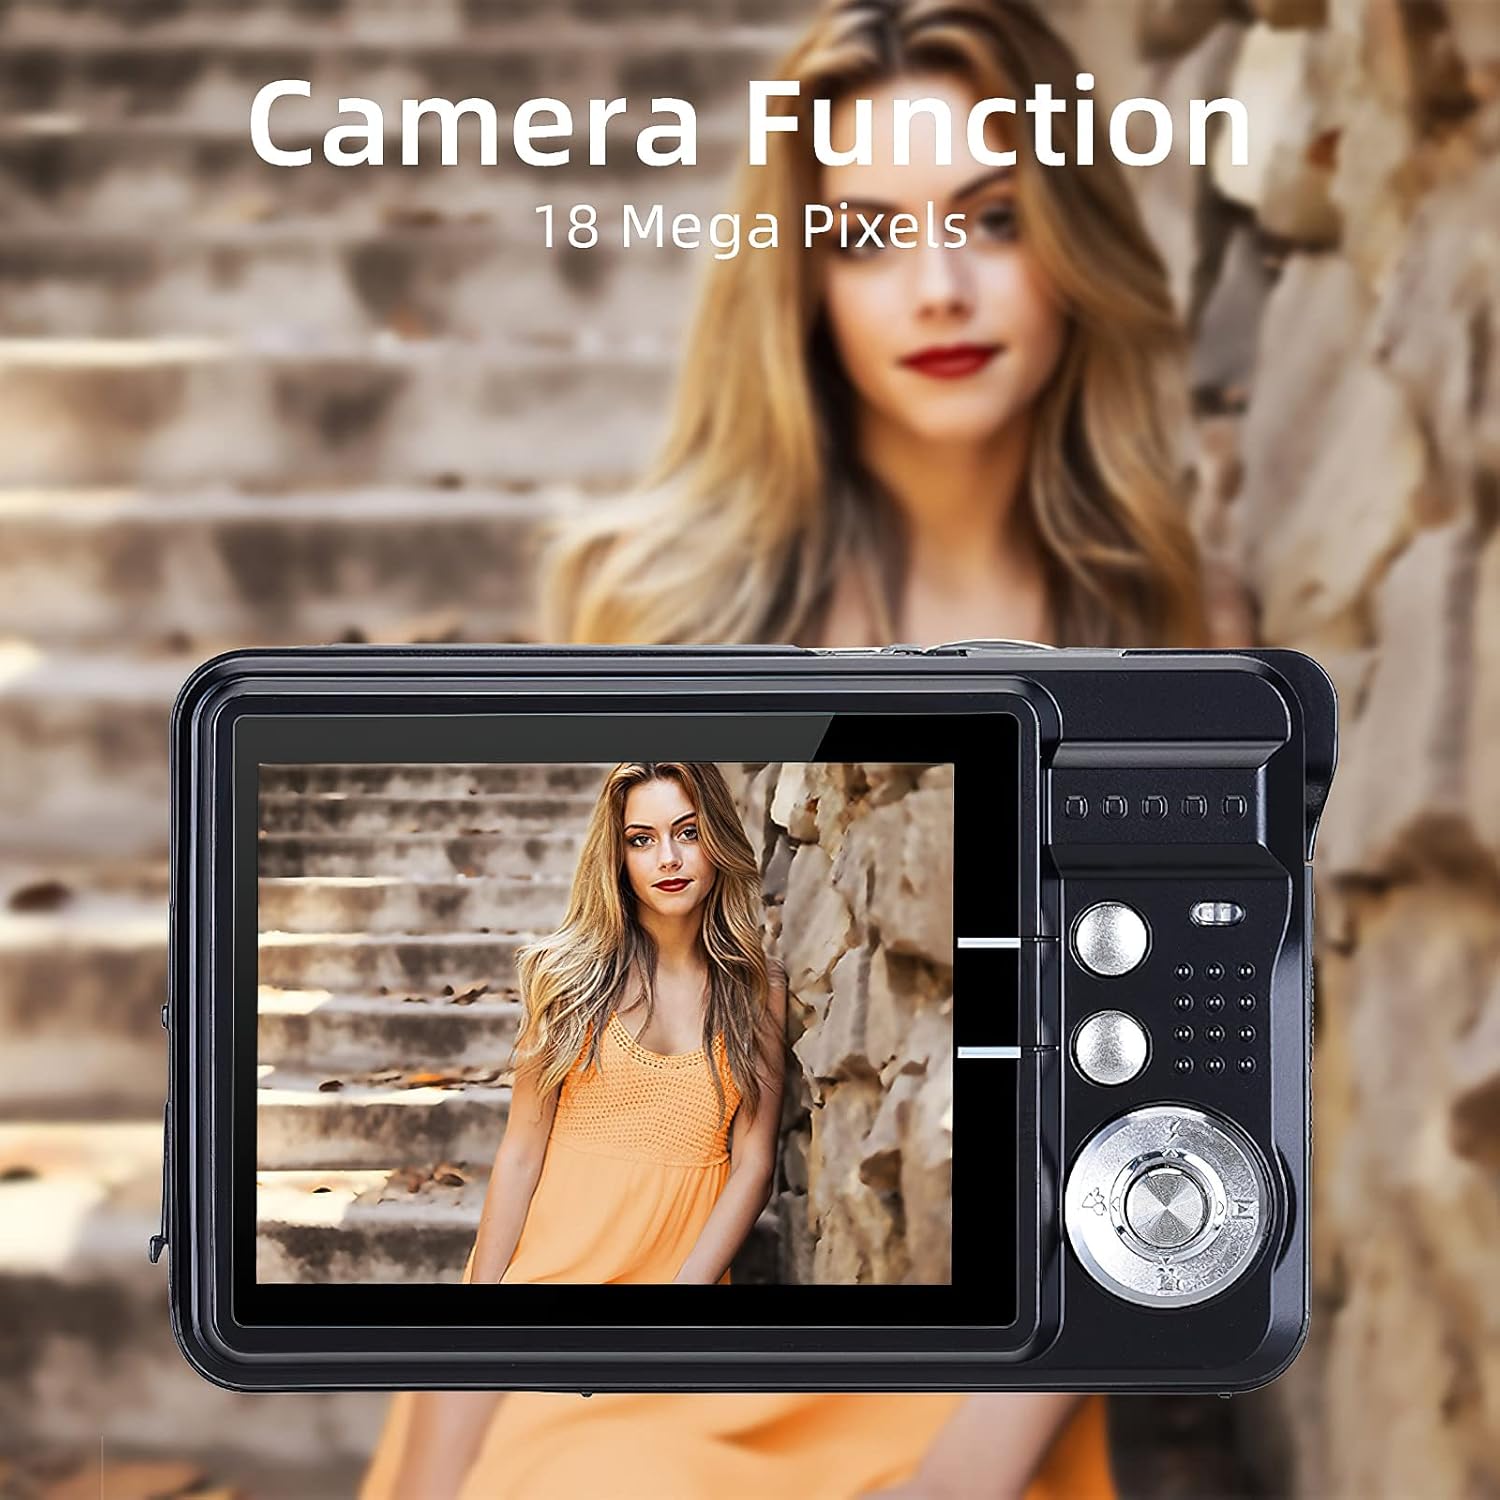
Image: The Andoer Digital Camera screen showing a high-resolution image, illustrating its 18-megapixel photo capability.
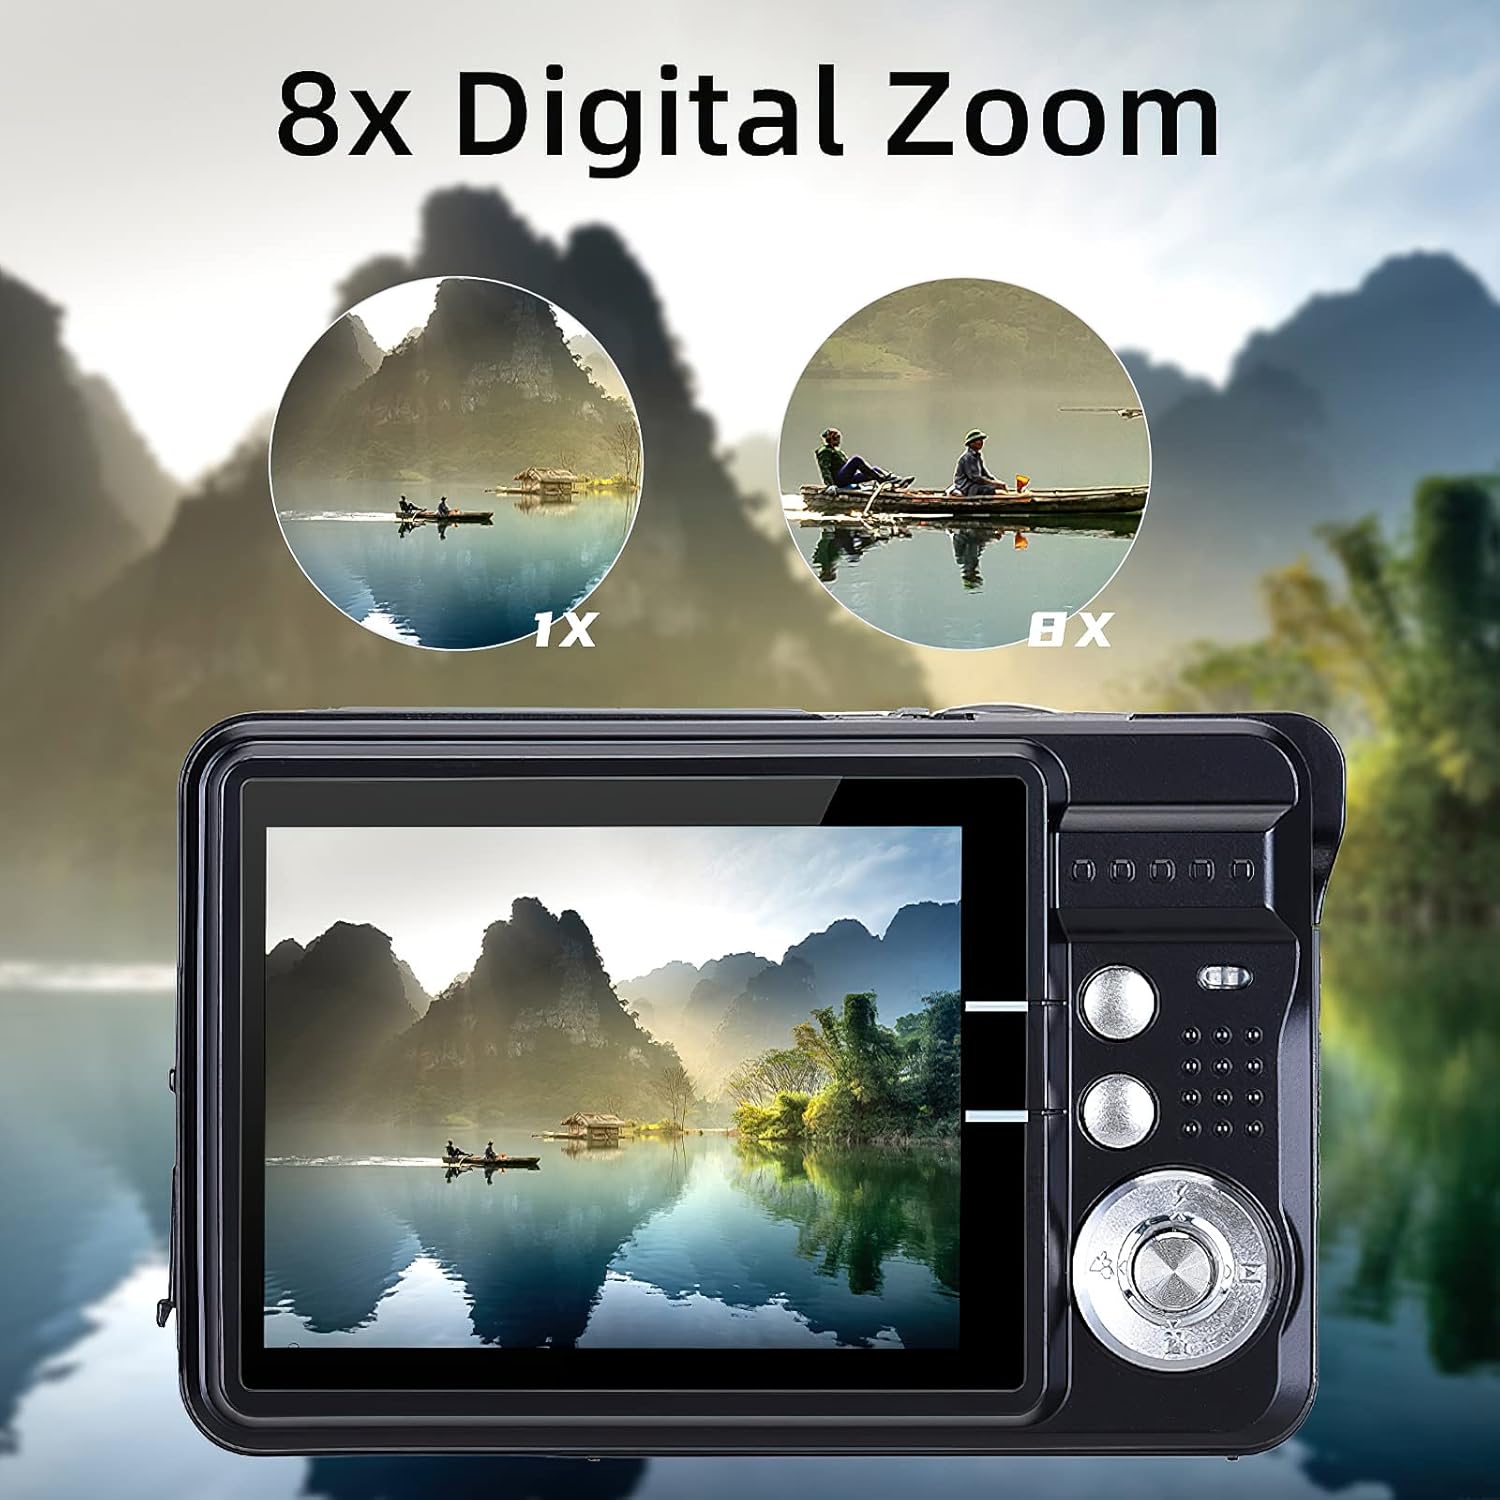
Image: The Andoer Digital Camera display demonstrating the effect of 8x digital zoom on a landscape scene, comparing 1x and 8x views.
3. Recording Videos
- Switch the camera to video mode using the Mode button.
- Press the Shutter button to start recording. A recording indicator will appear on the screen.
- Press the Shutter button again to stop recording.
- The camera records videos in 720P (1280x720) resolution.
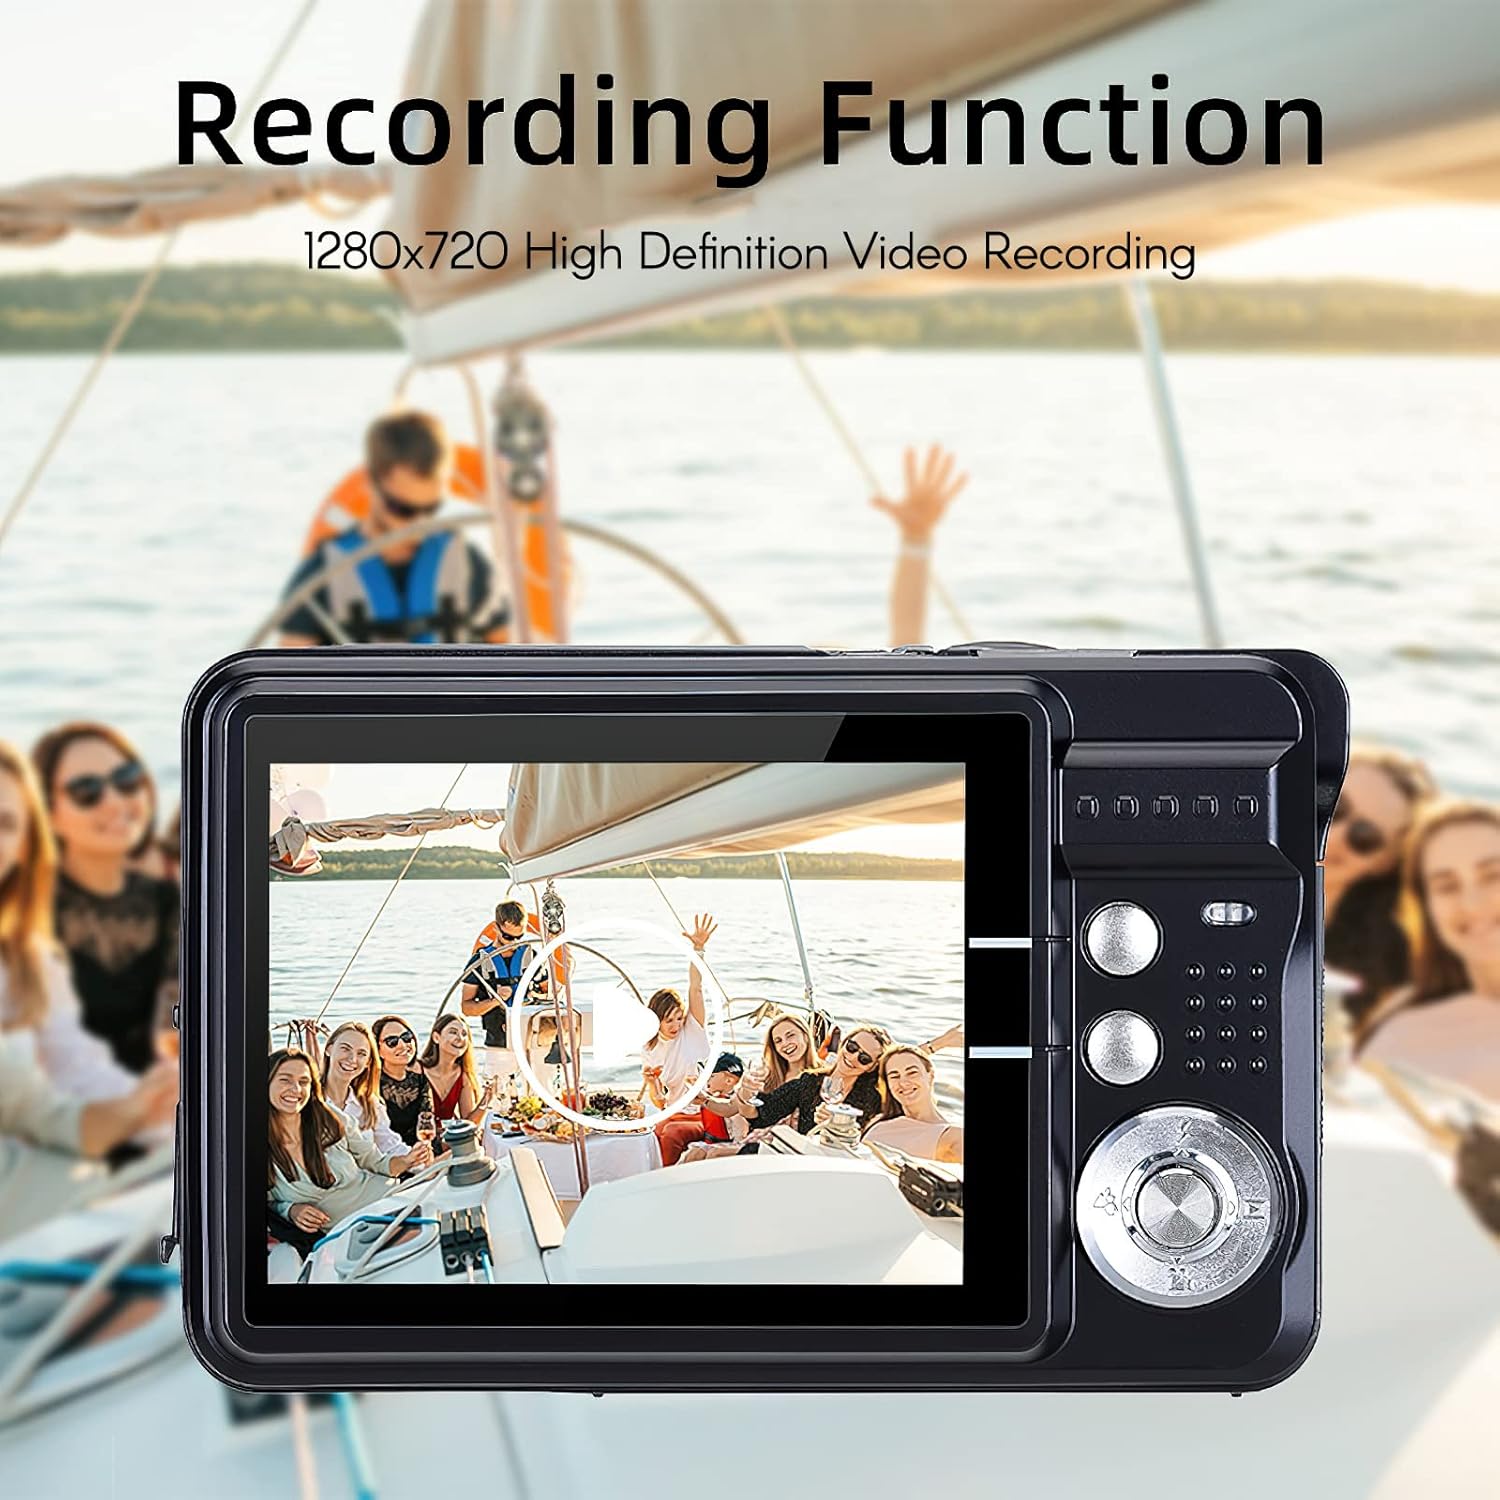
Image: The Andoer Digital Camera display showing a scene of people on a boat, illustrating its 1280x720 high-definition video recording capability.
4. Scene Modes and Special Features
The camera offers various scene modes and features to enhance your photography:
- Scene Modes: Auto, Night Portrait, Night Scenery, Portrait, Scenery, Sport, Party, Beach, High sensitivity. Select the appropriate mode for your environment.
- Anti-Shake: Digital image stabilization helps reduce blur from camera movement.
- Face Detect / Smile Capture: Automatically detects faces and can capture a photo when a smile is detected.
- Self-Timer: Options for 2, 5, or 10-second delays before taking a photo.
5. Playback Mode
To review your photos and videos:
- Press the Mode button to enter Playback mode.
- Use the Navigation buttons to scroll through your captured media.
- Press the OK button to view a photo or play a video.
6. Connecting to a Computer
To transfer files to your computer:
- Ensure the camera is powered on.
- Connect the camera to your computer using the provided USB cable.
- The camera should appear as a removable disk drive on your computer.
- Drag and drop files to transfer them.
Maintenance
- Cleaning the Lens and Screen: Use a soft, lint-free cloth specifically designed for optical surfaces. Do not use abrasive cleaners or solvents.
- Battery Care: Avoid exposing the battery to extreme temperatures. If the camera will not be used for an extended period, charge the battery periodically to maintain its lifespan.
- Storage: Store the camera in a cool, dry place, away from direct sunlight and excessive humidity. Use the provided carry bag for protection.
- Memory Card: Format the memory card periodically (after backing up important files) to maintain optimal performance.
Troubleshooting
| Problem | Possible Solution |
|---|---|
| Camera does not power on. | Ensure the battery is fully charged and correctly inserted. |
| Cannot take photos/record videos. | Check if a memory card is inserted and has sufficient free space. Ensure the camera is in the correct mode (photo/video). |
| Images are blurry. | Ensure the lens is clean. Hold the camera steady or use the anti-shake feature. Check lighting conditions. |
| Camera not recognized by computer. | Ensure the USB cable is securely connected. Try a different USB port or cable. Verify the camera is powered on. |
| Short battery life. | Ensure the battery is fully charged. Reduce screen brightness or turn off unnecessary features. Battery performance may degrade over time. |
Specifications
| Feature | Detail |
|---|---|
| Image Sensor | CMOS Sensor |
| Display | 2.7 Inch TFT LCD |
| Picture Resolution | Up to 18MP (4895x3672) |
| Video Resolution | 720P (1280x720), 720x480, 640x480 VGA, 320x240 QVGA |
| Digital Zoom | 8X |
| Anti-Shake | Yes (Digital Image Stabilization) |
| Face Detect / Smile Capture | Yes |
| Self-Timer | Off / 2 sec / 5 sec / 10 sec |
| Exposure | EV-3 to EV+3 |
| White Balance | Auto / Daylight / Cloudy / Incandescent / Fluorescent |
| File Format | JPEG (Photo), AVI (Video) |
| Power Supply | 1 * Lithium battery (3.7V 550mAh) |
| Supported System | Windows XP, VISTA, WIN7 |
| Item Size | 9 * 6 * 2cm / 3.5 * 2.4 * 0.8in |
| Item Weight | 90g / 3.2oz |
| Memory Card Support | Up to 32GB SD card (not included) |
Warranty and Support
For warranty information and technical support, please refer to the documentation included with your purchase or visit the official Andoer website. Keep your purchase receipt as proof of purchase.
Online Resources: For additional support, FAQs, and driver downloads, please visit the manufacturer's official website.


