
1. Introduction
Thank you for choosing the GREHUA Mechanical Brake Caliper Upgrade Kit. This manual provides essential information for the proper installation, operation, and maintenance of your new brake system. Please read this manual thoroughly before installation and keep it for future reference to ensure safe and effective use.

Figure 1: GREHUA Mechanical Brake Caliper Upgrade Kit components and application example.
2. Package Contents
Please verify that all components listed below are included in your package:
- 1 x Mechanical Brake Caliper (with pre-installed brake pads)
- 1 x Mounting Bracket
- 1 x Brake Cable (approx. 142 cm / 56 inches)
- 2 x Mounting Bolts
- 2 x Nuts
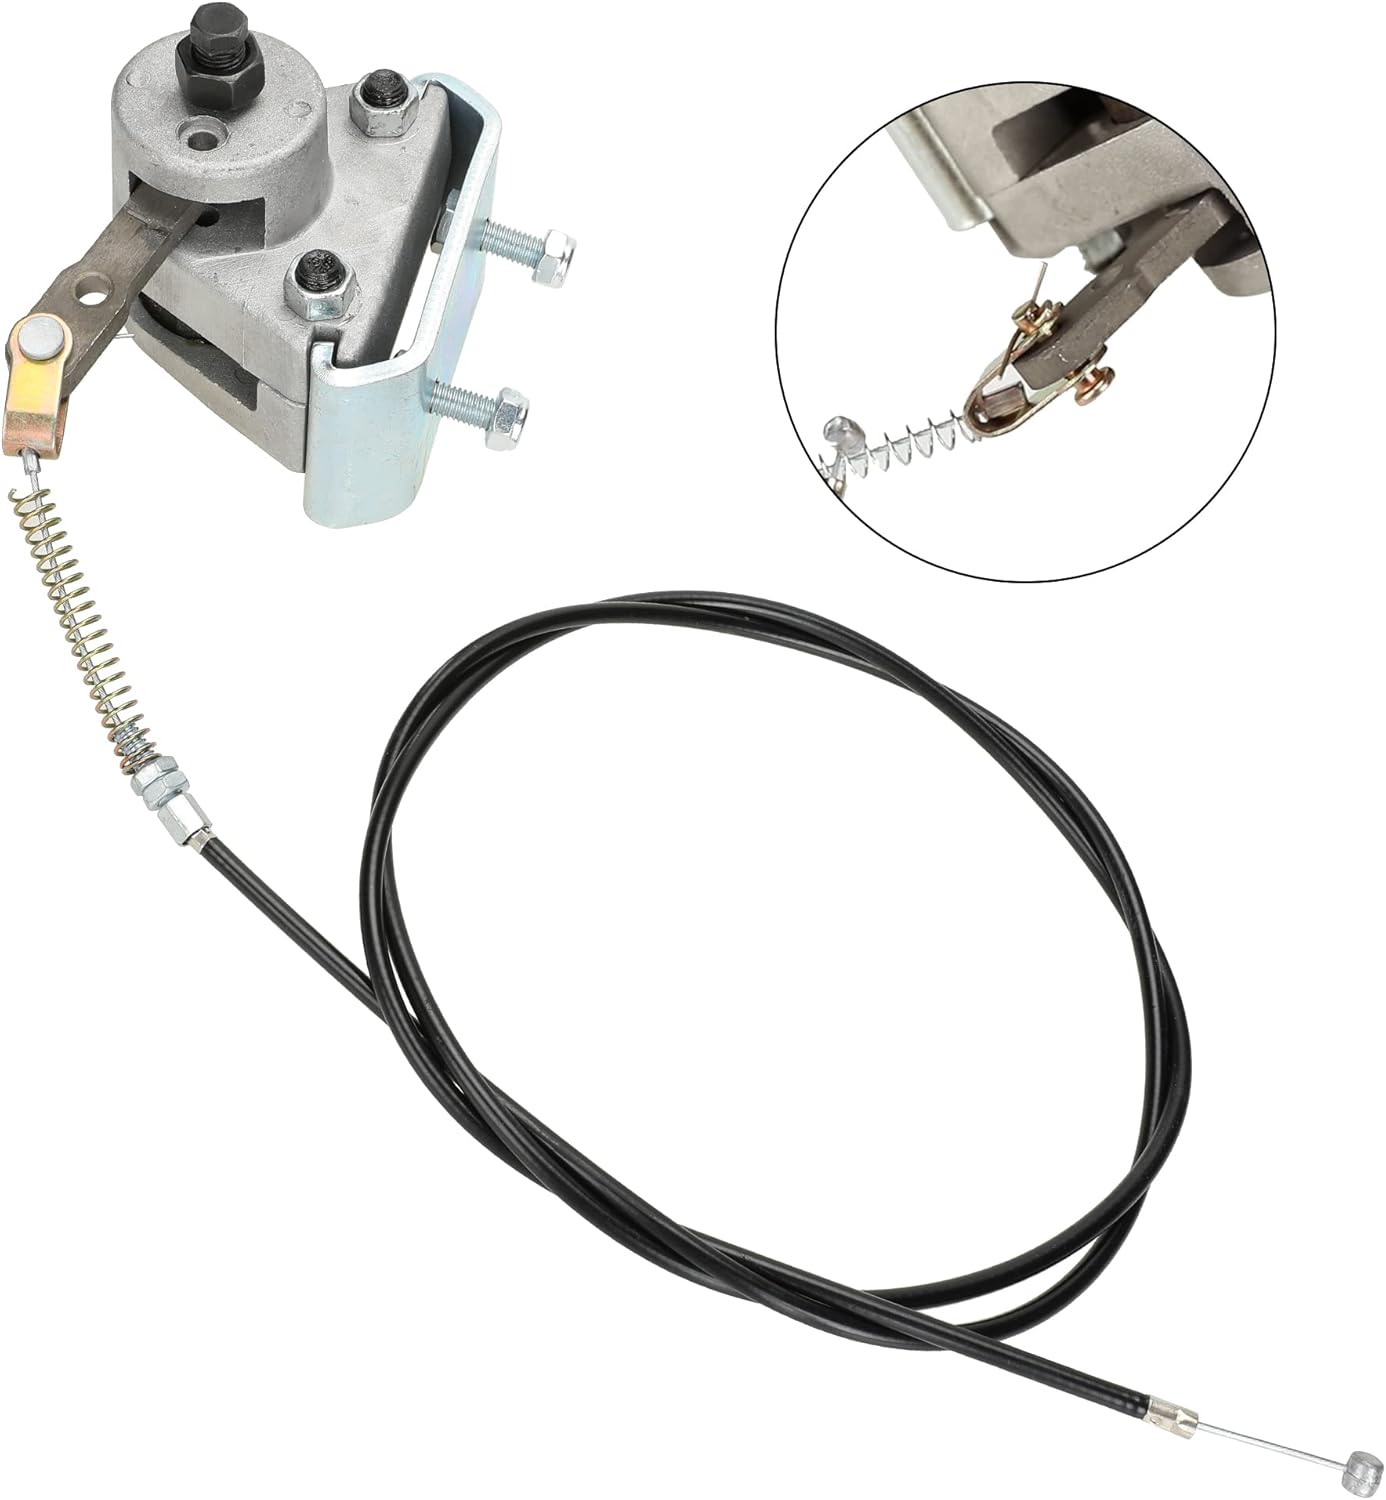
Figure 2: Complete package contents of the brake upgrade kit.
3. Compatibility
This brake caliper upgrade kit is designed for a wide range of go-karts and mini bikes. Compatible models include, but are not limited to:
- Predator 212cc, 196cc, 6.5hp
- GX160, GX200
- Manco (e.g., 9598, 9597)
- Oregon Rotary
- Yerf-Dog
- Yard Cart
- Dune Buggies
- Mini Bike ATV
- American Sportworks
- Carter
- Ken-bar
- Bristers
- Thunder Karts
- ASW
- Airheart MB-1

Figure 3: Examples of compatible go-kart types.
4. Product Dimensions
Key dimensions for the brake caliper and cable are provided below for reference:
- Brake Caliper:
- Mounting Hole Distance (center-to-center): 18.2 mm (0.71 inches)
- Mounting Hole Diameter: 7.5 mm (0.29 inches)
- Brake Arm Length: 50 mm (2.0 inches)
- Maximum Rotor Thickness: 6 mm (0.24 inches)
- Brake Cable:
- Total Length: Approximately 147 cm (56 inches)
- Black Housing Length: Approximately 130 cm (51 inches)
- Inner Wire Length: Approximately 142 cm (56 inches)

Figure 4: Brake cable dimensions.
5. Setup and Installation
This brake kit is designed for straightforward installation. No brake fluid is required, simplifying the process and reducing maintenance needs.
- Safety First: Ensure your vehicle is turned off, stable, and cannot move during installation. Wear appropriate safety gear.
- Remove Old Brake System (if applicable): Carefully detach your existing brake caliper, bracket, and cable. Note how the old system was mounted for reference.
- Mount the New Bracket: Position the new mounting bracket onto your vehicle's frame or axle where the brake rotor is located. Secure it firmly using appropriate hardware (not included, if different from supplied bolts).
- Attach the Caliper: Mount the GREHUA mechanical brake caliper to the newly installed bracket using the provided bolts and nuts. Ensure the caliper is aligned with the brake rotor and can move freely to engage it. The caliper is adjustable to accommodate various rotor sizes.
- Connect the Brake Cable: Route the brake cable from your brake pedal to the caliper's actuation arm. Secure the cable end to the caliper arm. The cable comes with a spring and shackle end for easy connection.
- Adjust Cable Tension: Adjust the cable tension at the brake pedal and/or caliper to achieve proper braking action. Ensure there is no excessive slack and that the brake fully releases when the pedal is disengaged.
- Test Functionality: Before operating the vehicle, manually test the brake system to ensure it engages and disengages smoothly and effectively. Perform low-speed tests in a safe area.
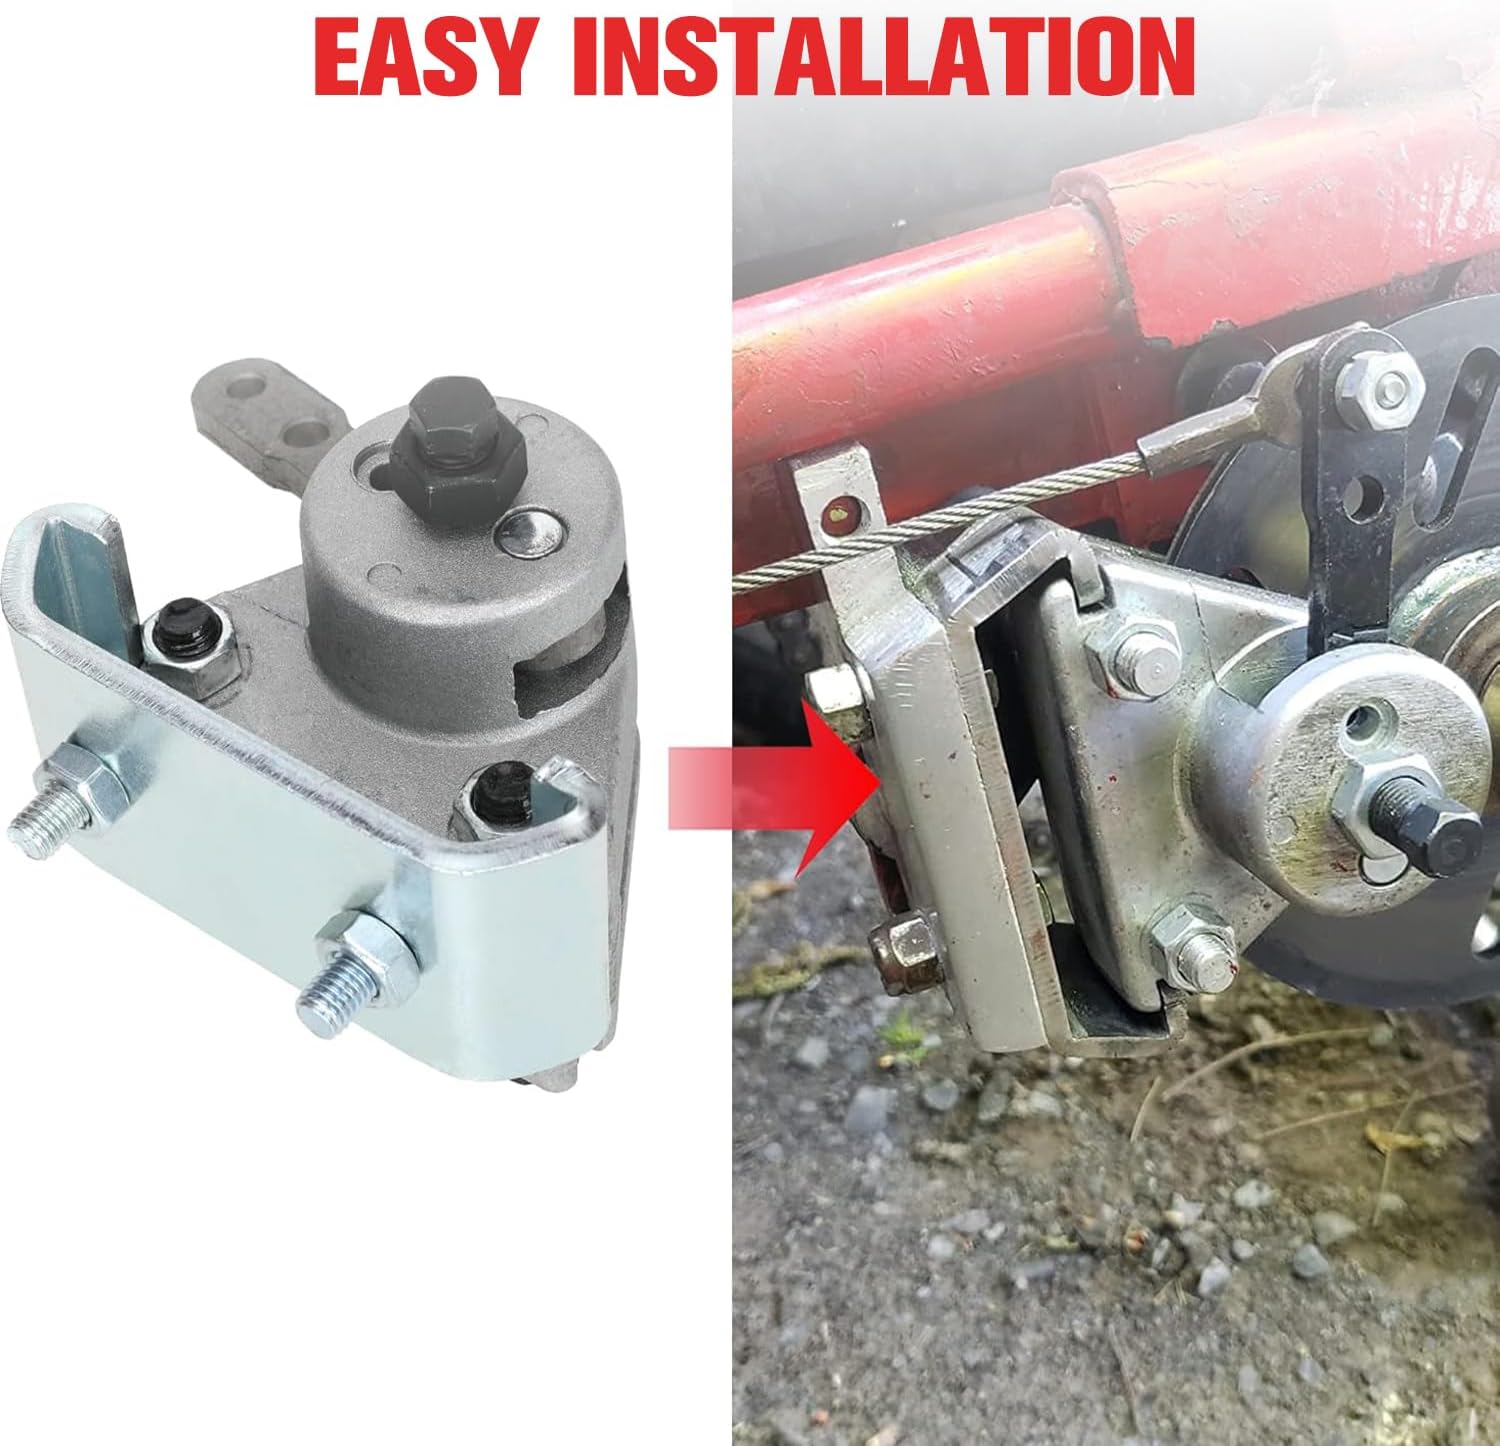
Figure 5: Visual guide for caliper installation.
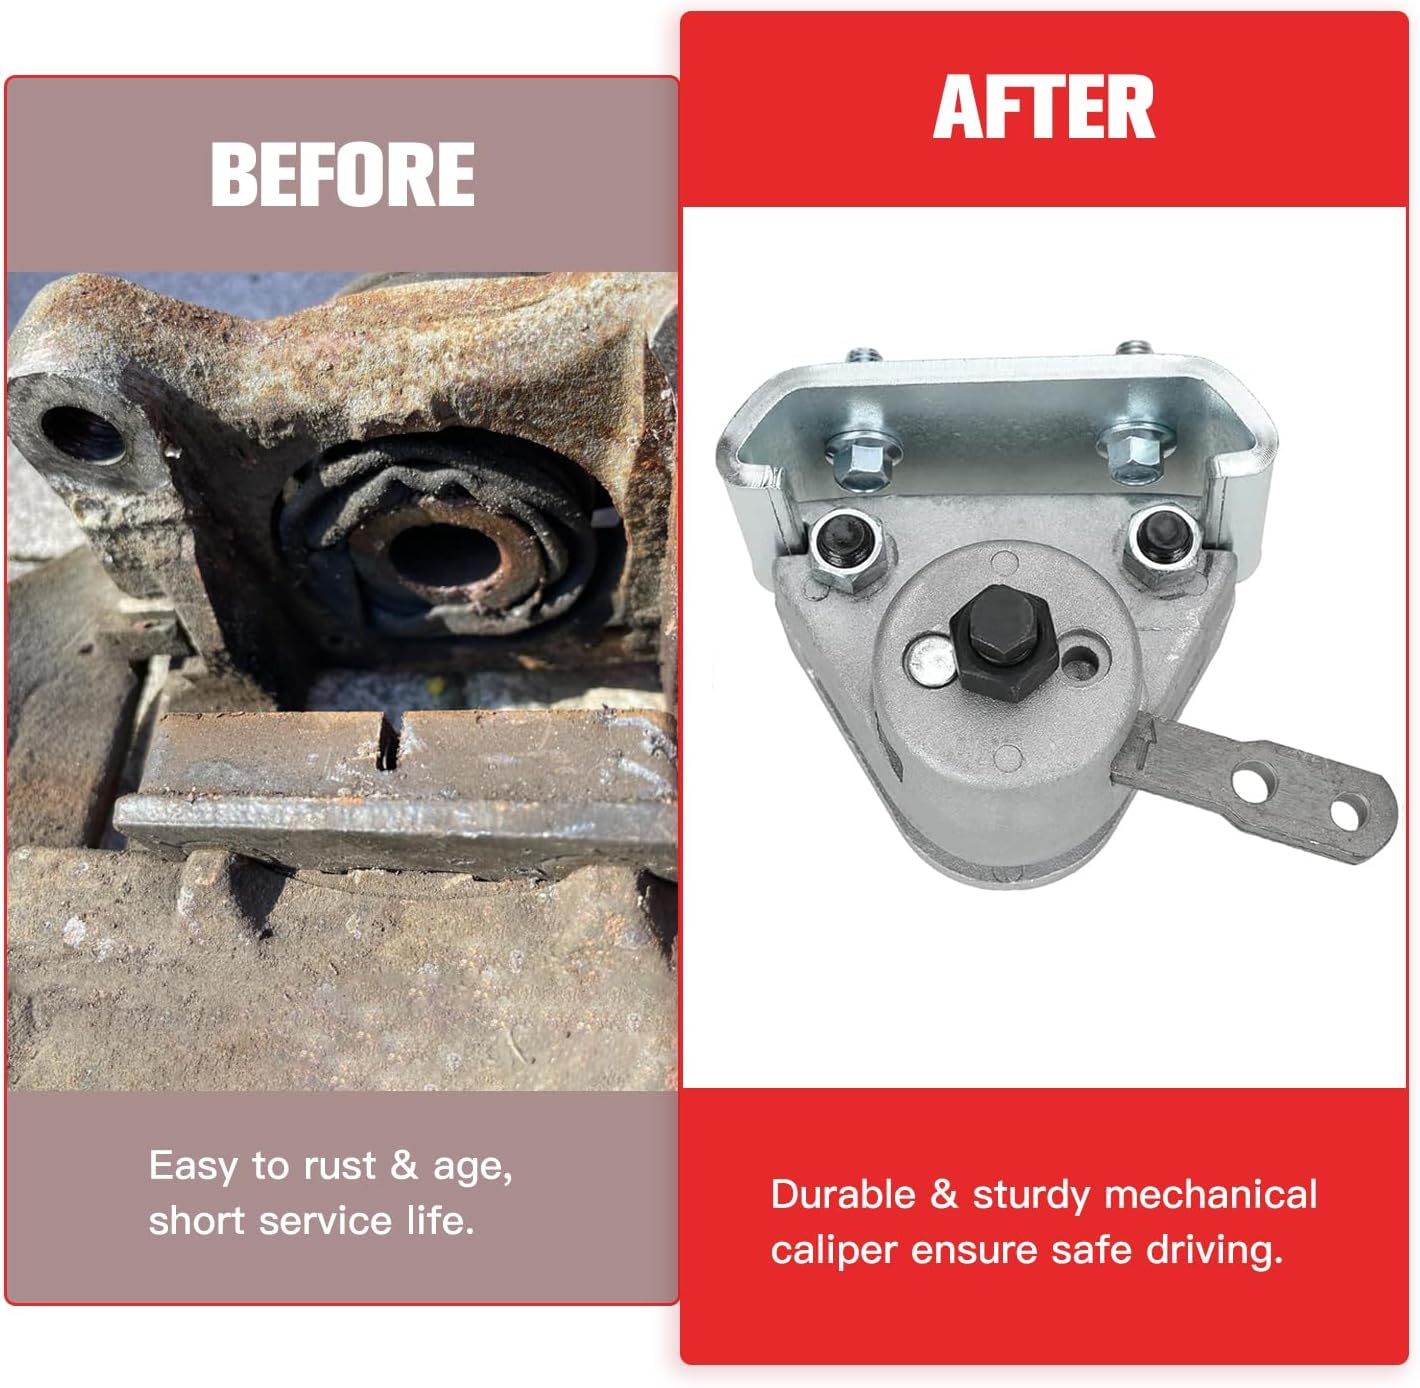
Figure 6: Comparison of an old, worn caliper versus the new GREHUA caliper.
6. Operating Instructions
Once installed and properly adjusted, operate your mechanical brake system as you would any standard go-kart brake. Press the brake pedal to engage the caliper and slow down or stop the vehicle. Release the pedal to disengage the brake. Always ensure the brake cable is free from obstructions and operates smoothly.
7. Maintenance
The GREHUA mechanical brake system is designed for durability and minimal maintenance. However, regular inspection is crucial for safety and performance:
- Brake Pads: Periodically inspect the brake pads for wear. Replace them when they become thin or show signs of uneven wear.
- Brake Cable: Check the brake cable for fraying, kinks, or corrosion. Ensure it moves freely within its housing. Lubricate if necessary. Replace the cable if any damage is observed.
- Caliper and Bracket: Inspect the caliper and mounting bracket for any signs of damage, cracks, or loose fasteners. Ensure all bolts are tight.
- Rotor: Check the brake rotor for excessive wear, warping, or damage.
8. Troubleshooting
If you experience issues with your brake system, consider the following:
- Poor Braking Performance:
- Check brake cable tension; it may be too loose.
- Inspect brake pads for wear; they might need replacement.
- Ensure the caliper is properly aligned with the rotor.
- Brake Not Releasing Fully:
- Check for excessive cable tension; it might be too tight.
- Inspect the brake cable for kinks or damage preventing smooth movement.
- Ensure the caliper arm moves freely.
- Unusual Noises During Braking:
- Inspect brake pads for foreign material or uneven wear.
- Check rotor for damage or debris.
If problems persist after troubleshooting, consult a qualified mechanic or contact GREHUA customer support.
9. Specifications
| Manufacturer | GREHUA |
| Model Name | SCX-KQN-02 |
| ASIN | B0B7VQWYJJ |
| Package Dimensions | 17.2 x 12.6 x 10.11 cm |
| Item Weight | 1.09 Kilograms |
| Exterior Finish | Chromed (Note: Product typically features a zinc-plated or natural metal finish) |
10. Warranty and Support
For warranty information and customer support, please refer to the product listing on the retailer's website or contact GREHUA directly through their official channels. Keep your proof of purchase for any warranty claims.