Introduction
This manual provides comprehensive instructions for operating your AbergBest Mini Kids Digital Camera. Designed for ease of use, this compact camera allows users to capture memorable moments with its 21-megapixel sensor and HD 720P video recording capabilities. Please read this manual carefully before using your camera to ensure proper operation and longevity.
What's in the Box
- Camera Body
- 2 Rechargeable Lithium Batteries
- USB Charging Cable
- Wall Charger Adapter
- Wrist Strap
- Carrying Pouch
- User Manual (physical copy)
- Driver Disk (CD)
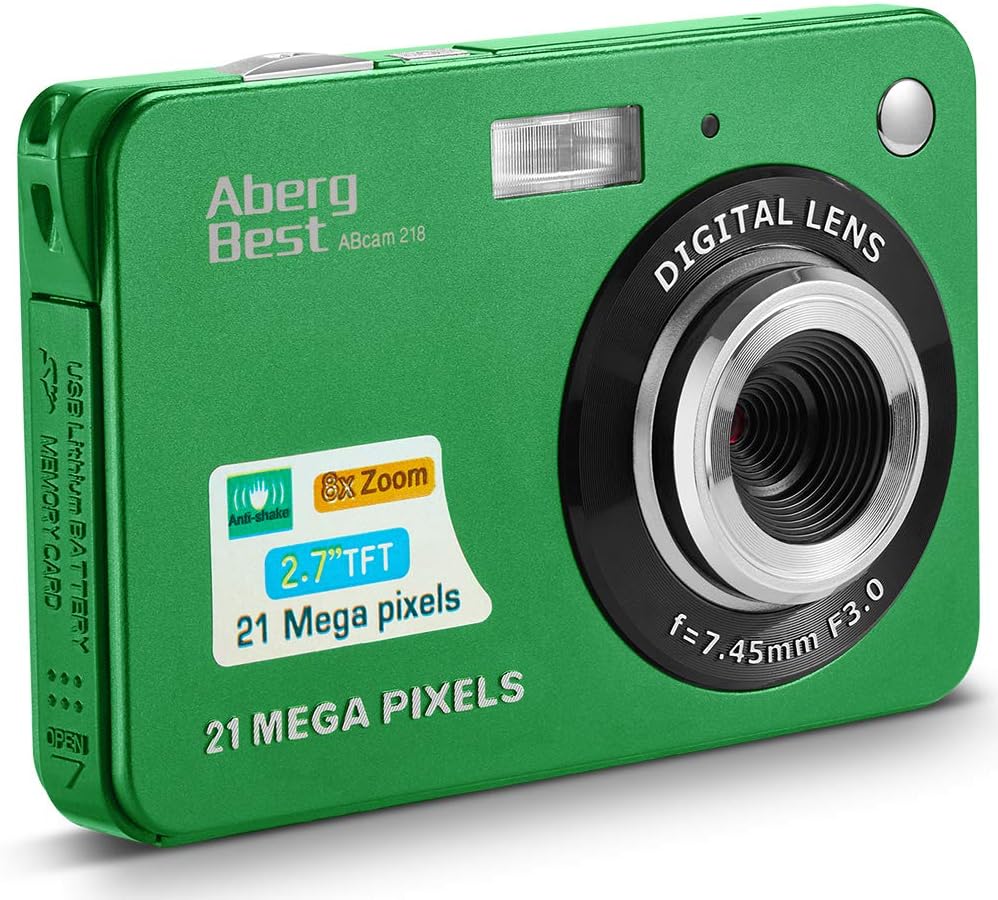
Image: The AbergBest Mini Kids Digital Camera box with all included accessories laid out, including the camera, batteries, cables, charger, wrist strap, pouch, manual, and driver disk.
Product Overview
The AbergBest Mini Digital Camera features a durable plastic body and a 2.7-inch TFT LCD screen, designed for easy handling and clear viewing.

Image: Front and back view of the AbergBest Mini Digital Camera in green, showing the lens, flash, and LCD screen with a sample image.

Image: Back view of the AbergBest Mini Digital Camera in green, highlighting the 2.7-inch LCD screen and control buttons.

Image: Multiple views of the AbergBest Mini Digital Camera in green, showcasing its compact size, side ports (USB), and top buttons (power, shutter).
Camera Components
- Lens: Digital lens with f=7.45mm F3.0.
- Flash: Built-in flash for low-light conditions.
- LCD Screen: 2.7-inch TFT LCD for viewing and playback.
- Power Button: Located on the top for turning the camera on/off.
- Shutter Button: Located on the top for capturing photos and starting/stopping video recording.
- Microphone: For audio recording during videos.
- USB Port: Mini USB port for charging and data transfer.
- Battery Compartment: Located on the side for inserting the rechargeable battery.
- SD Card Slot: Supports SD memory cards up to 64GB (card not included).
- Wrist Strap Loop: For attaching the included wrist strap.
Setup
Battery Installation
The camera requires a rechargeable lithium battery for operation. Two batteries are included in the package.
Video: This video demonstrates how to open the battery compartment on the side of the camera and correctly insert the rechargeable battery. Ensure the battery clicks into place before closing the compartment.
SD Card Installation
An SD memory card (up to 64GB, Class 4 or above recommended) is required to store photos and videos. The SD card is NOT included and must be purchased separately.

Image: Visual guide for compatible SD memory cards, indicating that only certified brand SD cards (32GB to 4GB, Class 4 or above) are recommended for use with the camera.
Charging the Camera
Connect the mini USB cable to the camera's USB port and the other end to the provided wall charger adapter. Plug the adapter into a power outlet. The red indicator light on the charger will illuminate during charging and turn off when fully charged.
Powering On/Off
To power on the camera, ensure a charged battery is inserted, then press and hold the Power Button located on the top of the camera until the LCD screen illuminates. To power off, press and hold the Power Button again.
Operating Instructions
Basic Operation
The 2.7-inch LCD screen provides a live view for framing your shots and navigating camera functions.
Video: This video provides an overview of the camera's display and basic functions, including navigating menus and viewing the live feed. The video also demonstrates battery installation and video recording.
Zoom Function
The camera features 8X digital zoom. Use the zoom buttons on the back of the camera (next to the LCD screen) to zoom in or out.

Image: A boy on a beach demonstrating the 8X digital zoom capability of the camera, showing different zoom levels (4X, 6X, 8X) on the screen.
Focus Adjustment
The camera has a fixed focus lens. For close-up shots (macro) or distant shots (landscape), use the focus switch on the left side of the camera. Slide the switch to the flower icon for close-up focus or the mountain icon for landscape focus.

Image: Illustration of the near (flower icon) and far (mountain icon) focus settings on the side of the camera, showing their effect on image clarity.
Camera Modes and Settings
The camera offers various scene modes and settings to optimize your photos. Press the central button on the directional pad to access the menu and navigate through options.
- Scene Modes: Auto, Night Portrait, Night Scenery, Portrait, Scenery, Sport, Party, Beach, High Sensitivity.
- Image Size: Adjust resolution (e.g., 21MP, 12MP, 8MP, 5MP, 3MP). HD 720P resolution is available.
- Anti-Shake: Enable or disable for image stabilization.
- Face Detect: Automatically detects faces for optimal focus and exposure.
- Smile Capture: Automatically takes a photo when a smile is detected.
- Continuous Shot: For capturing multiple photos in quick succession.
- Self-Timer: Set a delay (2, 5, or 10 seconds) before taking a photo.
- Flash Control: Toggle the built-in flash on/off or set to auto.
Photo Examples
The AbergBest Mini Digital Camera captures clear images suitable for sharing and personal use.

Image: A close-up photo of a woman's face taken with the AbergBest camera, demonstrating facial detail capture.

Image: A family enjoying the beach, captured with the AbergBest camera, showcasing its ability to capture outdoor scenes.
Video Recording
The camera supports HD 720P video recording. To start recording, switch to video mode by pressing the button with the video icon on the directional pad, then press the Shutter Button. Press the Shutter Button again to stop recording.
Video: This video demonstrates the camera's video recording capabilities, showing how to start and stop recording. The video also covers battery installation and basic operation.
Playback
To view your captured photos and videos, press the playback button (usually indicated by a play icon or arrow) on the directional pad. Use the directional pad to navigate through your media files.
Specifications
| Feature | Detail |
|---|---|
| Brand | AbergBest |
| Model Number | New2022ABDC5100 |
| Photo Sensor Resolution | 21 MP |
| Video Resolution | 720p |
| Digital Zoom | 8x |
| Screen Size | 2.7 inches |
| Display Type | TFT LCD |
| Supported File Format | AVI (Video), JPEG (Photo) |
| Flash Memory Type | SD (up to 64GB) |
| Battery Type | Lithium Polymer |
| Connectivity Technology | USB |
| Item Weight | 309 Grams |
| Color | Green |
Troubleshooting
Camera Not Turning On
- Ensure the battery is fully charged and correctly inserted.
- Press and hold the Power Button for a few seconds.
"SD Card Full" or "No File Exist" Error
- Insert a compatible SD memory card.
- Delete unnecessary files from the SD card or format it (this will erase all data).
Blurry Photos
- Ensure the focus switch (flower/mountain icon) is set correctly for your subject's distance.
- Use the Anti-Shake feature if enabled.
- Ensure adequate lighting; use the flash if necessary.
Short Battery Life
- Ensure batteries are fully charged before use.
- Reduce screen brightness if possible.
- Turn off unnecessary features like flash or continuous shot when not needed.
- Use the provided extra battery.
Warranty & Support
The AbergBest Mini Kids Digital Camera comes with a 1-year manufacturer warranty.
For any questions or support regarding your product, please refer to the contact information provided in your physical user manual or visit the official AbergBest website.