
1. Introduction and Overview
Thank you for choosing Rythflo Bluetooth Headphones. This manual provides essential information for setting up, operating, and maintaining your new headphones. Designed for superior audio experience, these headphones feature Bluetooth 5.2 connectivity, a comfortable neckband design, and IPX7 water resistance, making them ideal for various activities from daily commuting to intense workouts.

Image: Rythflo Bluetooth Headphones, showcasing the neckband and in-ear design.
2. What's in the Box
Please check the package contents to ensure all items are present:
- Bluetooth Headphone x 1
- USB Type-C Charging Cable x 1
- User Manual x 1
- Pairs of S/M/L Eartips (Black&Red, Black&Blue, Black&Yellow) X 9

Image: All items included in the product packaging, laid out for clear viewing.
3. Setup Guide
3.1 Charging the Headphones
Before first use, fully charge your headphones. Connect the provided USB Type-C charging cable to the charging port on the headphones and the other end to a USB power source (e.g., computer, wall adapter). The LED indicator will show charging status. A full charge takes approximately 2 hours. A 10-minute charge provides up to 10 hours of playback.

Image: Illustration highlighting the 30-hour battery life and 10-minute fast charge feature.
3.2 Bluetooth Pairing
- Power On: Press and hold the Multi-Function Button (MFB) for 3 seconds until the LED indicator flashes blue, indicating the headphones are in pairing mode.
- Activate Bluetooth: On your device (smartphone, tablet, computer), enable Bluetooth.
- Select Device: In your device's Bluetooth settings, search for "WH01" or "Rythflo Headphones" in the list of available devices and select it to connect.
- Confirmation: Once successfully paired, the LED indicator will turn solid blue or off, and you may hear an audible confirmation.
The headphones will automatically attempt to reconnect to the last paired device when powered on.

Image: A visual representation of the advanced Bluetooth 5.2 chip, emphasizing stable and faster transmission.
4. Operating Instructions
The Rythflo WH01 headphones feature intuitive button controls located on the neckband for easy management of your audio and calls.
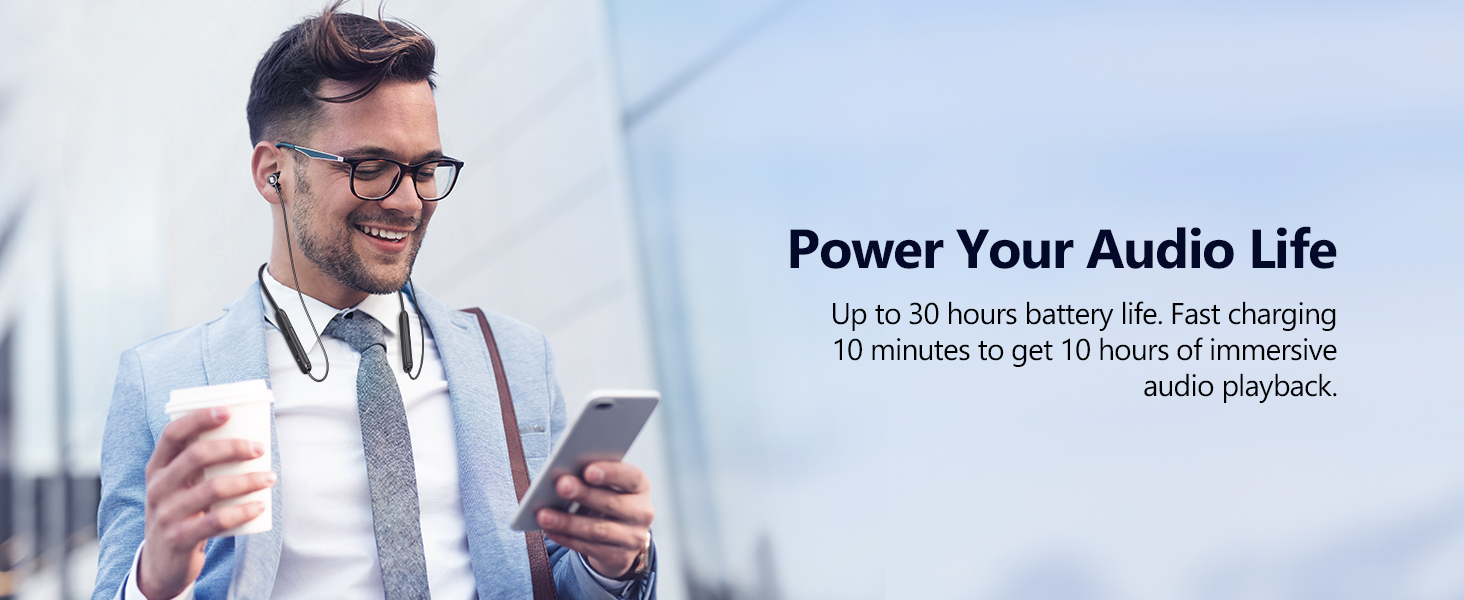
Image: Detailed diagram showing the location and function of each button on the headphone's control panel.
4.1 Basic Functions
- Power On: Press and hold MFB for 3 seconds.
- Power Off: Press and hold MFB for 5 seconds.
- Play/Pause: Press MFB once.
- Volume Up: Press '+' button once.
- Volume Down: Press '-' button once.
- Next Track: Press and hold '+' button for 2 seconds.
- Previous Track: Press and hold '-' button for 2 seconds.
4.2 Call Management
- Answer Call: Press MFB once.
- Hang Up Call: Press MFB once during a call.
- Reject Call: Press and hold MFB for 2 seconds.
4.3 Voice Assistant
- Activate Voice Assistant: Press MFB twice.
5. Maintenance and Care
To ensure the longevity and optimal performance of your Rythflo Bluetooth Headphones, follow these care guidelines:
- Cleaning: Use a soft, dry cloth to clean the headphones. Do not use abrasive cleaners or solvents.
- Water Resistance: The headphones are IPX7 water and sweatproof, meaning they can withstand submersion in up to 1 meter of water for 30 minutes. However, they are not designed for swimming or prolonged submersion. Always ensure the charging port cover is securely closed.
- Storage: Store the headphones in a cool, dry place away from extreme temperatures and direct sunlight.
- Avoid Damage: Do not drop, disassemble, or attempt to repair the headphones yourself. This may void the warranty and cause damage.

Image: The headphones shown with water splashes, illustrating their IPX7 water and sweatproof capability.
6. Troubleshooting
If you encounter issues with your headphones, please refer to the following common problems and solutions:
| Problem | Possible Solution |
|---|---|
| Headphones won't power on | Ensure the headphones are fully charged. Press and hold the MFB for at least 3 seconds. |
| Cannot pair with device | Make sure Bluetooth is enabled on your device and the headphones are in pairing mode (LED flashing blue). Move headphones closer to the device. Forget previous pairings on your device and try again. |
| No sound or low volume | Check the volume level on both the headphones and your connected device. Ensure the headphones are properly paired. Try playing different audio sources. |
| Intermittent connection | Ensure no obstacles are between the headphones and your device. Move away from other wireless devices that might cause interference. Recharge the headphones. |
| Microphone not working | Ensure the headphones are selected as the audio input device on your phone/computer. Check for any physical obstructions on the microphone. |
If the problem persists after trying these solutions, please contact customer support.
7. Specifications
| Feature | Detail |
|---|---|
| Model Name | WH01 |
| Connectivity Technology | Bluetooth 5.2 |
| Wireless Communication Technology | Bluetooth |
| Battery Life | Up to 30 Hours |
| Charging Time | 2 Hours (10 mins charge for 10 hours playback) |
| Water Resistance Level | IPX7 (Waterproof) |
| Audio Driver Size | 10 Millimeters |
| Frequency Range | 20 Hz - 20,000 Hz |
| Bluetooth Range | 10 Meters |
| Control Type | Volume Control, Remote |
| Material | Plastic |
| Item Weight | 30 Grams (1.06 ounces) |
| Product Dimensions | 8.27 x 5.2 x 0.75 inches |
| Ear Placement | In Ear |
| Form Factor | In Ear |
| Noise Control | Sound Isolation |

Image: Illustration of rigorous quality testing, including charging port durability, button press, temperature, and wire flexibility tests.
8. Warranty and Support
Rythflo products are manufactured to high-quality standards. While specific warranty details are not provided in this manual, Rythflo is committed to customer satisfaction. If you experience any issues with your headphones that cannot be resolved using the troubleshooting guide, or for any warranty-related inquiries, please contact Rythflo customer support through the retailer's platform or the official Rythflo website.
Please retain your proof of purchase for any warranty claims.


