1. Introduction
This manual provides essential information for the proper setup, operation, and maintenance of your RunCam 5 4K Action Camera. Please read this manual thoroughly before using the device to ensure optimal performance and longevity.
2. Product Overview
The RunCam 5 is a compact and lightweight 4K action camera designed for various applications, including FPV drones, airsoft, motorcycles, and helmet mounting. It features a high-performance image sensor and electronic image stabilization for smooth, high-quality video capture.
2.1. Camera Components
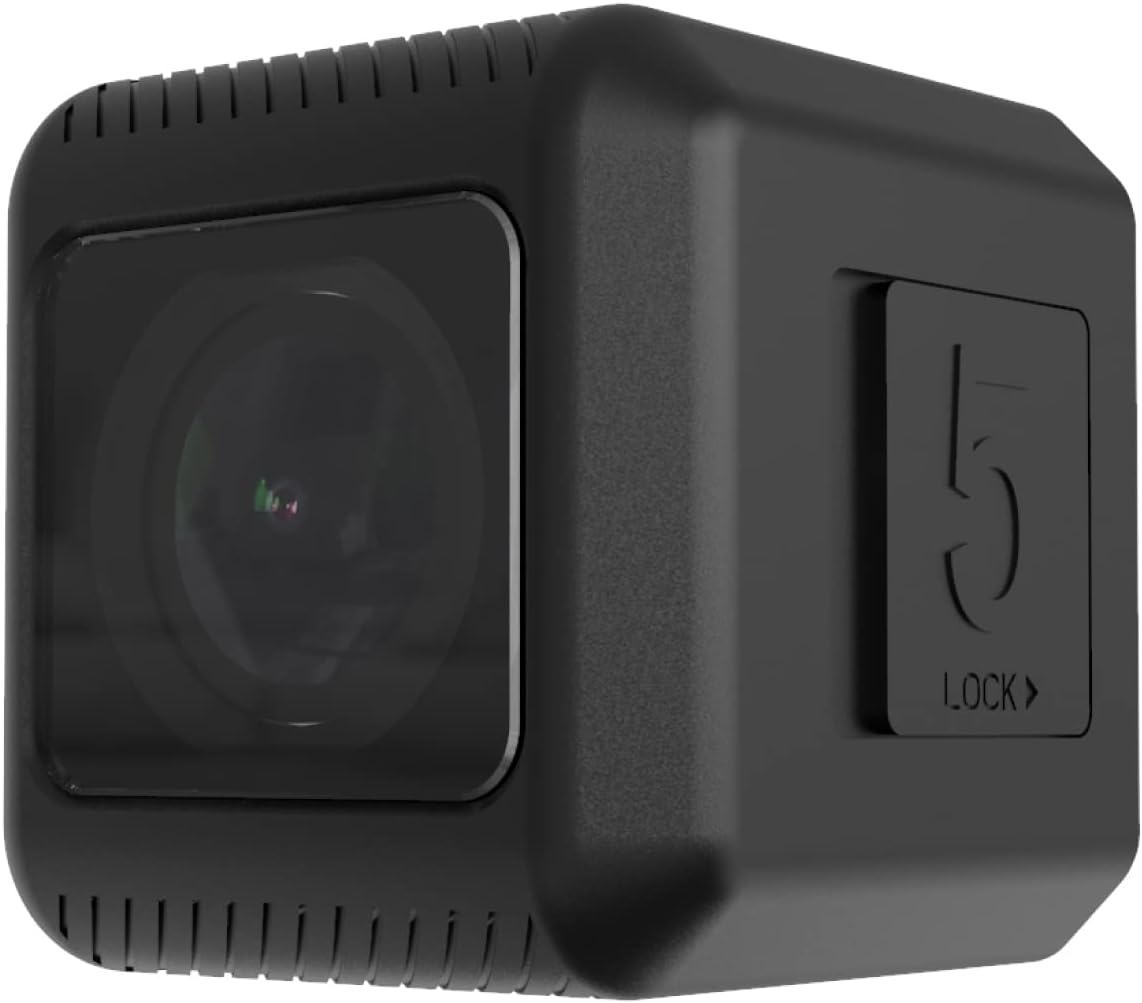
Figure 1: Front view of the RunCam 5 4K Action Camera, showing the lens.
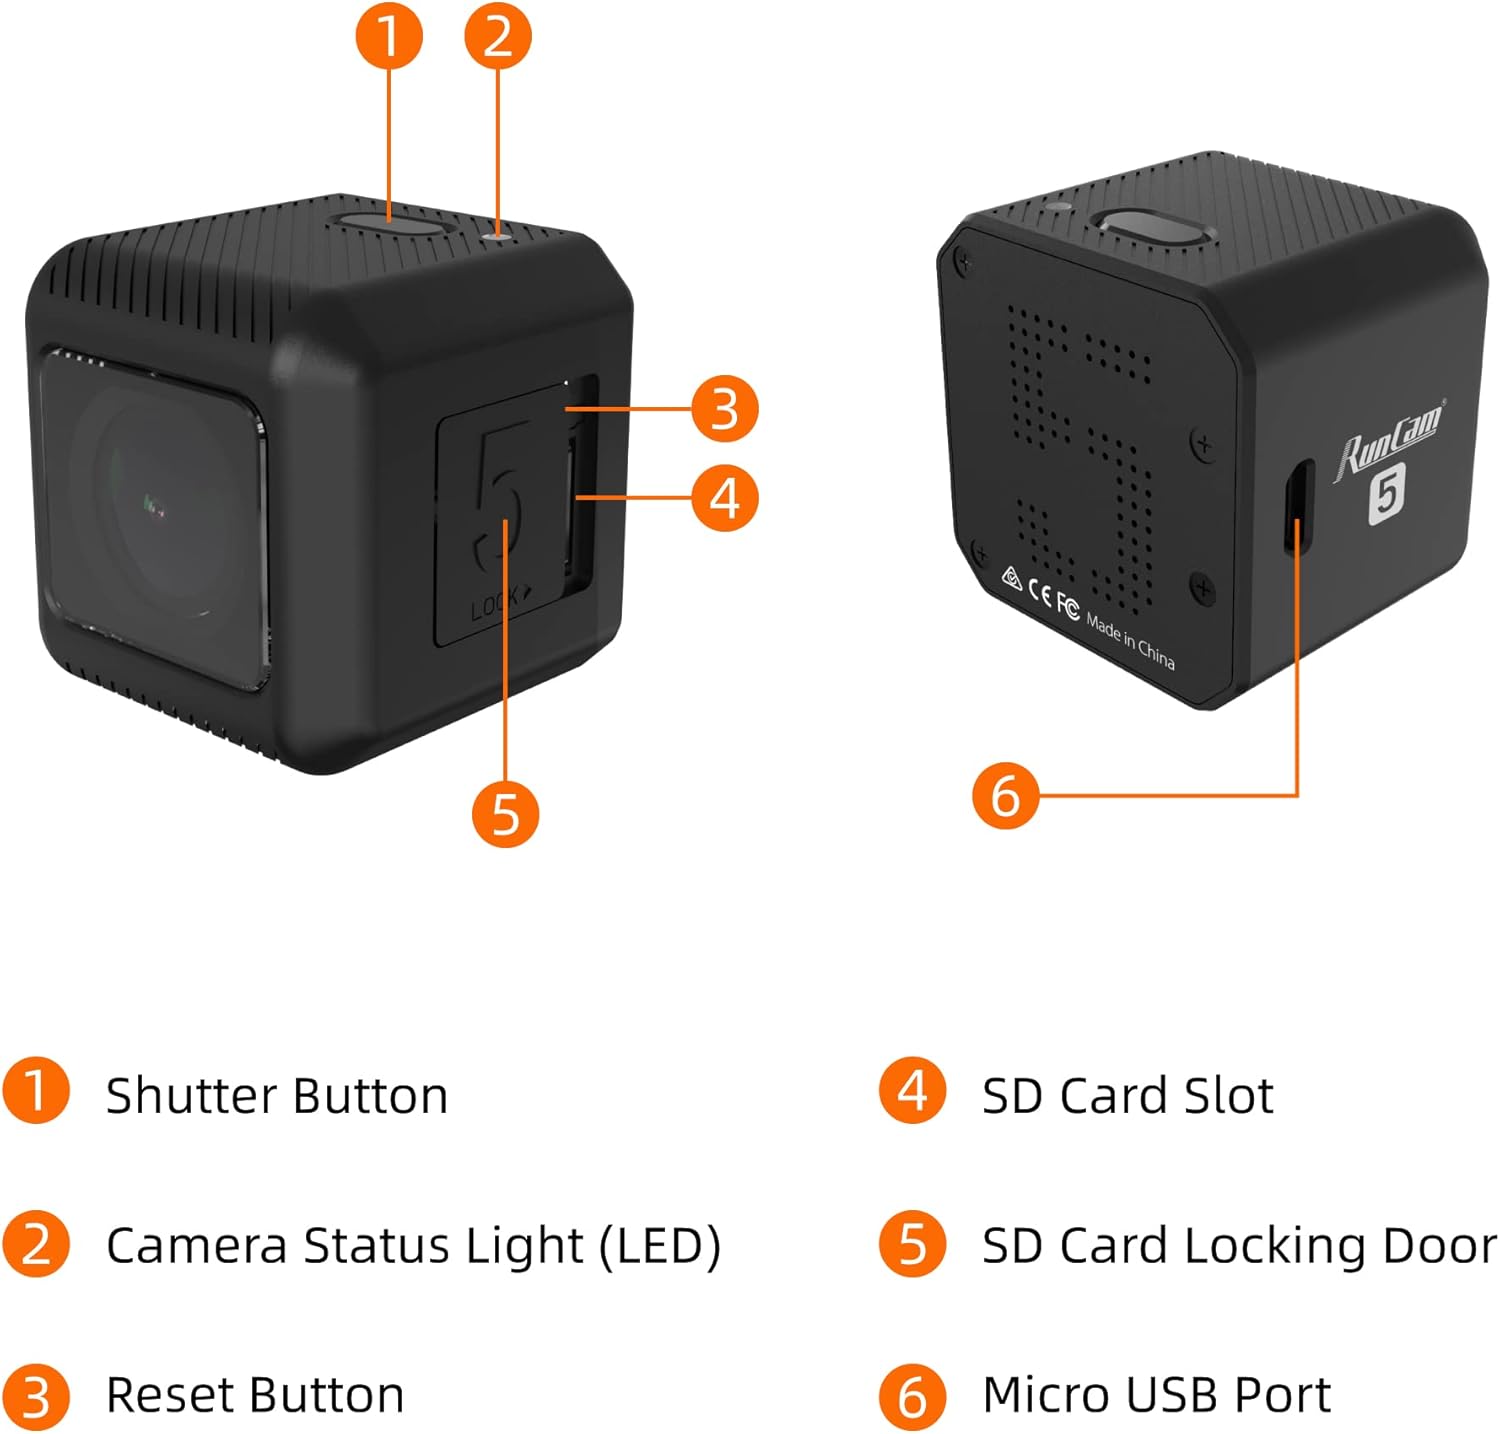
Figure 2: Labeled components of the RunCam 5, including Shutter Button, Camera Status Light (LED), Reset Button, SD Card Slot, SD Card Locking Door, and Micro USB Port.

Figure 3: Back view of the RunCam 5 4K Action Camera.

Figure 4: Angled view of the RunCam 5 4K Action Camera.
3. Setup
3.1. Charging the Battery
Before initial use, fully charge the camera's internal 900mAh battery. Connect the camera to a DC 5-15V power source using the provided Micro USB cable. The Camera Status Light (LED) will indicate charging status.
3.2. Inserting the MicroSD Card
- Locate the SD Card Locking Door on the side of the camera.
- Open the door to access the SD Card Slot.
- Insert a compatible MicroSD card (up to 128GB). For optimal performance, especially with 2.7K@50/60fps or 1080P@120fps, a U3 or higher speed card is recommended. For other resolutions, a U1 card is sufficient.
- Ensure the MicroSD card is formatted to FAT32 to prevent errors.
- Close the SD Card Locking Door securely.
4. Operating Instructions
4.1. Power On/Off
- Power On: Press and hold the Shutter Button until the Camera Status Light illuminates.
- Power Off: Press and hold the Shutter Button until the Camera Status Light turns off.
4.2. Recording Video
The RunCam 5 supports various video resolutions and frame rates:
- 4K @ 30fps
- 2.7K @ 60fps / 50fps
- 1080P @ 120fps / 60fps
- 1440P @ 60fps (native 4:3 recording)
To start recording, briefly press the Shutter Button. The Camera Status Light will change to indicate recording is in progress. Press the Shutter Button again to stop recording.
4.3. Taking Photos
The camera captures 12MP photos. To take a photo, ensure the camera is in photo mode (if applicable via QR code settings) and briefly press the Shutter Button.
4.4. Quick Capture
The Quick Capture feature allows the camera to start recording immediately upon power-on. This setting can be enabled or disabled via the camera's configuration settings (typically through a QR code or app).
5. Advanced Settings
Advanced settings for the RunCam 5 are typically configured using a mobile application or by scanning QR codes generated by the manufacturer's software. These settings allow customization of video resolution, frame rate, and other features.
5.1. Electronic Image Stabilization (EIS)
The RunCam 5 features Electronic Image Stabilization (EIS) for smoother video. EIS is effective at 4K@30fps and 1080P@60fps. Ensure this feature is enabled in your settings for stabilized footage.
5.2. Regional Format (PAL/NTSC)
You can select your regional video format (PAL or NTSC) through the camera's settings. This choice affects available frame rates (e.g., 30fps for NTSC, 25fps for PAL).
5.3. Battery Saving Mode
To extend battery life, a battery saving mode can be activated. This mode typically reduces the video recording resolution to 1080P instead of 4K.
6. Maintenance
6.1. Cleaning
- Use a soft, dry cloth to clean the camera body.
- For the lens, use a specialized lens cleaning cloth and solution to avoid scratches.
- Do not use harsh chemicals or abrasive materials.
6.2. Storage
Store the camera in a cool, dry place away from direct sunlight and extreme temperatures. If storing for extended periods, ensure the battery is partially charged (around 50%) to maintain battery health.
7. Troubleshooting
7.1. Camera Not Powering On
- Ensure the battery is sufficiently charged. Connect to a power source and check the charging indicator.
- If the camera is unresponsive, try performing a reset by pressing the Reset Button (if available, often a small pinhole).
7.2. Recording Issues (Frame Drops, Errors)
- Verify that the MicroSD card meets the recommended specifications (U3 for high-resolution video).
- Ensure the MicroSD card is formatted to FAT32. Reformat if necessary (this will erase all data on the card).
- Check for available storage space on the MicroSD card.
7.3. Poor Image Quality
- Clean the camera lens carefully.
- Ensure adequate lighting conditions for recording.
- Verify that the correct resolution and frame rate settings are selected for your intended use.
8. Specifications
| Feature | Specification |
|---|---|
| Image Sensor | IMX 377 (12MP) |
| Video Resolution | 4K @ 30fps / 2.7K@60fps / 2.7K@50fps / 1080P @ 120fps / 1080P @ 60fps / 1440P @ 60fps |
| Field of View (FOV) | 145° |
| Video File Format | MP4 |
| TV-OUT | Support |
| Communication Interface | Micro USB |
| WiFi | Nonsupport |
| Shutter | Auto 1/30 1/60 1/120 1/240 |
| MAJOR | Auto/100/200/400/800/1600/3200 |
| EIS Supported | Only effective at 4K@30fps, 1080P@60fps |
| Native 4:3 Recording | Support 1440P 60fps native 4:3 recording |
| USB Power Input | DC 5-15V |
| Battery Capacity | 900mAh |
| Power Consumption | Max 620mA @5V |
| Dimension | 38*38*36mm (1.5 x 1.42 x 1.5 inches) |
| Net Weight | 56g (1.98 ounces) |
| MicroSD Card Support | Up to 128G (FAT32 format required) |
9. Warranty and Support
The RunCam 5 4K Action Camera typically comes with a manufacturer's warranty. Please refer to your purchase documentation for specific warranty terms, which may include a 90-day replacement period and a one-year repair service. For technical support or further assistance, please contact RunCam customer service through their official website or authorized distributors.


